When mastering beats or instrumental that you want to sell, it’s best to master to a higher loudness but still leave enough headroom for a vocal. Additionally, it helps to carve out some room for the vocal by attenuating roughly 2kHz by 2dB on the mid image.
Selling beats can be a lucrative form of engineering and audio production - but first, you need to make sure that your beats sound great and are ready to be released.
Although mastering beats is similar in many ways to release a finished track, there are some differences that are incredibly important to keep in mind.
We’ll cover how to master instrumentals and beats that you want to sell online, as well as show some of the plugins you can use.
We’ll also discuss some of the main differences between traditional mastering, and mastering beats.
If you want to hear your beat or instrumental mastered professionally, send it to us here:
We’ll master it for you and send you a sample to review.
This signal chain, although not comprehensive enough for every master, will cover your bases when mastering beats. You can add to it as needed, and switch out any plugins we use for ones with similar functionality.
For the first insert I’m going to attenuate aspects of the beat that I don’t want. This will depend on the beat itself, but there are some settings that will work for just about all mixes.
With subtractive equalization you can attenuate aspects of the frequency response that you don't want.
First I’m going to attenuate the sub-frequencies on the side image by using a mid-side equalizer. I’ll cut up to about 100Hz - this will keep the low frequencies mono and the kick and bass driving.
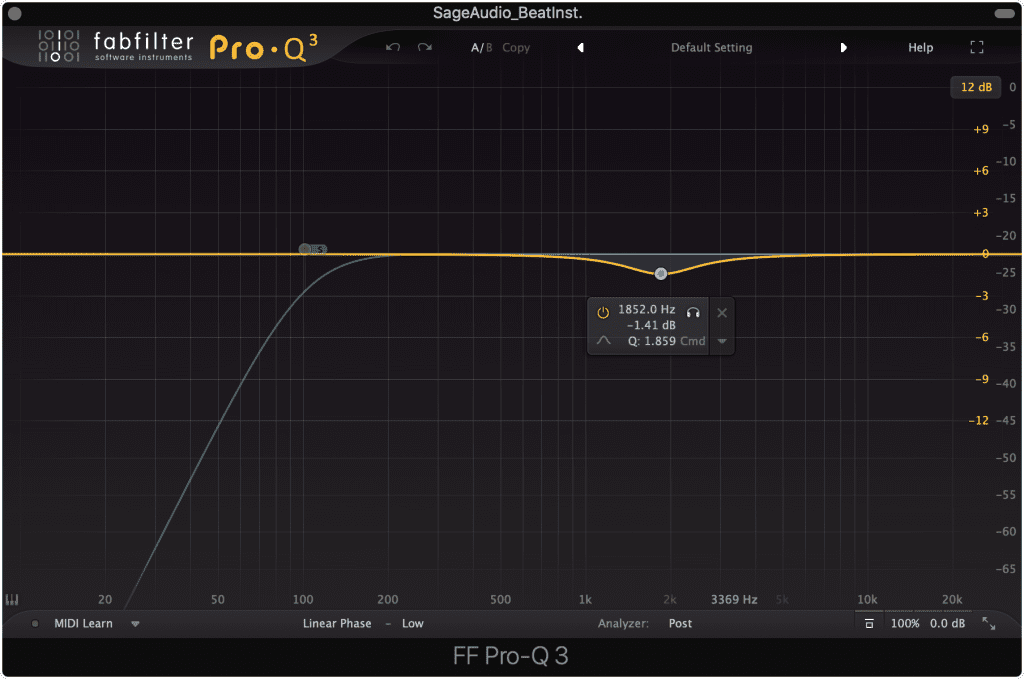
Then, I’m going to attenuate 2kHz with a bell filter by about 1.5 to 2dB. I’ll use a stereo setting to make this cut on both the mid and side image.
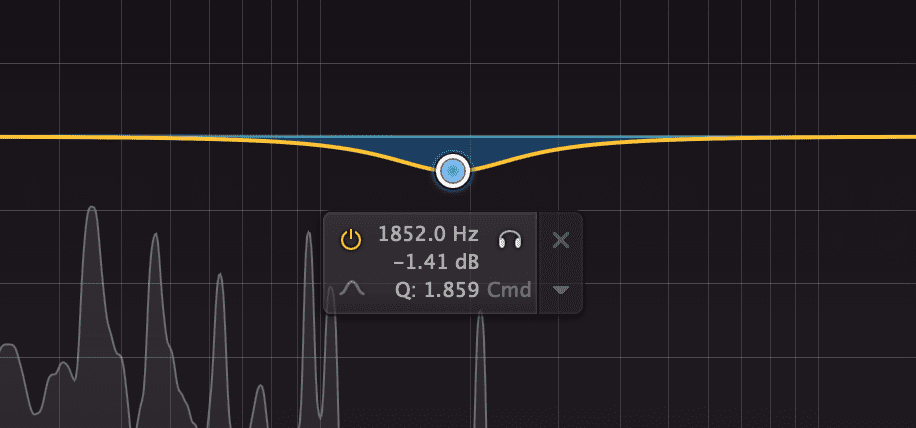
Attenuating 2kHz will help the vocal stand out when it's eventually recorded over the beat.
This will carve out some room for the vocal that will eventually be recorded over the beat. This way, whenever someone raps or sings over the instrumental, the instrumentation won’t compete with the vocal.
For another mastering signal chain, check out this video!
Saturation will make a master sound full and impressive.
Saturation will simultaneously compress the signal and distort it in a desirable way. This way dynamics are controlled, and the overall perceivably of the instrumentation is increased.
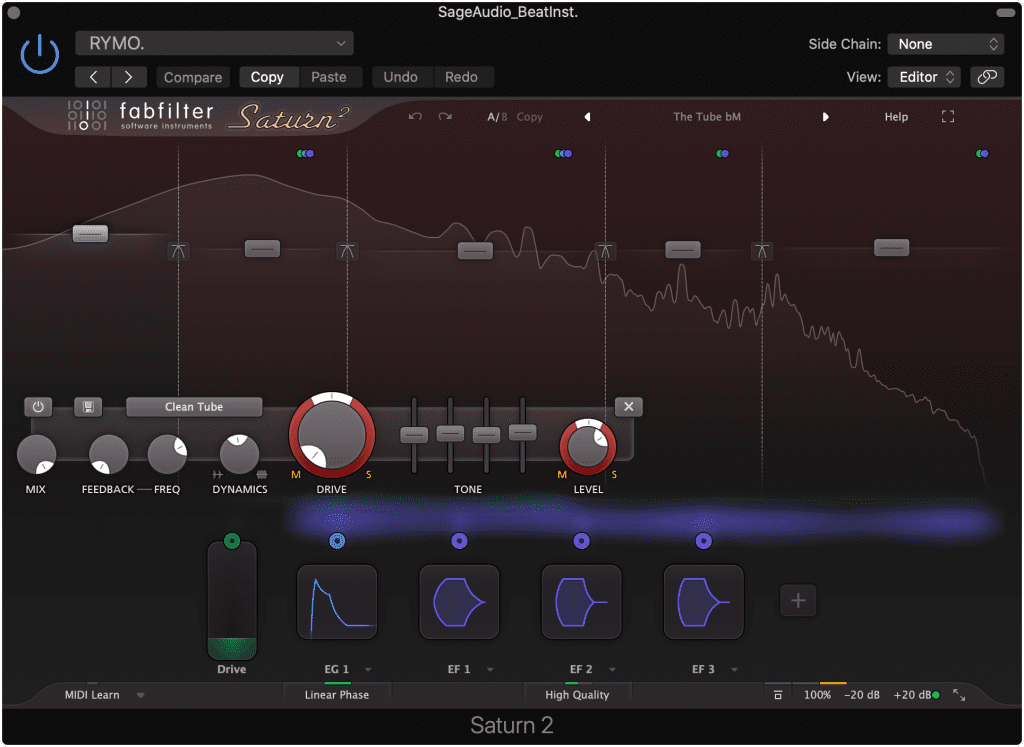
I like to use the FabFilter Saturn 2 for this, and use a preset called The Tube. I’ll then change things around to suit what I’m working on - so if you have this plugin I’d recommend trying this preset out,
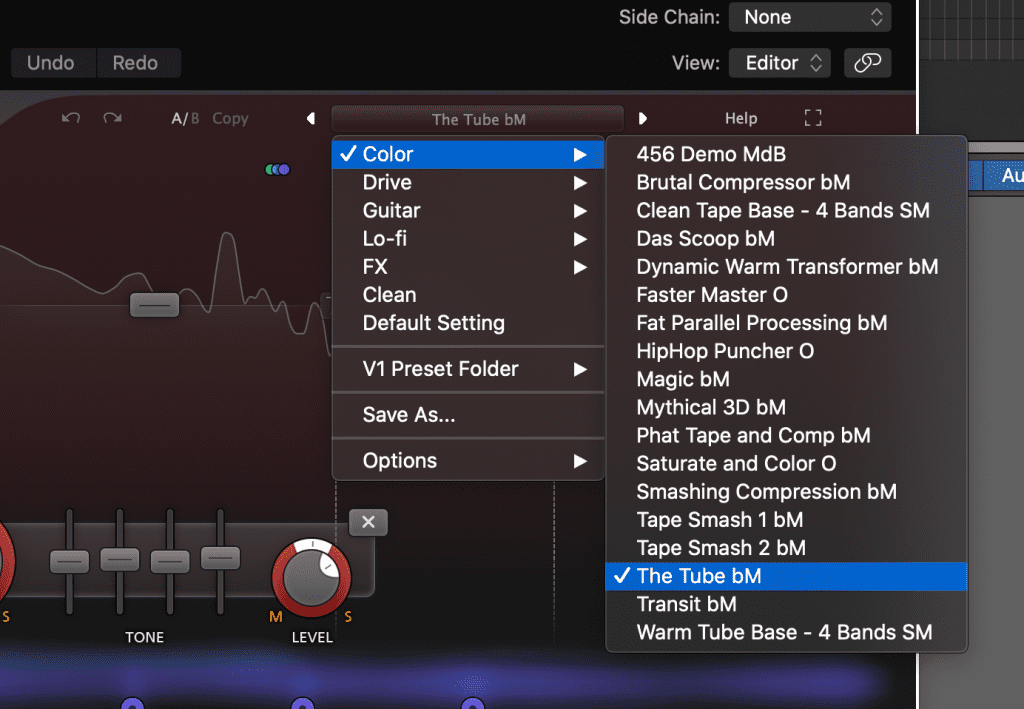
This preset works well for a lot of masters.
If not, feel free to use a different saturator. If you’re in need of one, a good free saturator is the BPB Saturator which emulates both tube and tape distortion.
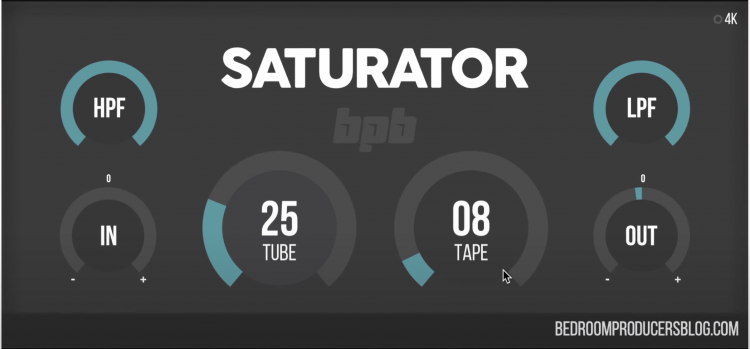
If you need a saturator, this is a good free option.
One thing to keep in mind is that you don’t want to make your distortion too distinct or unique. Since vocals will need to be recorded over your instrumental, if the instrumental has a tone that’s hard to match, it may be difficult to get the vocal to sit naturally within the track.
Low-level compression brings out details and makes quieter aspects of the signal more perceivable.
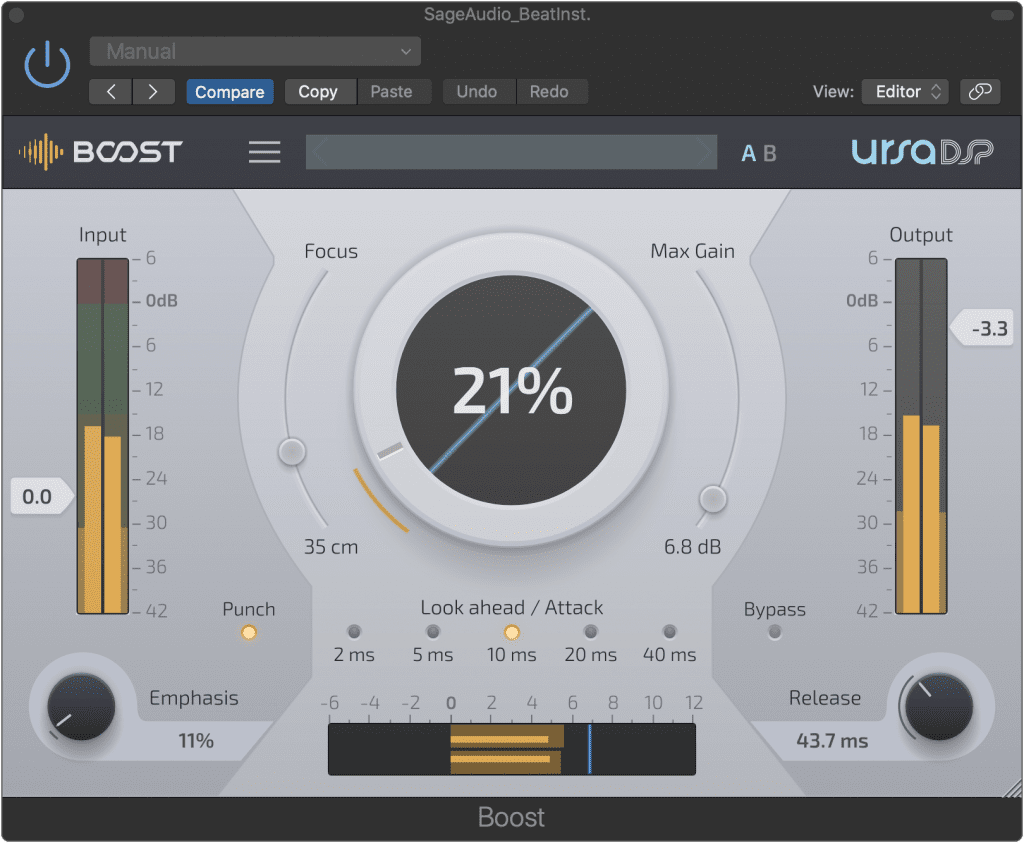
Next, I want to increase the level of the quieter aspects of the master. I’ll use Boost by UrsaDSP to do this.
With it, I can maximize the signal as well as bring some of the quieter aspects forward with the Focus slider. Also, I can control how much amplification occurs which is really helpful when mastering.
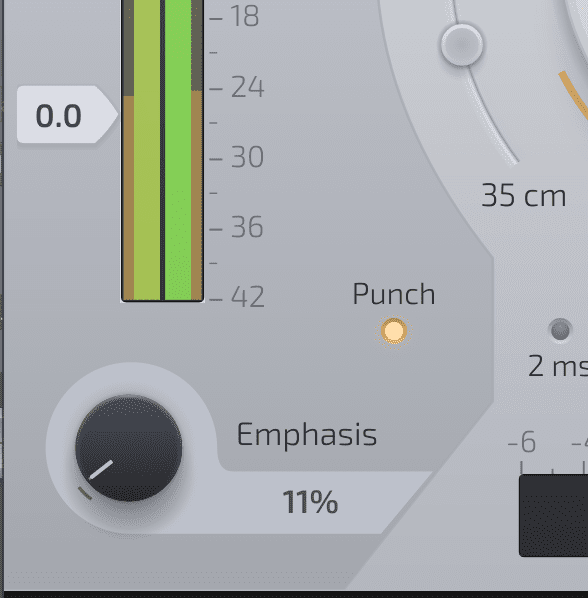
The punch function really works well on beats.
Lastly, I can utilize the punch function to expand some of the transients which are particularly helpful when mastering an instrumental or beat.
If you’re need of a low-level compressor, try OTT which is free and works really well when used conservatively.
For more information on low-level compression, check out this video!
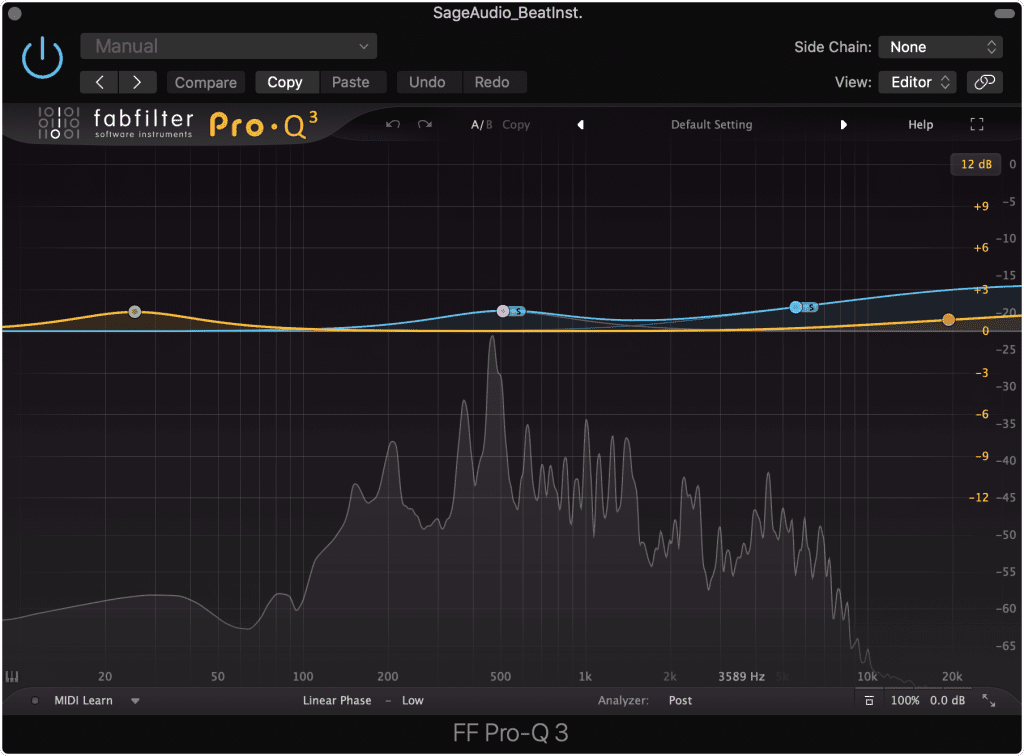
With additive equalization you can augment certain aspects of the signal, and expand the stereo image if you're using mid-side processing.
Next up, I want to amplify aspects of the overall signal that I like. Additionally, I want to expand the stereo image, so I’ll use a mid-side equalizer to make this happen.
Typically, I enjoy boosting the side image’s low-mid and high-frequency range.
By boosting the low-mids of the side image, I give the instrumental more body and a fuller more impressive sound. By increasing the high-frequency range , I add clarity to the instrumental without introducing any unwanted harshness.
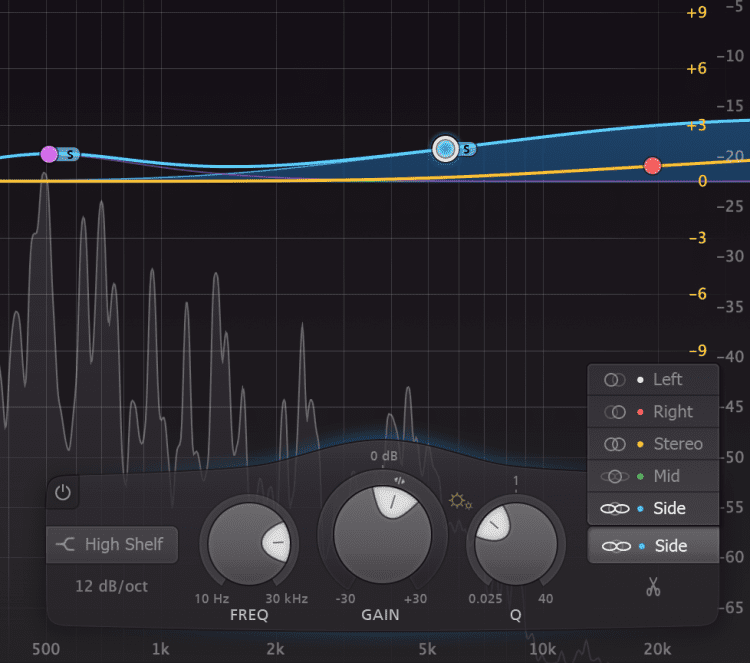
A high-shelf filter on the side image sounds good more times than not.
This way, the high hats and some of the effects like the reverb or any delay will be augmented and made more apparent to the listener.
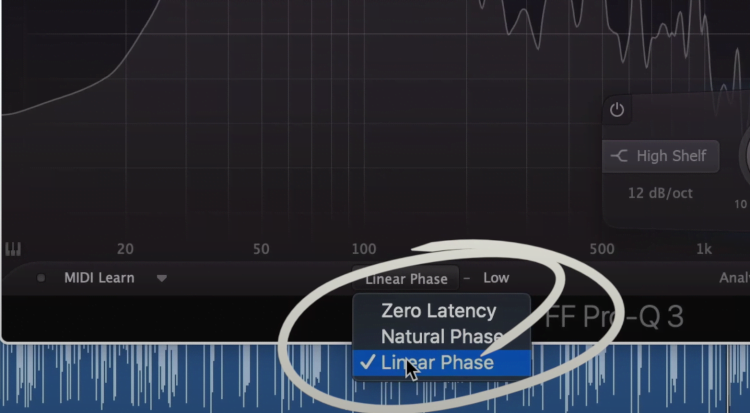
Try different phase settings to see which sounds best.
If your equalizer allows for it, try switching between zero latency, natural latency, and linear phase to see which one sounds the best for the particular instrumental you’re mastering.
Last up, I’m going to use a mid-side limiter and maximizer to both increase the level of the signal, and to carve out a little more room for the vocal.
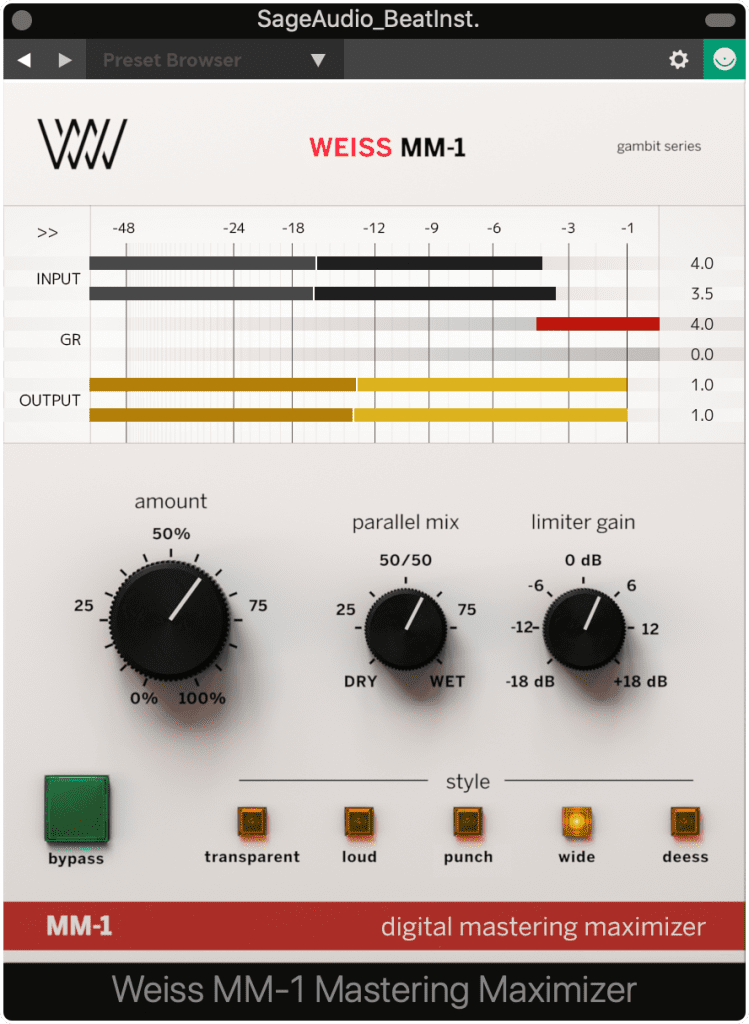
Mid-side compression is a natural sounding way to expand your stereo image, and give the vocal room to sit.
For this, I’ll use the Weiss MM-1. If I select the Wide setting, you’ll notice that the metering changes. Instead of compressing the left and right channels somewhat equally, one channel is attenuated more so than the other.
The one being attenuated is the Mid channel. This means that whenever the mid-channel is being compressed, the side channel is retaining it’s volume - as a result, the side channel becomes louder in comparison.
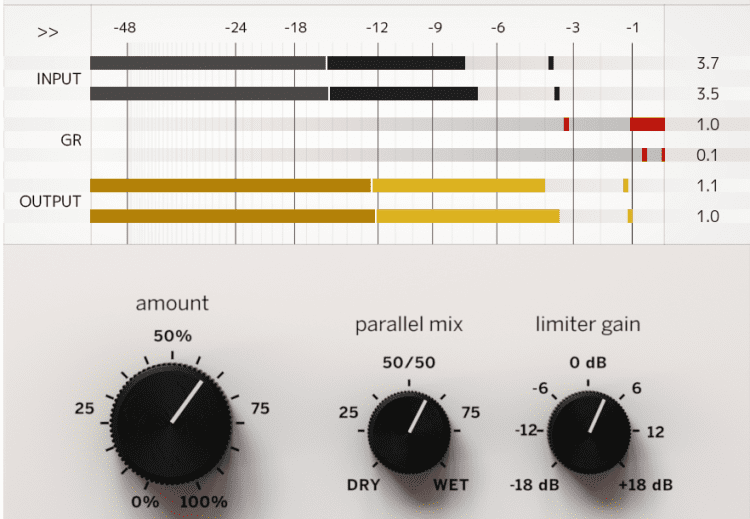
Notice how the mid channel is being compressed more than the side.
This is important for an instrumental master since the vocals will mainly sit in the mid or center image. By compressing the mid image whenever the beat or track’s mid-channel gets too loud , we’re ensuring that there will be some space for a vocal.
If you’re mastering a beat to sell online, then it’s best to create 2 versions - the first version is a preview, which will be louder and can include significant limiting. The second version will be used for tracking and should be quieter and include less intense limiting.
Because louder typically gets interpreted as better, whoever is listening will be impressed by the beat ; however, a heavily limited track isn’t great if you’re trying to record more onto it.
With that in mind, if you include a quieter version, then the rapper or vocalist will be able to add their vocal to a track that retains its dynamic range and transient impact. This should lead to a better sounding final product if used correctly.
Of course, the vocalist still has the option to record over the louder master if they want, but at least you’ve provided them with the option to use a quieter version.
Because you’ll be selling your beat online, it’s possible that the track will be encoded - when this happens the peak level of the beat can increase significantly, which can cause distortion.
With that in mind, if you intend to upload your beat to YouTube, Soundcloud, or a similar service, it’s best to have your loudest peak at -2dBTP . This way whenever the peak changes during the encoding process, your track won’t clip.
Although the chain covered here won’t work for every instrumental and might need to be tweaked and changed, the ideas covered here will apply to just about every instrumental mastering session.
If you plan to sell a beat online, you need to consider how a vocal will fit into the recording. Additionally, you’ll need to consider how another engineer will produce a track with your beat , and if your beat will be altered in any way by the services you use to distribute it.
If you have a beat that you want professionally mastered, send it to us here:
We’ll master it for you and send you a sample to review.
There are 8 unique value-points inside the Sage Audio membership, so let’s go over each one so you can decide if it’s the right fit for you.
1. 50 Free Mastered Songs Per Year
2. 1-on-1 Mentorship
3. Unlimited Mixing Feedback
4. Sage Audio University™ (SAU) — (Mixing and Mastering Education Platform)
5. Mixing and Mastering Competitions
6. Community
7. 70+ GB of Curated Sage Audio Downloadable Content, Including:
8. 700+ Video Catalog


