Many great audio engineers swear by parallel processing and for good reason. It may be one of the most essential tips to creating a great mix. The simplicity of blending an affected channel with a raw one can do wonders. The question is, where should we apply this technique? Is it necessary all the time? Is it that big of a deal? We’ll run through using effects in parallel on drums, vocals, bass, and everything in between.
Drums in almost every genre are one of the biggest parts of a composition. This means a good amount of consideration often goes into them and they demand perfection. Usually this also means that they will be heavily affected and a large amount of processing will go into them. This includes parallel processing too.
This may be one of the most commonplace areas to use parallel compression or EQ. Starting with compression, you will want a quick attack, a medium release time, a high ratio, and a pretty low threshold. The attack should essentially start to round out transients and squash them pretty hard. 10-30ms or faster will do the trick. This setting is ideal because the transient information will come from the raw uncompressed track mostly. The release time is often a grey area. Some will say around 75 ms but it will vary based on the track. A useful method is to set the release time to 1/16 note. This will ensure the track will move in time with the song. Use this calculator to find the millisecond count for any tempo. Ratios can be set to 10:1 or higher with a lower threshold than normal. The desired db cut should be around 8-16 db depending on the kind of track you’re working on.
Obviously the track will sound squashed, thin, and “loud”. This overly controlled signal is exactly what is needed for drum buss parallel compression. From this point you need to mix the dry and wet drum signals together to find a nice middle ground where the drum signal sounds natural but still significantly controlled. A tool to use to find the level where the transients still have their punch and life, but enough compressed signal to hear the sustain. Ultimately, it will rely on your ear to figure out what settings need to be moved in order to preserve more or less of the dynamics of a drum signal. It is normal to still have the raw drums louder than the paralleled drum buss.
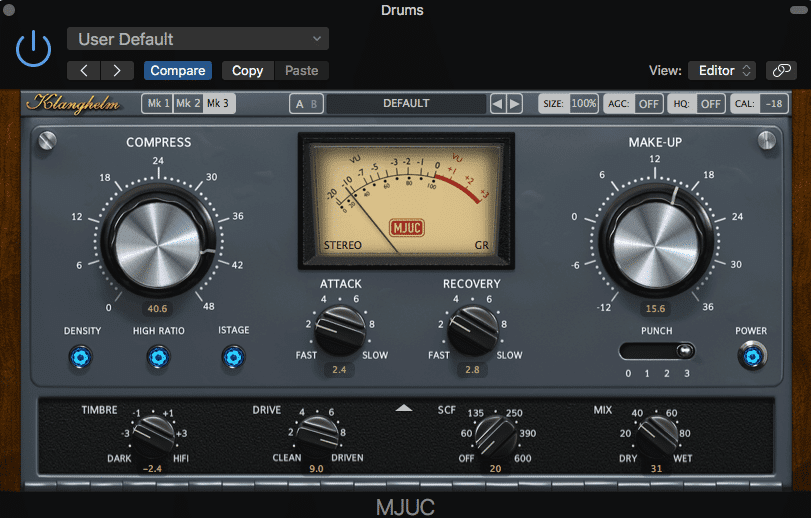
I like to use Klanghelm’s MJUC as a buss compressor because of its bells and whistles. It has timbre, drive, and mix controls. This plugin is very nice because the mix knob essentially controls the parallel compression without all the hassle. This plugin also helped introduce how beneficial paralleling other effects on busses can be. The timbre setting may not be a plugin that can be imitated easily, but an EQ can help bring out the highs and lows to give more life to your drums or perhaps slightly give some mids to the mix. Drive and distortion can be vital tools in helping get the crush or fire you need in your signal to give it an edge.

As I mentioned before, drums are crucial to a mix and they need to be given a lot of consideration. Parallel compression can be used on single drum tracks too. A snare with slow attack and release times can accentuate the transient of the snare or completely isolate it. The opposite can be true. You could isolate the sustain of the drum with very fast settings to create a long sounding snare. Same goes with any of the drums sounds. If the kick sounds too thumpy and not hard enough, you could use a duplicate kick track that uses a compressor to isolate the transient of the kick to mix back into the original signal.
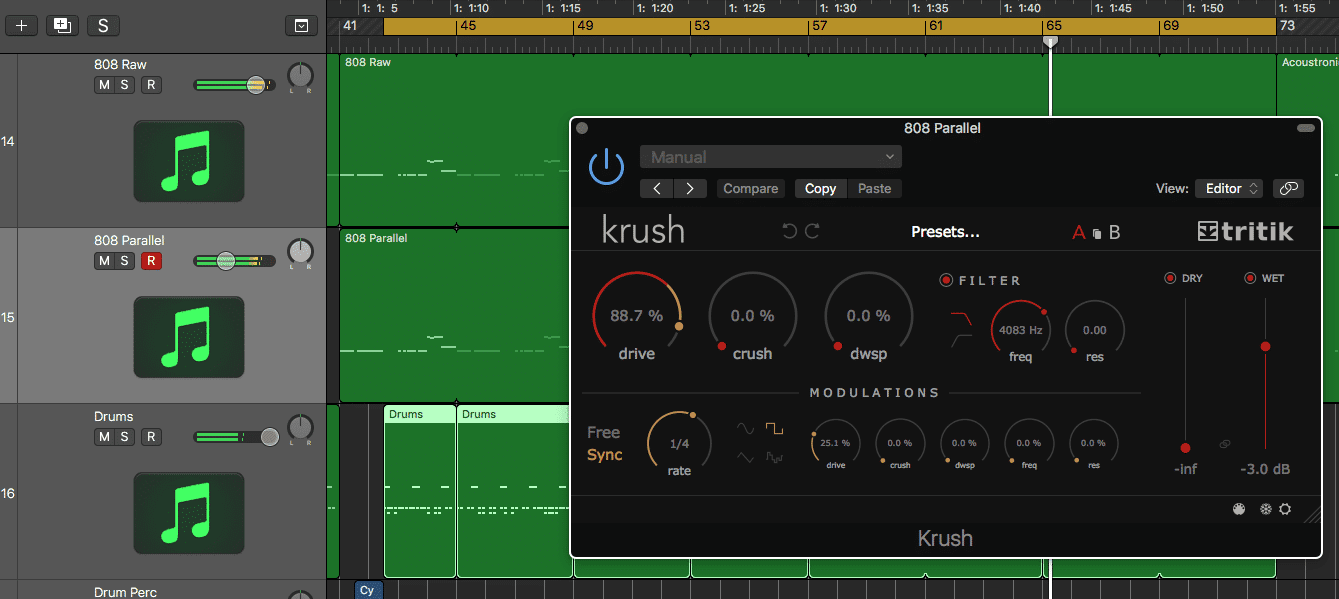
Distortion and EQ can also be used to manipulate the sound in huge ways. Using a crushing distortion and a low pass filter on a snare drum can add depth and ”beef” to the snare drum sound while still having the natural snare sound still present. Large EQ changes can be effective to change the tone of different drums. For example, take the duplicate track of the low tom and boost the high frequencies 5-10db. Blend this signal with the raw signal and see the punch it can bring.
With vocals being the most important thing in the mix, it is no surprise that these could use careful sculpting. When a simple EQ and compressor are not enough to make the vocals the most prominent thing, parallel processing can lend itself well. For instance, EQing the duplicate track to boost the presence of the vocal could be a useful way to use an EQ in parallel. Another case could be to preserve some body range when one EQ can’t seem to get it just right. These boosts and cuts can be quite dramatic at times because the amount of signal can vary to your liking.
Compression, as the other more common effect, could be used here as well. Extremely heavy compression can be added to a paralleled track to mix into the main track to add a sense of tension while the main vocals still sound quite natural by themselves. Rap vocals could be a place where the paralleled track could be somewhat loud compared to the main vocal track to give it an edge. Regarding the example with the snare drum, you could use a compression to accentuate the punch of the vocal line.
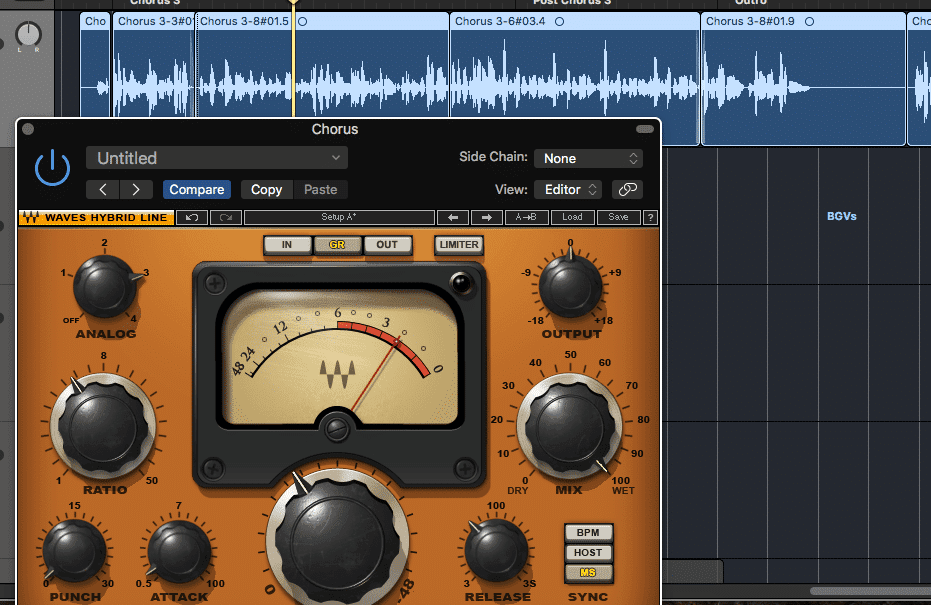
Other lesser used effects like exciters, distortions, and phasers among others can be used in a paralleled track too. Using an exciter on a vocal is a common practice but, when you aren’t sure how much is needed, using a paralleled track could help find the balance. Distortion as we discussed with drums can be used almost anywhere in a track but a certain effect can be given to a vocal when slight distortion is added. For harder rock tracks, distortion and drive can help push the vocal and give it fire that may give the track a “harder” feel. Even slightly EQing the distortion to give the track a warm drive rather than a crunchy one might be a good choice. Phaser is an effect that many people underestimate. When used correctly a slow phaser with a middle range can help warm vocals a lot. Phasers can be used to beef up background vocals to contrast their thinner, raw tone in the mix.
Less preached instruments such as the bass guitar and the 808 bass can benefit from parallel processing. Compression is a fairly easy base to cover from the raw track itself but could still be used in parallel. A more creative way to use effects in parallel is to use a drive or distortion at its highest settings on a paralleled bass track. Then take the same track and lowpass it. This is the same principle used with the vocal example. This will give the bass a sort of crunch but will still have the same great low and clean signal. With the same example you can take a bass guitar track and highpass it to get the mud, attack, and character of a bass to accentuate it with the more simple bass tone from the raw track.

EQing in parallel comes in handy in many different areas too. Whether you want to add some body, bass, presence, or air into a signal, EQ can be a helpful tool in carefully blending an effect into a raw signal. Especially with tricky voices like electric guitars or toms, their fullness or extra tinge can easily be applied through parallel EQing. Phaser is a great tool and even in some cases flanger and chorusing can be used in parallel for lead guitar parts, melody lines or background vocals.
We covered a few topics here but ultimately using effects in parallel can be applied anywhere. A point touched on earlier was that compression isolates the attack of the kick so it can be blended in with the raw track. Compression doesn’t always have to be used in this way but, sometimes compression can be used in excess in a paralleled track to add the subtle color of the compressor. Many emulations of analog gear are available anywhere and this becomes a great tool. Compression can be used in many ways and will come down to just experimenting for yourself.

The amount of ways to use effects in parallel is endless and can move your mix to a greater height than many others. These techniques can be used to blend the right amount of effect that you need to color your mix, just the right way. In a quote from the famous Dave Pensado, “it is better to sound new than to sound good.”
Get a Free Mastered Sample for your Parallel Compressed Mix >
There are 8 unique value-points inside the Sage Audio membership, so let’s go over each one so you can decide if it’s the right fit for you.
1. 50 Free Mastered Songs Per Year
2. 1-on-1 Mentorship
3. Unlimited Mixing Feedback
4. Sage Audio University™ (SAU) — (Mixing and Mastering Education Platform)
5. Mixing and Mastering Competitions
6. Community
7. 70+ GB of Curated Sage Audio Downloadable Content, Including:
8. 700+ Video Catalog