Stereo width is accomplished in your master by utilizing delay-based stereo expansion; with delay various plugins that create the perception of width. Unlike mixing, mastering calls for very precise and controlled stereo expansion, as it’s easy to overuse the effect, or expand the “wrong” parts of the signal.
Stereo width is an under-discussed but important part of mastering. Like dynamics, distortion, and overall loudness, stereo width plays a role in creating a balanced and enjoyable master.
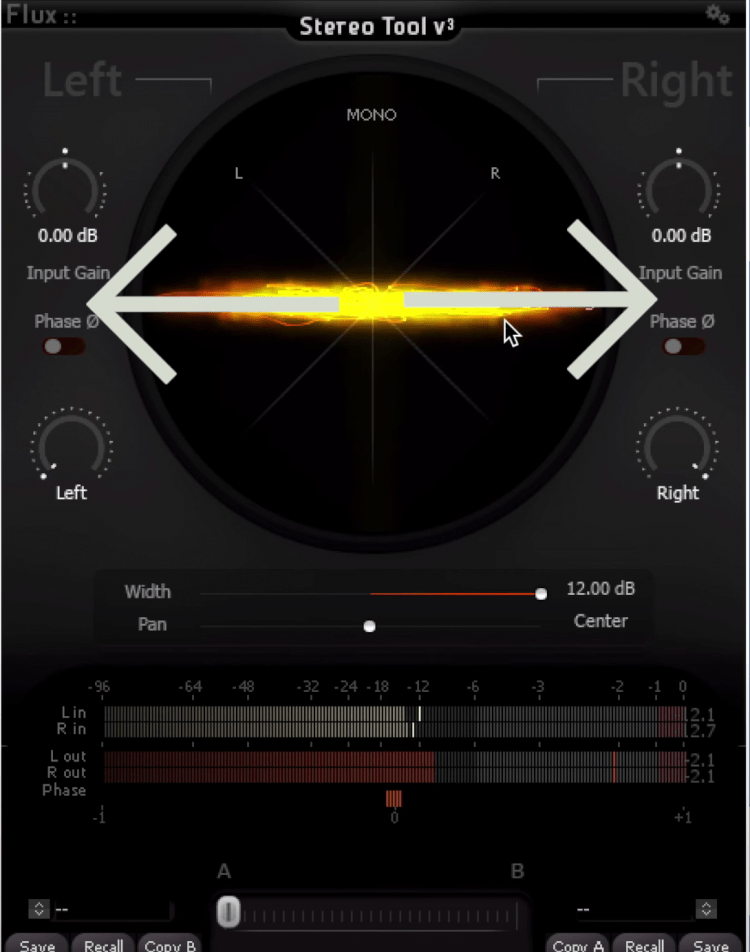
The side image it what gives a signal the perception of width.
There are many aspects of stereo widening that are unique to mastering and require special attention. With that in mind, we wanted to cover these aspects and discuss how various techniques can be used to expand the stereo image during a mastering session.
We’ll discuss the plugins that you can use to expand the stereo image of your master, and the techniques used to accomplish the expansion. Additionally, we’ll cover to what extent you should expand your master and the frequencies that are best to expand.
If you’re an artist or an engineer and you have a mix that you’d like to hear mastered, send it to us here:
We’ll master it for you and send you a free mastered sample to review.
Mid-side processing is accomplished with mid-side capable plugins which divide the signal into the mid or center channel, and the side or stereo image. Once the signal is mid and side, you can expand or narrow the width of your master by altering the level of these channels.
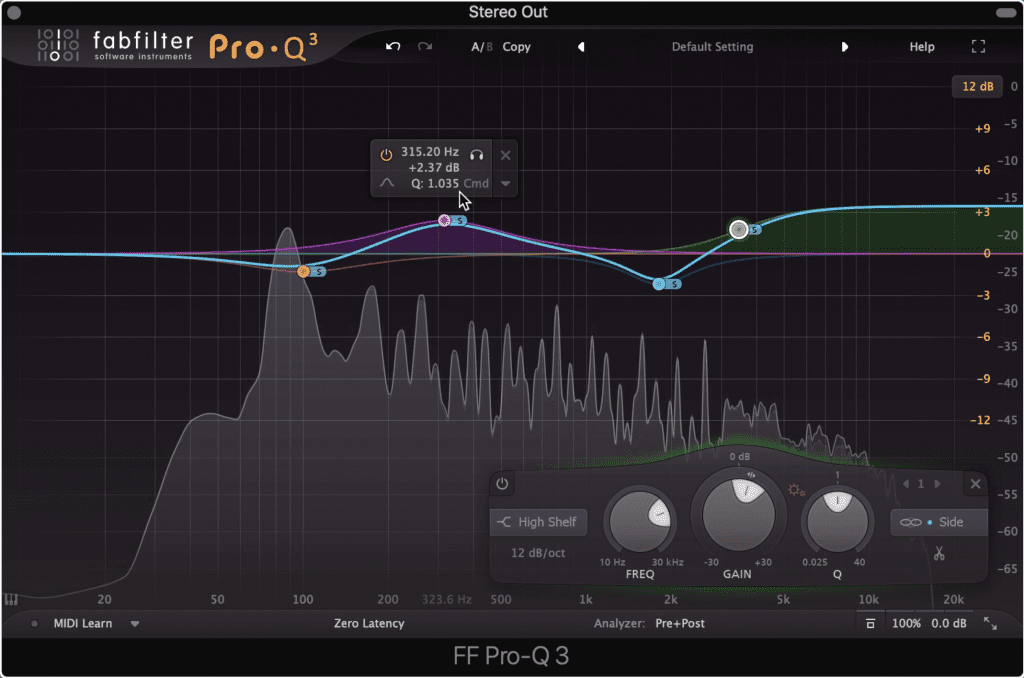
Here's a potential mid-side EQ curve. The high shelf filter and other boosts will increase the stereo width of the master.
One of my personal favorite ways to do this is by using a mid-side equalizer, such as the FabFilter Pro-Q 3. If you create bands and assign them to the side image , then any amplification of these bands will in turn amplify the side image.
As a result, the overall stereo width will increase. Additionally, this allows you to target specific frequencies that you want to widen or narrow. Typically, I’ll create a high-shelf filter on the side image and amplify these frequencies to make the air of the master wider and more easily perceived.
Additionally, it can be helpful to attenuate 2kHz on the side image with a bell filter - this will reduce masking of 2kHz on the mid image, which will result in a more easily perceived vocal.
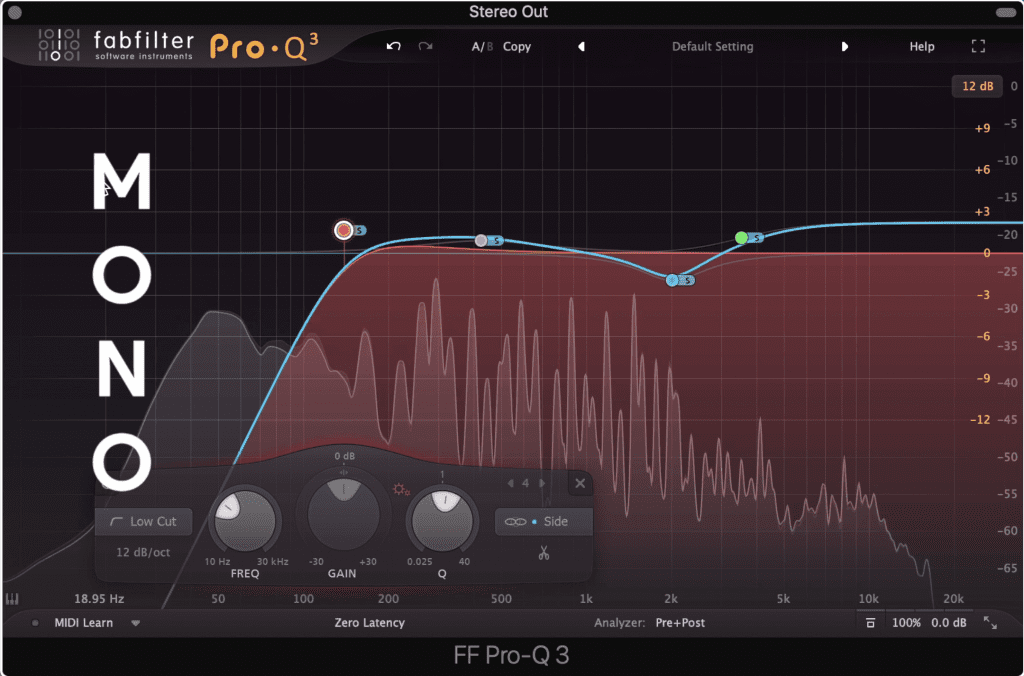
Cutting the side image with a high-pass filter will make the low-end mono.
This same concept can be applied to any other frequency or instrument. For example, I can cut the low-frequency range of the side image to make the low-frequencies mono, in turn reducing any phase cancellation that would have occurred.
Any plugin that utilizes mid-side processing can be used to a similar effect. For example, Saturn 2 allows for mid-side saturation of the signal.
When using this plugin you can make your distortion primarily on the mid or side image. If you want to amplify the side image, make the saturation or distortion oriented toward the side image. This will make it more perceivable, resulting in an overall wider stereo image.
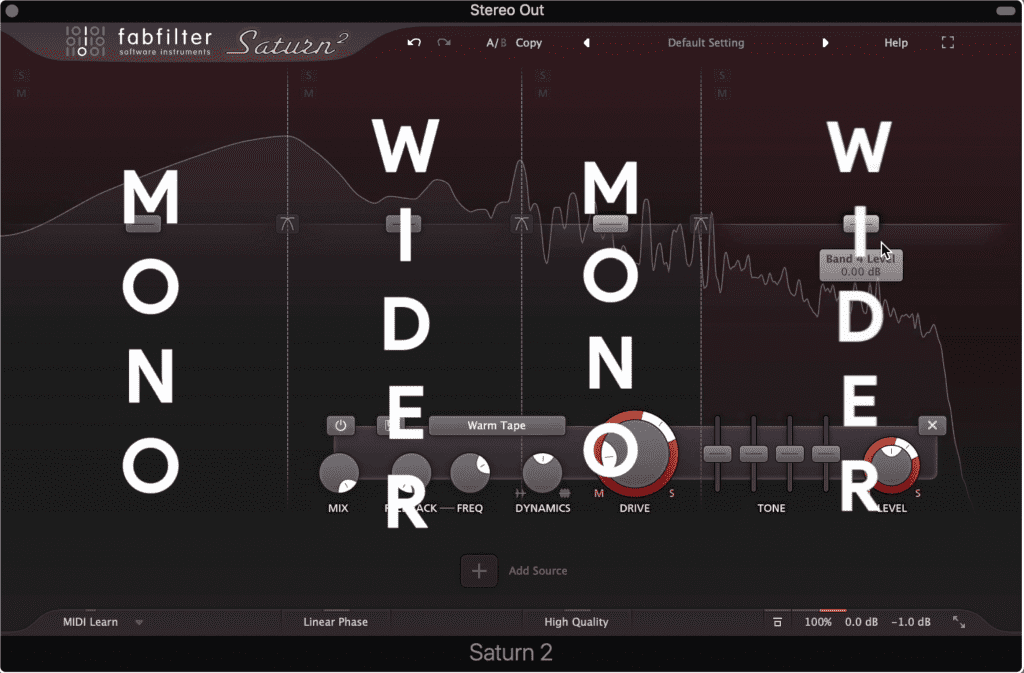
I like to pan the distortion of each band to make them wider or more mono.
Personally, I’ll use this plugin to pan both bands and distortion. I’ll make the low-end more mono, the low-mid slightly wider, the vocal range more mono, and the highs slightly wider. Try this effect for yourself and see if it improves the width of your master.
If you'd like to learn more about mid-side processing, take a look at this video:
Although delay-based processing is a quick and easy way to expand the stereo image of a signal, it should typically be avoided when mastering due to how aggressive the effect is. Additionally, if you use delay-based processing when mastering, it will often lead to phase cancellation.
An stereo imager is often too aggressive for mastering.
With that in mind, let’s cover how these processors work and explain why you should typically avoid them.
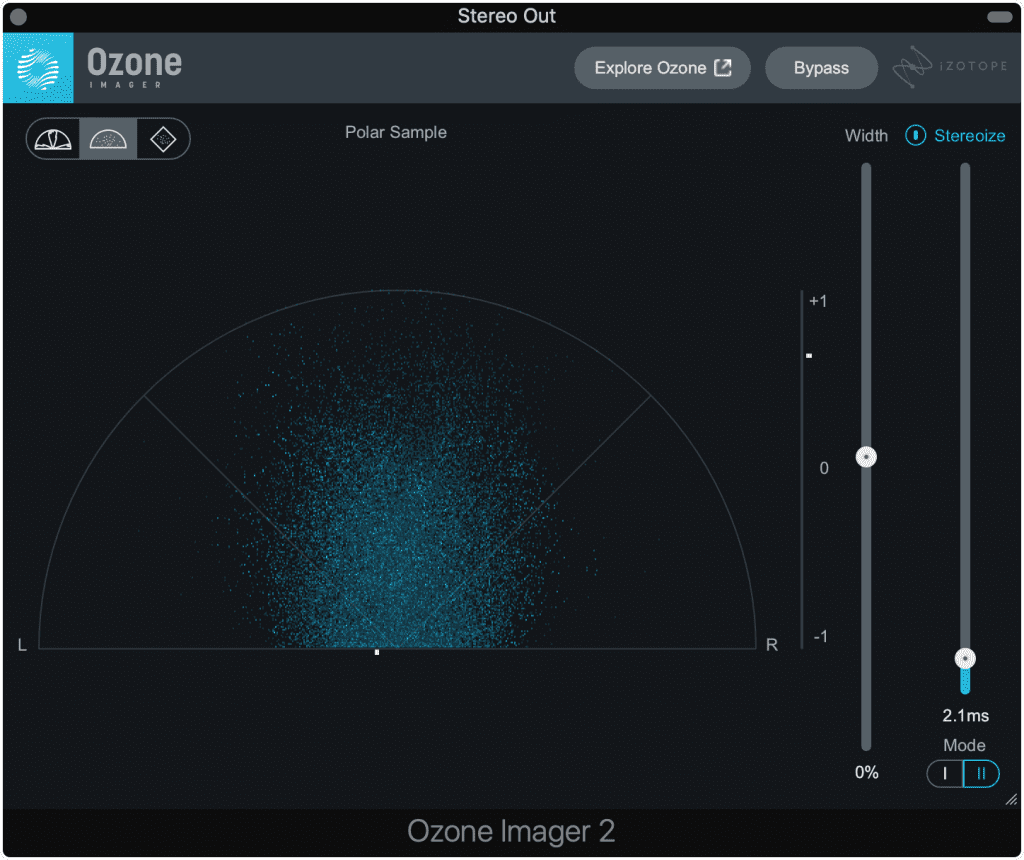
Let’s consider Izotope’s stereo imager plugin. With it, we can see there’s a delay section and a width section. This plugin works by creating delay between the left and right signal, which causes phase cancellation and stereo expansion. As you can see, this delay is small, but it has a large effect nonetheless.
As the width of the signal increases, we should notice a lack of impact - especially if the entire signal is being affected.
Once this expansion exists, you can increase the amplitude of the expanded image using the width slider.
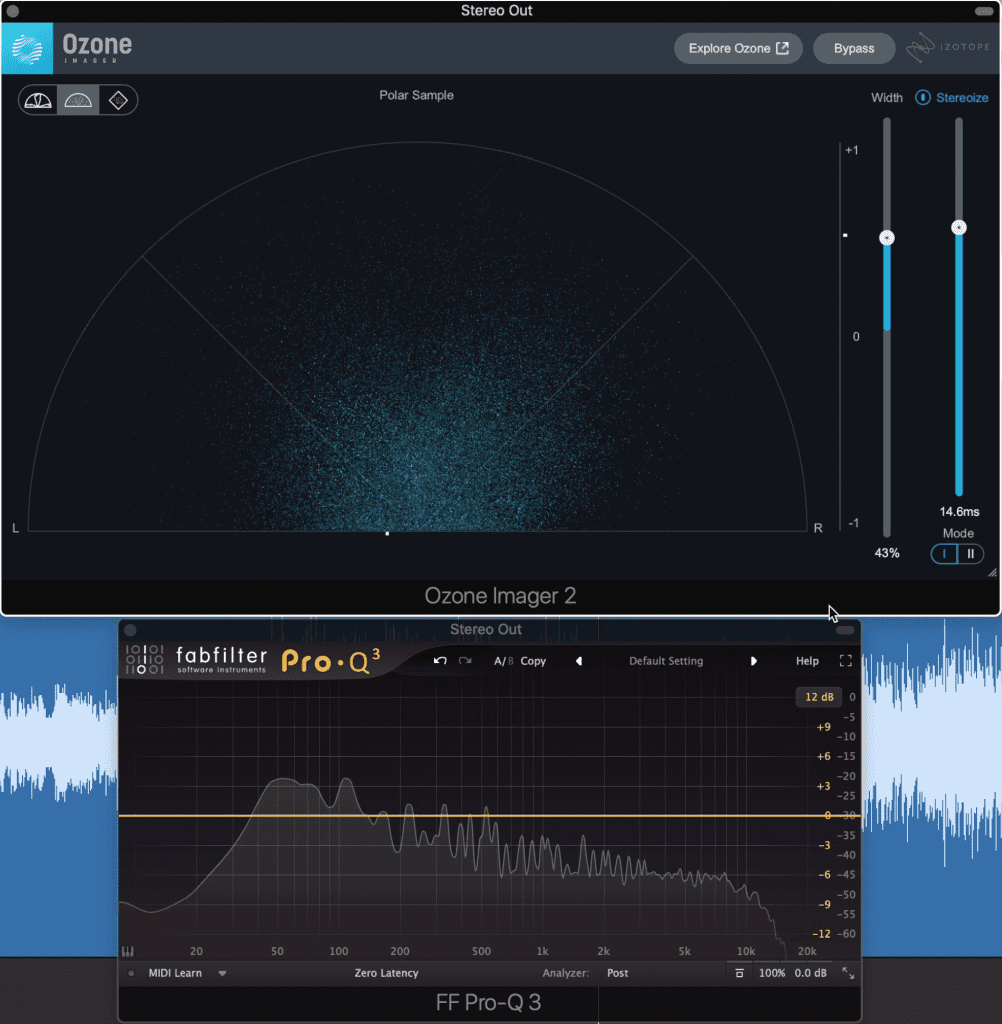
The main problem arises from the delay portion of the plugin. Once you begin to create stereo expansion from delay, you’re automatically attenuating certain aspects of the frequency spectrum.
The wider the signal is made, the more phase cancellation will occur.
In other words, the same phase cancellation that causes the perception of a wider image will attenuate or cancel out various aspects of the signal.
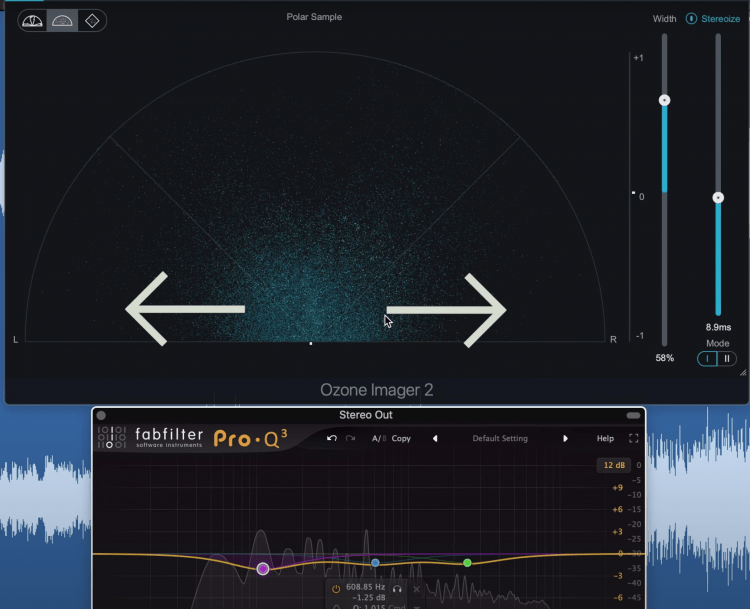
When this happens you won't be able to control what gets attenuated, so as you can imagine this can be problematic.
Aside from the phase cancellation, most delay-based stereo images will expand the entirety of the signal. This will lead to an unfocused and washed-out sound.
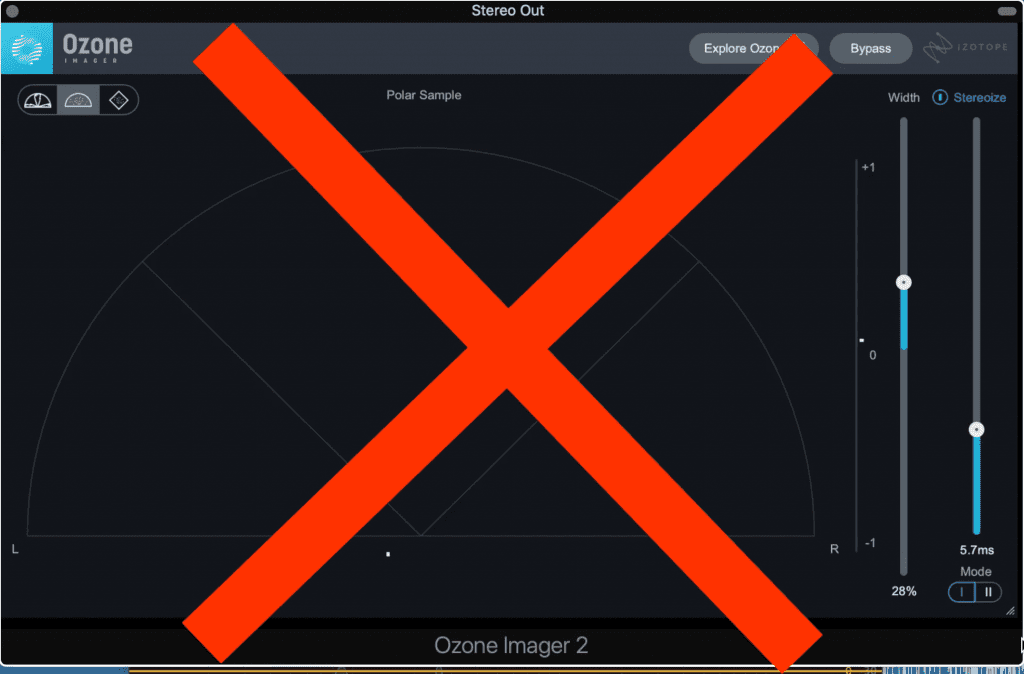
It's best not to use a delay-based stereo imager when mastering.
For example, if you expand the low-frequency range, your kick and bass will blur together which definitely won’t sound good when played back over consumer-grade equipment, especially mono speaker systems.
With that in mind, I’d say it’s best to avoid this form of stereo expansion when mastering, but use your discretion and ears to decide what’s best for your master.
Although we already covered mid-side processing, there’s one more form of mid-side processing that deserves some attention - mid-side compression and limiting.
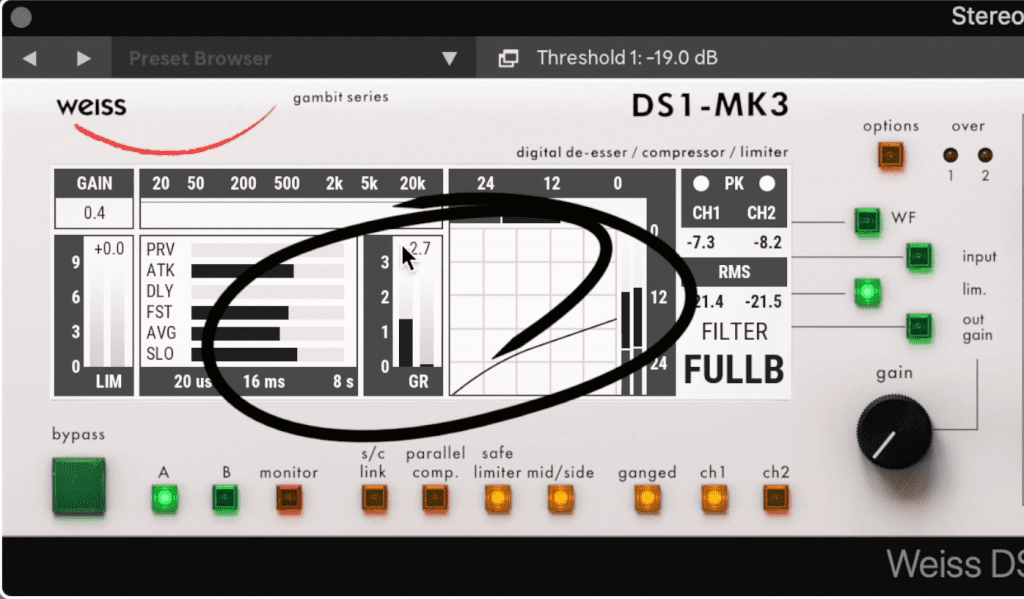
Notice that the mid image is attenuated but the side is left nearly intact.
Mid-side compression or limiting is perhaps the most natural-sounding way to increase the stereo width of your master.
It works by compressing the mid image, while the side image is left unaffected more times than not.
By compressing the mid-image, while leaving the side image more or less intact, then whenever the mid-image is strong enough to trigger the compression, the side image will comparatively have a louder amplitude.
Again, the side image isn't compressed, but the mid image is.
This balances the relationship out between the two since the perceived amplification of the side image only occurs when the mid image is loud enough.
This creates a dynamic relationship with the stereo expansion which can sound more natural or at the very least more enjoyable than static or constant stereo expansion.
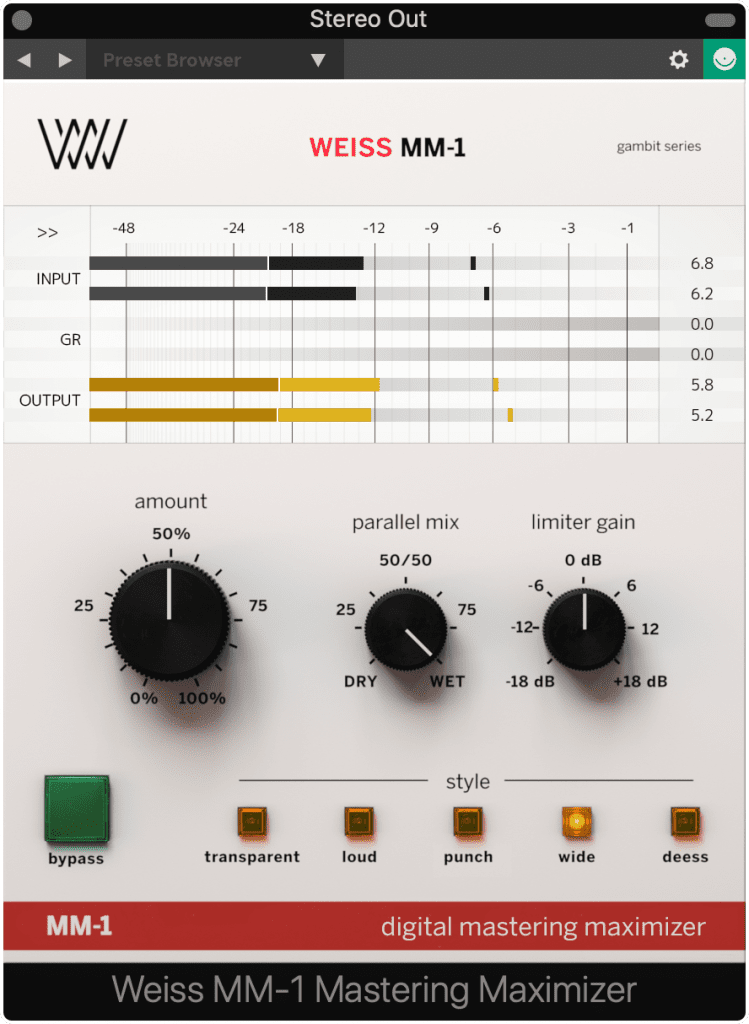
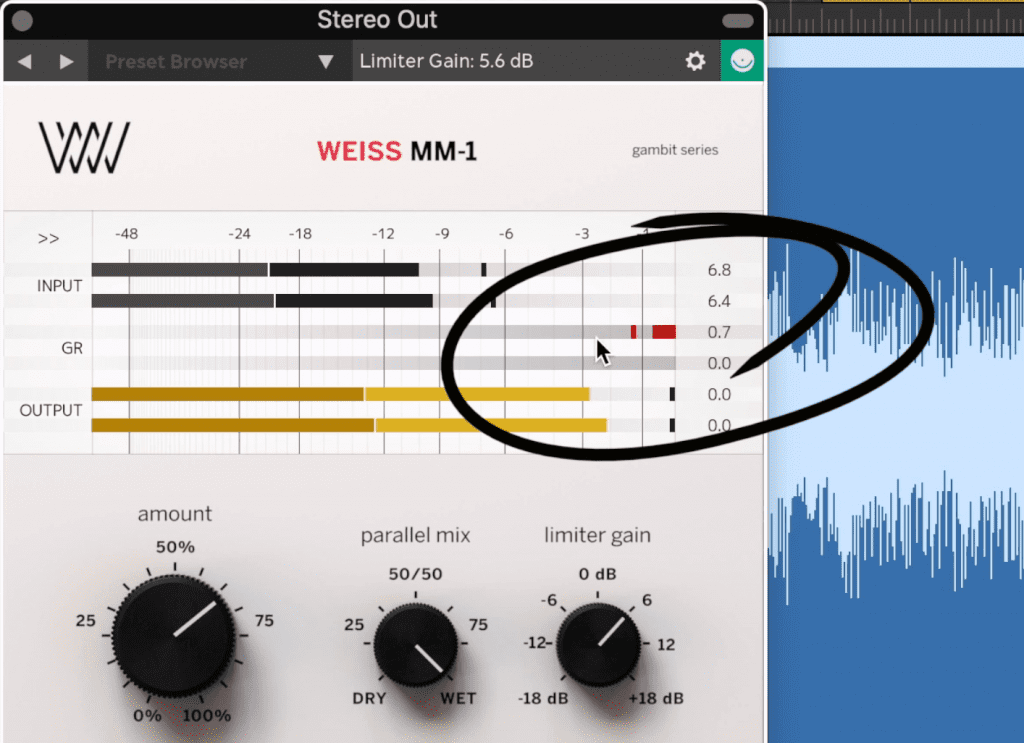
The wide setting of the MM-1 is a great option for stereo expansion when mastering.
I like using some of the Weiss plugins for this purpose, especially the MM-1. Typically if you see a compressor or limiter with a Wide setting, it means that the signal is being broken up into mid and side and compressed as such.
If you want to learn more about mastering compressors, check out this video:
When mastering stereo expansion can be a little tricky. There will be plugins and techniques that you think you can use; however, they can have a negative effect on your stereo image.
Conversely, there are plugins that don’t seem useful for stereo expansion, like an equalizer, saturator, or compressor which will work much better for the purpose.
With that in mind, I usually find mid-side functionality to be the best way to expand your stereo image when mastering. It can be introduced in both a subtle and precise way, which is really what mastering is about.
If you know of another subtle and precise way to affect the stereo image of a master, let us know in the comment section of the video.
If you’re an artist or an engineer and you have a mix that you’d like to hear mastered, send it to us here:
We’ll master it for you and send you a free mastered sample to review.


