FabFilter Pro-Q 3: 10 Things You Need to Know
- The Display is 4k and Can be Made Full-Screen
- You can Zoom In on Specific Frequencies
- Up to 24 Dynamic Bands can be Created
- EQ Matching Allows for an Inverse EQ Technique
- Bands can be Snapped to Notes Using a Piano Roll
- There are 9 Available Filter Types and a Gain-Q Setting
- 7 Different Latency Types Make it Perfect for Mastering
- Frequency Collision Indication is Available
- Each Band Can be Isolated
- Mid-Side, Stereo, and Left-Right Placements are Offered
The FabFilter Pro-Q 3 is a popular, yet rarely fully understood plugin. Whether you’re using it for mixing or mastering, there are some features that may have slipped past you.
That’s why we wanted to highlight some of the obvious and not-so-obvious aspects of the Pro-Q 3.
We’ll cover some of it’s rarely discussed features as well as discuss how they’re useful. Additionally, we’ll listen to real-time examples of some of these features, so check that out in the video embedded above.
If you’re an artist or an engineer, and you have a mix that you need mastered, send it to us here:
We’ll master it for you and send you a sample to review.
1. The Display is 4k and Can be Made Full-Screen
Plugins can often be resized, but a full-screen mode isn’t common. By clicking the arrows icon in the bottom right of the plugin you can alternate between 5 window sizes.
But, if you’re looking to really focus on what you’re doing, you can make the plugin full-screen by clicking the box icon in the top right.
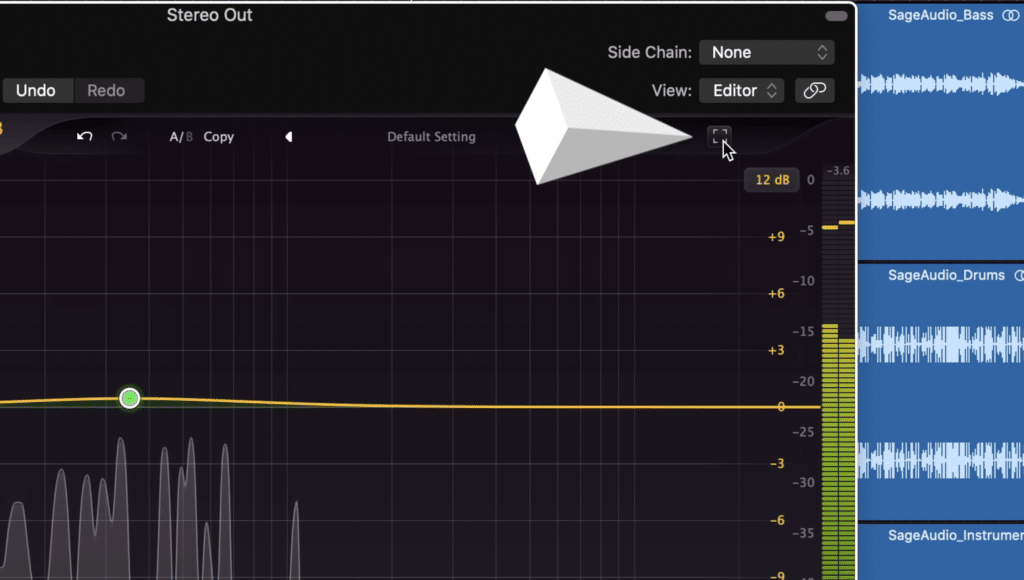
On the top right of the plugin is the full screen button.
What’s great is that since the plugin’s resolution is 4k, it looks just as good on full screen as it does when minimized.
2. You can Zoom In on Specific Frequencies
If maximizing the window to full-screen wasn’t enough, the Pro-Q 3 lets you zoom in on the frequency spectrum.
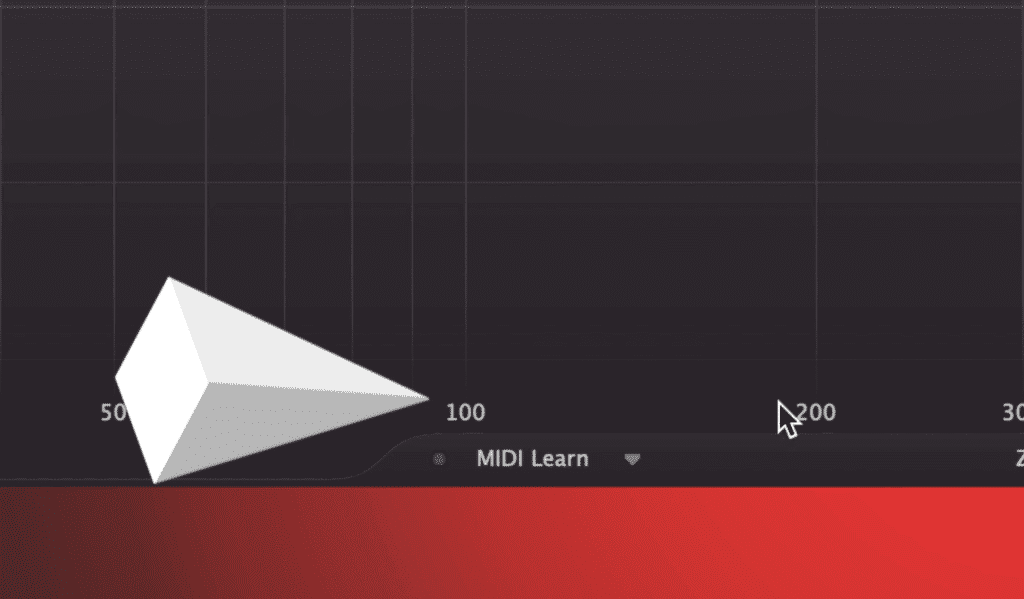
By clicking the frequency number, and moving your mouse upward while holding click down, you can zoom in.
To do this, hover your cursor over the text of a particular frequency in the main window. Once the text is highlighted white, click, and use your mouse or track-pad to zoom in.
Although this doesn't seem crucial at first, this can be really helpful if you’re trying to create a very specific band shape, or combine multiple bands.
Like some of the things on this list, this feature is pretty easy to miss if you don’t know about it beforehand.
For more EQ plugins, check out our video of 10 free ones:
3. Up to 24 Dynamic Bands can be Created
Many of us know that the Pro-Q 3 can make up to 24 bands - but it’s surprising to hear that each one of these bands can be made dynamic.
After you create a band right click it and select ‘make dynamic.’
The band is now dynamic based-on an automatic threshold. You can fine-tune this threshold in the band’s window below - but if you’re in doubt, the automatic setting works pretty well.
This dynamic equalization can be used for both compression and expansion. To alternate between these 2, grab the translucent bands with the arrows, and move them either up to expand, or down to compress.
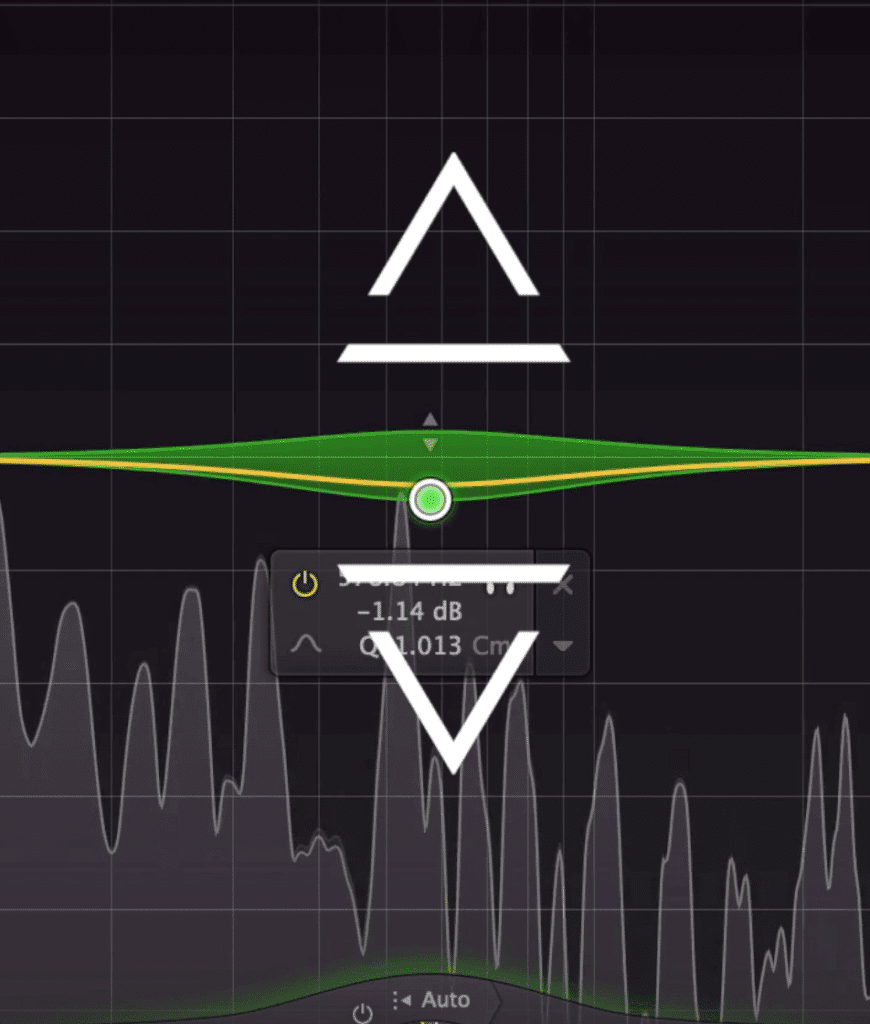
Drag the band up to expand, or down to compress.
4. EQ Matching Allows for an Inverse EQ Technique
Another great feature of the Pro-Q 3 is EQ matching which allows for one of my favorite eq techniques.
It’s called an inverse eq technique and is used to separate the frequency spectrums of 2 similar instruments or groups.

This is roughly what your final result should look like.
Place the Pro-Q 3 on 1 of the 2 tracks you want to affect , then use the side-chain to include the other track or instrument bus.
Next, in the analyzer section at the bottom of the plugin, click on EQ Match, then change the reference to your external side chain.
Play the track and let the EQ mirror the two frequencies. After some time has past click Match, then use all 24 bands available and select Finish.
After deleting some of the more extreme bands, highlight all bands at once. Using the Gain rotary, slowly invert the gain of all bands. Use your discretion and avoid making this effect too extreme.
By matching the 2 tracks, and then inverting the bands that make them match, we make them even more distinct from one another.
5. Bands can be Snapped to Notes Using a Piano Roll
The Piano icon in the bottom left of the plugin is easy to miss - it’s small, somewhat grayed out, and is a part of the plugin you wouldn’t think to look.
Notice that the notes snap to the piano roll at the bottom.
By clicking on it, a piano roll comes up at the bottom of the main window. You’ll notice that any bands that have been created show up on this roll as a colored dot.
Drags these dots to snap the frequency of the band to that of a note in the scale. This is incredibly useful if you want to accent the key of an instrument’s performance or attenuate any dissonant frequencies.
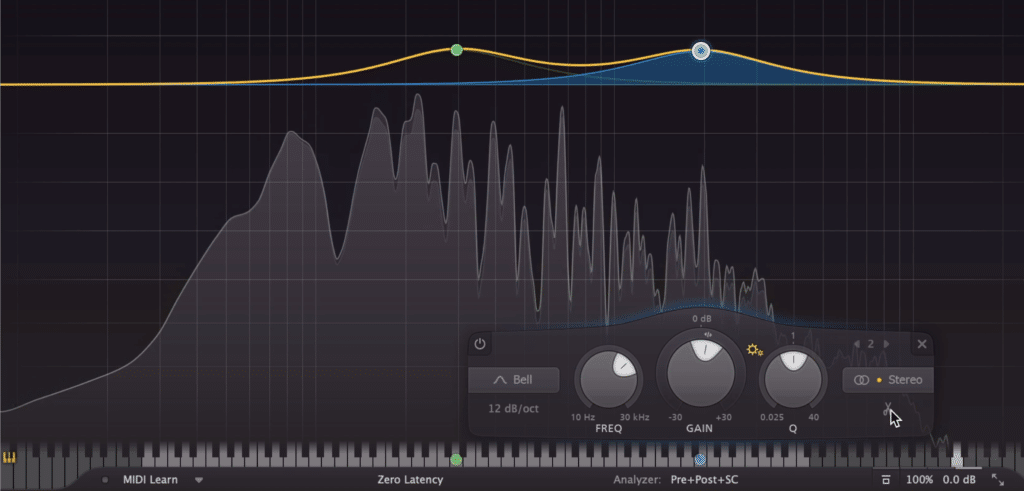
6. There are 9 Available Filter Types and a Gain-Q Setting
The Pro-Q 3 offers an impressive 9 filter types, including:
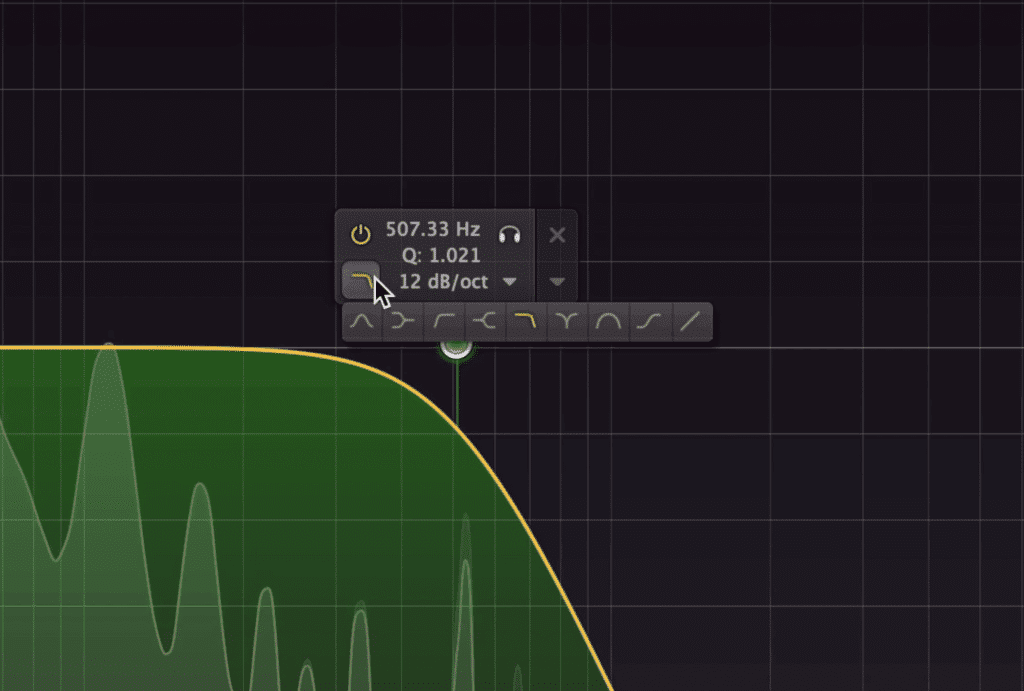
9 filter types make the plugin incredibly versatile.
Bell, Low Shelf, High-pass, High Shelf, Low-pass, Notch, Bandpass, tilt shelf, and flat tilt. With the exception of the flat tilt, each of these filter types can have their slope altered from 6dB pre octave to 96dB per octave.
Furthermore, the bell filter can be combined with a Gain-Q setting, which mimics the effect of increased gain on the Q of a band, similar to analog consoles.
7. 7 Different Latency Types Make it Perfect for Mastering
A lot of plugins offer linear phase options, but few offer as many at the Pro-Q 3. With 7 different latency options, you can craft the timbre of your track to better suit what you’re trying to accomplish.
If you’re trying to perform basic equalization or use the plugin in a live setting, zero latency is great. If you want to more closely emulate the phase relationships of an analog console, try the Natural phase option.
Or if you’d prefer to have a super clean sound without the introduction of phase cancellation, try the 5 linear phase modes. Keep in mind that these will increase your latency - but are great when you’re mastering and want as transparent of a sound as possible.
If you want more plugins for mastering, here's a video on that topic:
8. Frequency Collision Indication is Available
Sometimes it's difficult to hear when frequencies are clashing - fortunately, the Pro-Q 3 lets you visual these issues using the Frequency Collision option.

The red collision band shows where masking or phase interference may be happening amongst frequencies.
When other tracks are present, you can use the side-chain feature to allow the plugin to measure their spectrums. Then, under the analyzer section, you can enable the function.
Any frequencies that are conflicting with one another will be highlighted as a red bar that varies in intensity. Keep in mind that this doesn’t necessarily mean you need to attenuate these areas in one track or another.
9. Each Band Can be Isolated
If you’re looking to hear just one band, the isolated feature lets you do just that.

Click the headphones icon to isolate the frequencies affected by the band.
By clicking on the headphones icon the essentially solo all frequencies that are affected by that band. If you’re not seeing this option, click the Help button on the top of the plugin, and select ‘Show EQ Parameter Display.’
This causes the needed window to appear.
10. Mid-Side, Stereo, and Left-Right Placements are Offered
Allow it’s an equalizer first and foremost, the Pro-Q 3 makes for a fantastic stereo imager. By allowing you to separate the signal into mid, side, left and right channels, you can widen or narrow your stereo image.
For example, you can use a high-shelf filer on the sideband to increase the stereo width of the high frequencies. Or maybe a high-pass band on the side-image to make your low frequencies mono.
Furthermore, you can affect the overall stereo image by switching the output to mid-side, and then decreasing the gain of the mid-image.
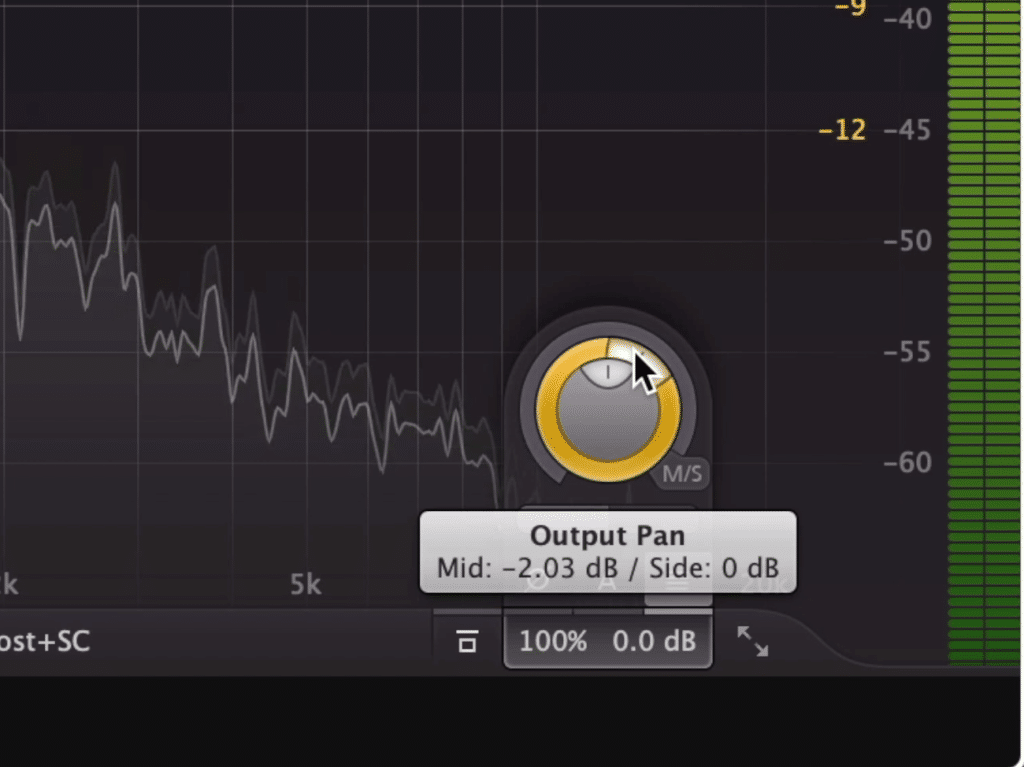
The output pan can also be used to widen or narrow the stereo image.
Whatever the case may be, the channel image options make the Pro-Q 3 suitable for advanced stereo imaging.
Conclusion
Whether you’re mixing or mastering, equalizing, widening your stereo image, and even compressing or expanding, the Pro-Q 3 has a lot to offer.
The 4k display and various display features make the plugin one of the most versatile and intuitive equalizers available.
If the plugin has some more hidden or lesser-discussed features that we didn’t cover here, let us know in the comment section of the video!
If you’re an artist or an engineer, and you have a mix that you need mastered, send it to us here:
We’ll master it for you and send you a sample to review.
Have you tried the Pro-Q 3?


