How to Gain Stage Your Master
Gain staging your master includes leaving enough headroom for your processing, monitoring the input and output of your plugins, and knowing how to limit without distorting the signal. If you're gain staging your master it also helps to reduce your limiter's output before uploading it to a streaming service.
How Much Headroom Do I Need When Mastering?
When you’re mastering it’s important to have roughly 3 to 6dB of headroom; In other words, the maximum peak of your signal in a digital system should be somewhere between -3dB and -6dB. This may change based on your preference, but 3 - 6dB is enough headroom when mastering.
This ensures that you have enough headroom to perform your processing.
If you started with 1dB of headroom, and your saturator or EQ amplified the signal by 2dB, you’d end up with clipping distortion.
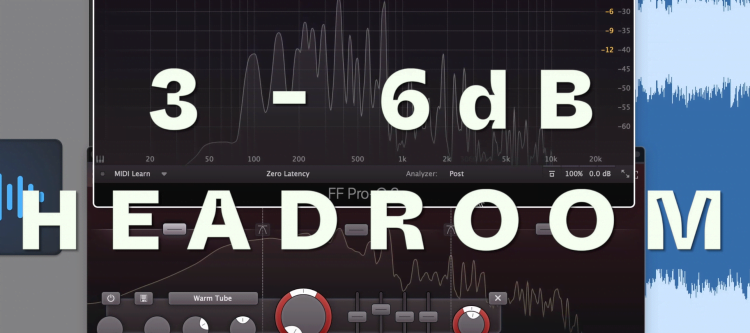
3 to 6dB of headroom is a good range to start with when mastering.
If you had 6dB of headroom and your saturator or EQ amplified the signal by 2dB, you’d still have 4dB of headroom, meaning you could continue processing without introducing clipping distortion.
If you’re running into distortion when mastering, you need more headroom.
If you have a mix that you need mastered, send it to us here:
We’ll master it for you and send you a free sample to review
How to Monitor Your Processed Signal When Mastering
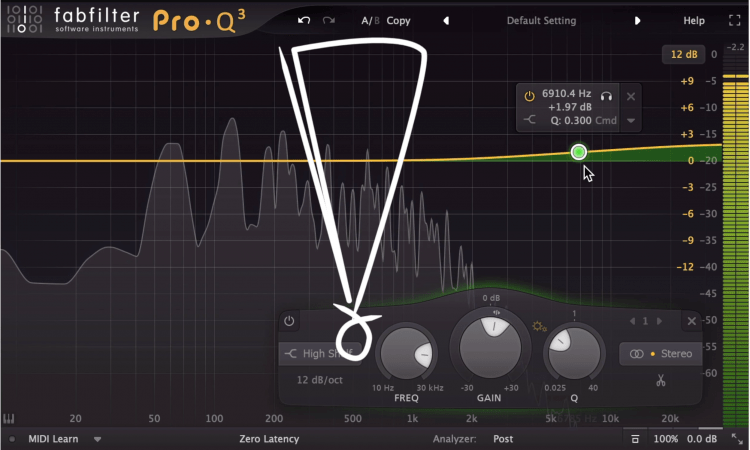
If you’re mastering with plugins and you want to monitor your processed signal, it helps to use ones with both input and output meters - this way you can measure the amplitude of the signal both before and after processing. Monitoring your signal within the plugin shows how it’s being altered.
Most plugins use 32-bit or 64-bit internal processing, meaning that the signal can go above 0dB without clipping, so long as it’s reduced to below 0dB before the output.
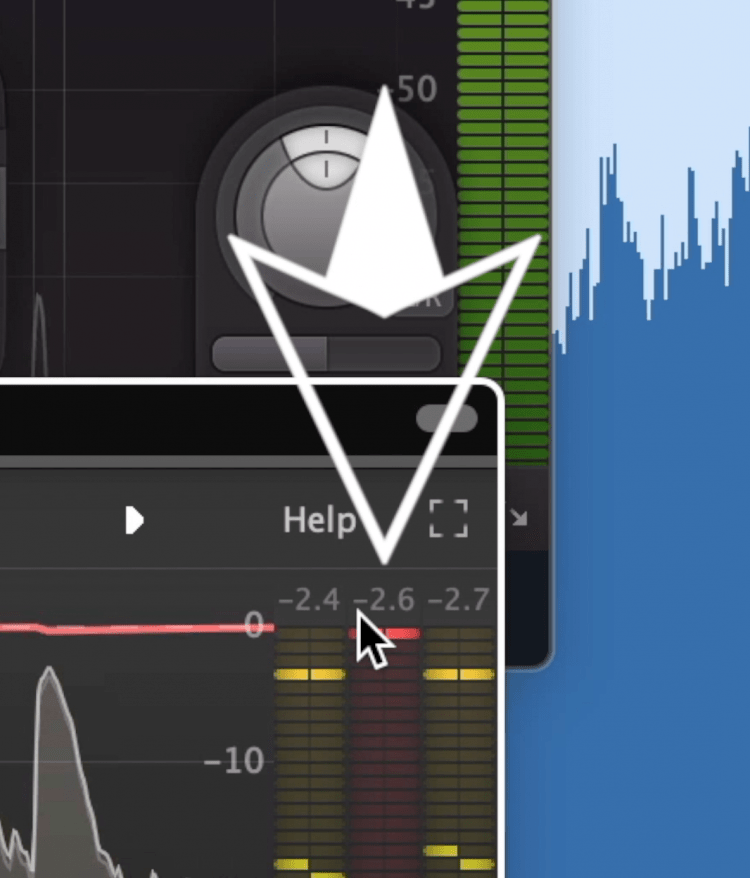
It's important to monitor both the input and output when possible.
Despite this, it’s good to get into the habit of carefully measuring your signal to avoid going over 0dB and leaving enough headroom for the next plugin to perform its processing.
Otherwise you may accidentally create some unwanted clipping distortion somewhere in your signal chain.
How to Avoid Distortion When Limiting
When using a limiter, keep in mind that you’re pushing the signal into a brick wall ceiling - this can easily create unwanted distortion in a myriad of ways. The best way to avoid distortion when limiting is to use oversampling, true peak detection, and the lookahead functions.
To avoid distortion when pushing the signal, use a combination of 3 limiter functions:
- Oversampling
- Lookahead
- True Peak detection
Oversampling creates more accurate quantization, resulting in less overs or peaks that go above 0dB.
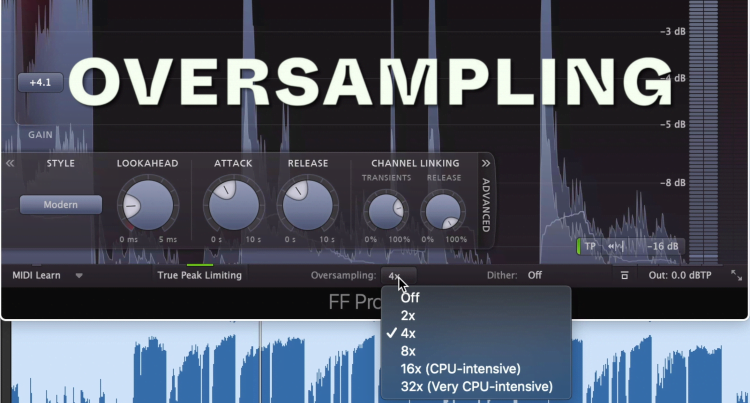
Oversampling avoids both aliasing distortion and clipping distortion.
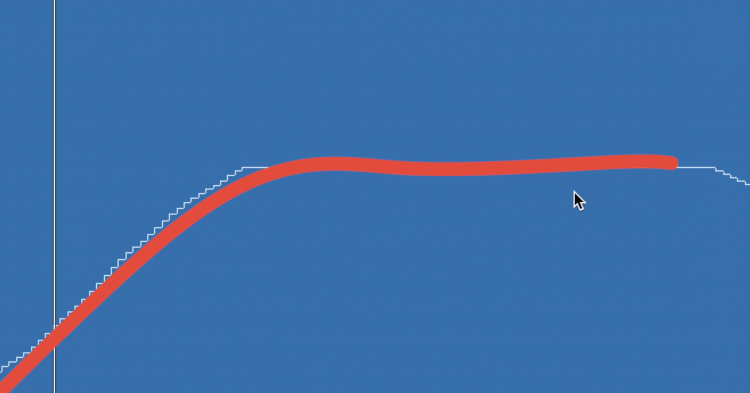
Lookahead measures the incoming signal ahead of time, allowing the limiter more time to react.
True peak detection automatically reduces the output by the needed amount to avoid clipping distortion.
These settings do have some disadvantages so listen carefully when using them.
If you have a mix that you need mastered, send it to us here:
Why You Should Reduce the Output of Your Master
If you’re uploading your master online, there are many good reasons why you should reduce the output of your master. The primary reason to reduce your masters output is to ensure that the encoding process doesn’t alter the amplitude enough to cause clipping or peaking distortion.
Your master is most likely going to be online at some point, whether you intended it to be there or not.
When you upload your master to YouTube, Soundcloud, Spotify, or other services, it’ll get encoded into a lossy file, like an MP3.
Encoding can cause clipping distortion by increasing the track's amplitude.
This will reduce the accuracy of your master’s amplitude.
If your master is close enough to 0dB, this change will most likely cause your master to peak and distort as bits of information that were almost 0dB, go above 0dB.
To avoid this, reduce to output of your master to -1dB or -2dB True peak. This will keep the signal for going over 0dB when it’s amplitude changes, in turn avoiding clipping distortion
How Processing Changes Later in the Chain
When you introduce a limiter at the end of your chain, the processing prior to it can drastically change in its amplitude and timbre. Keep in mind that your distortion, eq curves, and other forms of processing may sound very different by the end of your signal chain.
If you’re just starting your chain, a fair amount of distortion may not sound too off-putting. Similarly, amplifying some high frequencies may sound great.
Any early processing will become more aggressive when amplified by a limiter.
But by the time you’ve introduced limiting, you might find this distortion is too aggressive, or the high frequency bump is making your master sound harsh.
The reason this happens is because our ears hear frequencies differently at different loudnesses. So once you’ve made the master louder with your limiter, the processing prior to it can completely change.
Keep in mind that the gain of previous forms of processing will change once the overall signal is amplified.
If you have a mix that you need mastered, send it to us here:
Conclusion
Use the 5 techniques listed above to ensure you've properly gain staged your mastering session.


