How to Master for STREAMING
When mastering for streaming, it's best to make your master between -14 LUFS and -8LUFS, as well as leave 2dBTP for gain changes made during the encoding process. Additionally, don’t make your master both dynamic and quiet, since this can result in distortion after normalization.
What is Loudness Normalization?
Loudness normalization is the method used by streaming services to make all tracks streamed on their service playback at the same volume. When you’re mastering music, keep in mind how this is going to affect your track, since many services normalize audio to roughly -14LUFS.
This means that if your master it louder than -14 LUFS, like -10LUFS, it’ll get turned down by roughly 4dB.
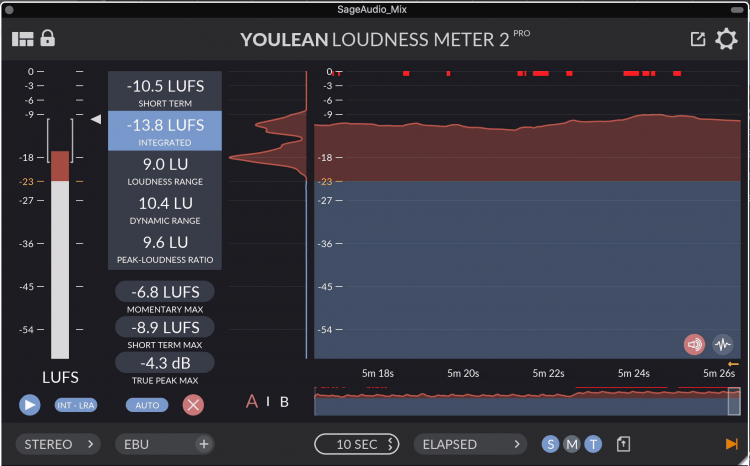
Most streaming services normalize audio to -14LUFS
So, if you’ve been mastering your tracks super loud and sacrificing dynamics to do this, it helps to know that it’s going to be turned down regardless.
If your track is lower than -14LUFS, like -18LUFS, it’ll be turned up by roughly 4dB.
Get a Free Mastered Sample of one of your songs!
How Loud Should My Master Be?
If your master will end up on a streaming service like YouTube or Spotify, use a LUFS meter at the end of your signal chain and carefully monitor your LUFS. Although there is no exact target to aim for,-14 LUFS to -8 LUFS is a good range.
If you’re mastering music that is often more dynamic like folk, classical, or jazz, -14 LUFS will be loud enough.
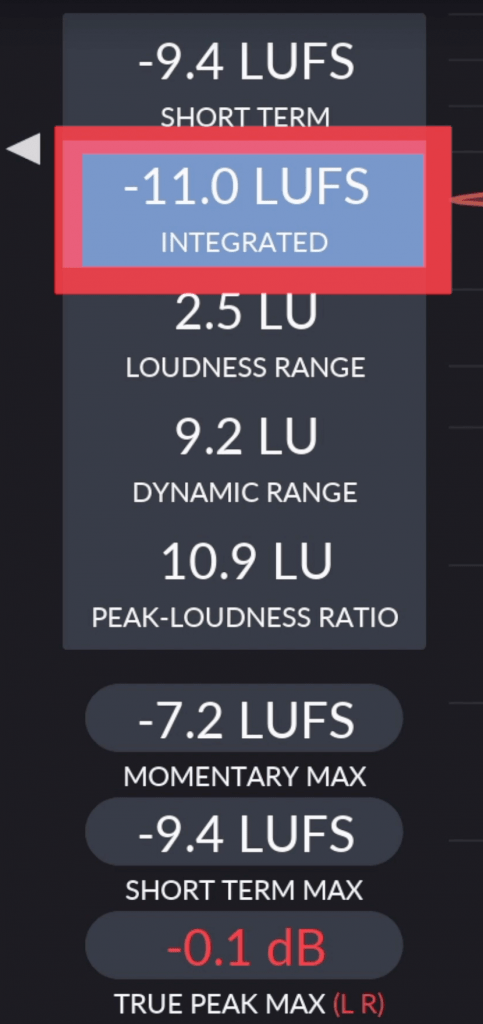
Use an LUFS meter to monitor how loud your master is.
If you’re mastering rap, pop, or rock, something closer to -8 LUFS will work well. Typically speaking, the quieter the master, the more dynamic it’ll be after being normalized.
But, this doesn’t mean it’ll sound better.
Don’t Make Your Master Too Dynamic
Because streaming services normalize audio, it can turn up audio past the point of 0dB. Although this is rare, if your master is on the quieter side but still has large peaks, then these peaks can clip when the master is turned up via normalization.
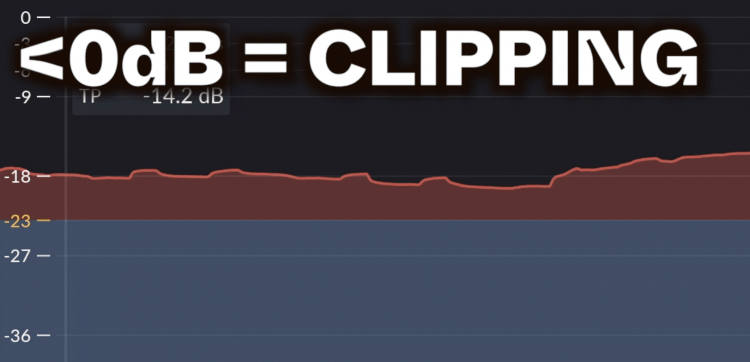
If you master is normalized upward, and it has a loud peak, that peak can distort after the track's gain has changed.
For example, if your master is -18 LUFS, and you have a peak at -2dB, then when the master’s level is increased by 4dB, the peak will be 2dB over.
Granted, streaming services account for this by using a limiter, but it’s not to rely on a limiter you don’t know the settings or quality of.
Get a Free Mastered Sample!
How Encoding Affects Streaming
Before your track is streamed, it’ll need to be converted into a lossy file, like an MP3 or AAC. This means that the WAV file you created will be downgraded so that it’s easier to be loaded which will most like cause clipping if you have created a loud master.
When your WAV file gets turned into a lossy file, the amplitude of your track can change up to 2dB.
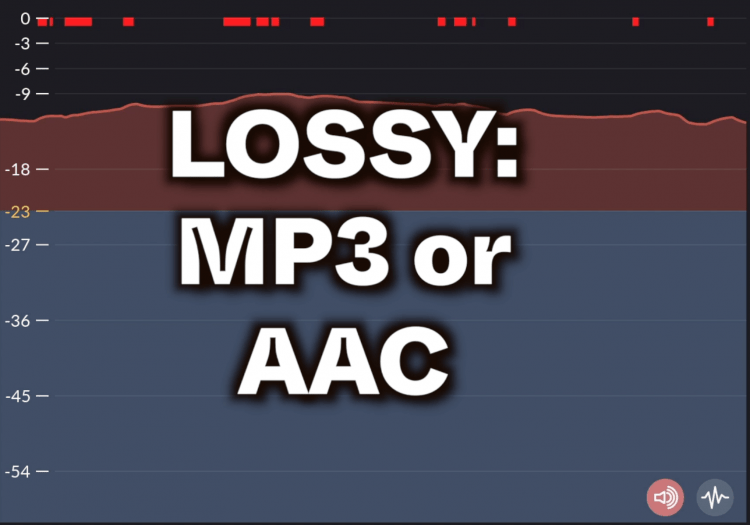
Encoding causes a WAV file to become an AAC or MP3.
This means that if your master has peaks at nearly 0dB, it can have its level increased, resulting in mild to significant clipping.
To avoid this, reduce the level of your master by up to 2dBTP.
A Good Mastering Chain for Streaming
Start with subtractive Equalization to clean up the track. If you need to attenuate low frequencies, use a low latency linear phase mode.
Next, use a little saturation to make it sound full by generating harmonics.
Since we’ll avoid heavy compression and limiting, later on, we’ll use A low-level compressor or maximizer to bring some of the subtle details forward.
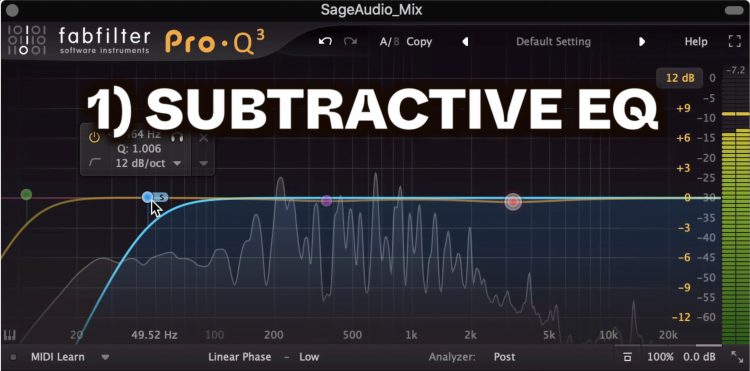
Subtractive EQ is a good first step in any mastering chain.
Since we’re mastering, we’ll need to use these very subtly, especially if we’re working on a quieter genre.
Next, use another EQ to amplify details you like, and maybe try mid-side and amplify the side image
End the chain with a limiter and your LUFS meter.


