How to Use Stereo Imaging During Mastering
While working with a mix, a mastering engineer must use tools that mix engineers may not consider. While there is overlap with the types of compression or EQ that are used, the process for a mastering engineer involves only a single stereo file versus the tracks that make up the entire song. This means that if the guitar is too loud, or the vocal is too quiet, a mastering engineer is unable to adjust individual volumes of these pieces. One of the approaches that can be used to enhance the “space” between similar elements is to use stereo imaging tools to narrow or widen frequency ranges across the stereo field. While this may not affect the individual levels of tracks, these tools can work wonders to bring out the important frequencies in instrumental or vocal performances within the stereo file. Using stereo imaging tools during the mix stage can be done however, and learning to use them appropriately, may help give you a three dimensional sound and bring your mix to life.
To understand what these tools can achieve it's important to understand how different frequencies work in a space. Have you ever wondered why mix engineers always pan the kick drum dead center? It makes sense when mono playback is used since the kick often provides the beat, but there is more to the mix than that. This also has to do with the difference in our ability to perceive the direction of low frequencies versus high frequencies. Because of longer wavelengths, low frequencies in a space are not reflected or absorbed quite as easily as high frequencies. This is similar to why you can often hear the low mid and low content pouring out from a performance venue, but it takes opening the door before the high frequency information is able to be perceived at the same level. When mixing, engineers consider the stereo image of a pair of loudspeakers or headphones so that the sound can exist in that “space” in a natural and realistic way. To help this as accurate as possible, we apply our knowledge of directionality to instruments. In the case of the kick drum, we keep it centered because we know that hearing low frequencies panned left or right doesn’t lend itself to how we perceive low information. To create depth and distance, we apply reverb or delay to give the illusion that we are hearing the reflections that exist in every-day situation. Even short reverbs can make a recorded vocal or instrument sound much more natural than if the performance was completely dry. To aid the reverb in creating a space, our ability to pan between left and right channels comes into play. Think of when you see a live performance. The vocalist will often be towards the center of the stage, conveying the written message with the drummer behind them. Guitarists, keyboard players, and bassists often have their own section of the stage that are not dead center. This provides the backing and musical message that exists across the entire stereo spread. Listen to a rock mix with this in mind, imagining a live set using only the panning positions to place the musicians on “stage.” You will find more often than not that instruments containing lots of higher frequencies will be further left or right than bass instruments. Engineers must consider our ability to better localize sounds that exist towards the top frequencies of our hearing, so the stereo spread is usually lending itself to this information.
Using Stereo Imagine Tools
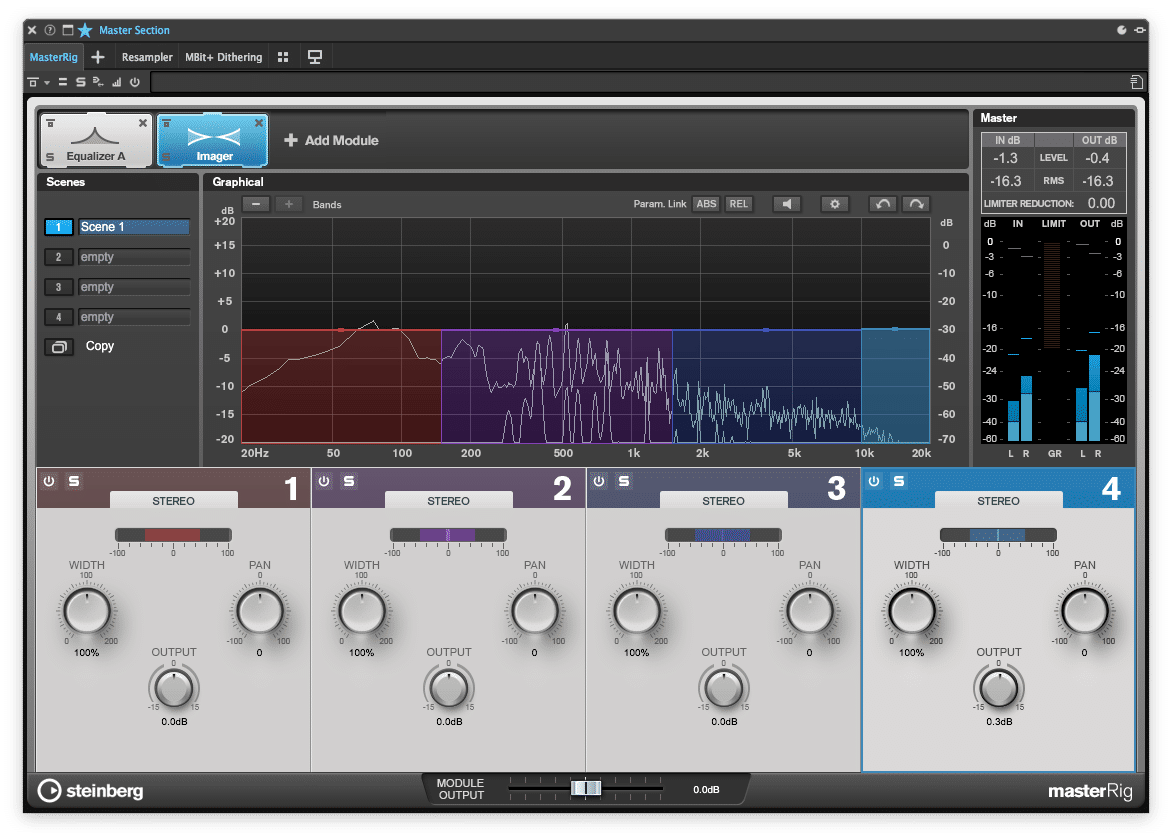
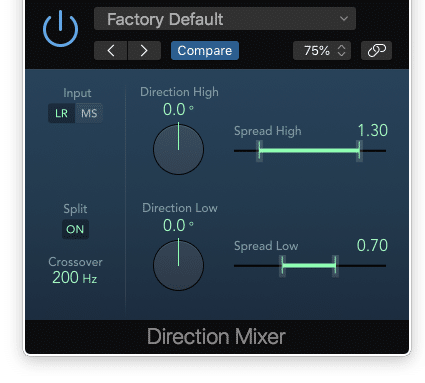
As previously mentioned, many mix engineers do not utilize these tools and prefer that it be left to the mastering engineer. However, learning to utilize these tools during the mix stage can drastically improve the clarity and stereo information of your mix. Stereo imaging tools look at certain frequency bands and in many cases will separate them into a couple of sections, similar to how a multi-band compressor divides up frequency bands. This separation can help you focus your low end, increase the width of a stereo reverb, and balance left and right stereo information.
Okay? Low sounds are harder to pinpoint the position of, but outside of panning, how can I use this information to improve my mixes?
Stereo Imaging for Low Frequencies
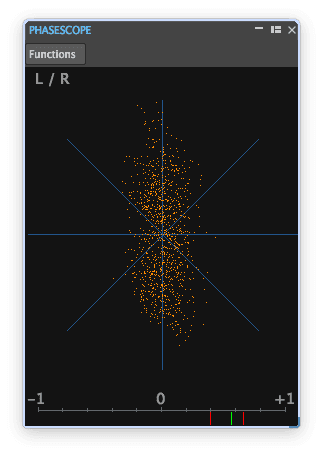
If you are looking to focus the low end of your mix, you can narrow these frequencies so that more of the information is sent to the center of your mix. This can aid in giving low end punch to a mix especially when monitoring or listening on mono systems. Another benefit of narrowing these frequencies is that the left and right channels become a little less cluttered with omnidirectional bands. Any of your tracks that are panned to either side may gain clarity from this change to the low frequencies since their more directional frequencies will remain intact and directional. Even tracks that are panned to the center such as a lead vocal can see drastic improvement using stereo narrowing of low frequencies. Since much of a vocalist’s important frequencies exist in the high mid range, narrowing the lows towards the center can allow these frequencies more room to “breathe” in the further left and right areas of the stereo spread.

How to Increase or Decrease Stereo Image in your Mix
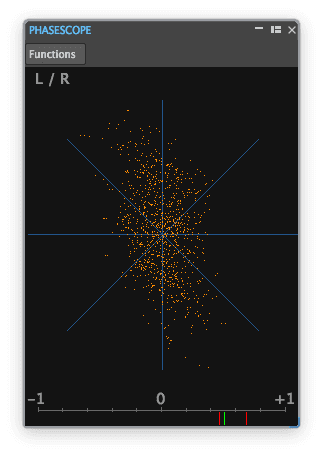
Stereo imaging tools can be used to narrow frequencies, but they can do exactly the opposite and widen frequencies as well. In the previous scenario, it is also possible that the low end could be exactly where you want it to be in the stereo image. If that were to be the case, you could apply the imaging to the high mids and widen these frequencies to get a similar effect. This kind of widening can also be used to accentuate reverbs and delays to create and even greater sense of space in your mix that panning alone may not have been able to achieve. When applied to reverbs and delays, you can almost create an effect that takes your width beyond your monitors making for large stereo images. Try experimenting with your stereo effects. The ability to make a large reverb sound larger, or a hard panned delay seem even harder panned can be fun and give your effects a clearly defined place in your stereo field.


Using Stereo Imaging Tools to balance Left and Right Channels
It is important to note that imaging tools can also help even out left and right channel balance. Some plugins are able to shift or rotate the entire stereo image without effecting EQ, phase, or mono compatibility. This type of control comes in handy if you are dealing with a channel that is slightly more dominant than the other (i.e. your keyboard’s delay send hits the right side harder than the left). Performing balance adjustments may increase your mix’s mono compatibility as well. If attention is given to the relationship between your left and right channel balance, your mono mix may have less disparity between the information that came from the left and right channels of your stereo image.

Setting Stereo Image During Mastering
As previously mentioned, imaging tools are not always thought of as a mainstay in a mix engineer’s chain. Panning often accomplishes the stereo balance that people want, but experimenting with these tools can improve your mix and also make the mastering engineer’s job a little easier too. A mastering engineer will only apply to a mix what needs to be applied, keeping in mind the fidelity of the audio, the end listeners, and their many formats of playback. It may be beneficial to add EQ, compression, and imaging in the mastering stage, but the more attention you pay to these details in your mix, the less the mastering engineer will need to change. This keeps your mix as close to how you intended as possible, ideally, leaving the mastering engineer with less to correct and more to improve upon. It becomes a matter of final polish rather than corrective processing when these details are noted.
With all of these applications in mind, see if any of these uses of imaging tools bring about good change to your mixes. Be sure to experiment, but remember that not every track in your mix may need this processing. Focus your attention on stereo tracks primarily since you will hear the benefits here more than with mono tracks. Start with small adjustments and use your ears to shape the image for the benefit of your specific mix. As with anything, trial and error will be your friend in learning how to use these tools, so don’t be discouraged if you err on the side of caution when applying stereo adjustments. Consider also the mastering engineer when you are mixing. You may be tempted to add image adjustments in large quantities, but the mastering engineer serves as quality control. It is their job to polish and improve your mixes, and their expertise with these tools cannot be forgotten. If your mixes need more imaging work applied, you can rest assured knowing that any mastering engineer will add what is necessary to make your track shine.
Try a Free Mastering Sample and hear what Mastering can do for your Stereo Image >


