4 Advanced Mastering Techniques to Try in 2021
- Balancing Oversampling and Lookahead to Avoid Clipping
- Automating Saturation During the Chorus
- Using an Emphasis/De-emphasis technique
- Crossover Processing
4 Advanced Mastering Techniques to Try in 2021 in Detail
Mastering is an ever-evolving practice. With so many engineers becoming able to master music, new techniques are developing almost as fast as the software and hardware used to master.
Here we wanted to showcase some mastering techniques that you should try in 2021. This list will be a little unique in that 3 of the techniques you should try because they’ll make your masters sound better, and 1 you should try to simply understand why it doesn’t work and should be avoided.
The 1 that doesn’t work, which is crossover processing, seems really exciting at first, but ultimately has a negative impact on the quality of a master.
We’ll explain each technique in detail, show how you can accomplish them, and then listen to examples of each in the video embedded above.
If you’re an artist or engineer, and you have a mix that you need mastered, send it to us here:
We’ll master it for you and send you a free mastered sample to review.
Balancing Oversampling and Lookahead to Avoid Clipping
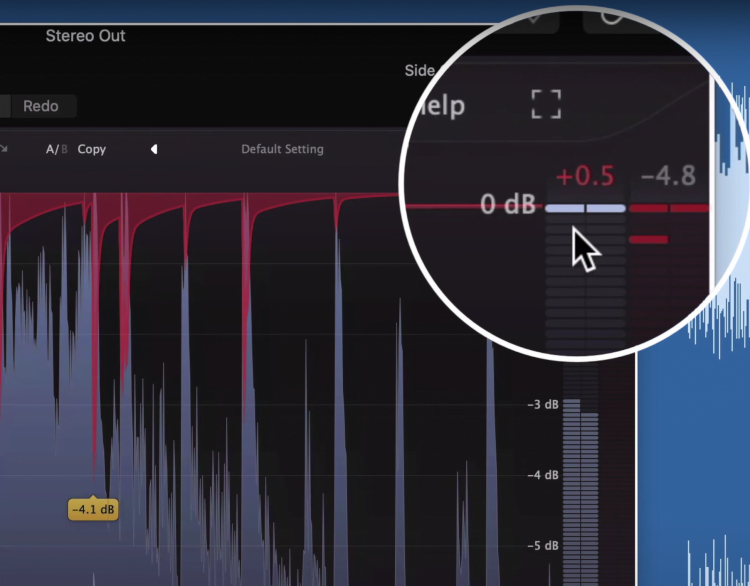
When limiting, we're trying to increase the overall level without clipping.
When mastering, one big concern is clipping and clipping related distortion. Clipping causes high order harmonic distortion that doesn't sound too pleasant for one reason or another.
That’s why when we’re limiting, it’s a good idea to keep a close eye on the output. We might notice that although our regular channel meter isn’t showing clipping, inter-sample clipping may occur.
This is especially true if you’re pushing a limiter harder than normal.
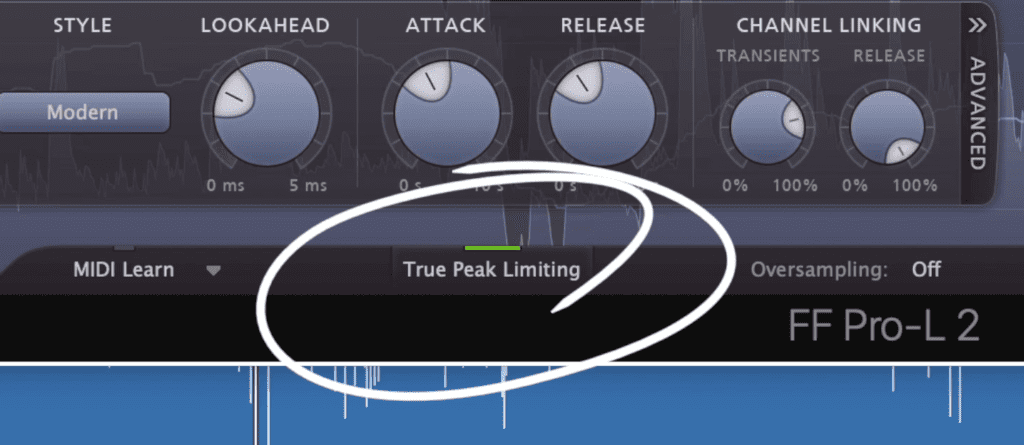
Many would use true peak detection, which makes a lot of sense but can alter the timbre of a master.
For many, the obvious solution to this is to use true peak detection, and if you thought of this, you’re definitely not wrong in doing so. But, true peak detection can reduce the impact of transients.
By automatically shifting the amplitude of the output down whenever it would clip, that attenuation can have an unexpectedly negative effect on the timbre of the master.
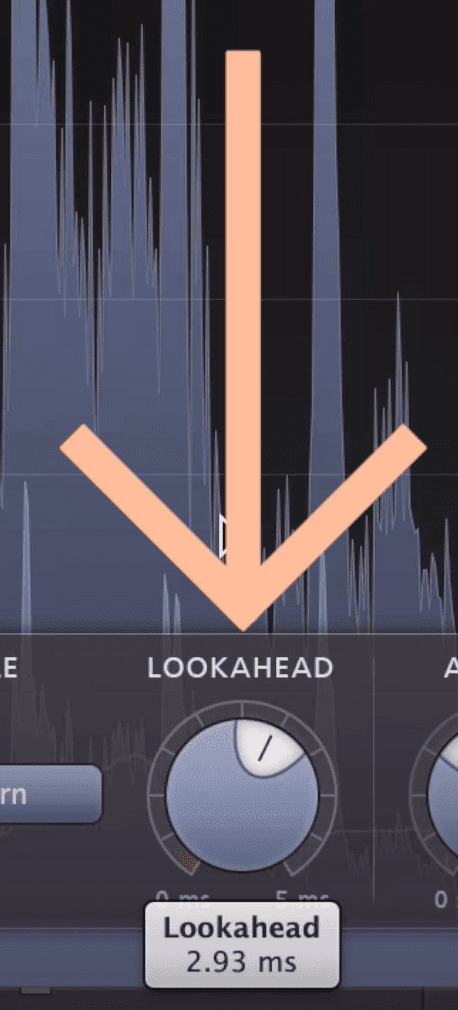
Try using oversampling and lookahead before resorting to true peak detection.
If possible, you can use lookahead and oversampling to avoid clipping, but with a less noticeable change to your master’s timbre. Granted, this won’t work every time, since it simply may not be enough to avoid clipping, but if it does, then it’s best to use lookahead and oversampling instead of true peak detection.
Keep in mind that if you increase lookahead too much, it too will affect the timbre of your master, so definitely use your ears.
If you want to learn more about the L2 limiter and it's functionality, check out this video:
Automating Saturation During the Chorus
Sometimes the last chorus of a song needs a small push to make it stick out from the rest of the song. If the processing your using doesn’t change, and the mixer engineer mixed the last chorus the same as the others, then you may end up with a lackluster finale for your song.
Fortunately, you can utilize automation to increase saturation, or the gain of your limiter, to add a little more excitement to that section.
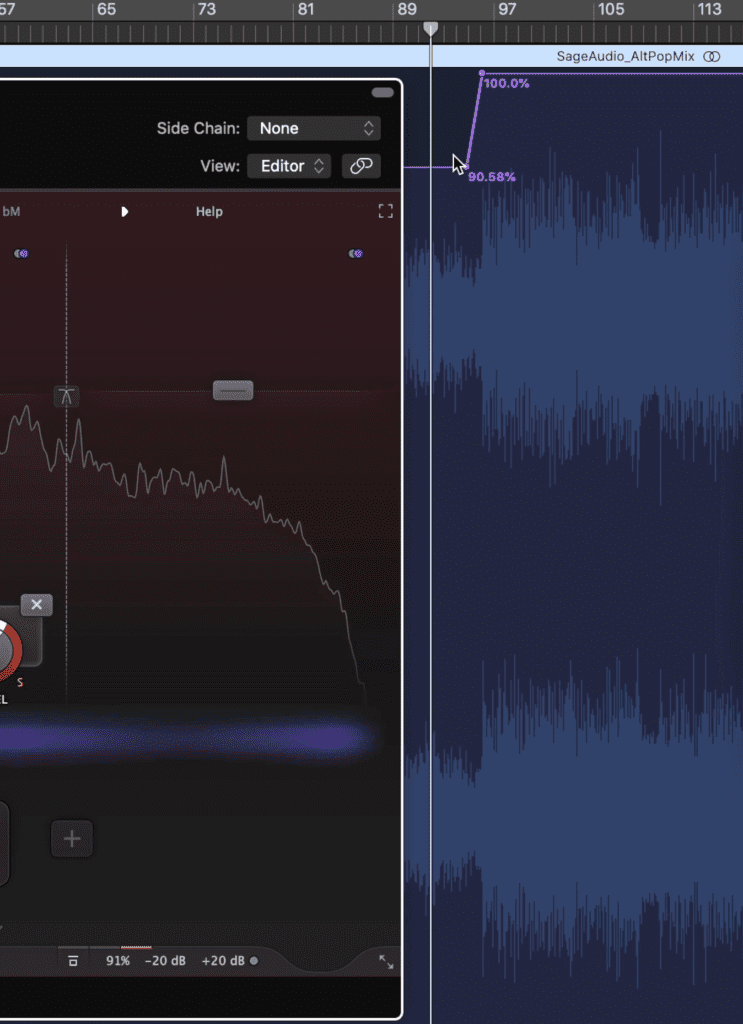
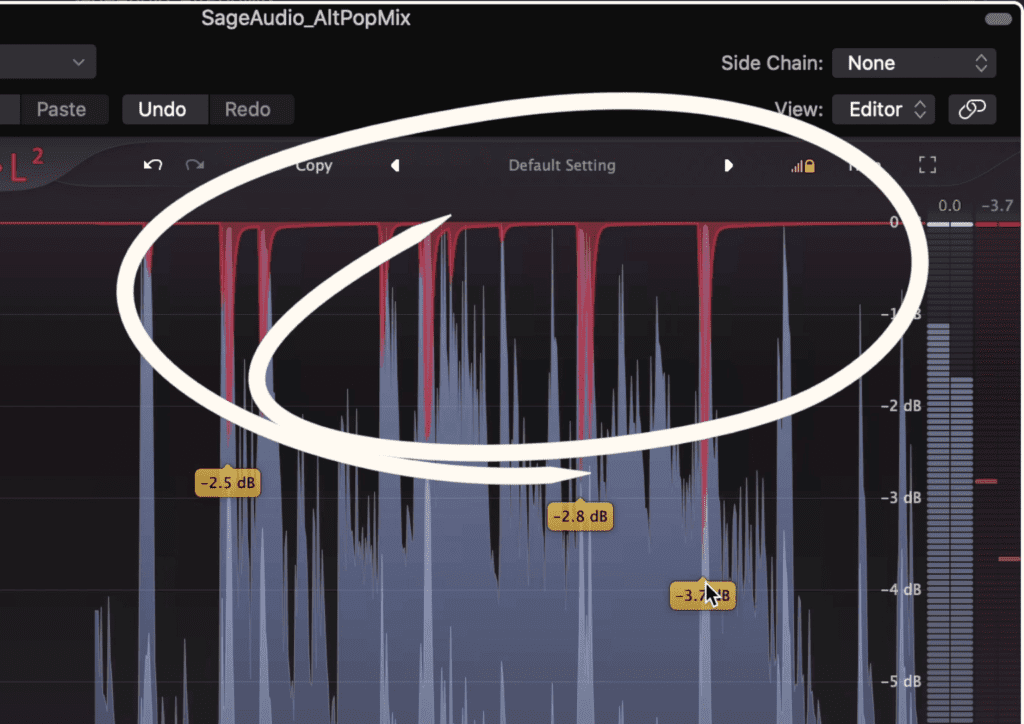
Notice the automation in the top right. This will increase the wet/dry of the saturator plugin.
I prefer to automate saturation since the extra harmonics fill out the sound and increase the low-level aspects of the signal. Extra limiting on the other hand will cause more brick wall compression and the artifacts that come along with that.
You can do this with limiting as well, but it might result in a more compressed sound.
Try this effect on a few different aspects of your signal chain and see what change causes the most impact without being overdone or too noticeable.
If you want these changes to be exact, use your typical read automation. But, if you want the automation to be more of a performance, try the Latch feature in your automation and let the track play as you automate your saturation, limiting, or whatever effect you chose.
Using an Emphasis/De-emphasis technique
An Emphasis/De-emphasis technique was developed to compensate for the loss of high frequencies on the inside of a vinyl record. By boosting the high end of a master that was sequenced toward the middle of a record, the frequency response would balance out.

The Emphasis/De-emphasis technique was created to balance out the sound of records that were sequenced toward the center of a record.
This concept has since been used for great creative effect as it lets us emphasize certain frequencies prior to them hitting a particular processor.
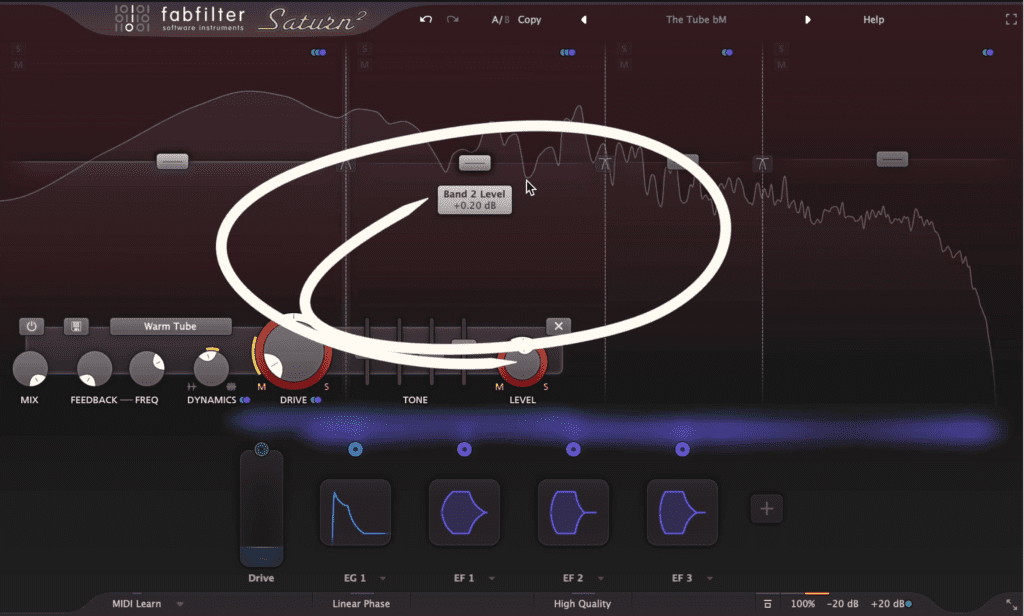
For example, let’s say we’re using a saturation plugin, but, we want to distort the mid-range a little more than the other frequencies.
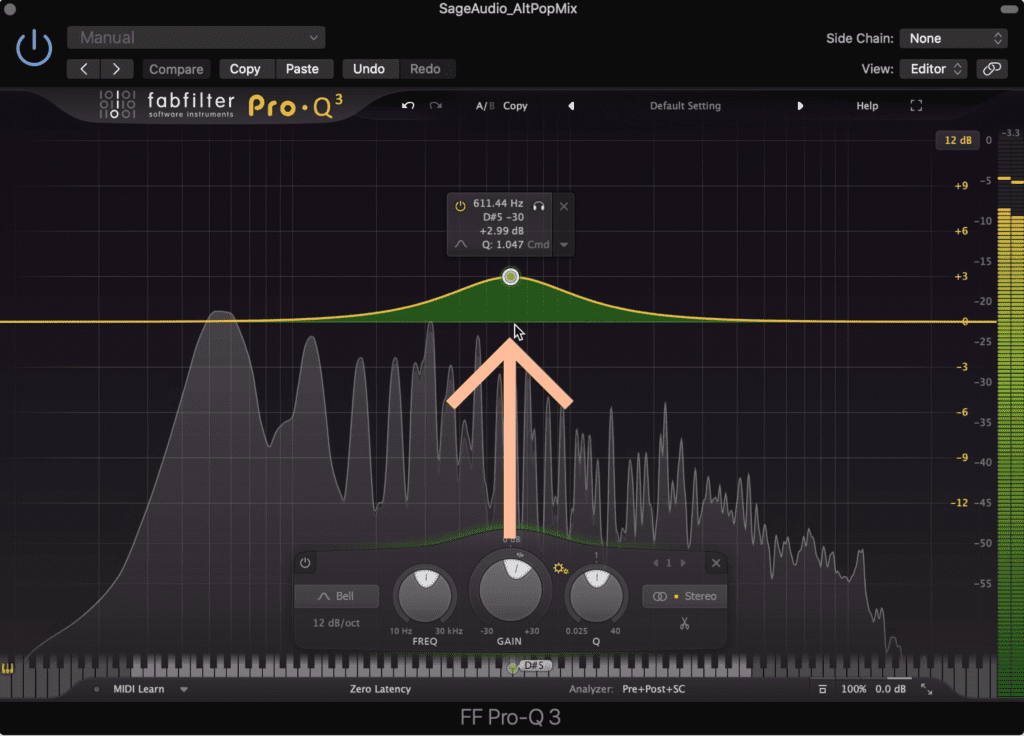
Use an EQ to boost particular frequencies.
What we can do is add an equalizer before the saturator and boost the frequencies we want to distort more - so, with this equalizer we are emphasizing the mid frequencies.
The saturator will work harder on those frequencies.
This means that when the signal hits the saturator, it’s going to have to work harder on those frequencies, distorting them more, and in turn causing unique sounding distortion and compression.
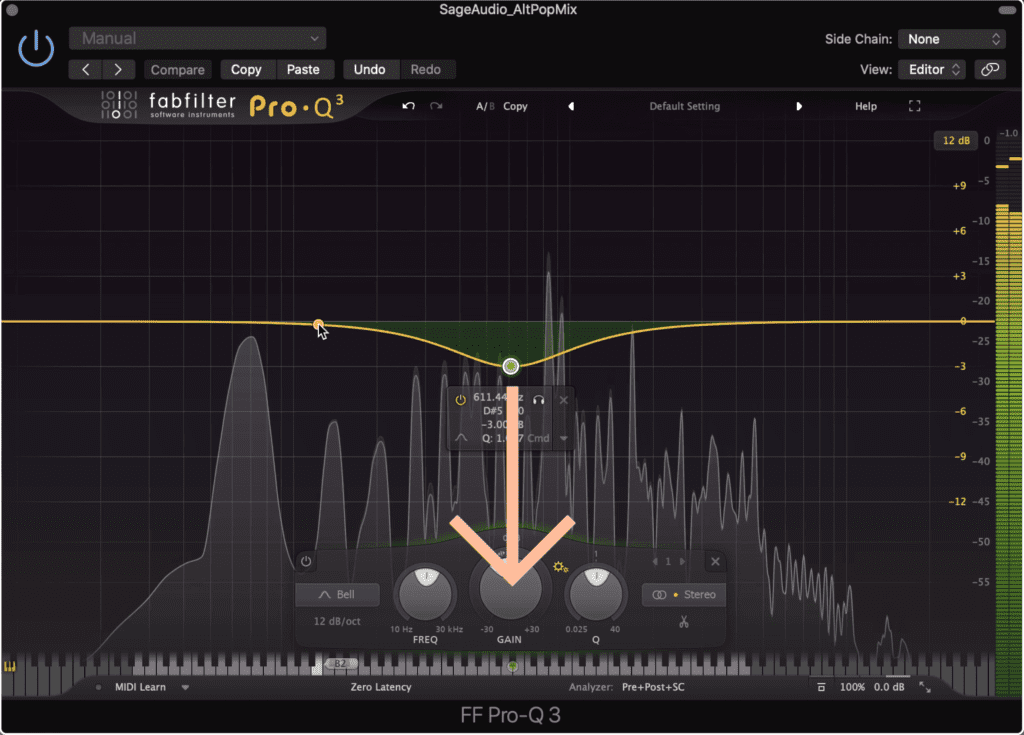
The spectrum will be balanced out by another EQ, with an equal and opposite curve to the first or emphasis EQ
After the saturator, we’ll add another equalizer that has the equal and opposite curve as the first EQ. This is our de-emphasis EQ.
What this one does is balance out the frequency response so that the mids, or whatever it was you chose to amplify, isn’t too prevalent.
Saturation isn’t the only effect you can use this with. Try it with your compressor, your maximizer, stereo image, or any processor you want to work a little harder on a particular set of frequencies.
Crossover Processing (Best if Avoided)
Unlike the other entries on this list, this is one technique that you should try, but not because it sounds good.
Splitting the signal up seems like it would improve the sound, but unfortunately it causes phase issues.
Essentially, crossover processing means that you break the signal up into 2 or more bands. Each band contains a range of frequencies, and collectively, they make up the full original frequency spectrum.
In theory, this sounds great. It means that you could add one processor to one range and another to another range, but it isn’t this simple.
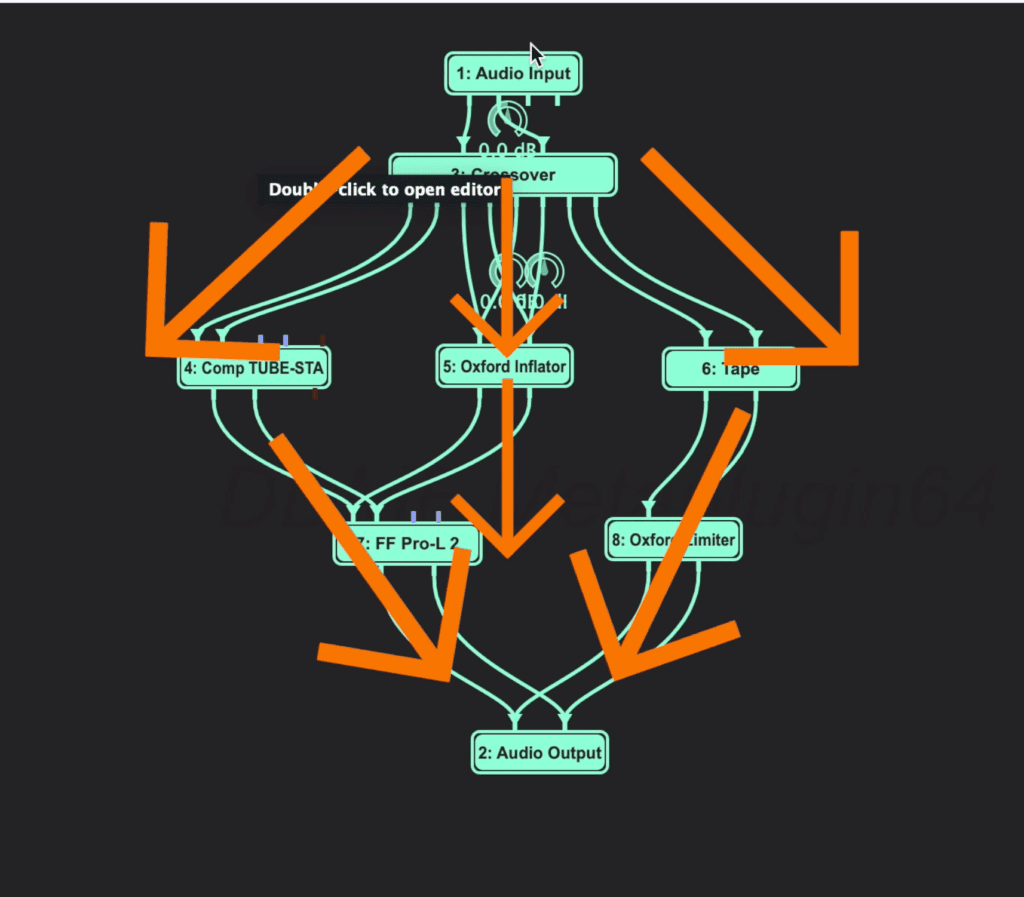
Let’s look at the Metaplugin by DDMF to better understand this.
The Metaplugin includes a plugin called Crossover which breaks the signal up into 4 bands. These are:
- A Low Band
- A Low-Mid Band
- A High-Mid Band
- And a High Band
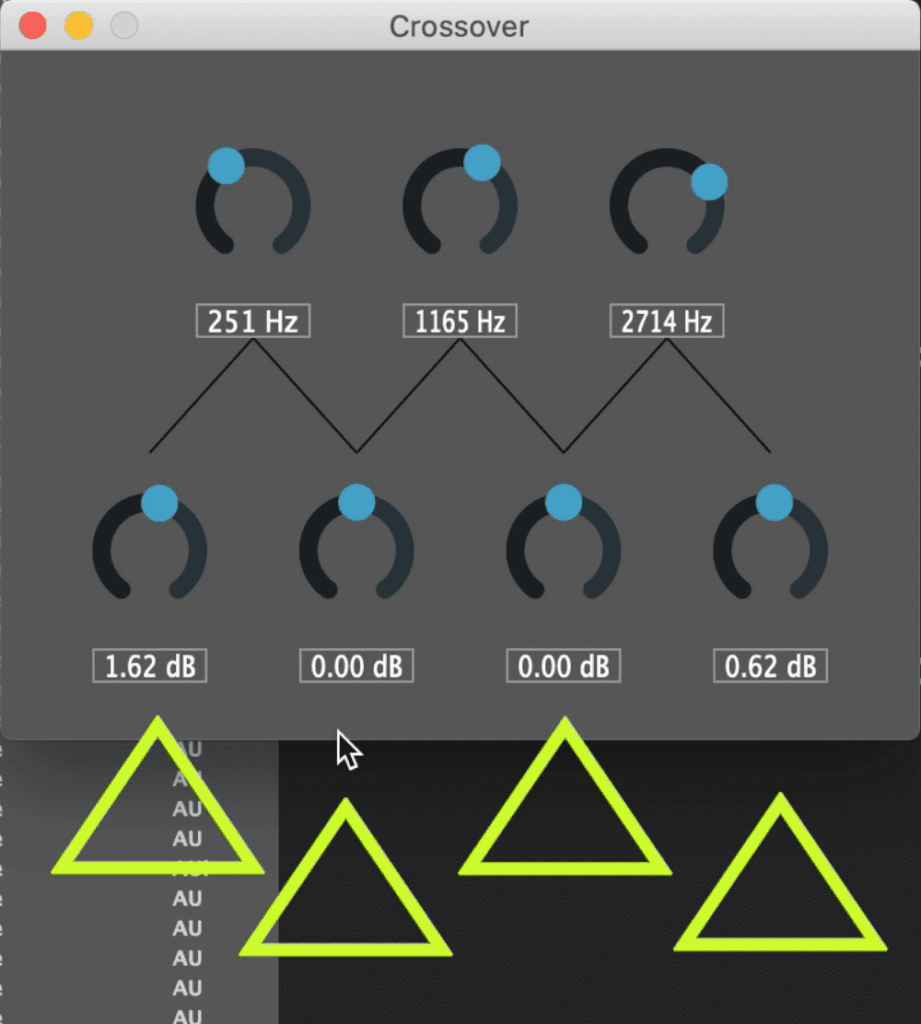
Using the crossover plugin in the DDMF Metaplugin, we can separate the signal into 4 bands.
The outputs of these bands can be sent to different processors, so I could use a saturator on the low end, a compressor on the 2 mid bands, and an air EQ on the high frequencies.
Again, in theory, this sounds amazing since it opens up a lot of possibilities, but unfortunately, it almost always causes unwanted phase cancellation.
Each band is going to have a crossover with the band or bands next to it. This crossover might be 12dB per octave as is the case with the Crossover plugin, but other ones might differ.
If different forms of processing are being added to each band, small changes in timing or small distortions to the waveform are going to cause phase shifts amongst the full signal in these crossover points.
As a result, aspects of the signal are canceled out, which can lead to strange artifacts or an overall quieter sound.

Phase issues become even worse when using a make-shift crossover comprised of multiple tracks with EQs isolating particular frequency ranges.
If we try to do this on our own, using multiple duplicated tracks and equalizers, it’s easier to understand how this crossover affects the track’s phase.
By moving the crossover points around using our make-shift crossover, we can observe and monitor how the changes made cause more or less phase cancellation.
In short, although this technique seems like it could really improve a master, odds are it’ll result in more harm than good.
For more mastering techniques and tips, take a look at this video:
Conclusion
The 4 techniques that we listed here are great ones to try. The first 3 will improve the quality of your master, whereas the last one is a little deceptive.
In short:
- Try to use oversampling and lookahead to avoid clipping instead of true peak detection.
- Automate the chorus with a saturator or the processor to make it stick out.
- Use an emphasis/de-emphasis technique to cause processing on one set of frequencies.
- Avoid crossover techniques since they often lead to phase cancellation.
If you’re an artist or engineer, and you have a mix that you need mastered, send it to us here:
We’ll master it for you and send you a free mastered sample to review.


