FREE vs. PRO Mastering Chain | Tested! (What’s the Difference?)
Free Mastering Chain:
- Insert 1: MEqualizer – Melda Audio
- Insert 2: Tube Amp - Voxengo
- Insert 3: OTT - Xfer Records
- Insert 4: RareSE – Analog Obsession
- Insert 5: Limiter No. 6 – Vladislav Goncharov
- Insert 6: LoudMax – Thomas Mundt
Vs.
Professional Mastering Chain:
- Insert 1: Pro Q 3 – FabFilter
- Insert 2: Saturn 2 – FabFilter
- Insert 3: Oxford Inflator – Sonnox
- Insert 4: Tube Tech Equalizers mkII - Softube
- Insert 5: Elevate - Newfangled Audio
- Insert 6: Pro L2 – FabFilter
We often talk about both paid and free plugins, but we rarely discuss how they compare to one another.
Perhaps you’re wondering if that paid plugin you’ve been eyeing is really worth the cost, or maybe you’re curious if the free plugin you’re mastering with needs to be replaced.
Whatever the case, we want to compare two mastering chains , each with 6 inserts that perform the same tasks, to see what sets a free and paid mastering chain apart.
We’ll discuss each plugin used, detail what we’re using that plugin for, and listen to each step on a stereo mix.
We’ll try to make everything as consistent as possible so you can get a good comparison of the software being used.
If you’re an artist or engineer, and you’d like to hear your music mastered with an all-analog chain, send it to us here:
We’ll master it for you and send you a free mastered sample to review.
Insert 1: MEqualizer vs. Pro-Q 3
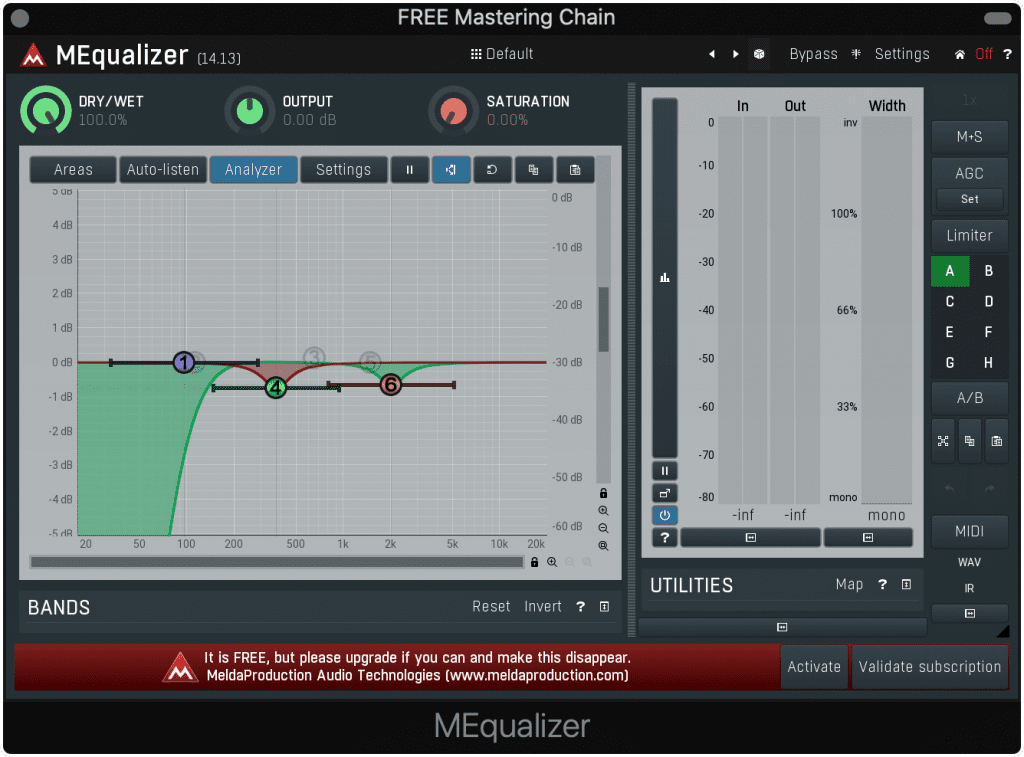
The MEqualizer allows for 6 bands of equalization, and has mid-side functionality.
Our first insert will be an equalizer used for subtractive equalization. Meaning we’ll attenuate aspects of the frequency response that we don’t like - this way unwanted frequencies aren’t amplified by subsequent processing.
To start, we’ll cut the side image of the signal to make the low-end mono. Both the MEqualizer and Pro-Q 3 are capable of doing this.
With the MEqualizer it’s a little more convoluted and includes changing the overall routing to mid and side, but it’s not too complex.
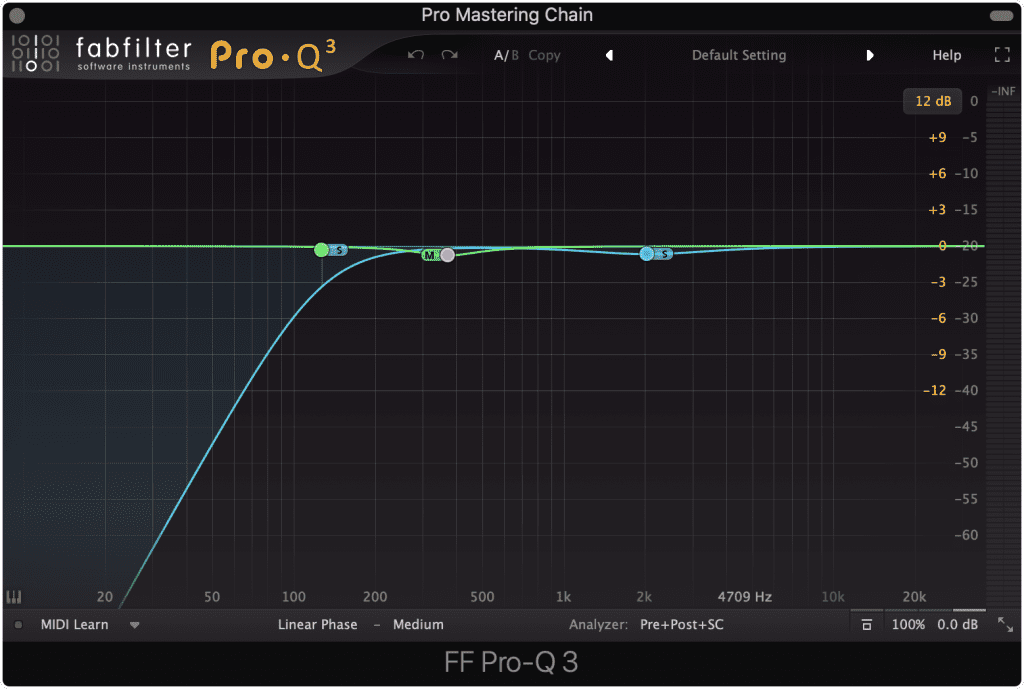
The FabFilter allows for 24 bands and includes multiple phase options.
Next, we’ll attenuate some more aspects of the response, until we feel that we’ve achieved a balanced sound that can be amplified later on without causing issues.
For our example, we’ll make sure that these bands are the same value, frequency, and attenuate the same amount in dB so that we can get as good of a comparison as possible.
Now one thing that the Pro-Q 3 can do that the MEqualizer cannot is to use natural and linear phase, which is very useful when mastering. Additionally, the Pro-Q 3 has dynamic equalization functionality, which we won’t use here, but can be helpful if the situation calls for it.
For more mastering equalizers, take a look at this video:
Insert 2: Tube Amp vs. Saturn 2
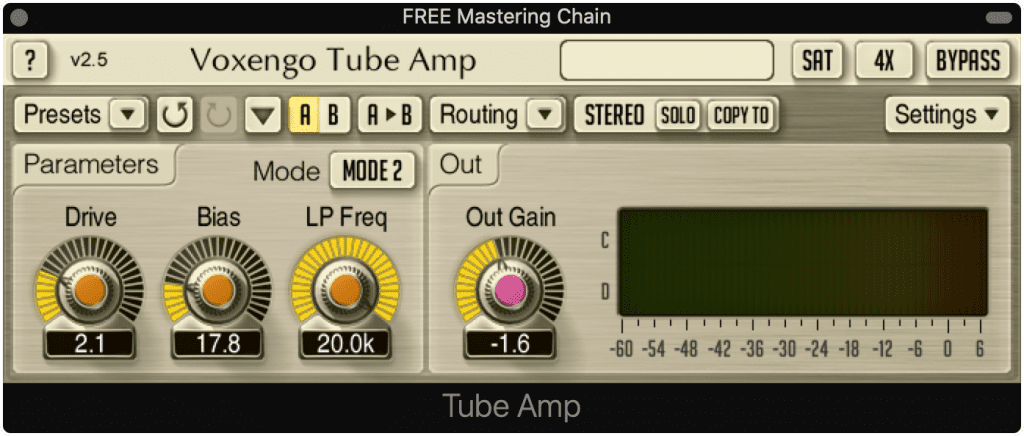
Tube Amp is simple but has a pleasant sound.
Unlike the previous EQ example, the 2 plugins we’re using here are radically different. Whereas the Tube Amp has a few settings, Saturn 2 allows you to create complex saturation in which frequencies can be separated and certain functions can be made contingent on other functions.
That said there’s a lot more you can accomplish with Saturn 2 than Tube Amp.
We’ll dial in our Tube Amp settings to achieve moderate but not too noticeable saturation and distortion. This will create some harmonics to fill out the signal.
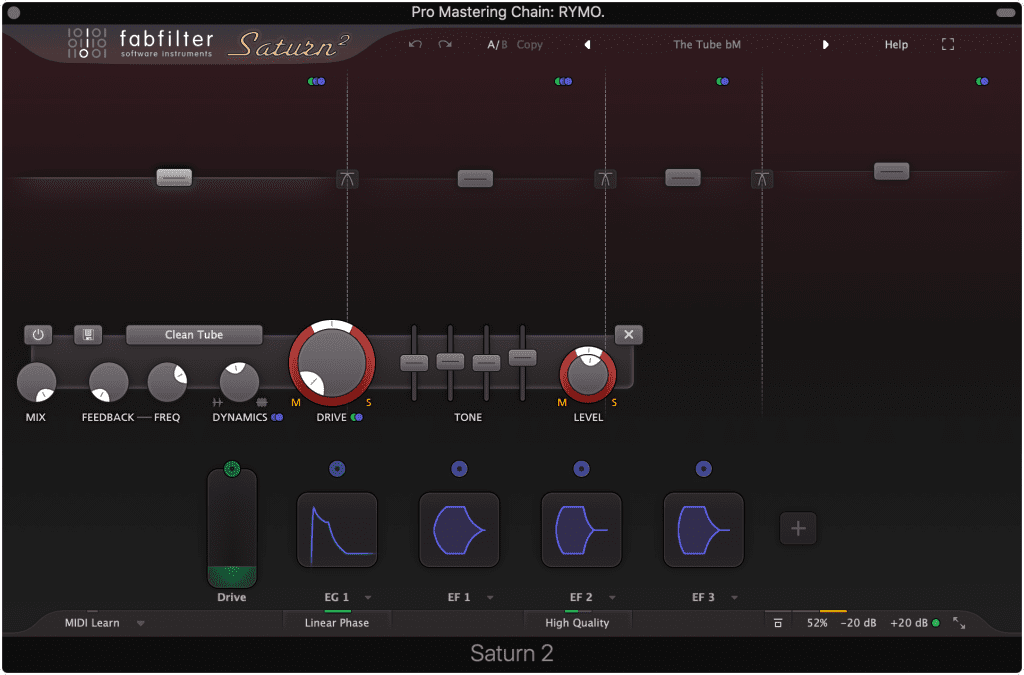
Saturn 2 allows for complex processing and the linking of multiple functions.
We’ll use a modified preset on the Saturn 2 which links multiple functions and creates realistic and dynamic distortion.
That said we can’t match up these two saturators entirely since the functionality is so different, but we can make the output the same amplitude and try to achieve similar amounts of distortion and compression.
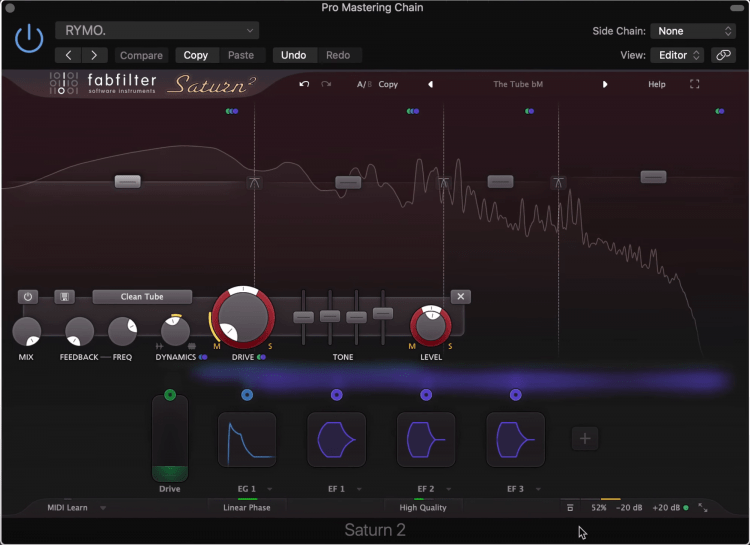
Saturn 2 seems to add a lot of character to the master which the Tube Amp cannot.
Insert 3: OTT vs. Inflator
OTT is a multi-band compressor, but it allows for low-level compression. This is similar to the functionality of the Sonnox Oxford inflator which increases the level and perceivability of quieter aspects of the signal.
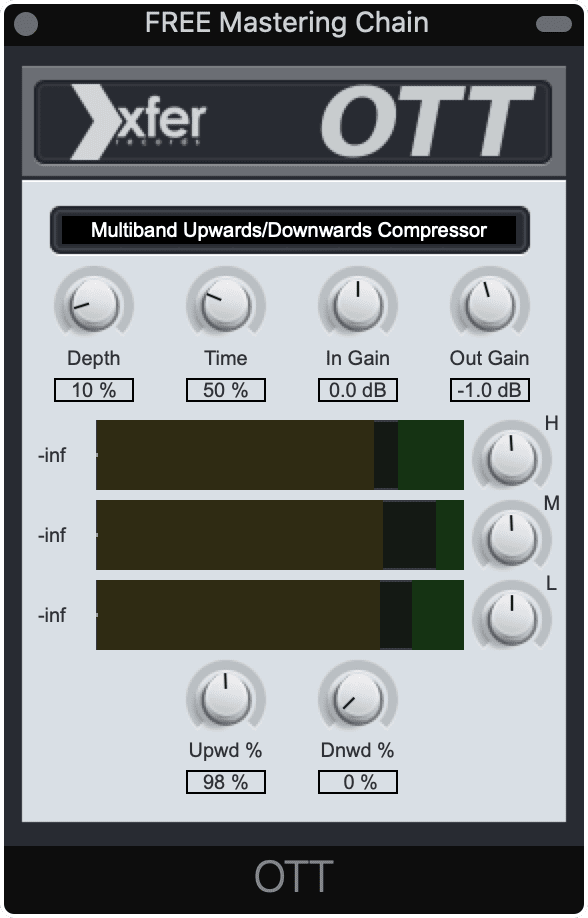
OTT is used here for low-level compression.
We’ll use the OTT just for low-level compression in this example, to boost quieter aspects of the mix in the more forward and perceivable territory.
We’ll match the Depth function value to that of the Effect Percentage value to achieve similar levels of upward compression. Additionally, we’ll alter the Time value of OTT to try to achieve a similar attack and release to the Inflator.

Inflator expands lower level signals and makes them more perceivable.
Since the inflator has the option, let’s increase the curve to make the signal sound a little warmer, and make the processing split band to emulate the multi-band processing performed by OTT.
For more free multi-band compressors, check out this video:
Insert 4: RareSE vs. Tube-Tech Equalizers mkII
RareSE and the Tube-Tech Equalizers mkII are very similar plugins. The main difference is that the curves used by the Tube-Tech Equalizer are more true to the Pultec equalizer on which it’s modeled.
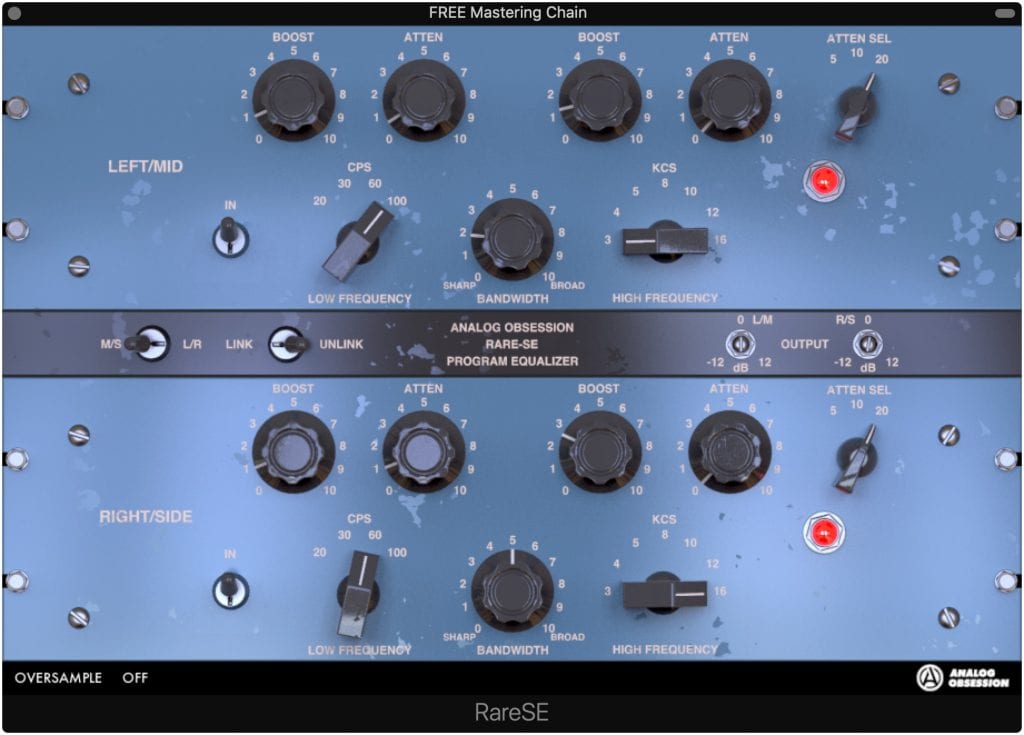
RareSE allows for Mid-Side processing which has its advantages.
However, this doesn’t make it better, just slightly different.
One advantage RareSE has is its ability to introduce mid-side processing, meaning you can affect your stereo image by increasing the output of either the mid or side channel.
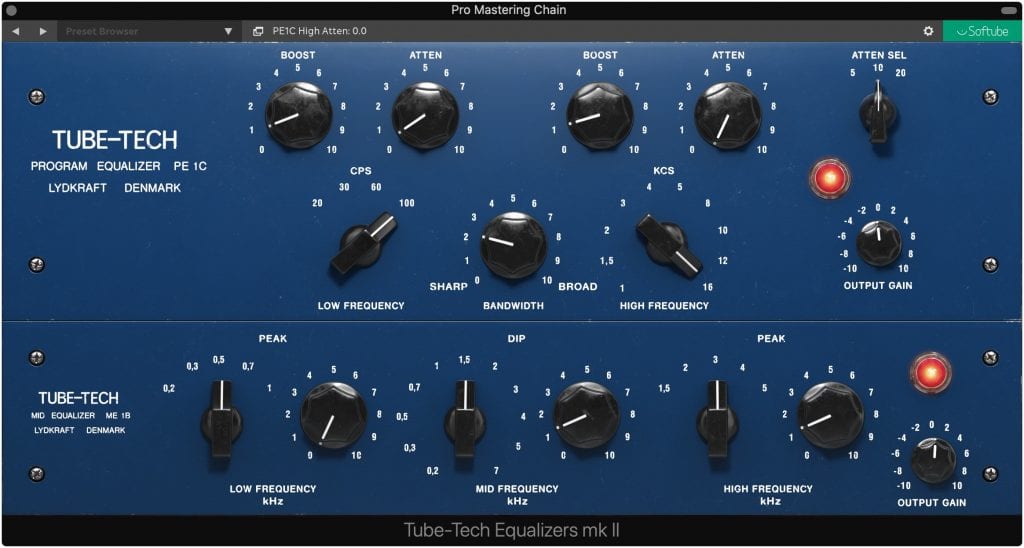
Tube-Tech is more true to the original Pultec EQ, but has less functionality.
Additionally, you’ll get a little more control of certain frequencies. For example, if I switch RareSE to mid-side, I can boost the kick on the mid, instead of boosting both the mid and side image like I’d have to do with the Softube emulation.
So again, similar plugins with small differences that can have a big impact on your master if utilized properly.
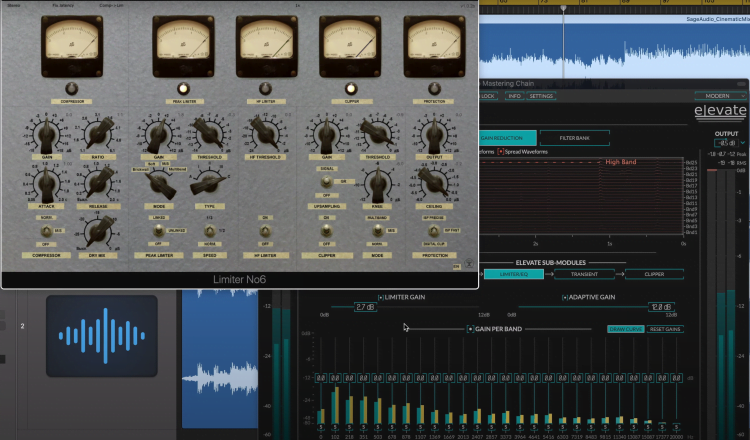
Insert 5: Limiter No. 6 vs. Elevate
Here we have 2 limiters, capable of multi-band limiting and clipping. Additionally, Elevate has transient shaping functionality which can really give an advantage to it.
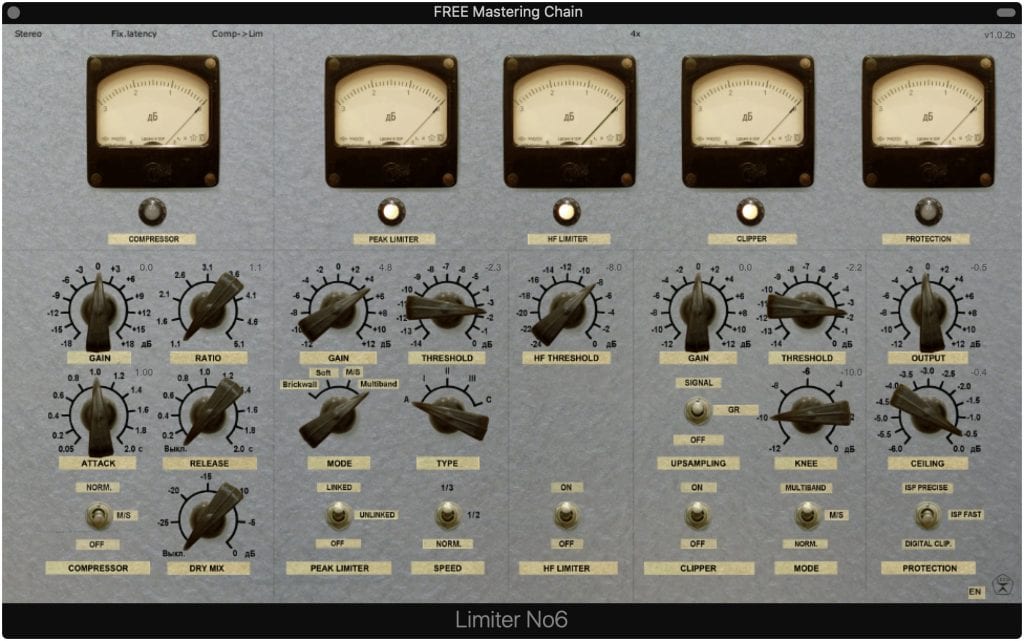
Limiter No. 6 is a fantastic free multi-band limiter and clipper.
Whereas Limiter No.6 can break the limiting up into 2 channels, Elevate has the ability to break the limiting into 26 channels, each potentially independent of one another. This makes limiting a lot less noticeable since the ceiling isn’t constantly being hit.
Both of these limiters have a unique and powerful timbre.
The clipper section is actually a little more complex in Limiter No. 6 since it allows for upsampling, and for the measurement of the incoming signal to be stereo, mid and side, or multi-band, which is something you don’t see too often in a clipper.
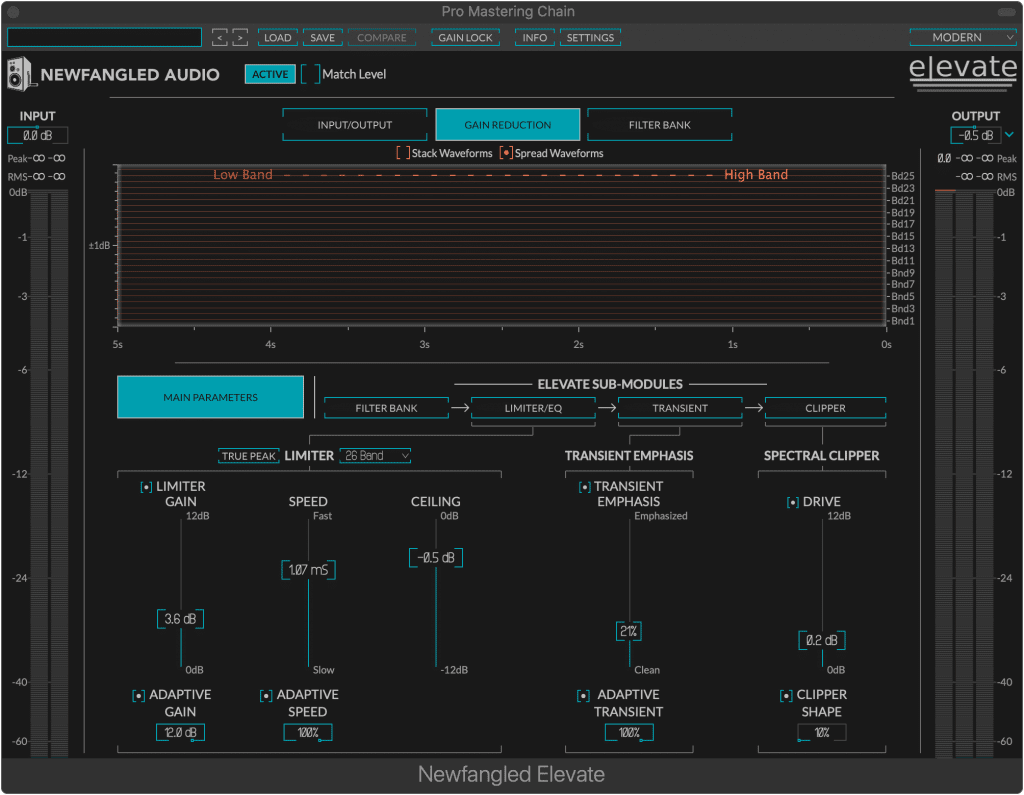
Elevate breaks the signal up into 26 bands, allowing for very clean limiting.
We’ll avoid the compressor in Limiter No. 6 and introduce multi band-limiting on both plugins. We’ll also use the clipper for both, and the transient shaper for Elevate but at a lower level.
For the output, we’ll lower it to -0.5dB and keep true peak detection off on both.
Lastly, I’ll use 4x oversampling on Limiter No. 6 since it’s offered.
Insert 6: LoudMax vs. Pro-L 2
Last up we have 2 great limiters. Loudmax is simple and straightforward with a threshold and output. The attenuation is shown on the right, the channels can be linked, and inter-sample peaking detection can be enabled.
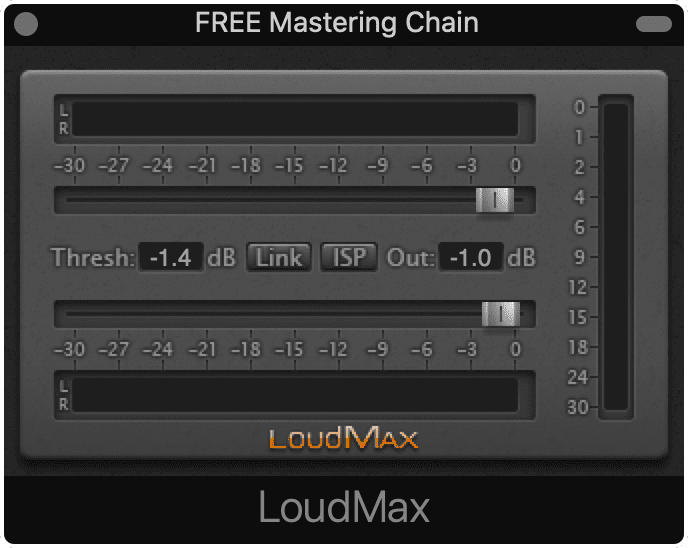
LoudMax is simplistic but has a transparent sound.
The Pro-L2 on the other hand lets you control the attack and release, the attenuation linking of the left and right channels, introduce oversampling, and change the style of the limiting.
I’ll keep the style to the Modern setting, which is very low distortion, similar to the default of the LoudMax.
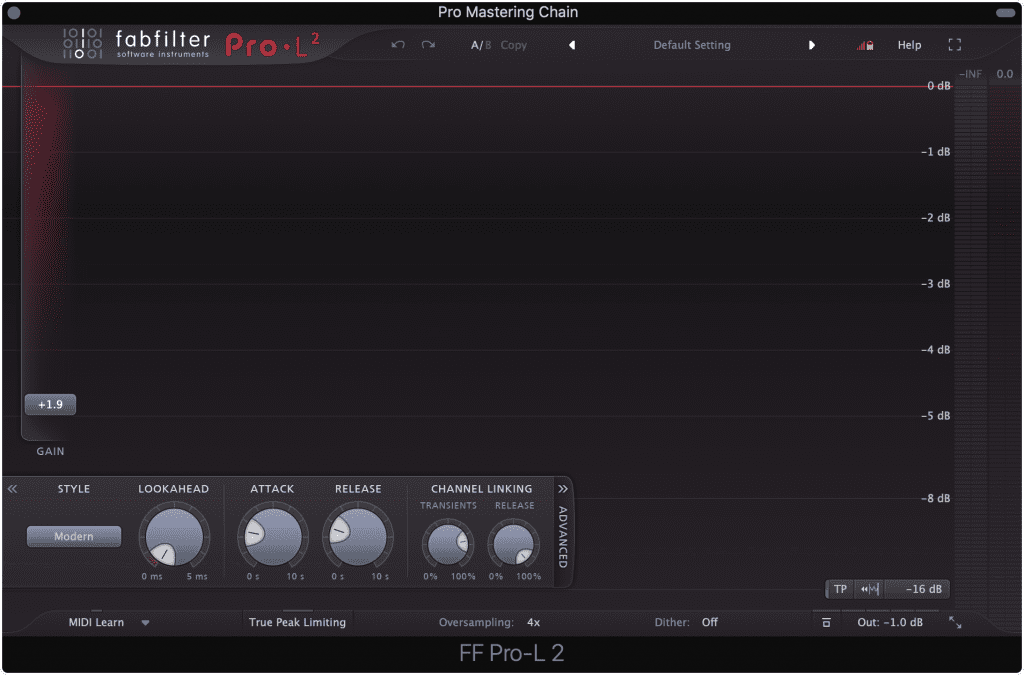
We used the modern setting for a low distortion sound.
I’ll use oversampling on the FabFilter since it’s offered, and lower the ceiling of both to -1dB.
Additionally, we’ll achieve very similar amounts of attenuation, and measure the output in LUFS to ensure that they’re as close as they can be.
Conclusion
We’ll refrain from offering any opinions on which chain sounded better, and leave it up to you to determine what worked well and what didn’t.
Granted, the functionality of the paid chain was often more complex than that of the free chain, meaning you’ll have more options and ways to approach a mix. But, the free chain still had enough functionality to create a comprehensive master.
Let us know if you prefer one or the other in the comments section of the video embedded above.
If you’re an artist or engineer, and you’d like to hear your music mastered with an all-analog chain, send it to us here:
We’ll master it for you and send you a free mastered sample to review.


