How to Compress Your Master
- Use Optical Compression for a Smooth Master
- Use Saturation to Create a Full Master
- How to Set Your Release when Mastering
- How to Set Your Attack when Mastering
- Use Side Chain Compression when Mastering
- Using Soft-Knee Compression when Mastering
Use Optical Compression for a Smooth Master
Optical compression has a unique timbre to it and can add a lot of character to your master. The reason being, it typically holds onto the signal for longer than regular compression and releases it in stages depending on the incoming signal’s amplitude and other factors.
In that regard, it’s a program-dependent form of compression, that can make a master sound smooth and full if used correctly.
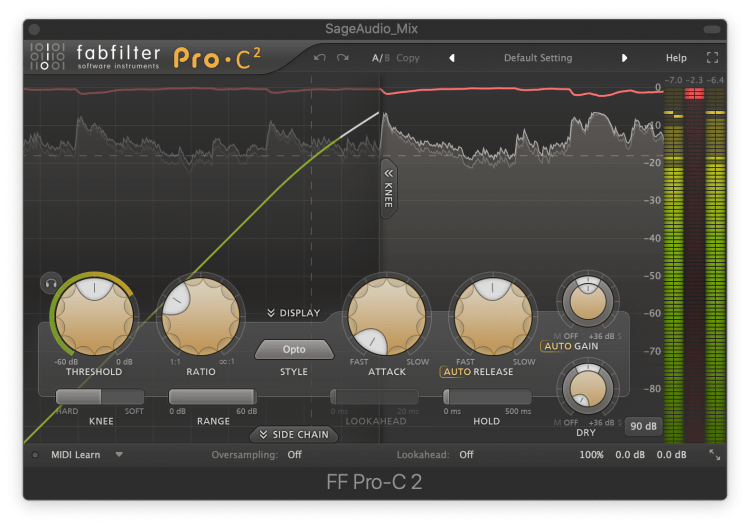
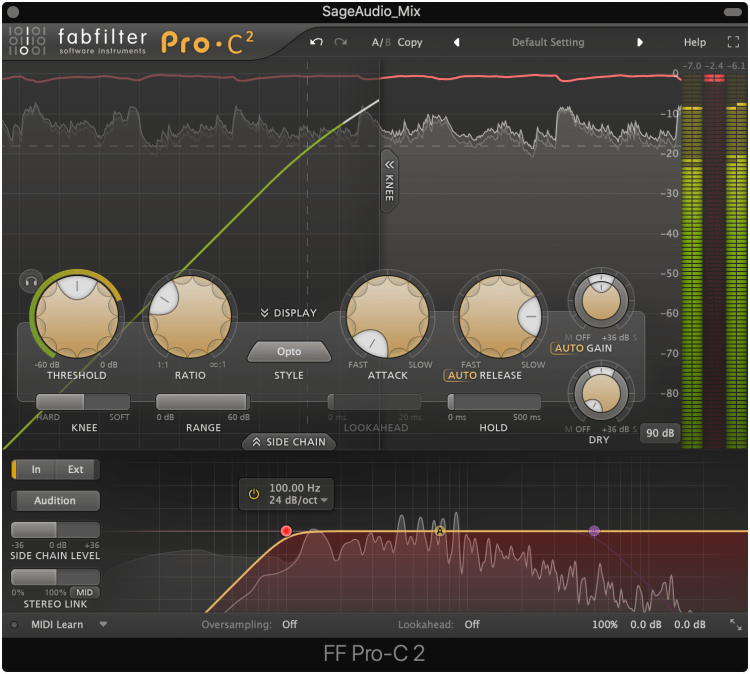
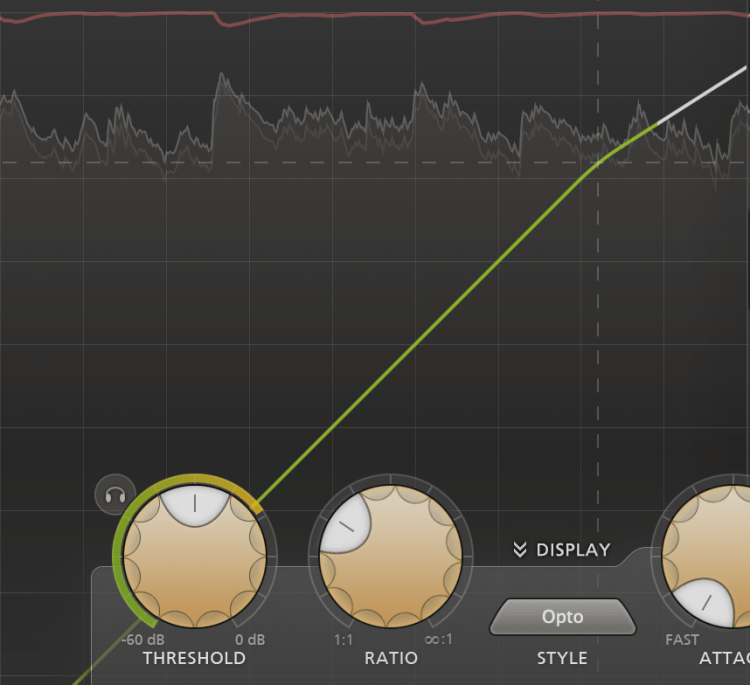
Use an optical setting on your compressor for a smooth sound.
Notice that the optical setting creates a naturally slow release and pairs it with a very soft-knee setting. This results in a smooth transition into compression.
Additionally, the longer release time and soft knee create a uniformity to the signal - often referred to as glue.
Try out optical compression if you want a smooth, glued-together master.
Use Saturation to Create a Full Master
Saturation is a combination of both soft-knee compression and harmonic distortion - making it a powerful tool to use during your mastering session. The soft-knee compression controls dynamics while the harmonic distortion makes fundamental frequencies easier to hear, and creates a louder fuller sound.
When using saturation, imagine your peaks being reduced while quieter parts of the signal are pushed upward, making them louder.
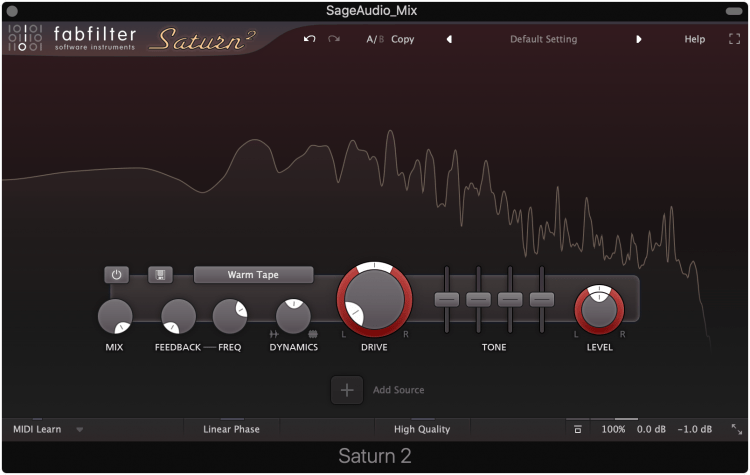
Saturation is a combination of distortion and compression.
Try different saturation types to introduce different harmonic formations - for example, tube saturation introduces a strong second-order harmonic, which almost has a doubling effect.
This lower-order harmonic also results in a warm sound.
How to Set Your Release when Mastering
The release time is one of the most important and influential aspects of compression, especially during a mastering session. It has the power to completely change the timbre of your master by either attenuating transients or letting a portion of them pass through.
First and foremost, if you’re using a compressor on a full master, your release time should be at least 50ms. Anything quicker will distort lower frequencies since the release will be shorter than the actual waveform.
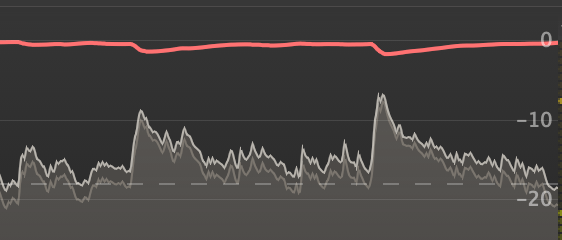
The release greatly affects the master's timbre.
With 50ms you’ll get a really transparent sound since the amplitude of the track and be returned to normal very quickly after compression.
For a smoother, or glued together sound, use a longer release time.
How to Set Your Attack when Mastering
The compressor’s attack is almost as important as its release; it too can greatly affect the timbre of your master. Generally speaking, use a longer attack to cause less compression and create a louder over signal, or a shorter attack for more compression and a smoother sound.
Like a very quick release time, a very quick attack time can cause distortion. If you set it super quick, it’ll cut into the transient, in turn distorting the waveform.
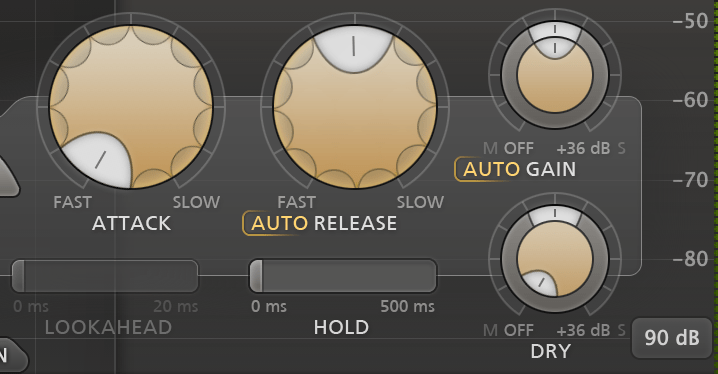
The attack time determines how long before compression begins.
With that in mind, avoid very fast attack times when you’re mastering.
Also, it might help to set the attack time, and possibly your release time to the tempo of your track.
To do this, divide 60000 by the BPM of your song to get a quarter note in milliseconds.
Use Side Chain Compression when Mastering
When you’re compressing during a mastering session, you can use the internal side chain of the compressor to reduce the effect of compression on certain frequencies. Although the full bandwidth with still be compressed, you can use side-chain compression to avoid having certain frequencies trigger the compressor.
This is especially useful when you’re mastering music with a lot of low frequencies.
Use your side chain to lessen the effect of compression on low-frequencies.
Since the kick of rap, pop, rock, and other genres holds the majority of the signal’s dynamics, these low frequencies are often the first to trigger compression.
With the internal side-chain enabled, cut these frequencies out - in turn avoiding compression being caused by them.
This will make your master more dynamic while retaining low-frequency instrumentation.
Using Hard or Soft-Knee Compression when Mastering
The knee you choose when mastering affects the sound of the compression and can result in a smooth-sounding master, or an aggressive and transient one. For a smoother-sounding master, use a soft-knee setting - for an aggressive sound, use a hard-knee setting.
The knee makes compression more gradual at softer settings, or more accurate at harder settings.
Keep in mind that a soft-knee setting will cause more compression since the compression begins at a lower amplitude; however, the compression will be more gradual - it’ll compress quieter parts less and louder parts more.
Hard-knee compression on the other hand is more accurate and only occurs when the signal is loud enough. It’s also typically more linear, in that the compression occurs at a constant rate.


