How to Create Fades During Mastering
Quick Answer
When mastering it’s helpful to know the various types of fades that you can create and their respective purposes. The types of fades to create during mastering includes Linear, Exponential, Logarithmic, Cosine, and Sine - all of which can be altered by changing their values or parameters.
How to Create Fades During Mastering in Detail
When mastering, it might be in your interest or the interest of the artist your working on to create a fade-out (or in) for the track. This is particularly helpful when you notice noise at the beginning or end of the track which isn’t being masked by any instrumentation.
Some fades are great for creating a natural sound whereas others are better suited for more practical applications.
Here, we’ll discuss which fades to use, which to avoid, cover when to use certain fades, and then listen to each type (in the video embedded above).
The fade types we’ll cover include:
- Linear
- Exponential
- Logarithmic
- Cosine
- Sine
Additionally, we’ll perform these fades using the automation feature in Logic Pro X since this will create the fade after any and all processing has been performed.
If you create your fade on the actual clip, the fade will occur prior to your signal chain , resulting in inconsistent processing from your chain due to changes in amplitude.
If you’re working on a mix that you’d like to hear mastered, send it to us here:
We’ll master it for you and send you a sample to review.
Using a Linear Fade When Mastering
Linear fades aren’t typically used during mastering since they don’t sound natural or mimic how we naturally hear changes in volume - but they can be used on occasion. Although it’s probably best to use a logarithmic fade for most circumstances, linear fades can be used for longer fade-outs.
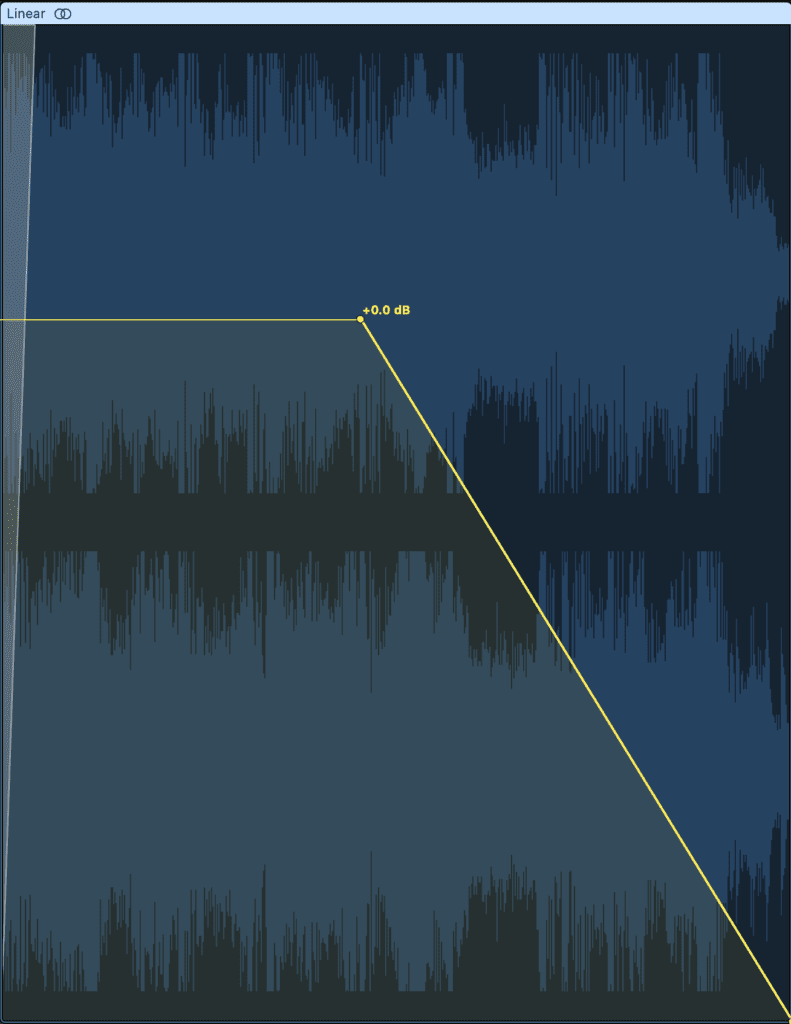
A linear fade decreases in amplitude at a constant rate.
A linear fade-out is a 1 to 1 decrease in amplitude, meaning that the amplitude is always decreasing at a constant rate. As you can imagine, when a sound source decreases, like an acoustic guitar ringing our or maybe a cymbal, it doesn’t decrease in amplitude at a constant rate.
With that in mind, if you’re creating a long fade-out, maybe 15 seconds or more, a linear fade might be used stylistically.
Typically, linear fades are used when editing to avoid any click or pops from a cut to a signal. If this type of editing is ever needed during a mastering session, then a linear fade may work well - but, this type of editing will rarely be used when mastering.
If you’d like to learn more about mastering, check out a video about a great mastering signal chain:
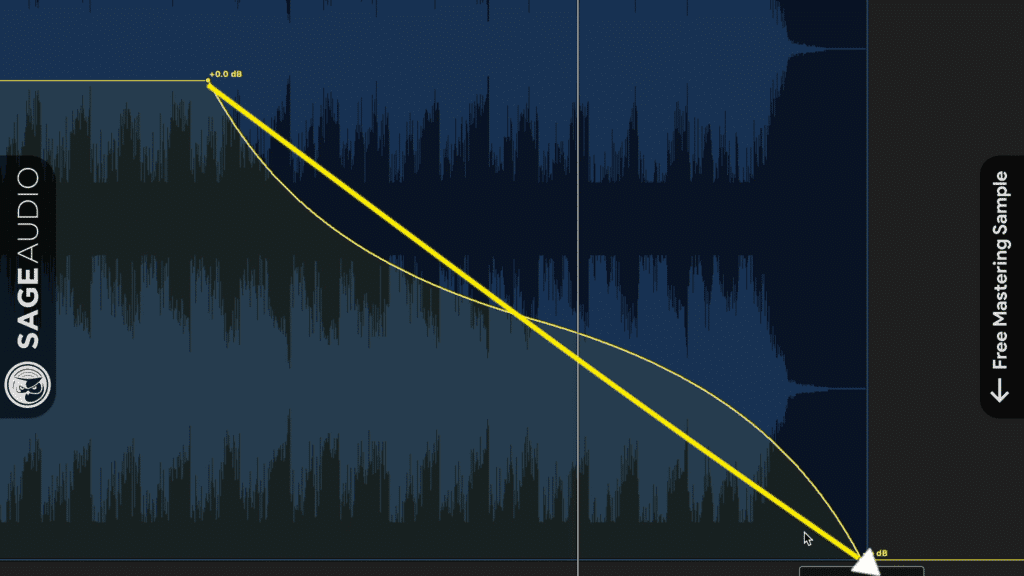
Using an Exponential Fade When Mastering
An exponential fade begins to fade out slowly, but then drastically increases in slope and significance - in other words, at first only a little of the signal is attenuated, but then a significant amount of the signal’s amplitude is attenuated. This fade isn’t natural sounding but works well when mastering.
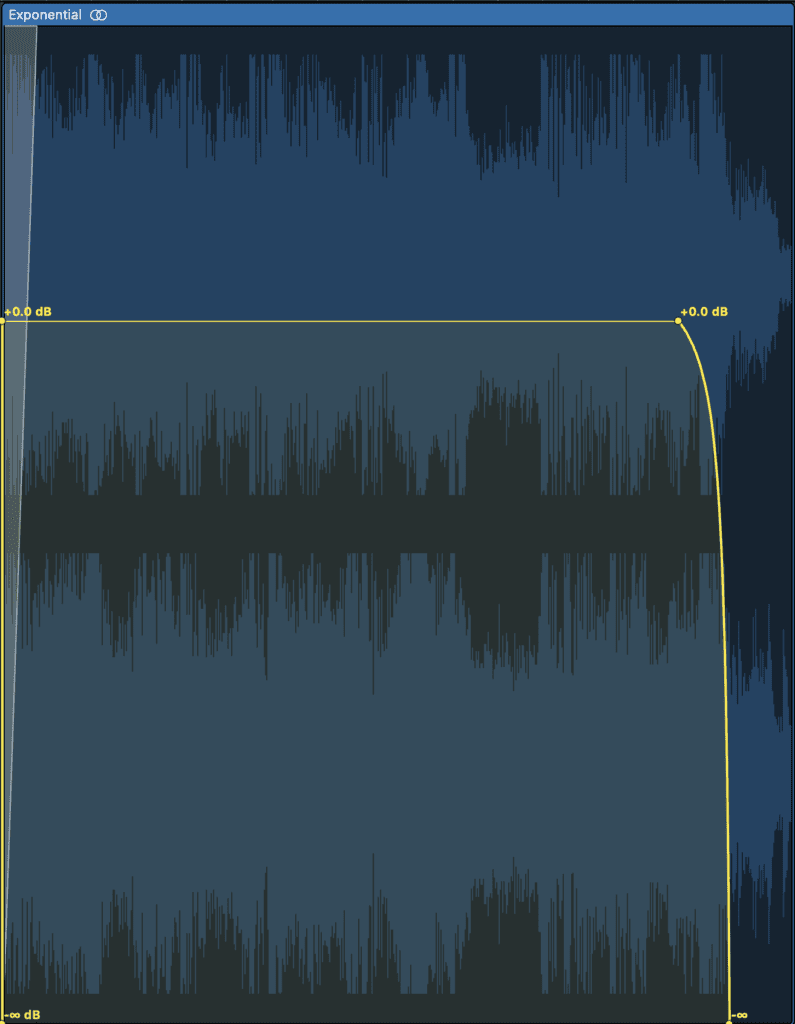
An exponential fade slowly fades before reducing the amplitude aggressively.
When using this fade, it’s good to know that it doesn’t work in every circumstance. In many instances, it’ll sound too unnatural and may be jarring to the listener if used at the wrong point.
I find that this fade works well when timing a fade with the BPM of the track. Typically, a 16th note or 8th note will work well.
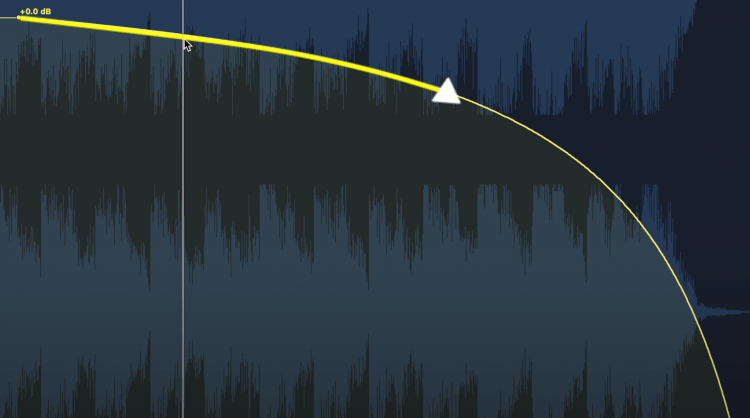
Notice that the slope is subtle before becoming drastic.
In that regard, this typically works as a more percussive fade out.
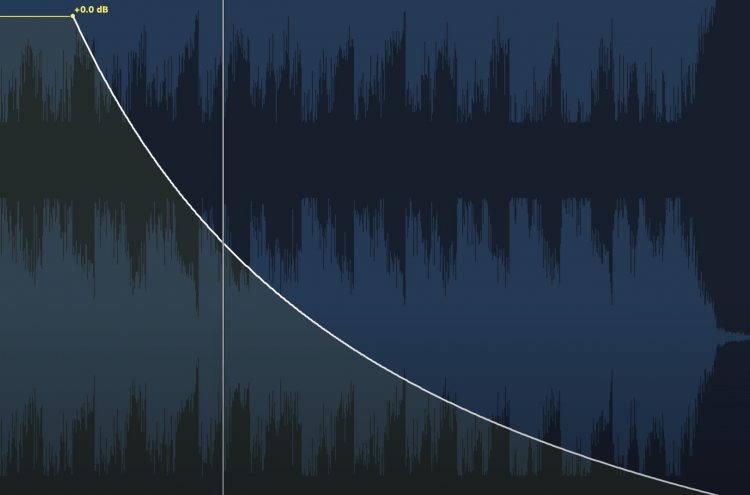
Using a Logarithmic Fade When Mastering
A logarithmic fade causes a gradual decline in amplitude that sounds smooth and natural - the fade is slower to begin with, then fades quickly, and ends with another slow fade. Logarithmic fades are the most commonly used fades when mastering and are a good go-to.
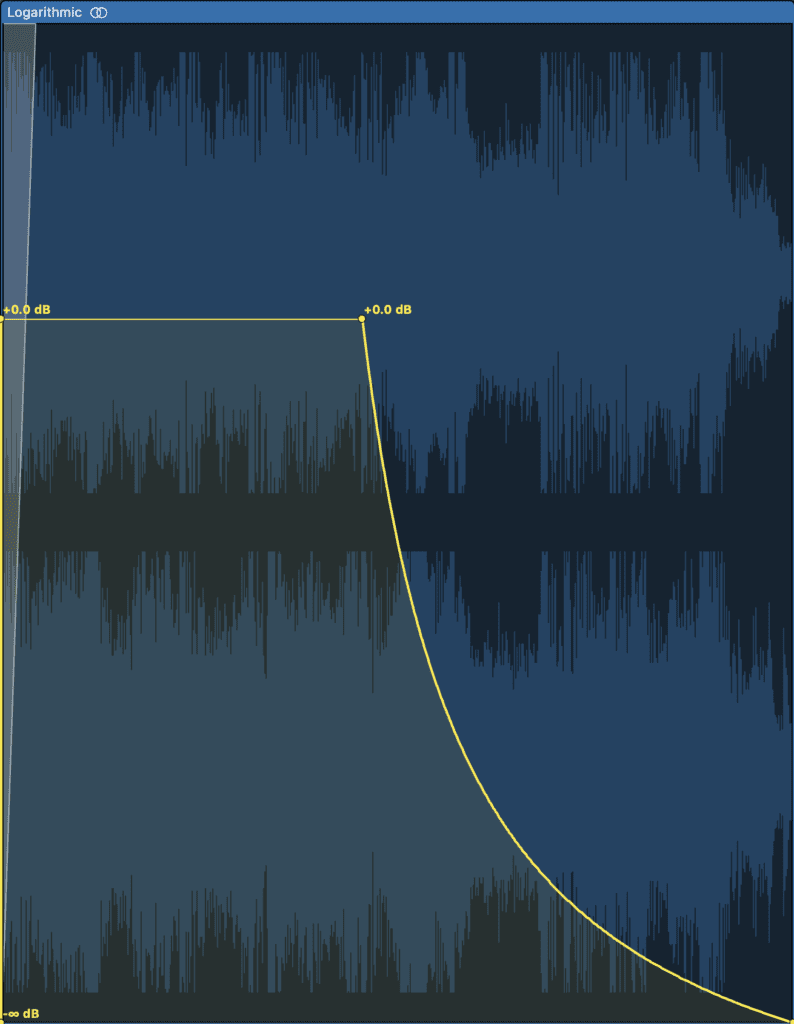
Logarithmic fades are the most natural sounding fades.
It helps to know that the way we hear, and the scales we use to measure the loudness and amplitude of a signal are both logarithmic. The reason being, our hearing is not capable of determining very small differences between low-level signals.
In other words, when 2 sound sources are vert quiet, the perceived difference between the 2 is small. If you were to simply fade out a signal in a linear way, it’ll sound as if the signal cuts out too quickly to be natural.
These fades are commonly used during mastering.
However, in the mid to high range of volumes, we have a more linear relationship between changes in amplitude and perceived loudness.
All this to say that Logarithmic fades closely mimic how we hear and in turn sound the most natural and unnoticeable to listeners.
So, if you’re looking to fade out a master, but don’t want the fade to be obvious or seem as if you put it there at all, it’s best to use a logarithmic fade. Furthermore, if you’re trying to emulate the natural fade out of an acoustic instrument, a logarithmic fade will work well.
If you’d like to learn more about mastering, check out a video about a great free mastering signal chain:
Using a Cosine or S-Curve Fade When Mastering
Cosine or S-Curve fades are a combination of exponential fades and logarithmic fades - the first part of the fade is exponential whereas the latter part is logarithmic. With a Cosine fade, the signal slowly fades, then fades in a linear manner, before ending on another slow fade out.
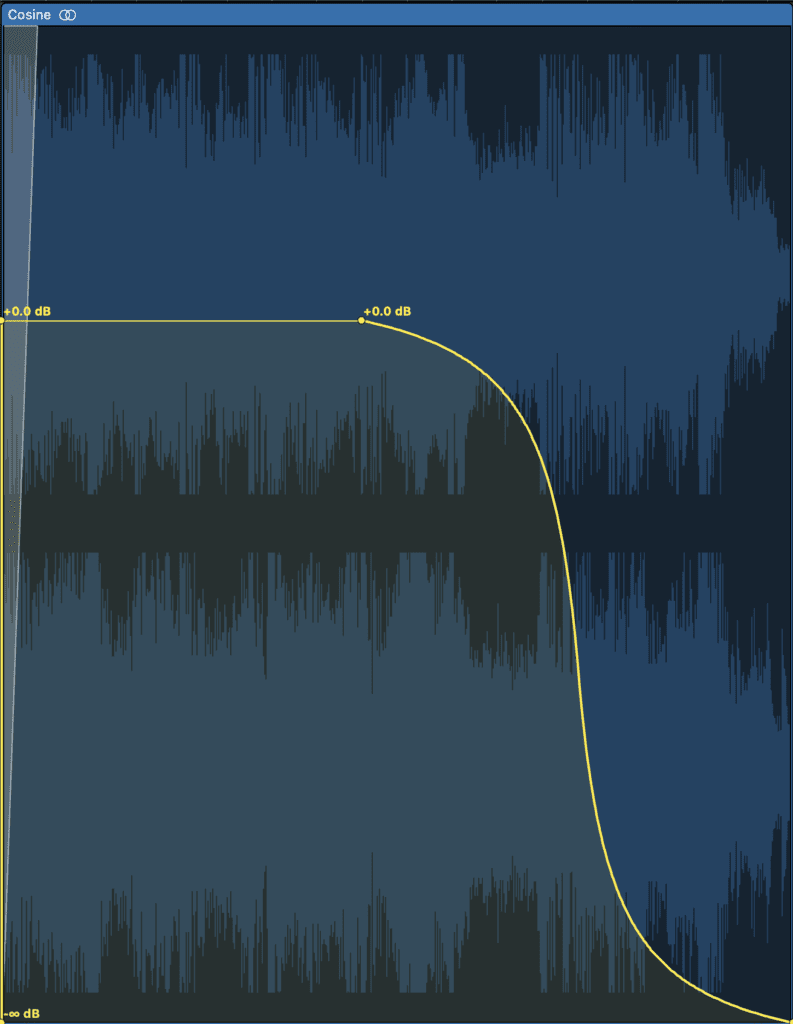
An S-Curve or Cosine fade start exponential, and ends logarithmic.
Although this isn’t as natural sounding as a logarithmic fade, the ending of the fade does retain a natural feel to it. Additionally, starting the attenuation of amplitude with an exponential fade means you give yourself a little more time before the signal drops in amplitude.
This is particularly useful in rock songs or any track that has an acoustic or electric instruments note ring out to end the song. The note can remain at almost its original volume due to the exponential beginning, then fade out naturally with the logarithmic ending.
In short, if you want the signal to remain relatively the same amplitude before naturally fading out, use an S-curve or a cosine fade.
Using a Sine Fade When Mastering
A Sine Fade is the inverse of an S-Curve or Cosine fade intuit it starts logarithmic and ends exponential - meaning it fades quickly, retains its amplitude in the middle, then quickly fades out again. This fade is typically used to correct an improper fade that was created during mixing.
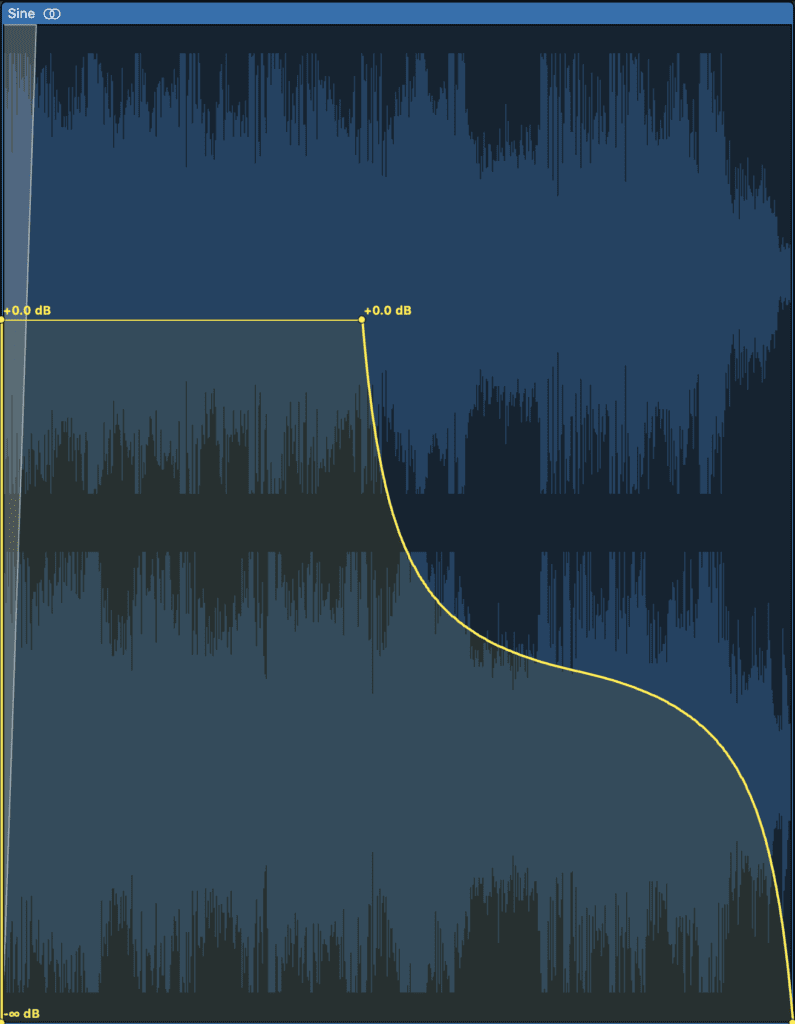
Sine fades are the inverse of S-Curve or Cosine fades.
With that in mind, it’s rare that this type of fade will be used in a mastering session. But, if the mixing engineer used a linear fade to attenuate a track, then the Sine fade may be a good option to remedy it.
They can be used to correct a linear fade that was introduced during mixing.
Conclusion
When using fades during mastering, it’s important to choose the fade that best suits the material you’re working on. Although this isn’t true for every circumstance, you’ll use exponential, logarithmic and cosine fades the most often, and linear and sine fades the least.
Regardless of the fade type, try to make your fade stay in time with the track. Also, consider if another track is sequenced after the one you’re working on.
If so, how your track fades out will impact how listeners interpret the next track. Granted, this is becoming increasingly rare due to the popularity of singles over albums, but it’s something to consider nonetheless.
If you’re working on a mix that you’d like to hear mastered, send it to us here:
We’ll master it for you and send you a sample to review.


