How to Get Your Vocal to Sit on Top of Your Mix
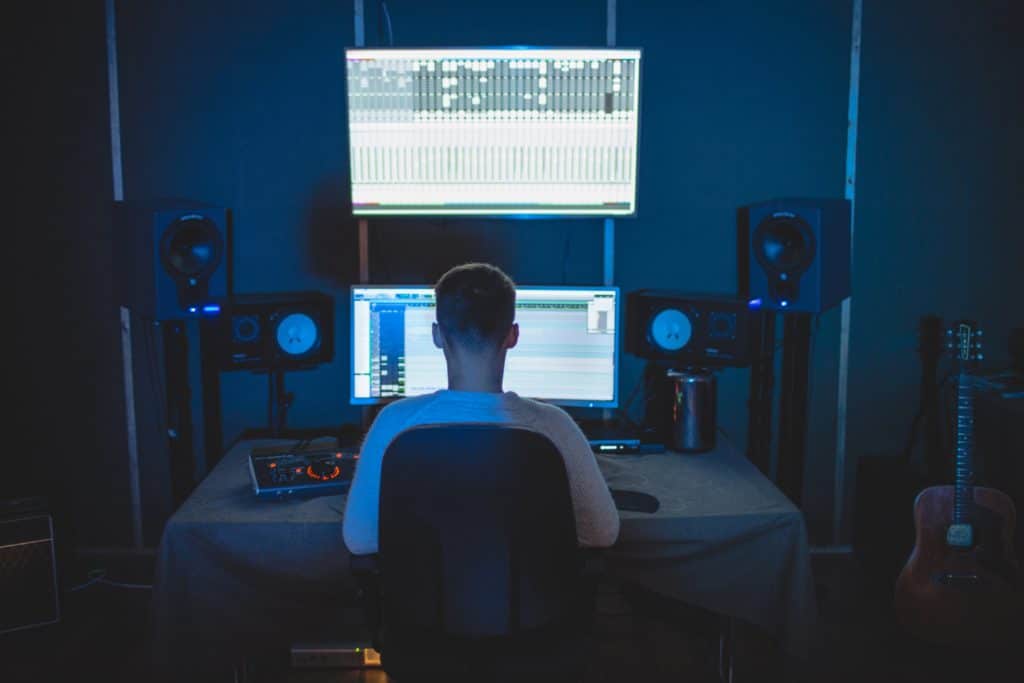
Getting your vocal to sit on top of a mix is often easier said than done. When a mix starts to become more complex, and layers of instrumentation start to causecompetition for sonic space , finding room for your lead vocal can be a challenge.

Vocals will often compete for space in a busy mix or composition.
This is especially true for pop music, where complex instrumentation conflicts with the need to have an upfront, present, and easily perceived vocal.
Fortunately, there is one technique you can use near the end of your mixing process that allows your vocal to come through.
Follow the technique detailed below during the last stages of your mixing process.
In short, it all has to do with phase relationships. By attenuating competing frequencies, we can clear some room for the vocals without the need for aggressive expansion or compression techniques.
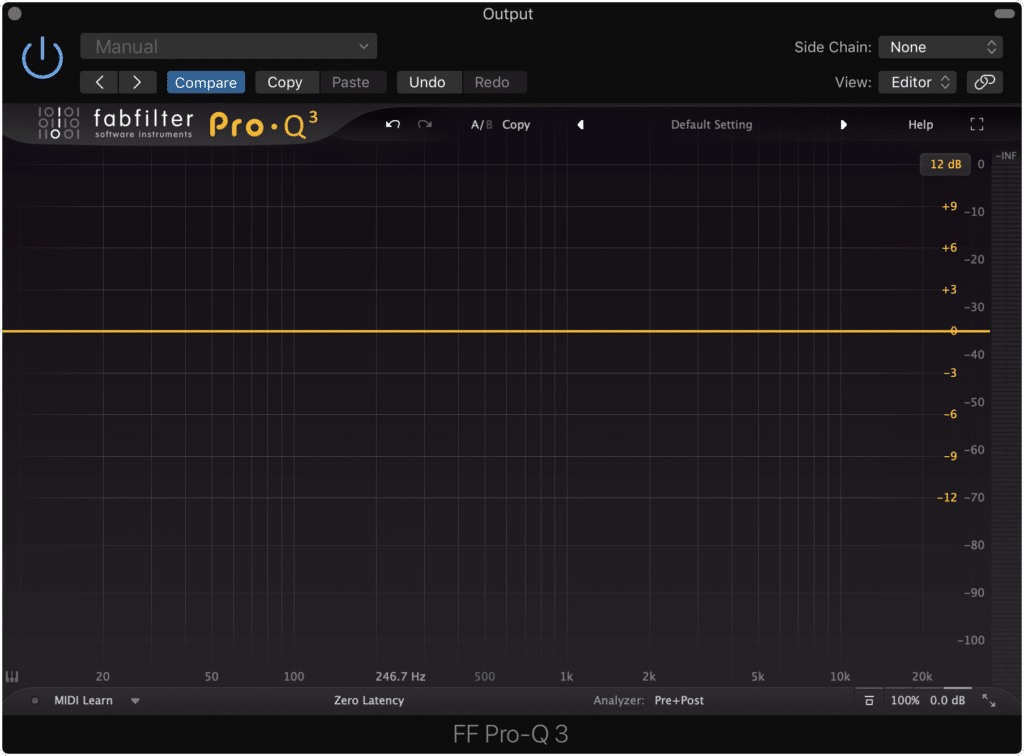
All you need to accomplish this technique is a mid-side equalizer that cleanly affects your signal - meaning an equalizer that does not introduce harmonic generation or other forms of distortion.
With that said, one good option we recommend is theFabFilter Pro Q 3.
For this demonstration, we’ll be using the FabFilter Pro Q 3, but if you have another equalizer that you like, feel free to use that one.
Using Mid-Side Equalization to Improve Phase Relations
Step 1: Insert your Equalizer on your master output. It’s important to insert the plugin on your master output, as this allows you to process the entirety of your mix using this plugin.
Be sure to insert the plugin on your master output.
Step 2: Enable Mid-Side processing. This will look different for different plugins, but for the FabFilter Pro Q 3, it consists of creating your eq band and then determining which channel it will affect.
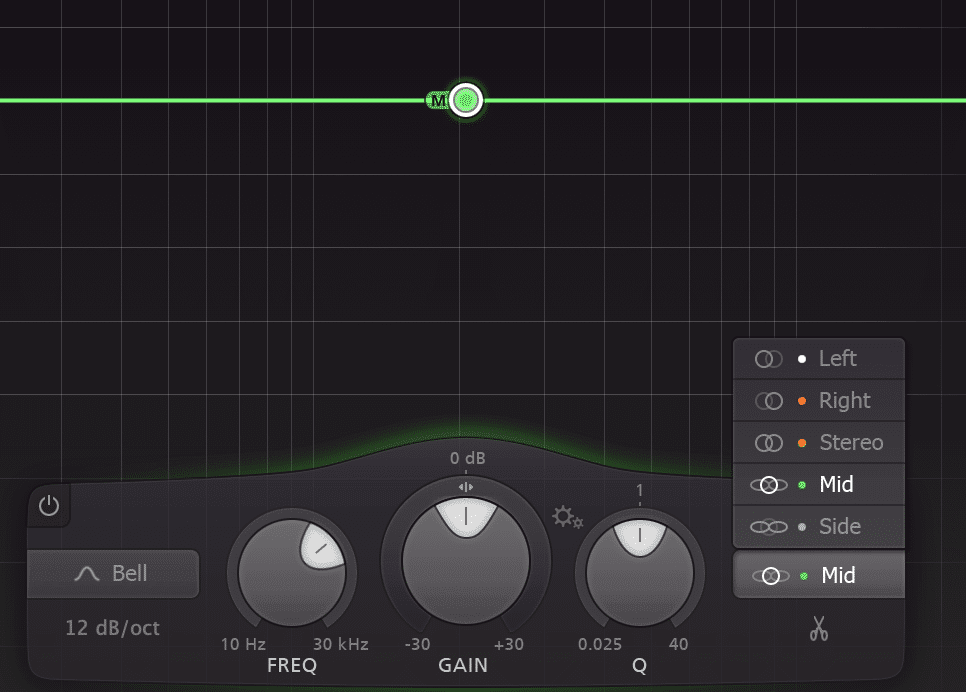
Enabling mid-side processing will look different based on the plugin you use.
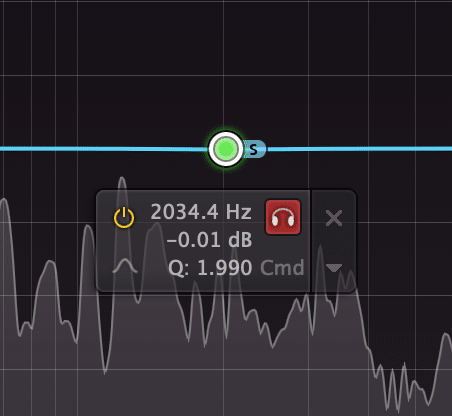
Step 3: Create a bell curve band on your ‘Mid’ image. Use this band to accurately determine where your vocals sit in the frequency spectrum. It helps to use an isolate or headphones function. If you can’t seem to pinpoint the correct frequencies, 1.5kHz to 3.5kHz is an appropriate range for most vocals.
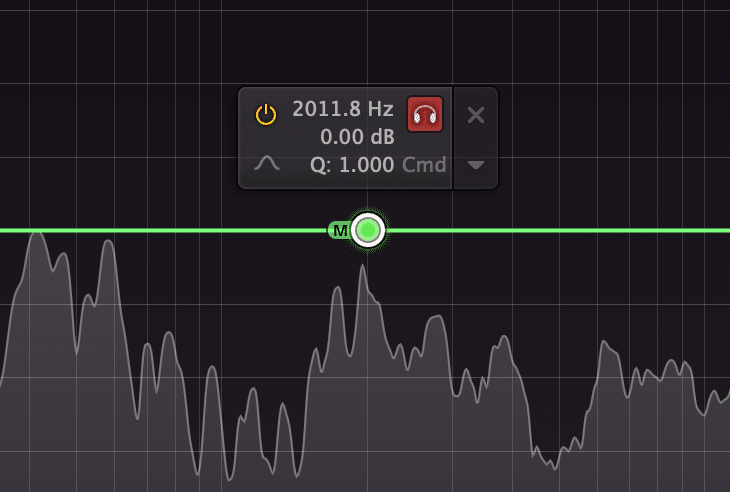
Isolate and find the most prominent frequencies of your lead vocal.
Step 4: After determining the frequency range of your vocals, create a band on the ‘Side’ image with a Q that covers the correct bandwidth.
Create a bell filter on your side image. Set the Q to cover the correct bandwidth.
Step 5: Attenuate the band on your side image gradually. Try not to attenuate it too significantly - no more than 2dB.
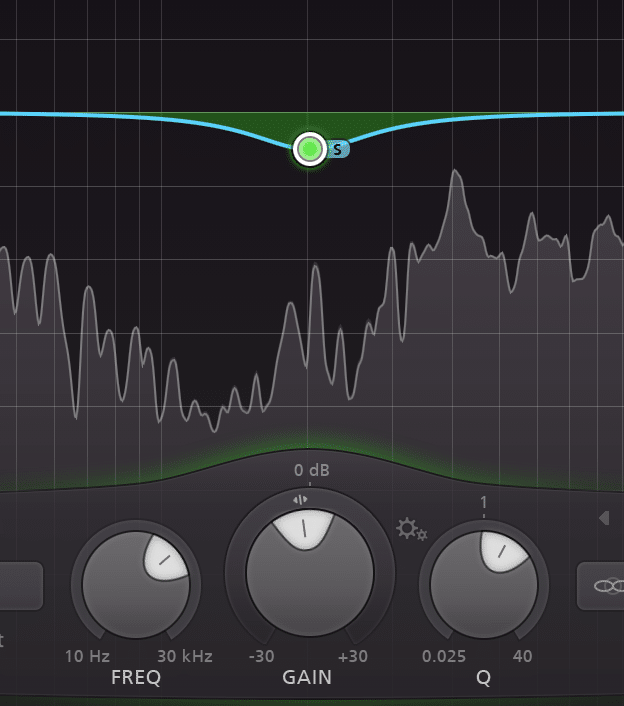
Attenuating the side image too much will cause noticeable changes to your mix. A small amount will bring your vocal forward.
Conclusion
Essentially what is occurring, is that frequencies on the side image are masking your vocal by occupying the same bandwidth as your vocal.
By attenuating these frequencies, you’re lessening the effect of this masking, or phase cancellation , and in turn, making your vocal louder.
This is a quick and effective method for improving your phase relationships, and it has more applications than the one shown here - but if you’re looking to quickly improve the presence of your lead vocal , and to have it sit on top of your mix’s instrumentation, this mid-side method will work well.
Have you ever used mid-side equalization?


