How to Use Dynamic Eq During Mastering | Ultimate Guide!
Quick Answer
When mastering you can use dynamic equalization to both attenuate and accentuate aspects of the master to create a balanced frequency spectrum. As the name suggests, you can use dynamic eq during mastering to control dynamics, add clarity, or make a master full and impressive.
How to Use Dynamic Eq During Mastering in Detail
Equalization might be the most popular form of audio processing in both mixing and mastering. From correcting phase and other issues to accenting parts of an instrument, equalization is a versatile and powerful tool.
Recently, one more element has been added to equalization, dynamic control. The introduction of dynamics into an equalizer doesn’t drastically change the purpose of an EQ, but it definitely adds even more flexibility.
With that in mind, let’s look at multiple techniques that you can use when introducing dynamic equalization to your master. The techniques we’ll cover are somewhat simplistic, but useful nonetheless.
For our examples, we’ll use the FabFilter Pro Q 3, but feel free to use a different plugin if you want to.
If you’re an artist or engineer, and you have a mix that you need mastered, send it to us here:
We’ll master it for you and send you a sample to review.
Using Subtractive Dynamic Equalization During Mastering
Subtractive dynamic equalization attenuates aspects of the signal that aren't desired or may cause issues with further processing.
When mastering, you can use subtractive equalization to control sibilance, alleviate muddiness in the lower frequencies, augment the vocals, and tame high hats if they’ve become too prominent. It’s best to use subtractive dynamic equalization at the beginning of your signal chain if you’re using it during mastering.
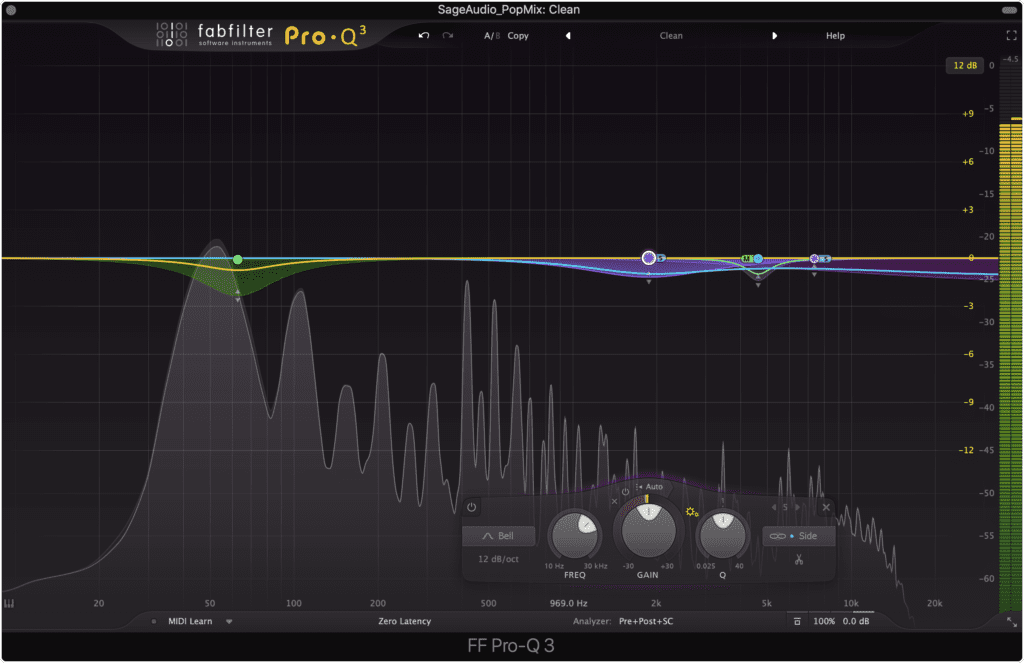
These are the 4 bands we'll create and attenuate with dynamic EQ.
Let’s look at each of these 4 things in more detail.
Sibilance

Sibilance is in the high frequency range, and can be attenuated with a band on the mid-range.
To tame sibilance, use an analyzer to see where and when your signal spikes in the high-frequency range. Doing so lets you match up when an ‘ess’ is sung or spoke with the exact frequencies that that ‘ess’ occupies.
Once you know the frequencies, create a band with the center frequency on the most prominent aspect of the sibilance. Then make it dynamic.
You can either use the automatic settings or adjust the threshold of the attenuation, as well as increase or decrease the range of the attenuation.
By creating this band, you ensure that whenever sibilance occurs, it’s attenuated by the band. Additionally, this ensures that cymbals and other high instrumentation is relatively unaffected.
Muddiness

Muddiness is caused by bass frequencies around 200Hz.
To alleviate your master from muddiness, create a band around 200Hz. Just like before, make this band dynamic, and then determine if the threshold needs to be adjusted.
When trying to tame muddiness, I’d use the isolate feature to listen in on this bell filter’s bandwidth. From there, I’d find the spot where the bass frequencies are most prominent and let the attenuation occur there.
Be sure not to lower this filter too far, or you’ll begin to attenuate aspects of the master that aren’t related to muddiness.
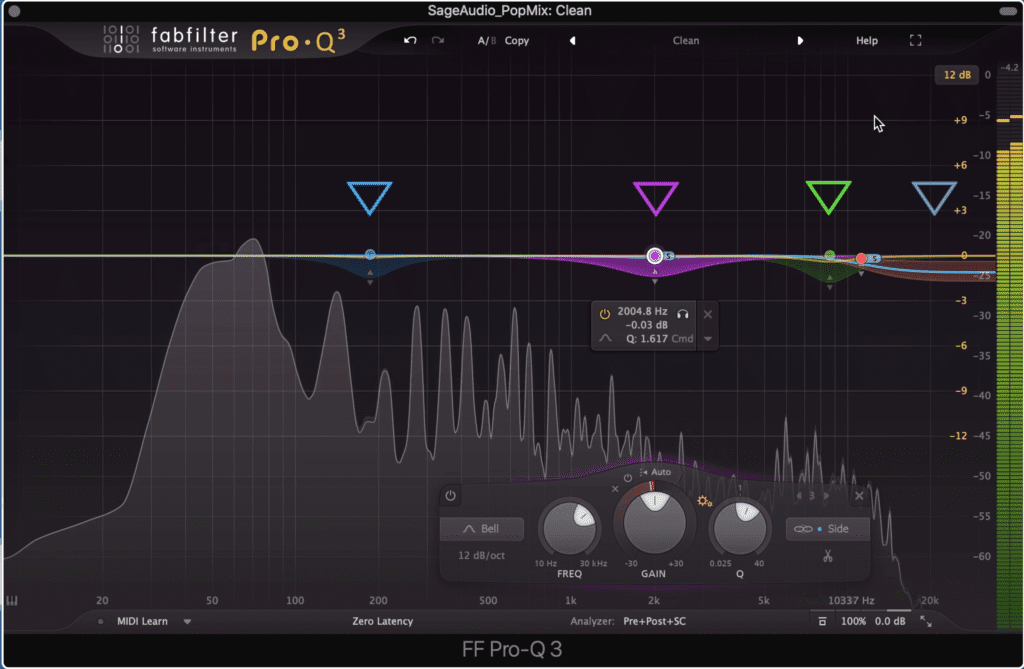
Vocals
If you want to augment your vocals in a master, create a bell filter on the side image at 2kHz, and make it dynamic. Adjust the range to 2dB, and see if this makes an audible difference.
Essentially, by using a band on the side image you reduce the effect of masking,in turn increasing the amplitude of the mono vocal.
Since this is dynamic, it will only trigger, or at least only trigger significantly, when the vocal is being sung.
Hi-Hats
To tame hi-hats, use a dynamic shelf filter that starts around 8kHz. If possible and if the EQ allows for it, reduce the attack and release time to around 2ms. The Fabfilter pro-q 3 doesn’t have this option, but there may be a version in the future that does.
This will ensure that the high-frequency range retains its detail, while the hi-hat is attenuated.
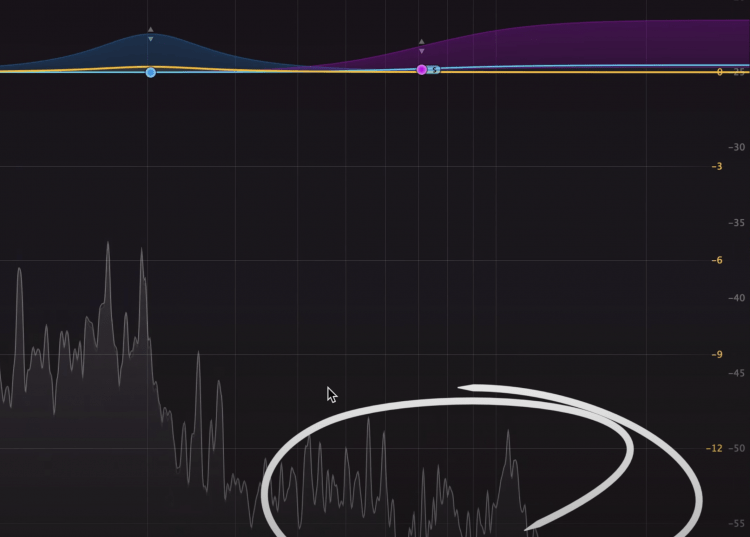
Since the hi hats in this song are too dynamic, we can trigger a dynamic band that occurs just when the hi-hat is hit.
Although how much you attenuate is up to you, I would set the range no greater than 2dB. The reason being, changes to the high frequency range are easy to notice, so any changes made should be as subtle as possible.
If you'd like to learn more about the FabFilter Pro Q 3, here's some info on it:
Using Additive Dynamic Equalization During Mastering
Additive equalization is used to make certain instruments more prominent. It's best to use additive equalization later on in your signal chain.
If you decide to use additive dynamic equalization during mastering, it’s best to do so after compression and saturation - this way you aren’t amplifying the signal prior to compression, which would cause more aggressive compression. Additionally, it's best to make small changes when using additive dynamic equalization during mastering.
Converse to the idea of subtractive dynamic equalization, additive dynamic equalization is used to augment any aspects of the frequency spectrum which need to amplified.
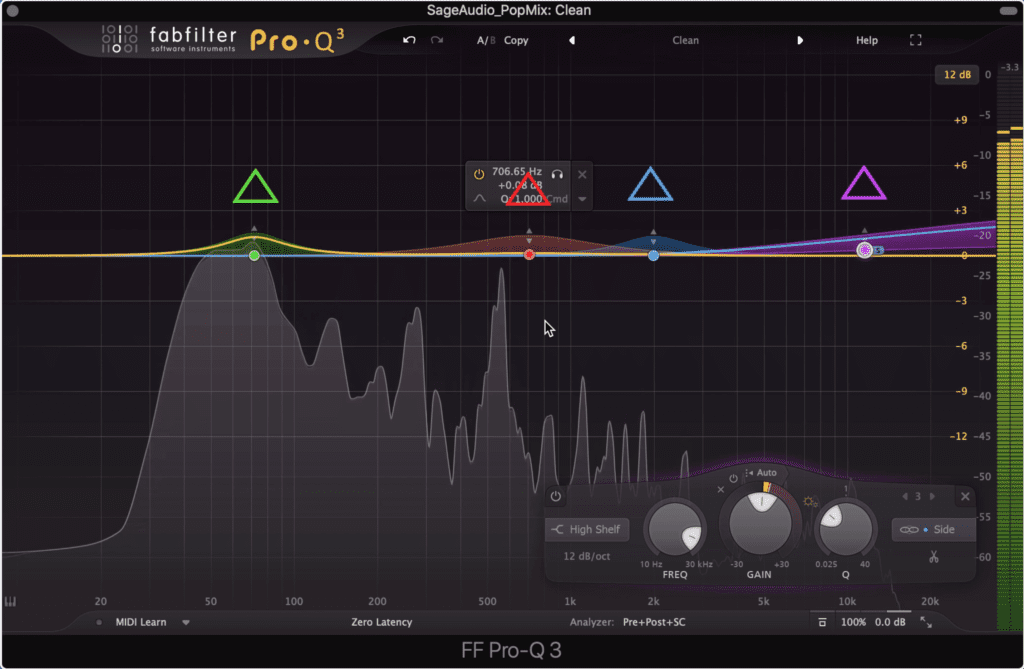
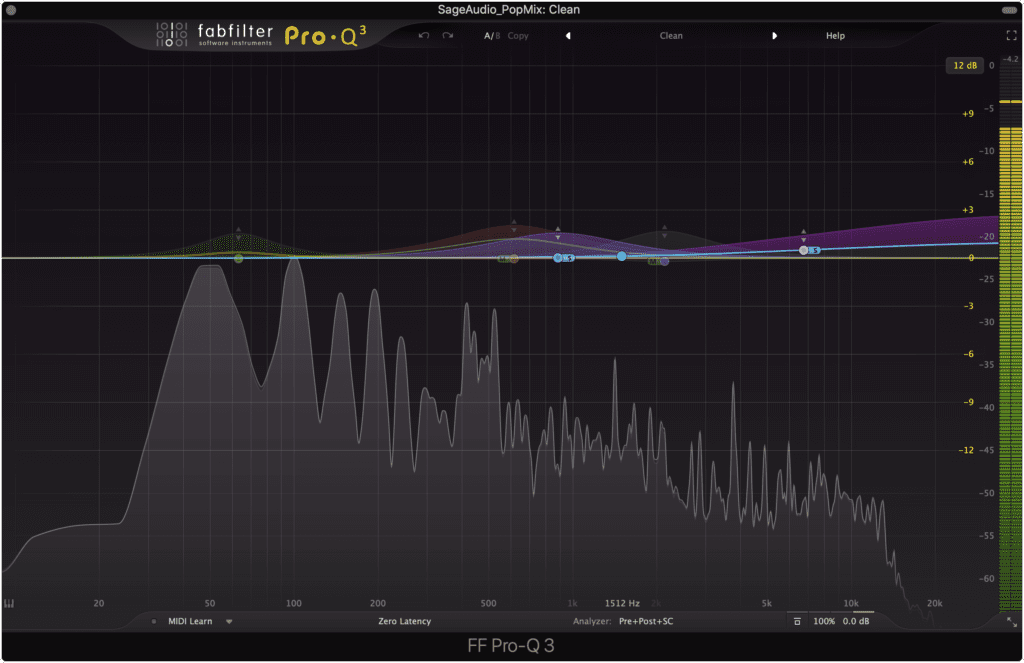
These are the 4 bands we'll amplify with dynamic equalization.
You can use additive dynamic equalization to amplify the kick in a master, augment the vocal, dynamically widen the stereo image, and add power to the mid-range.
Regardless of the technique you use, each one will increase the dynamic range of your master.
Kick
By observing the frequency spectrum analyzer, find the most prominent kick frequency and place a bell filter with its center directly over it.
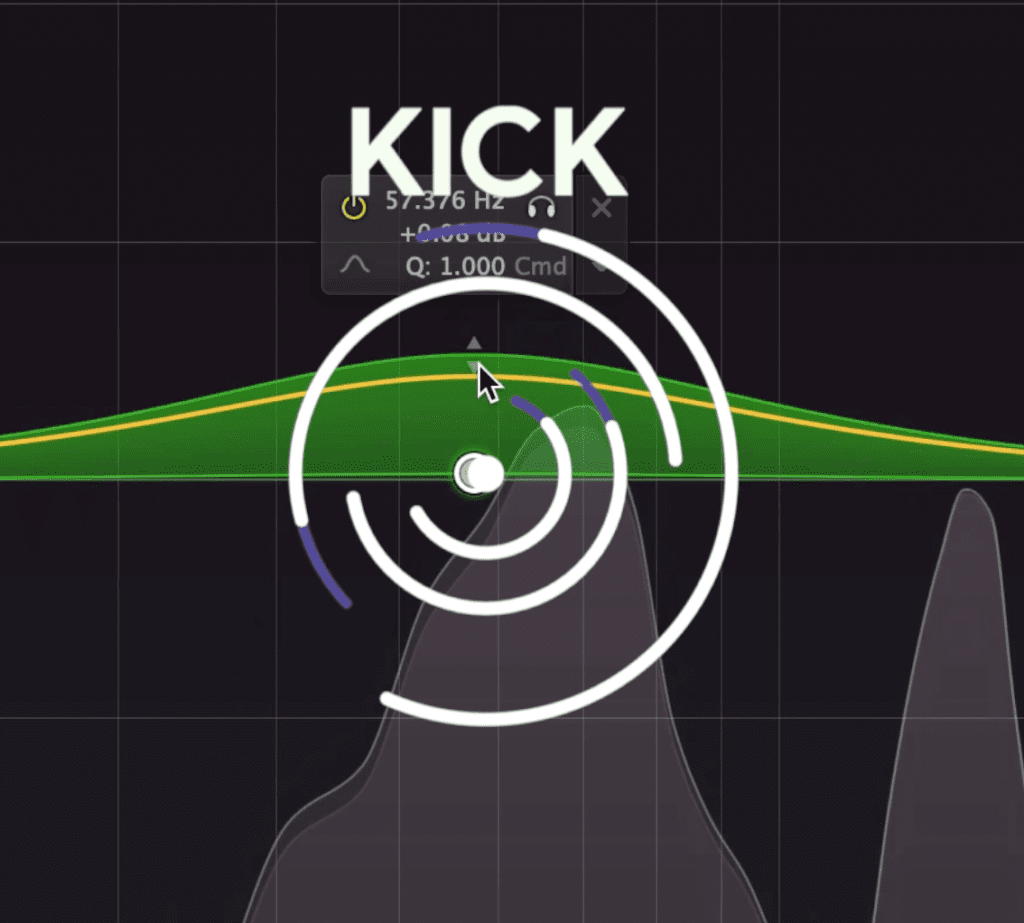
The kick is an important instrument to expand.
Then make the band dynamic as we’ve been doing so far. Increase the range above the bell filter by up to 3dB, and lower the threshold if needed.
Vocal
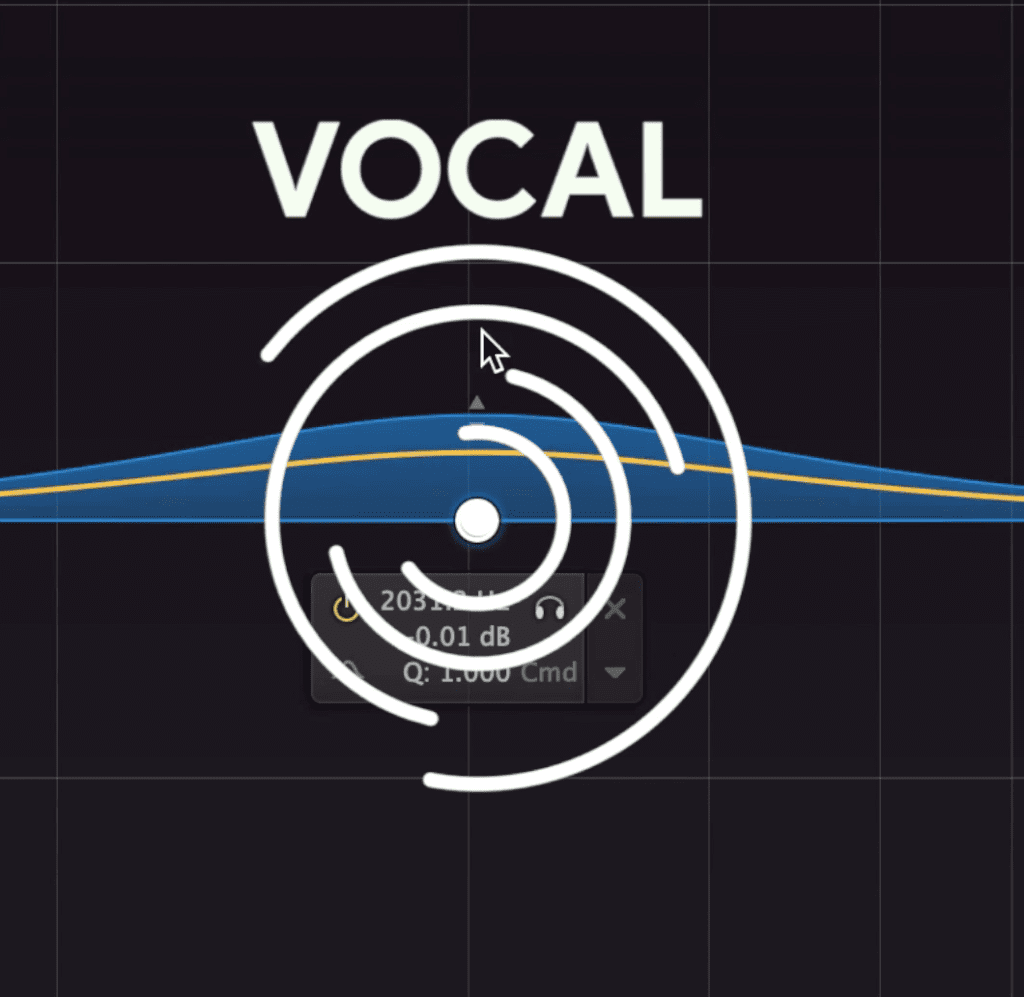
Expanding the vocals can help them stick out in a busy mix.
Similar to the technique we just used with the kick, do the same to the vocal, but with the bell filter’s center frequency around 2kHz on the mid or stereo channel. This will trigger expansion to those frequencies whenever the vocal is sung, in turn making them louder and cut through a mix.
Stereo Image
If you want to dynamically widen the stereo image of your master, create a shelf filter on the side image and place it around 7kHz and up.
Using a range of about 2dB, lower the threshold or use an automatic setting until you notice that the band is triggered and expansion occurs.
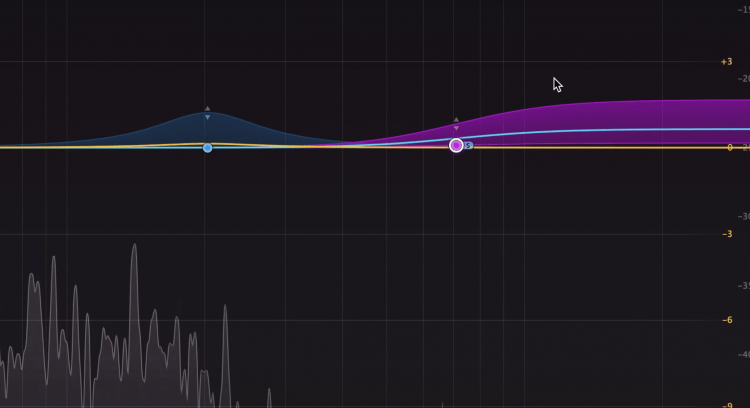
By using a dynamic band for the high frequency range on the side image, we can dynamically widen the stereo image.
Since this band is on the side image, whenever it’s triggered it’ll amplify the side image, in turn, making the entire stereo image wider.
This has an interesting effect since the widening of the stereo image isn’t constant, but instead, depends on the presence of high-frequency instrumentation to occur.
Mid-Range
One of the best ways to add some power or impact to a master is by using a dynamic band on the mid-range frequencies. Since this area holds the majority of the instrumentation, boosting and making it more dynamic helps with the impact of your master.
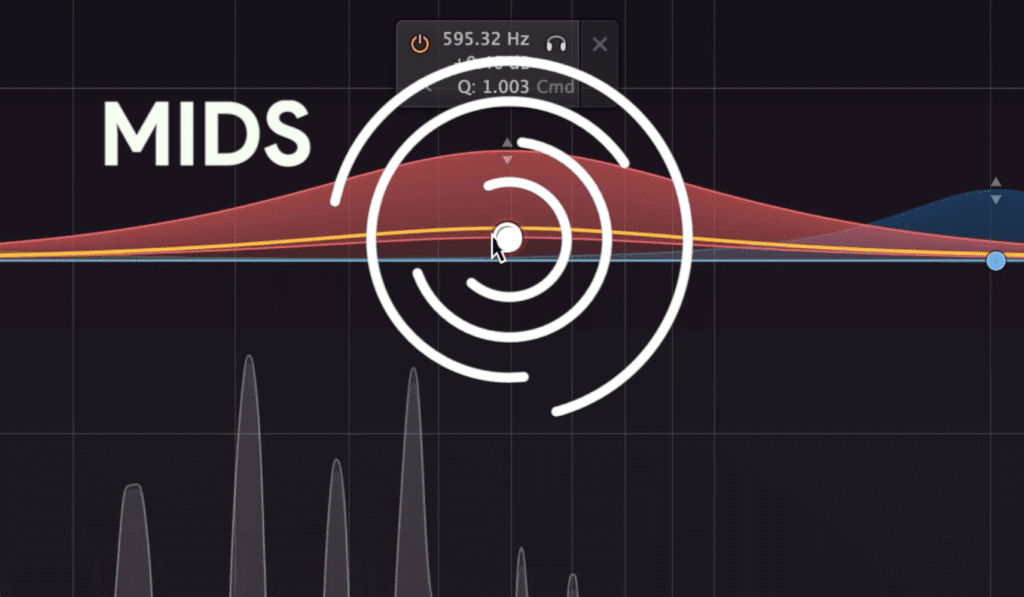
Mids hold the majority of a masters instrumentation and power.
This strategy works for both the mid and side image.
If you use it on the mid image, you’ll most likely make aspects of the drums and vocal more impressive and dynamic.
If you use this technique on the side image, you’ll make the body of your guitars and maybe some of your temporal processing like reverb more dynamic.
Experiment with expanding the mid-range of both the mid and side images to see how to create a balance between the two.
Here are some free EQ plugins to use when mastering:
Conclusion
Dynamic equalization helps you create a more dynamic master and control aspects of the frequency spectrum which may pose issues later on.
Using the techniques described above, you can quickly and easily improve the quality of your masters by both controlling frequencies and augmenting them.
Think of dynamic equalization as a way to attenuate or amplify specific instruments, and use it during mastering to do just that.
If you’re an artist or engineer, and you have a mix that you need mastered, send it to us here:
We’ll master it for you and send you a sample to review.


