How to Use Subtractive EQ: Mastering
Quick Answer
Subtractive Equalization is one of the most important aspects of mastering - with it you can attenuate aspects of the signal prior to them being inevitability amplified by limiting or other increases in the signal’s gain. Ideally, subtractive equalization occurs first and only once, proper to any additional processing.
How to Use Subtractive EQ for Mastering in Detail
Subtractive Equalization is incredibly simple in theory - but in execution, it can be a little more complicated.
Subtractive equalization is the use of an equalizer as a means to attenuate various aspects of the frequency response. In other words, you use an equalizer and you cut out the frequencies that don’t sound good.
But choosing those frequencies, how to attenuate them, and when to attenuate them can be the tricky part.
Let’s cover subtractive equalization when you should use it during mastering, and some of the finer details that you should keep in mind while introducing it to your master.
If you’re an artist or an engineer and you have a mix that you need mastered, send it to us here:
We’ll master it for you and send you a free sample to review.
When to Use Subtractive Equalization During a Mastering Session
Subtractive Equalization is best introduced very early on in the signal chain of a master. The reason being, other forms of processing like saturation, harmonic excitement, compression with makeup gain, and of course additive equalization and limiting, can make unwanted frequencies louder, and in turn, harder to tame.
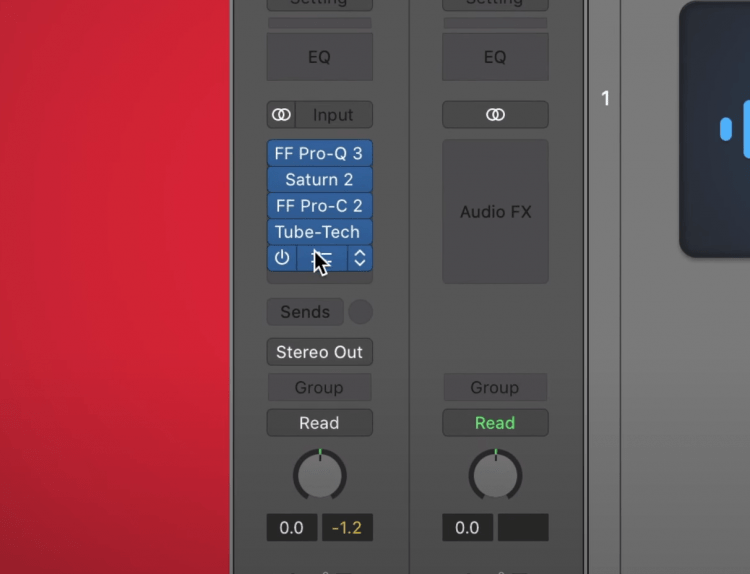
Subtractive EQ is a good first insert in your mastering chain.
That’s why I almost always start my mastering signal chain with subtractive equalization. This way I can attenuate aspects of the response that I think might cause issues further down the line.
Keep in mind how any changes will affect the subsequent forms of processing.
This includes but isn’t limited to excessive low-end frequencies, aggressive sibilance, and subtle discordant frequencies that detract from the enjoyability of the sound.
What you attenuate will depend on the mix you're mastering.
In other words, keep in mind what you don’t want to become more aggressive with the subsequent forms of processing. This will give you a great idea of what to attenuate.
What you attenuate can be on the mid-image, the side image, stereo, or left/right images. So for example, if the mix has a guitar panned hard right, you notice an unpleasant scraping sound when the guitarist’s fingers move across the strings, you should isolate that frequency on the right channel, and attenuate it.
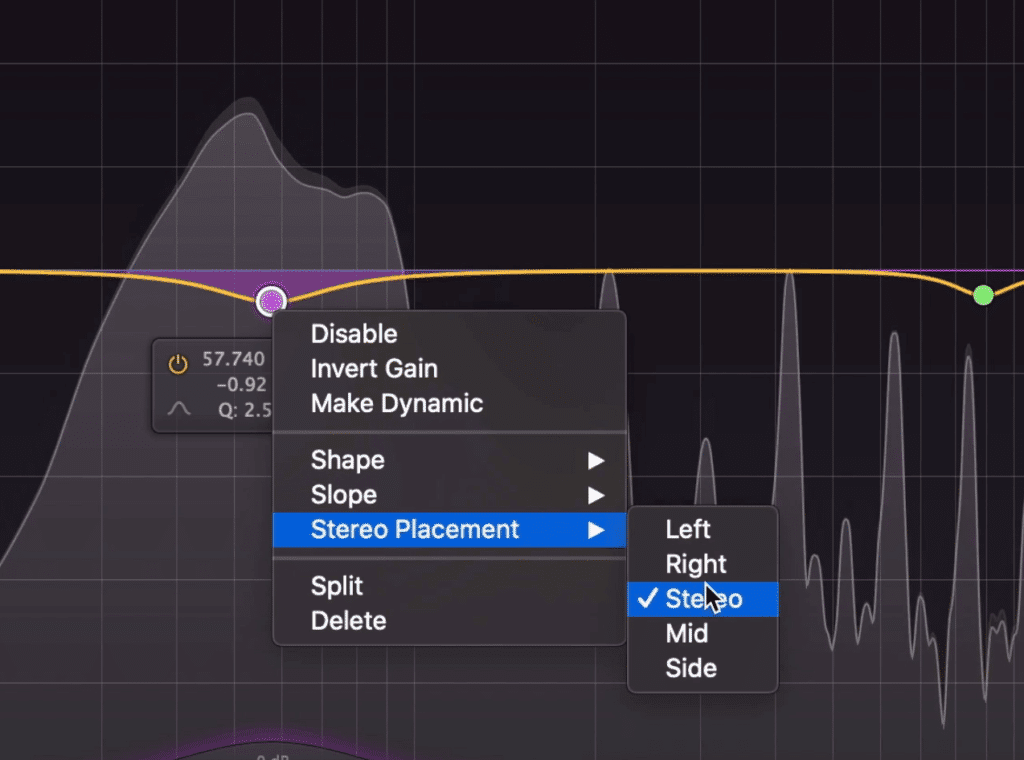
You can also attenuate frequencies on specific images to make the attenuation more accurate.
Another example that I always like is attenuating bass frequencies that make their way into the side image. By attenuating the side image with a high-pass filter, you can make your low-frequencies mono.
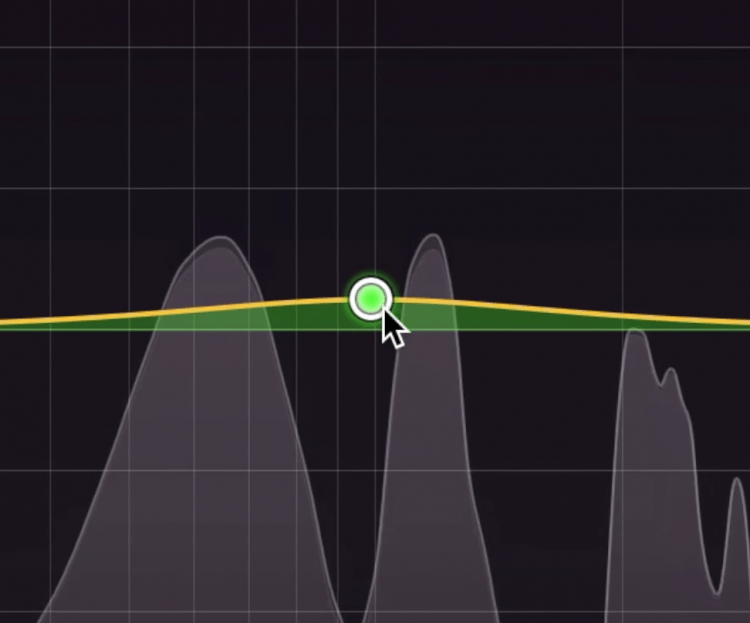
One more good technique is to cut out frequencies below 15Hz on the mid-image. This won’t make a perceivable difference to the master, but, it will give you slightly more headroom to work with later on.
This will help you master stay focused and offer a cleaner sound later on in the signal chain.
For more info on how to master, check out our video:
How and When to Use Dynamic Subtractive Equalization
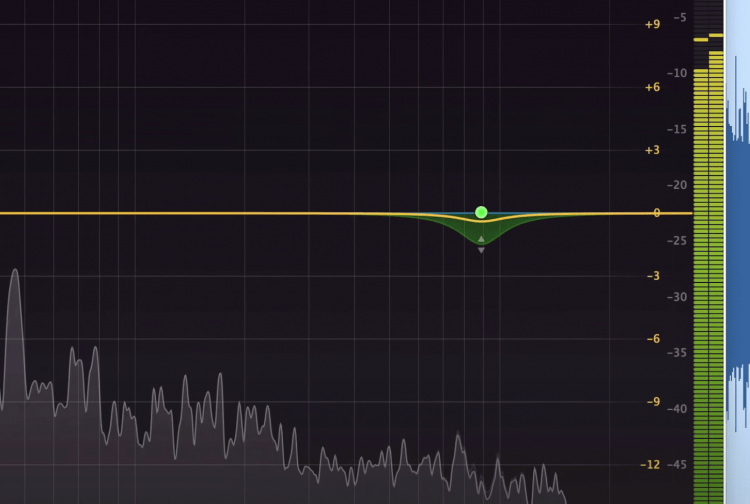
Dynamic subtractive equalization is great for when you want to attenuate an aspect of the signal, but only when it’s aggressive enough to trigger your dynamic EQ’s band. Subtractive dynamic equalization is often used to control vocal sibilance and other narrow frequency bands during mastering.
Dynamic equalization is a great way to attenuate frequencies, but only after they've passed a certain threshold.
If your equalizer is capable of dynamic equalization, this can be a great addition to the subtractive equalization stage of your master.
The primary thing to keep in mind when using this type of processing is that it should cover a wide area or bandwidth.
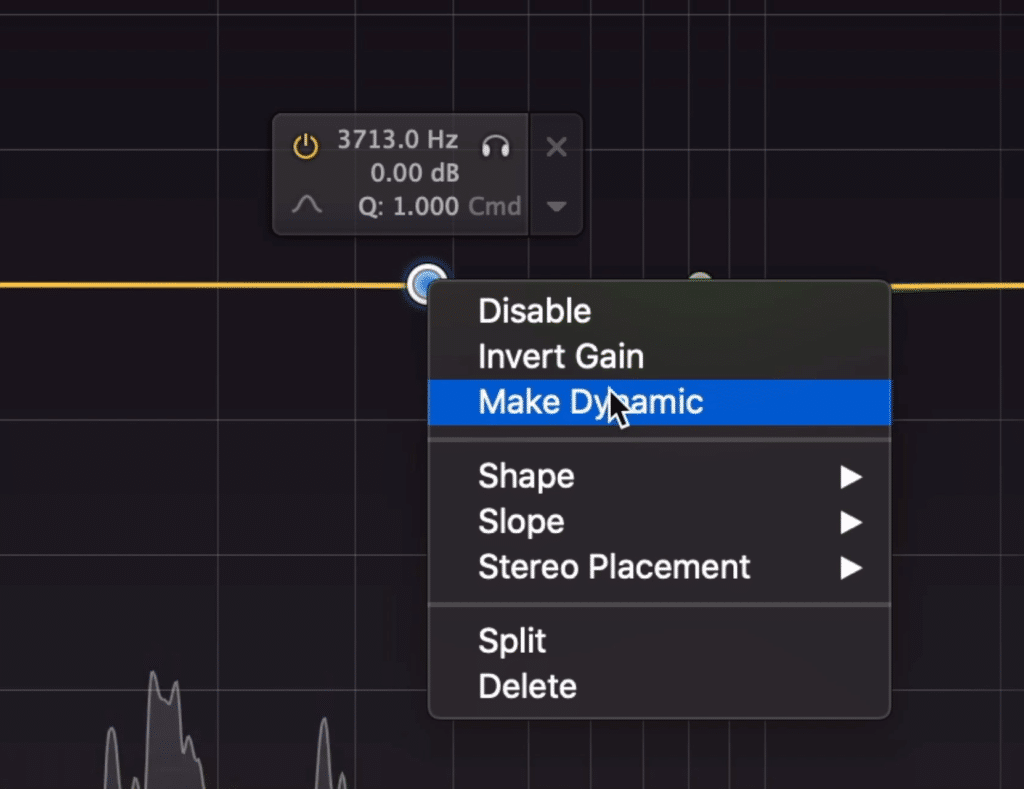
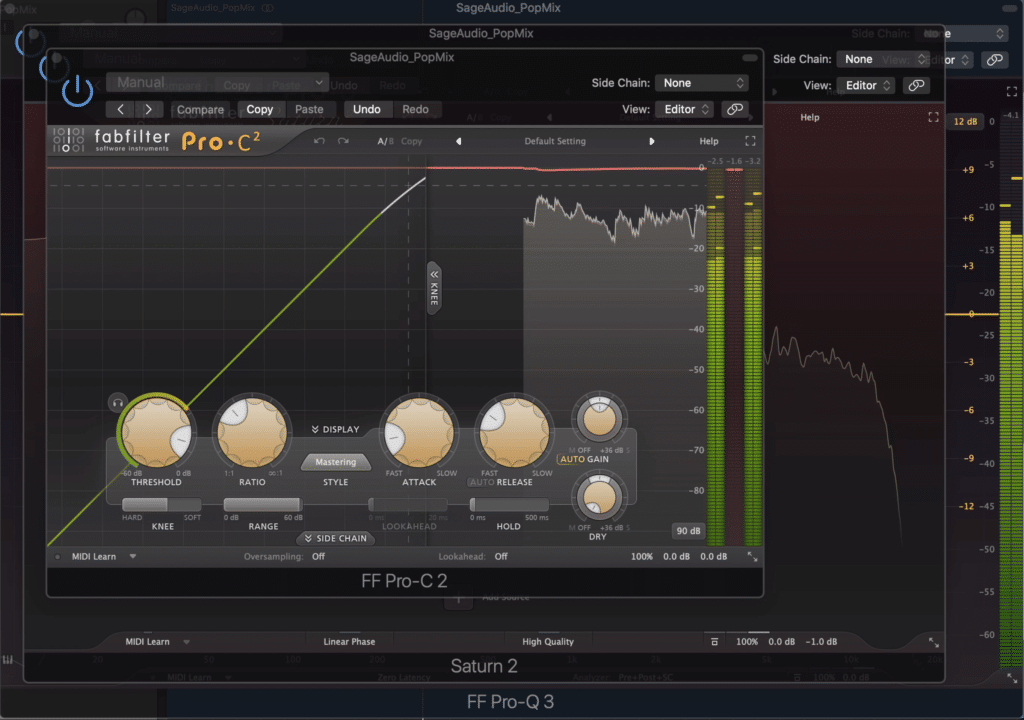
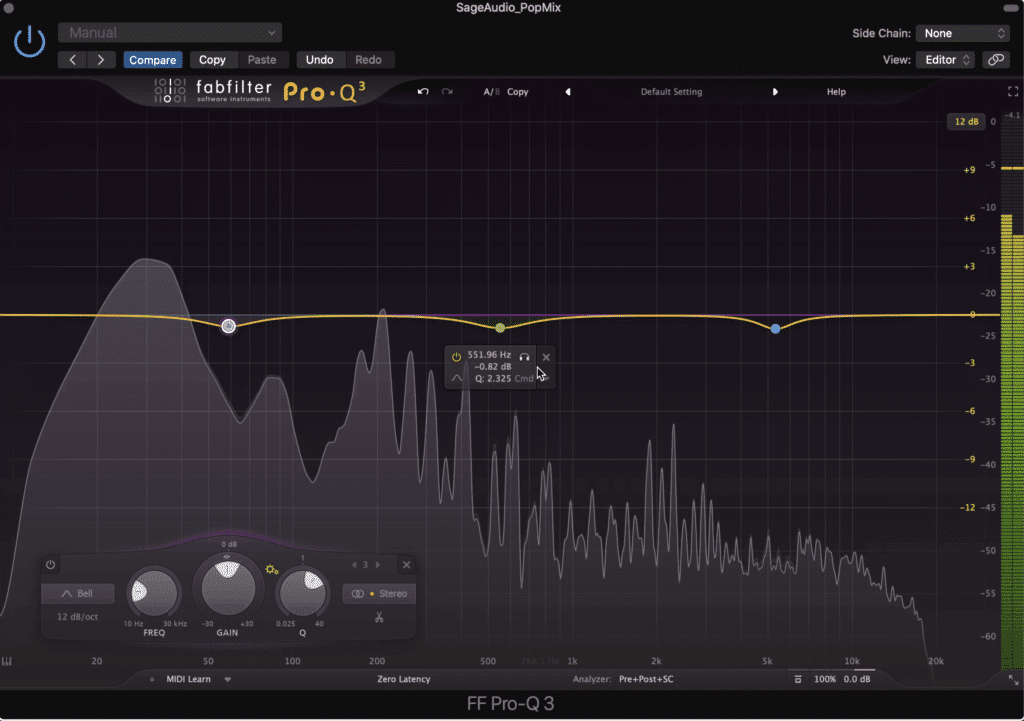
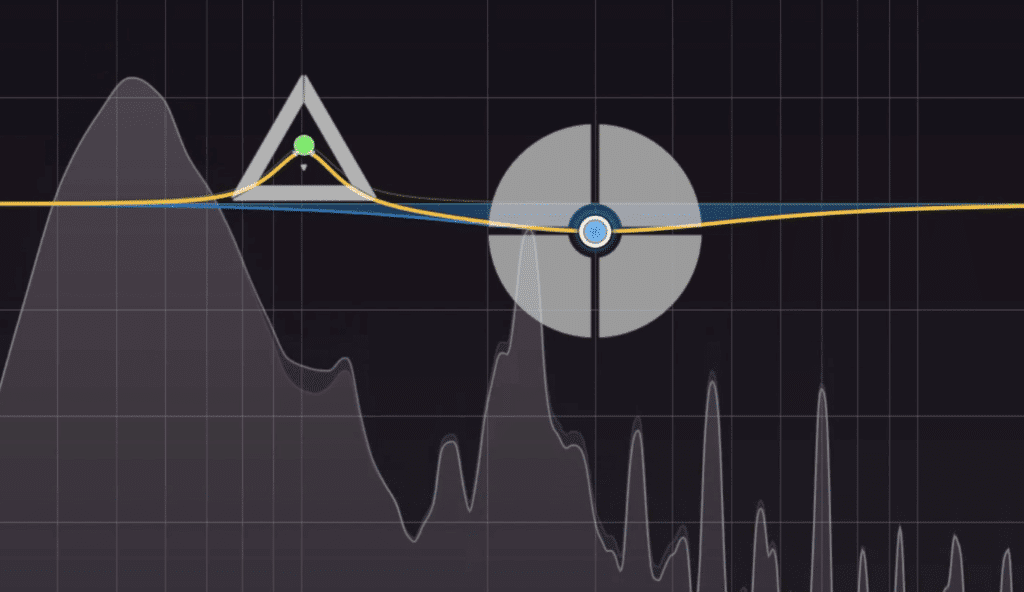
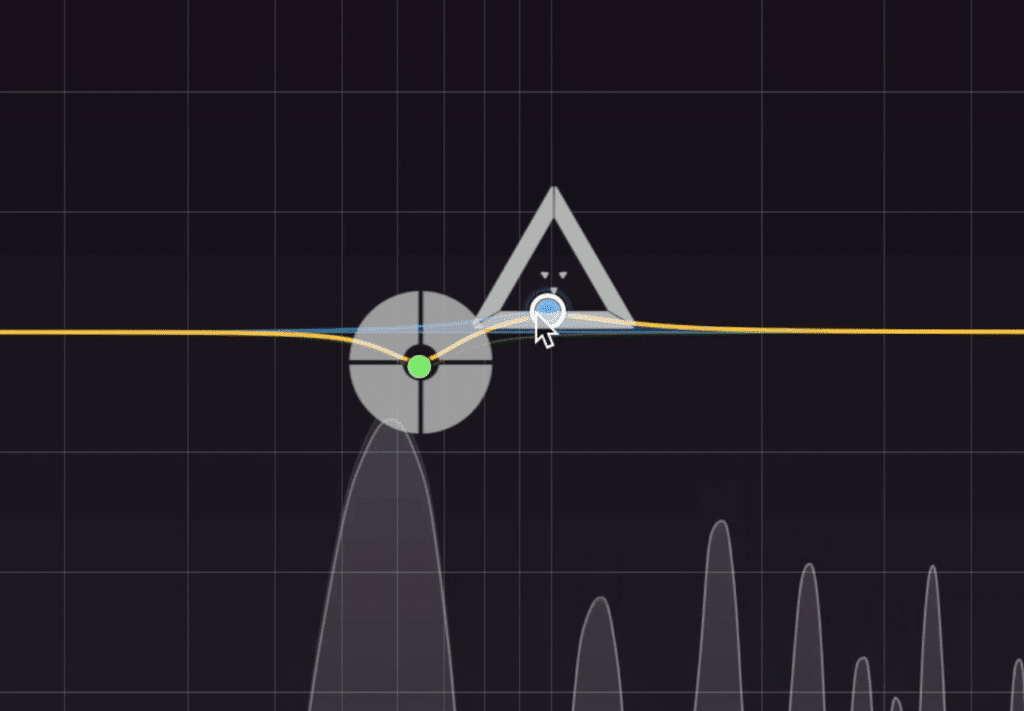
To make a band dynamic in the FF Pro-Q3 right click, and then select 'Make Dynamic.'
Typically speaking, it’s best for this type of subtractive equalization to hand a small set of problem frequencies, and not to be used as a means of drastically changing the frequency response.
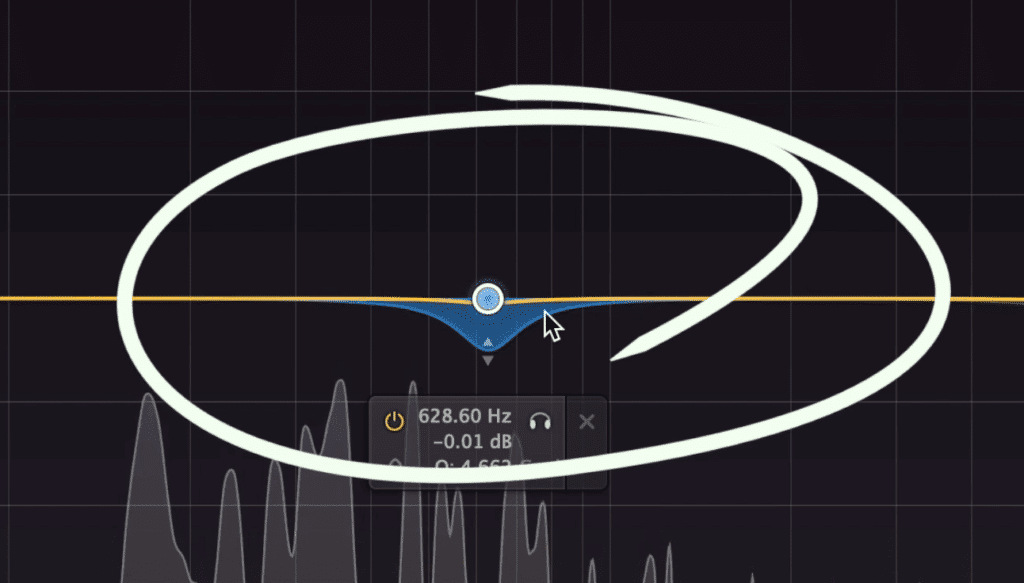
Notice that only a small bandwidth is being used.
The same goes for standard subtractive equalization during mastering, but I could foresee this effect being overused.
How Phase Relationships Affect Subtractive Equalization
Destructive interference or masking is the process of a louder signal covering up or canceling out a quieter one. When performing subtractive interference, this concept plays an unexpected role in which frequencies to attenuate, how much to attenuate them by, possibly, how to attenuate a frequency by amplifying another.
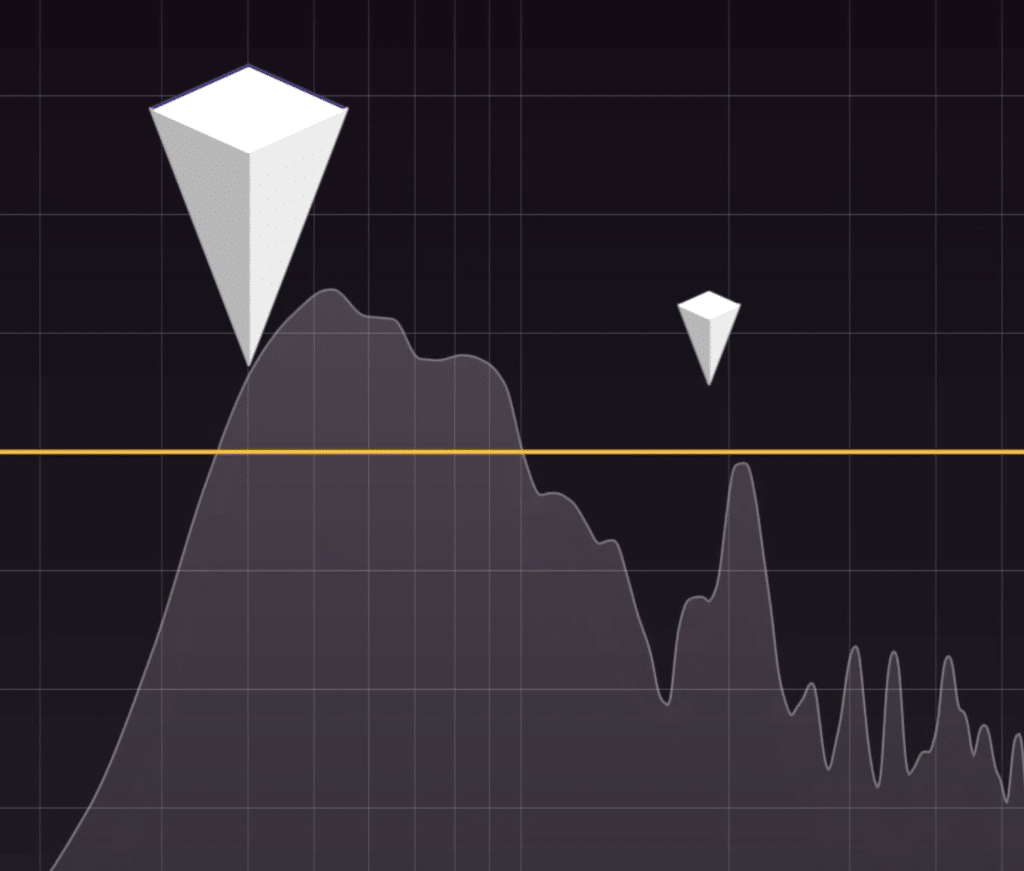
Lower frequencies affect and mask frequencies directly above them.
When using an equalizer, we’re really just playing with phase cancellation. Equalizer bands work by inverting the phase of a part of the signal, and combining it with the original signal, in order to attenuate it.
That said, understanding phase-relationships can be a big part of understanding subtractive equalization.
Understanding the relationship between frequencies is important to understanding subtractive equalization.
The primary thing to consider is how lower frequencies mask or cover up the frequencies directly above them.
For example, a 100Hz wave will mask some of the amplitude of a roughly 300Hz wave, and so on. As you can imagine, this makes that 300Hz wave a little less perceivable.
Following that idea, we understand how intertwined all of these frequencies are - there isn’t one set that stands alone or doesn’t affect another.
Fortunately, we can use this knowledge to our advantage.
So let’s say we want that 100Hz wave to be more present, what could we do?
By amplifying the lower frequency, I've made the higher one less perceivable.
The first reaction would be to amplify it - but this has 2 big implications.
First, that 100Hz wave would then mask what’s directly above it as we just discussed, which may or may not be something that you want. Second, that 100Hz wave is now running into the next stage of processing a little more aggressively.
For example, if the next processor is a compressor, then 100Hz will play a more significant role in how much is compressed and when the signal triggers the compressor. Again, this may not be what you want.
By lowering the frequency below another, we've made the higher frequency more perceivable.
Instead, what we could do is attenuate frequencies below 100Hz. This will make 100Hz more prevalent without the 2 issues we just discussed.
Conversely, if we wanted a frequency to be less prevalent, say 300Hz, we could amplify 100Hz to make it less prevalent. In this example, we strangely getting subtractive equalization by using additive equalization.
Of course, this will make 100Hz more prevalent as well, and potentially cause more aggressive processing from the next insert in your signal chain.
All of this is a bit complex and a little more advanced, but it’s something to keep in mind when you’re mastering and performing subtractive equalization.
If you want to learn about parallel compression, another import aspect of mastering, check out our video on it here:
Conclusion
It’s usually a good idea to use subtractive equalization first when mastering. This prevents you from augmenting any aspects of the frequency response that you don’t want to be augmented.
Furthermore, you can use mid-side and left-right channel targeting to attenuate frequencies in specific areas. This will result in more accurate and purposeful attenuation.
If you have frequencies that you want to attenuate but only at certain points, try dynamic equalization. This can be useful if a bass guitar is making things muddy, or if the vocalists’ sibilance is too aggressive.
Lastly, phase cancellation or masking is a huge part of subtractive equalization and equalization in general. Keep in mind that lower frequencies mask those that are higher than them - which inevitably affects how you should equalize, what you should attenuate, and what you should amplify.
If there is anything about subtractive equalization that you know but we didn’t cover here, we’d love to hear your thoughts on it. Let us know about it in the comment section of the video.
If you’re an artist or an engineer and you have a mix that you need mastered, send it to us here:
We’ll master it for you and send you a free sample to review.


