Mastering Dialogue for Podcasts
Quick Answer
Mastering dialogue for podcasts is the process of preparing your dialogue for digital distribution via various streaming services. How you master dialogue for podcasts depends on the streaming service to which you’re distributing, and the volume of the mastered dialogue will range from -20 LUFS to -16 LUFS.
Mastering Dialogue for Podcasts in Detail
Mastering your podcast is the last step before distribution. It ensures that your dialogue sounds great.
When preparing your vocal or dialogue for release, the number of technical aspects to take into consideration can be daunting.
You may be wondering what software to use, or how loud your dialogue should be, or maybe you’re simply curious about how to improve the sound of your dialogue.
Regardless of your motivation for reading more on the topic, we’ll be covering mastering your dialogue comprehensively.
We’ll be considering what processing you should be using when mastering your dialogue, as well as some of the best plugins for the job.
Mastering helps prepare a recording for distribution, meaning the recording adheres to certain standards and is enjoyable for listeners.
Additionally, we’ll be covering some of the elements of mixing your dialogue, as they can closely tie into mastering it.
Furthermore well consider whether harmonics and distortion can improve the tonality of your dialogue, and if so, to what extent.
Lastly, we’ll consider how loud your dialogue should be depending on the streaming service to which you intend to distribute your podcast.
If you have a podcast that you’d prefer to have mastered be someone else, send us an episode here:
We’ll master it for you with all the care given to a musical master, and then send you a free sample for you to review.
How to Master Dialogue for Podcasts
Before we consider the types of processing you should use for mastering dialogue, let’s cover one of the most important parts of achieving great sounding dialogue - proper recording settings.
Although you may already be aware, it’s best to record your vocal to at least -18dB. You may also consider recording your dialogue slightly louder to cover the noise floor of the room in which you’re recording, and the microphone preamp you’re using.
Without these levels established, you run the risk of having an incredibly noisy vocal - one that will be distracting and unpleasant to listen to for your fans.
That’s why, if you can, it’s best to use a preamp and a microphone with low self-noise. These microphones and preamps are often transformer-less, which in turn causes less noise to be imparted on the signal.
As a result you’ll have a better sounding recording, and a better sounding mastered vocal when all is said and done.
Now that we’ve covered that, let’s focus more on the mastering and processing associated with dialogue.
When mastering your dialogue (if you do choose to do so yourself) use these forms of processing in this order:
Subtractive Equalization - this is used to attenuate any aspects of the vocal that you do not like or find sonically balanced.
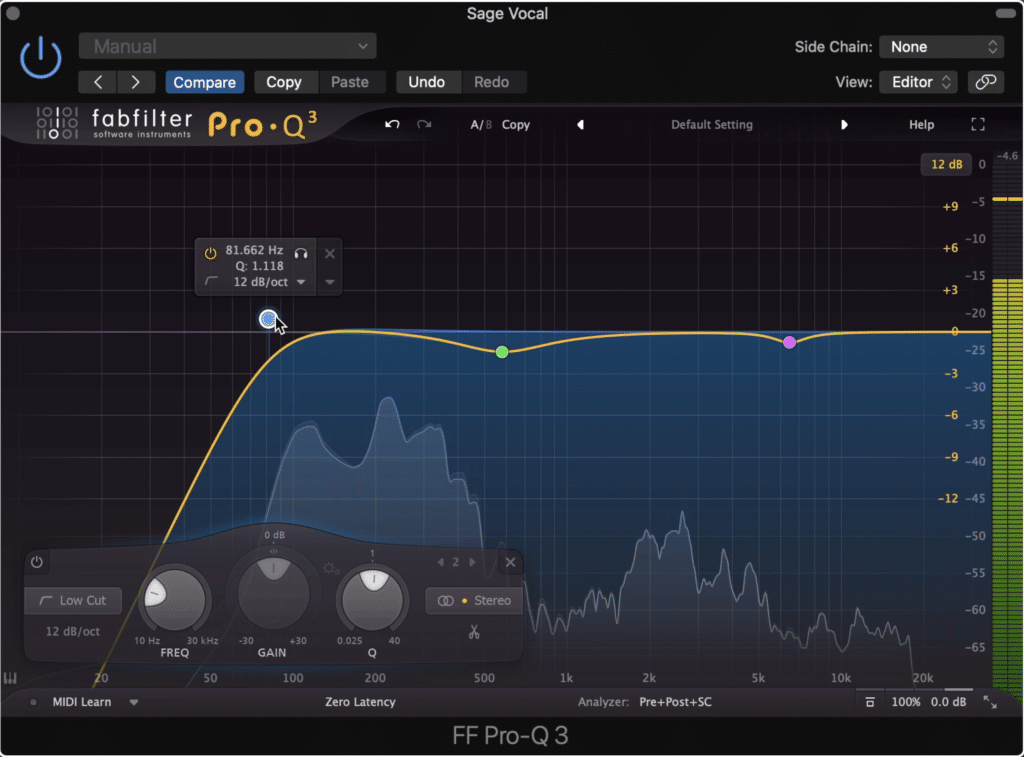
Subtractive EQ attenuates aspects that are too loud for the dialogue to sound balanced.
Tip: Some good frequencies to attenuate are frequencies below 80Hz (with a high-pass filter) 500Hz - 900Hz (using a bell filter with a Q of 1.414) , and sibilance-based frequencies (depending on the speaker)
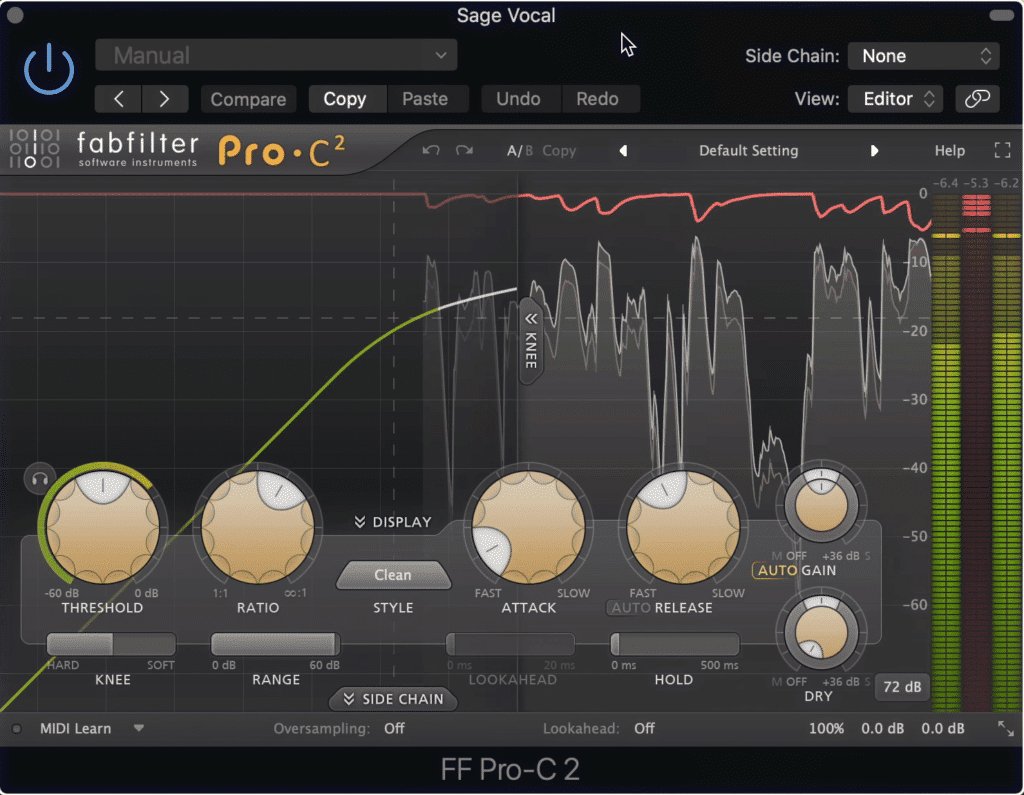
Compression - This is used to control the dynamics of your vocal so that the volume sound more uniform through the performance.
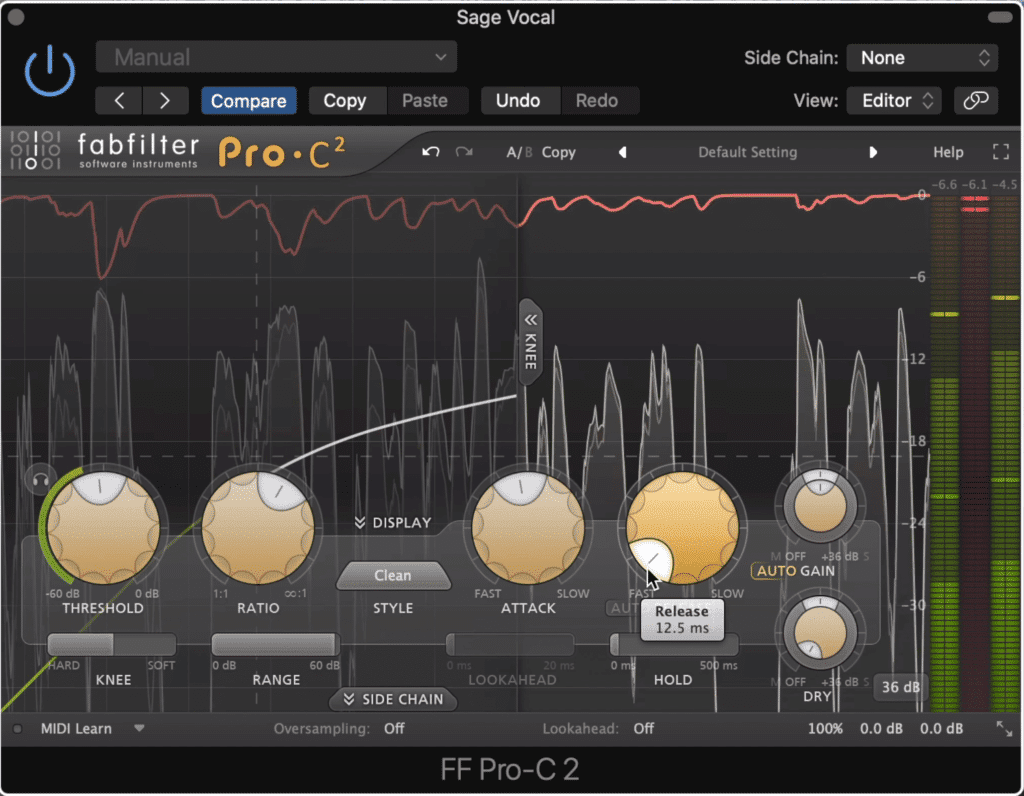
Compression ensures that no drastic change's to the dialogues amplitude occur.
Tip: If the vocal is shrill use a quicker attack and a longer release to smooth out the transients. If the vocal sounds dull, use a longer attack and a shorter release to ensure that more detail isn’t lost.
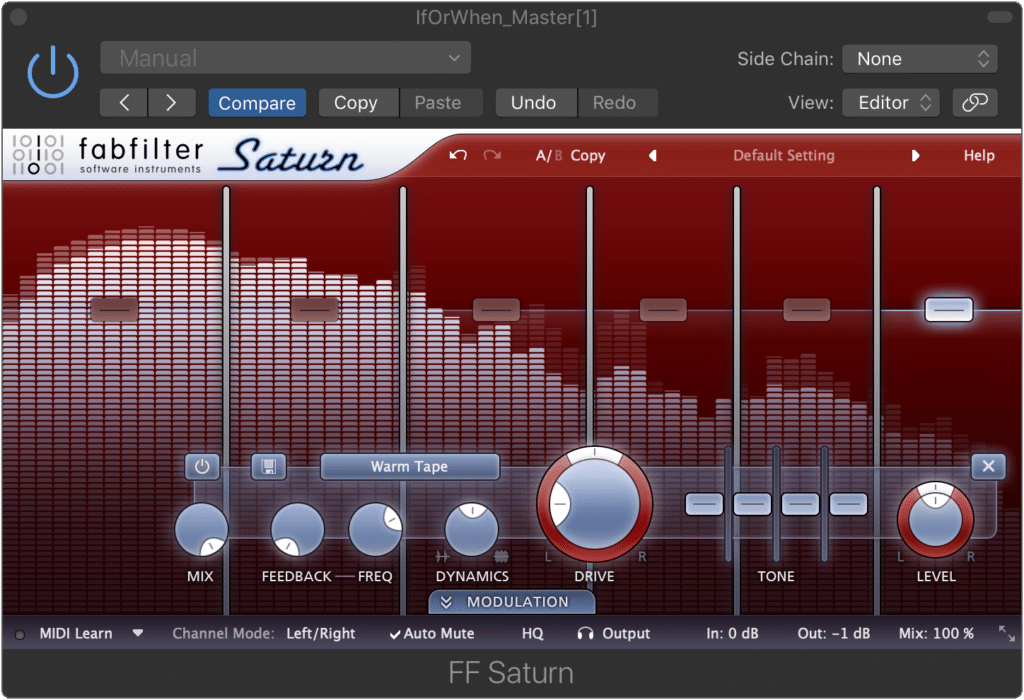
Optional : Harmonic Generation - this effect is accomplished using analog emulation plugins, and at lower levels, can be beneficial to the sound of your master.
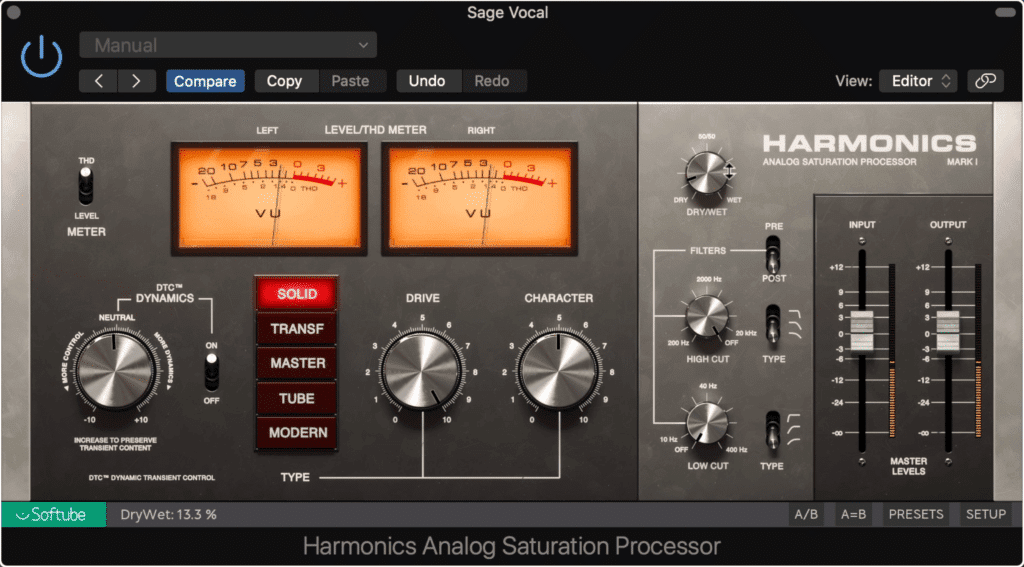
Harmonic generation and saturation can fill in the gaps of the frequency spectrum, and make a recording sound full.
Tip: Significant harmonic generation will become taxing to listen to overtime. Don’t use more than 1% THD or Total Harmonic Distortion on a dialogue recording.
De-essing - this is a form of compression designed to attenuate sibilance specifically. It may not be needed but most likely will.
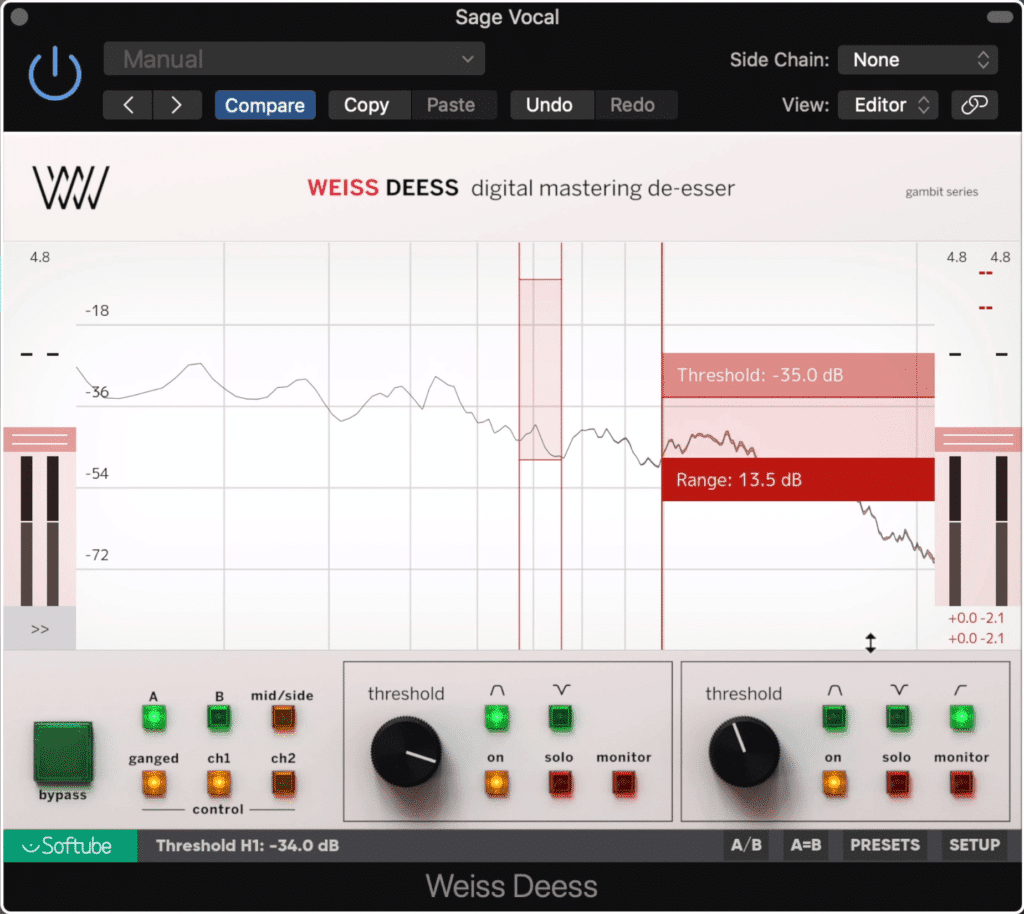
De-essing is a form of compression that controls sibilance or ess sounds.
Tip: Using a split-band setting when de-essing will result in more accurate and precise de-essing, whereas a wide-band setting will sound more natural at lower levels of attenuation.
Additive Equalization - add in some of the aspects that you enjoy or that augment the sound and balance of the dialogue.
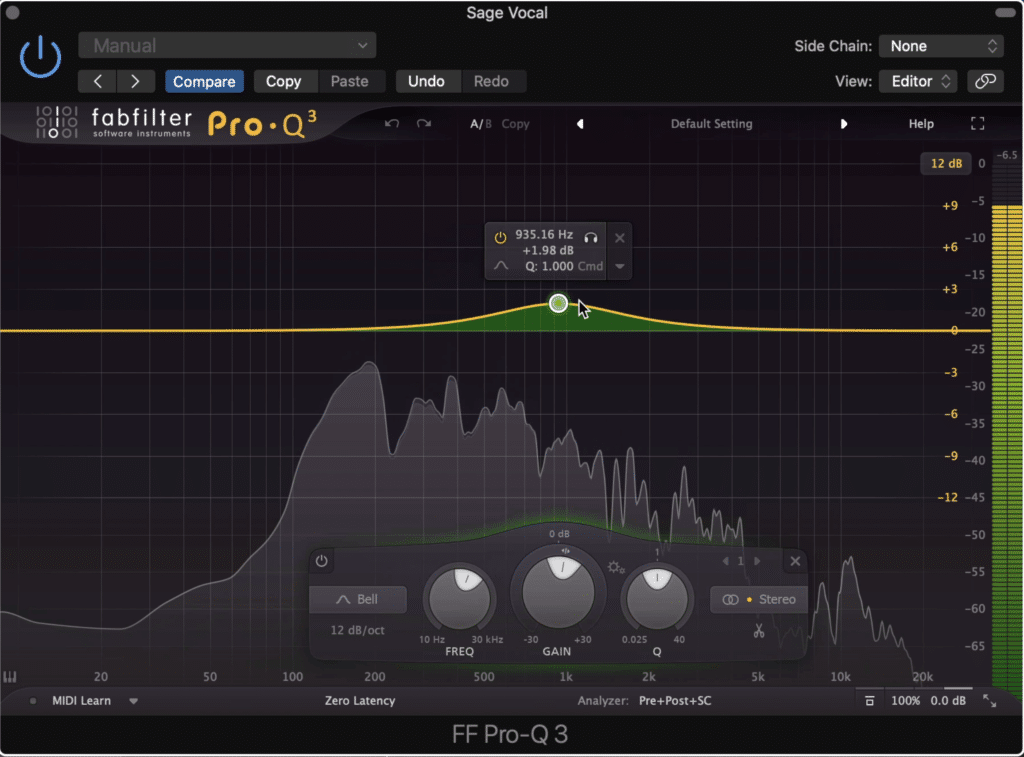
Amplify aspects of the recording that make it sound clear, full, and balanced.
Tip: Wider band settings sound more natural. Try using Q values of less than 2.8 (or 1/2 octave) to achieve a realistic and unprocessed sound.
Limiting - limiting is a form of compression that drastically attenuates a signal prior to peaking. Limiters ensure that clipping distortion doesn’t occur; however, they should be used sparingly.
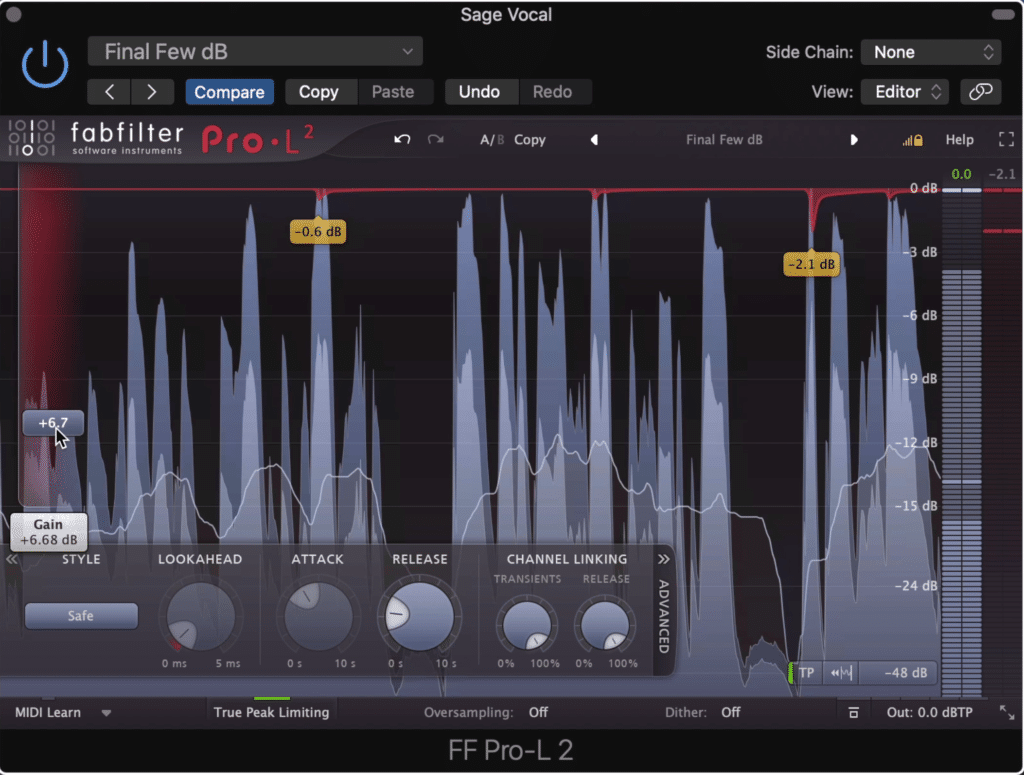
Limiters protect a signal from clipping distortion, as well as make the signal louder.
Tip : Choose a limiter with algorithmic options for different characters and tonality. For example, the FabFilter L2 limiter has a setting specifically for podcasts.
What Plugins Should You Use for Mastering Dialogue?
When choosing which plugins you should use for mastering your personal preference will definitely play a role; however, there are some plugins that are great picks for the task.
When mastering dialogue you will need an equalizer, a compressor, a harmonic generator, a de-esser, and a limiter.
One company that offers a line of plugins suitable for mastering dialogue is FabFilter. The FabFilter Pro Q 3, L2 Limiter, Pro-C Compressor, Pro-DS, and Saturn plugins offer just about everything you need to create a comprehensive, full, and balanced master recording.
FabFilter creates some great plugins for mixing and mastering
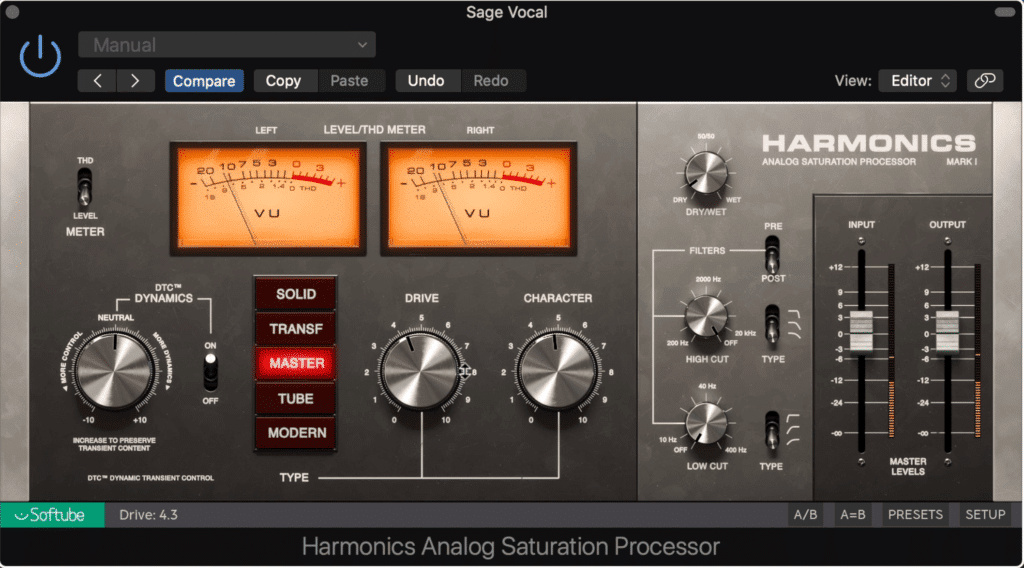
Another company that creates de-essers and mastering limiters is the Weiss line of plugins from Softube. These plugins, especially the de-esser, are more complex and detailed versions of what you might find with non-mastering-based plugins.
With them you can affect your dialogue in an incredibly specific and transparent way.
If you’d like some plugins that you can use for free, check out our blog post that showcases some great free plugins for mastering:
The plugins range from compressors, equalizers, and limiters, to metering plugins to determine the loudness of your dialogue.
What's the Difference Between Mixing Dialogue and Mastering Dialogue?
Mixing and mastering dialogue are relatively similar; however, mixing dialogue doesn’t prepare the recording for distribution. Although the forms of processing are similar, mastering is still needed when preparing a dialogue recording for distribution, as it sets the correct levels and ensures that the recording balanced.
It is also possible, due to the simplicity or bare-bones nature of the dialogue, to mix into a master. Mixing into a master means performing the processing of both mixing and mastering in one session, with the end result being a finished product ready for distribution.
Mixing into a master means that by the end of the process, the recording is ready for distribution.
However, if you aren’t thoroughly experienced in both mixing and mastering, doing both is definitely not the best idea and won’t lead to the best results for your podcast.
If you don’t feel prepared to do both forms of audio production, then it’s better to consult a mixing and a mastering studio.
If you have the mixing half covered, and would like to hear it mastered for free, send it to us here:
We’ll master it for you and send you a free mastered sample.
Can Harmonics and Distortion Improve the Tone of Dialogue?
In short, yes - harmonics or mild distortions can improve the tonality of your dialogue by making it sound more complex and louder. When applying harmonic distortion to a dialogue recording, it’s best to do so at a very low level, otherwise, the recording may become fatiguing for listeners.
Harmonics can improve the tonality of dialogue.
When mastering music, saturation, and harmonic distortion is often used to make music sound fuller. The reason it does this, harmonics fill the gaps in a frequency spectrum , as well as combine with and amplify the existing frequencies in this spectrum.
Harmonics fill the gaps in the frequency spectrum.
With that said it can make music or dialogue sound great; however, whereas using a lot of harmonic generation on music can work well, the same cannot be said about dialogue.
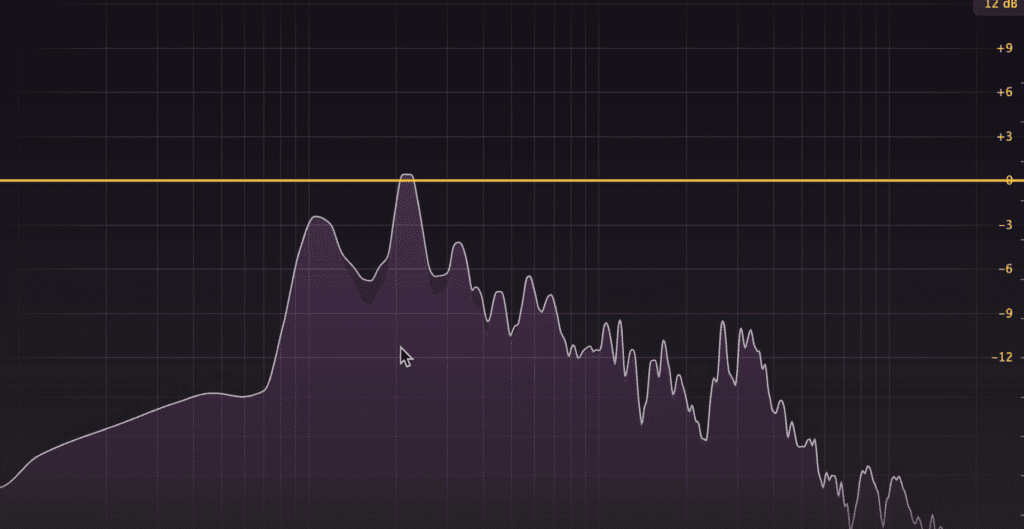
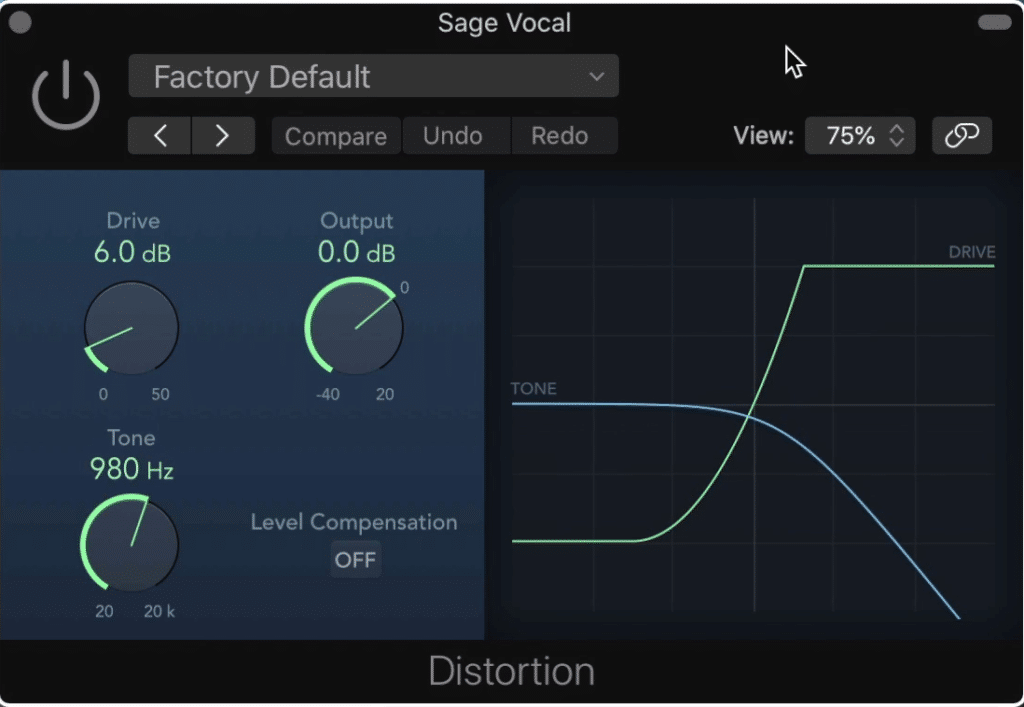
When using harmonic generation, it’s best to keep the THD or total harmonic distortion under 1% , or even less if possible. So plugins will include a THD meter, which will be helpful. Also, it’s best to use your ears and listen to the effect critically when setting distortion settings.
THD meters can help you visualize your THD
Lastly, there is a big difference between distortion plugins and saturation plugins. Whereas distortion plugins will only create harmonics, saturation will both compress your signal and create harmonics.
Distortion and saturation are different. Saturation used both distortion and compression, whereas distortion is simply an alteration to a waveform that causes harmonics.
Although this concept is a little more complex given a lot of variables, the main thing to understand is that saturation is the combination of both compression and distortion.
When saturation and compression are combined, it may be too much compression
With this in mind, using saturation and a separate compression plugin may cause too much compression , and make your vocal sound too controlled dynamically.
How Loud Should Your Dialogue Be?
How loud your dialogue should truly depend on the streaming service or platform to which you plan to distribute your music. Some services, including Spotify, use a process call loudness normalization which will affect how loud your podcast is played back when streamed by listeners.
With that in mind, let’s look at various streaming services and determine how loud you should master your dialogue if you intend to release it on that particular streaming service.

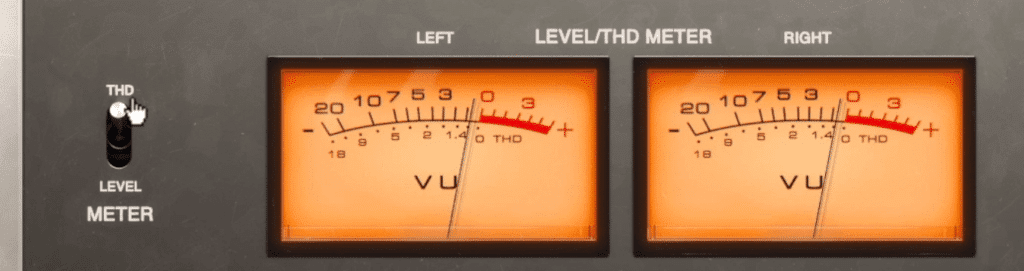
An integrated LUFS meter helps when trying to determine the loudness of your signal.
Also, it helps to know what meter you should be using when measuring loudness. An integrated LUFS meter is the best choice.
Spotify: Spotify does use loudness normalization, and will normalize your audio to an integrated -14 LUFS . This means that despite how loud you make your dialogue, it will be reset to this particular loudness.

Spotify normalizes the loudness of it's content to -14 LUFS.
With this in mind, it makes the most sense to master your dialogue to lower than -14 LUFS.
Apple Music: Apple music normalizes audio to an integrated -16 LUFS . This means you shouldn't master too much louder or quieter than this figure.

Apple normalizes the loudness of it's content to -16 LUFS.
If you want to have your podcast on both Spotify and Apple Music, mastering your dialogue under -16 LUFS will work well.
Tidal: Tidal also normalizes audio to-16 LUFS . With that in mind, the same thoughts about Apple Music apply for Tidal.
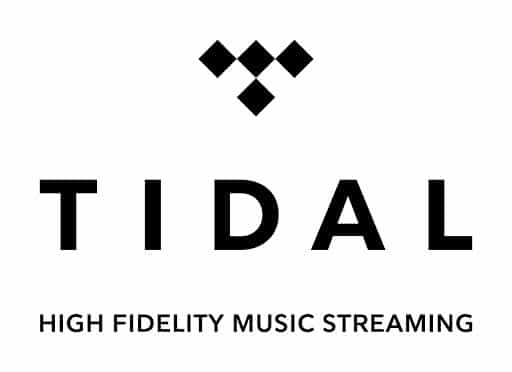
Tidal normalizes the loudness of it's content to -16 LUFS.
SoundCloud: SoundCloud does not use loudness normalization. This means that the loudness at which you export your master will be the same loudness that listeners hear it.
Soundcloud doesn't normalize audio.
Still in this instance it’s best to master to under-14 LUFS. The reason being, listeners have grown to expect this loudness due to the popularity of the streaming services just mentioned.
In fact, we recommend mastering your dialogue to a quieter -20 LUFS to -18 LUFS to preserve its tonality and dynamics.
Another thing to consider is how dialogue is perceived in comparison to music. When people listen to music, certain elements of the recording like the kick drum or the bass, add a lot of energy to the master.

The main reason music has a louder volume that dialogue is due to high energy low-frequency instruments, like the kick drum.
These instruments often cause higher readings on an integrated LUFS meter, as they create an overall louder sound due to their loud nature.
But when mastering dialogue, odds are a kick and bass are not included. With that in mind, dialogue will not need to be mastered to the same integrated LUFS to sound loud to a listener. Additionally, the ear is most sensitive to the human voice, which means that your dialogue doesn’t need to be very loud to be easily perceived.
With all of this in mind, it’s best not to master your dialogue louder than -16 LUFS to -14 LUFS , even if loudness normalization is not used by the streaming service.
If you want to learn more about loudness normalization and how it affects your master, check out our blog post on the topic:
It covers how various streaming services turn down or up your master.
Should You Normalize Your Dialogue in Your DAW?
In short, no, you should not normalize your dialogue when mixing or mastering a recording for your podcast. Normalizing your audio will, more likely than not, have a negative effect on the quality of your recording, and may make your dialogue far too loud for listeners.
You may have noticed the option to normalize your audio when exporting it, and wondered what this means exactly. Although there are a couple of types of normalization (loudness normalization being one mentioned in the previous section) the type most often used in DAWs is ‘Peak Normalization.’
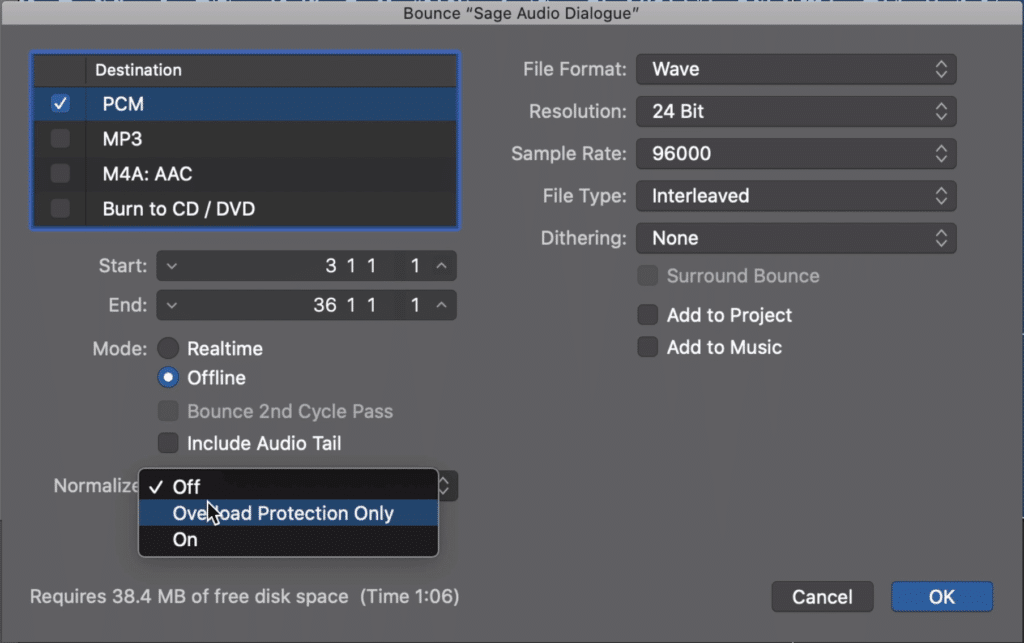
You may have noticed the option to normalize your dialogue in your DAW.
Peak normalization increases the volume of the entire track, using a peak setting (usually 0dB) as the highest point the audio will reach.
So for example, say you have a dialogue recording that has its loudest peak at -10dB. If you used peak normalization, the entire recording would be turned up 10dB to make that loudest peak 0dB.
Now although peak normalization can be set to a lower number, most quick normalization settings will use 0dB as the peak normalization setting.
In this particular example, the loudness of your dialogue is increased dramatically, resulting in an integrated LUFS that is most likely, much louder than it should be . Again, remember that when dialogue is too loud, it can be very unpleasant or off-putting to listeners.

If you make your dialogue too loud, it's going to be unpleasant for listeners.
For example, imagine your listeners or playing another podcast with the proper loudness levels on SoundCloud.
They’ve dialed in the right settings for their device’s volume and are listening comfortably - and then your podcast comes on much louder than the previous recording.
It would no doubt be a jarring experience for the listener. It would be a similar experience to watching television in the early 2000s, and a commercial would come on that was significantly louder than the show.
Another thing to consider is something called inter-sample clipping distortion. Inter-sample clipping distortion occurs when the signal becomes louder than 0dB in between the audio samples.
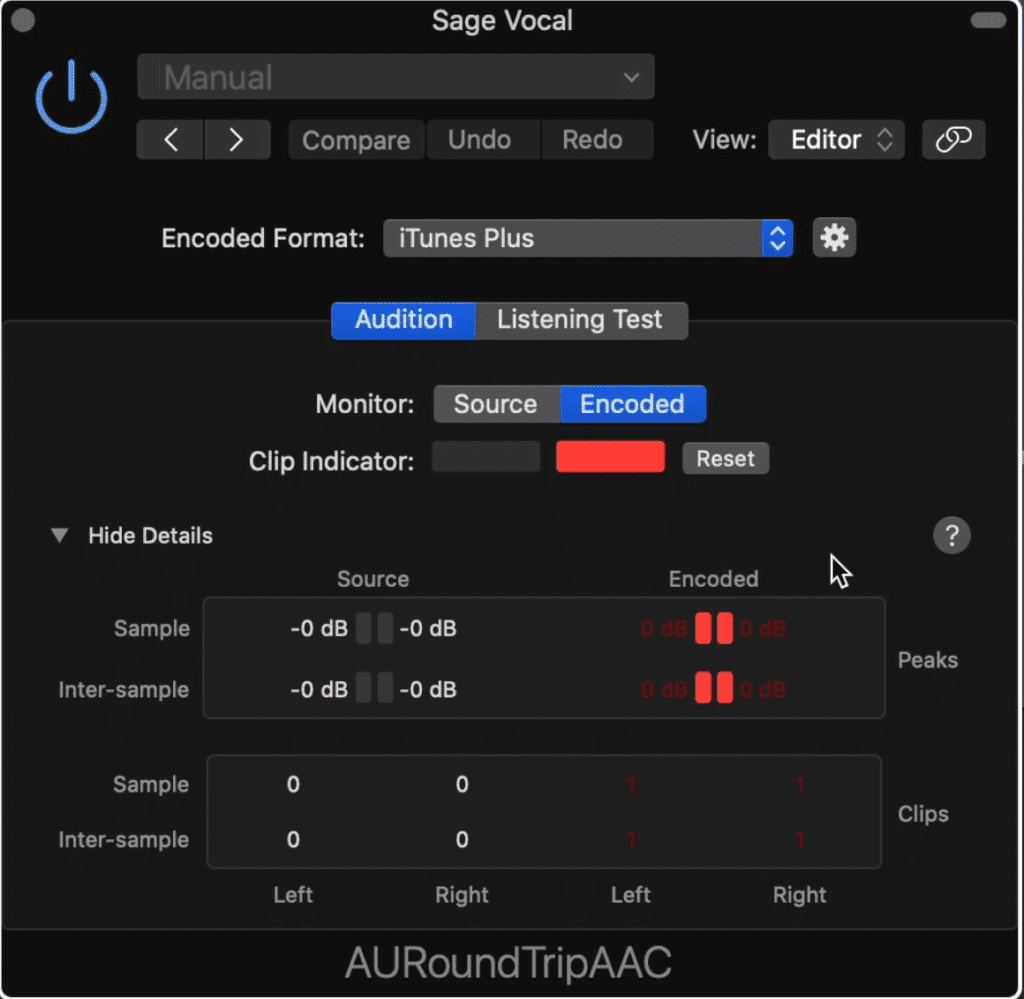
Clipping distortion can occur in between samples and during the encoding process.
This is a common occurrence and can definitely cause fidelity issues with your dialogue.
Essentially, when a recording is uploaded to a distribution platform or even an online streaming service like YouTube or SoundCloud, the encoding process affects the amplitude of the recording.
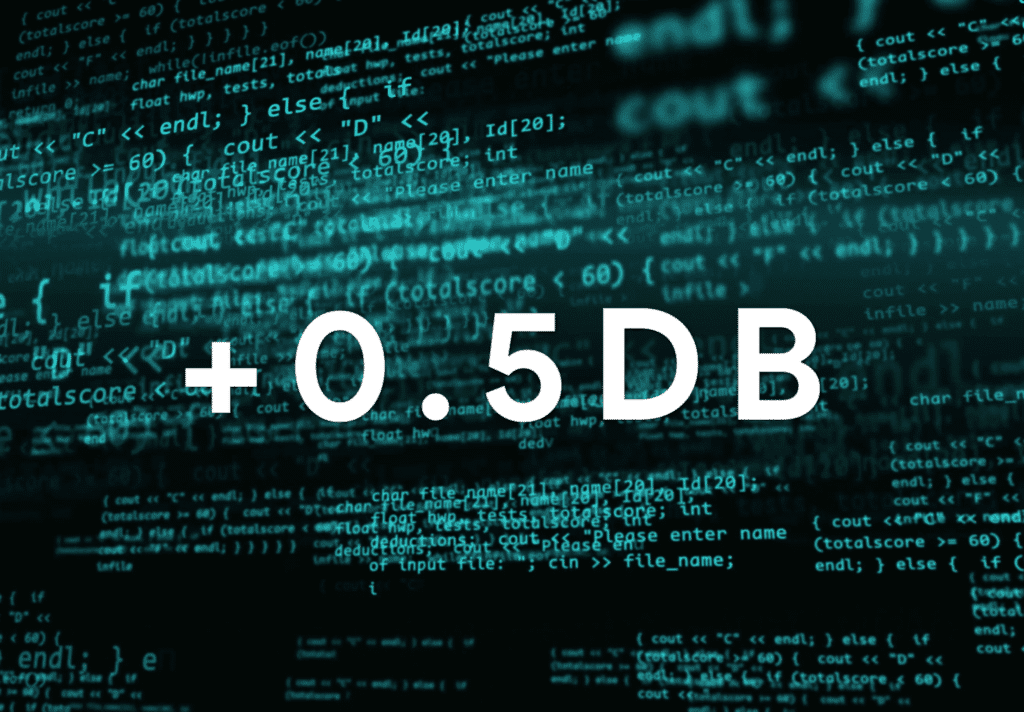
Encoding can increase the amplitude of a recording by upwards of 0.5dB
During encoding, the amplitude of the recording can be affected up to 0.5dB - this means that if you normalize your dialogue to 0dB, you can cause both clipping and inter-sample clipping distortion.
Again, this is not something you want, as this type of distortion does not have a pleasant tonality and can be easily perceived by listeners.
In short, do not use peak normalization to affect the volume or level of your dialogue.
If you have a vocal performance that you’d like to mix, maybe a more musical one, check out our blog post and video on that topic:
In it, you’ll find a step by step process for making your vocals sound great
Conclusion
Mastering your dialogue can be a little difficult, but if you follow the instructions we’ve laid out, and use the software we’ve recommended, then you can accomplish a great sound for your podcast.
Considering the amount of time your fans will spend listening to your or your presenter’s voice, perfecting the sound is just as important as the content itself.
With that in mind, ensure that you don’t create an excessively loud recording, that you balance the dynamics and frequency response, that you keep the streaming service you’re using in mind, and that you do not use peak normalization.
If you find that learning all of this takes up too much time that you could allocate to making your podcast better, send the recording to us:
We’ll master it for you and send you a free sample to review.
Have you made a podcast before?


