Mastering Voice-Over Dialogue for Video
Quick Answer
Mastering Voice-Over Dialogue for Video is the process of preparing a vocal recording for distribution - most likely on YouTube. When mastering your vocal or dialogue various forms of processing like equalization, compression, and limiting need to be used in a particular way to optimize your audio.
Mastering Voice-Over Dialogue for Video in Detail
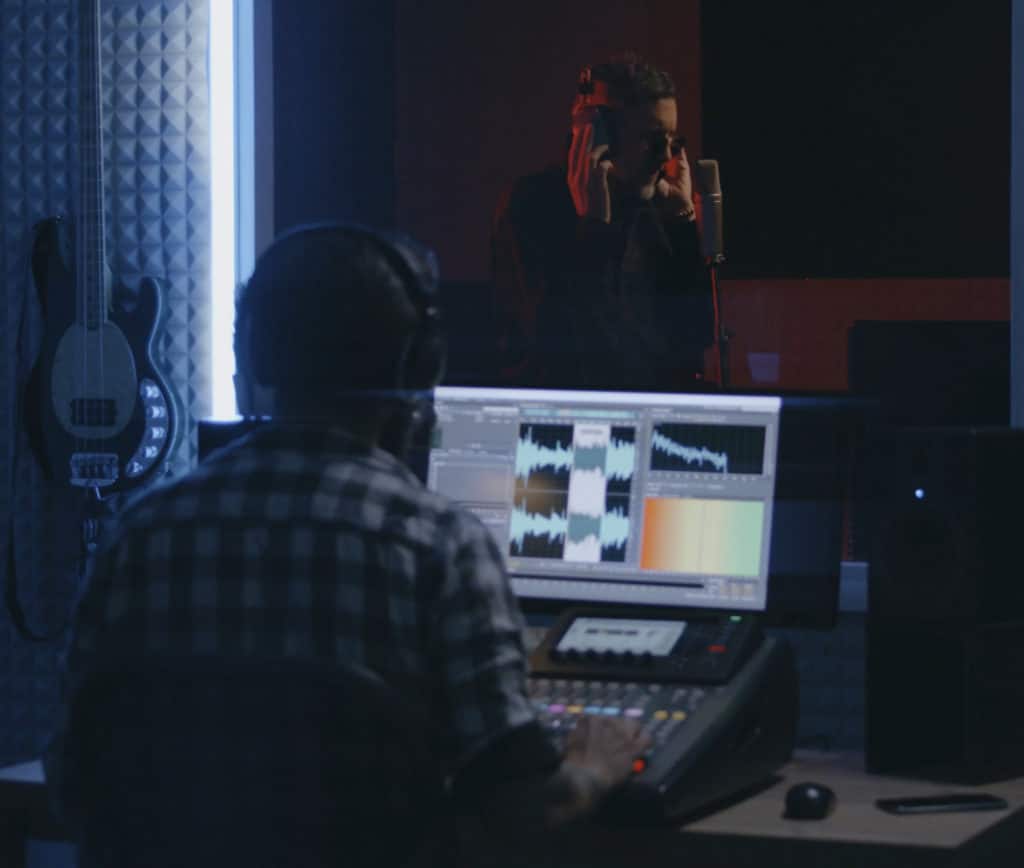
For many video creators, one of the more difficult parts of creating compelling content is establishing impressive sounding audio. More often then not, this audio primarily consists of dialogue.
Many of us have probably heard about mixing vocal or dialogue for video, but mastering it is a more finalized process and will result in more professional-sounding results.
Dialogue needs to be mastered prior to your video being distributed.
With that in mind, it’s helpful to know how to simultaneously mix and master your voice-over dialogue,so that your videos come out sounding as professional as possible.
We’ll cover the processing you need to use when mix and mastering your dialogue, how loud it should be for various streaming services like YouTube and Netflix, and how to achieve that loudness without distortion.
We’ll talk about the benefits of mastering your dialogue, and why dialogue that’s too quiet can be negatively impacting viewership and the ‘average view duration’ of your videos.
As an added bonus we’ll consider how to record your dialogue a little better, and how the recording process inevitably affects the mixing and mastering of the dialogue.
If you have Voice-over dialogue that you’d like to hear professionally mastered, send it to us here:
We’ll master it for you and send you a free sample for you to review.
How to Master Voice over Dialogue for Video
Let’s cover the processing you should use when mastering your dialogue for video. This processing can be considered appropriate for both mixing and mastering and can be used to take a newly recorded and unprocessed vocal and make it ready for distribution.
Step 1: Gating
Using a gate improves the quality of a voice-over by removing background noise. It works by attenuating the signal whenever the audio isn’t loud enough to cross a set threshold .
Gating is used to remove background noise.
When setting up a gate for your vocals or dialogue be sure that the gating sounds natural - in other words, the effect shouldn’t be too noticeable and should not cut off dialogue abruptly.
When gating is too aggressive or improperly set you’ll notice that:
- Breaths and Sibilance get cut off
- Words and sentences are cut short or before the word completes
- A popping effect occurs where the threshold is being crossed at improper times
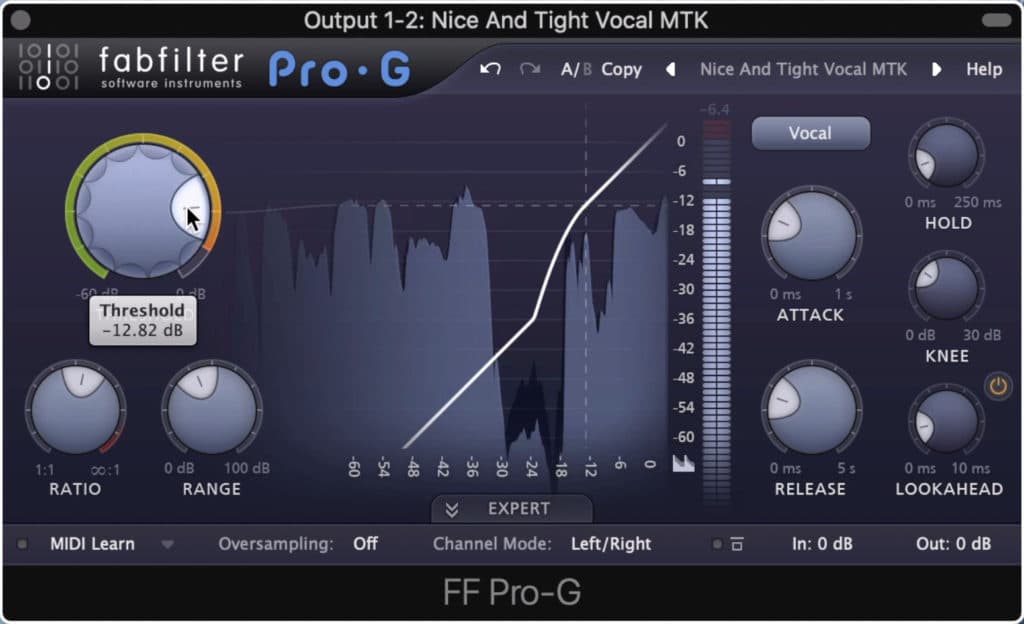
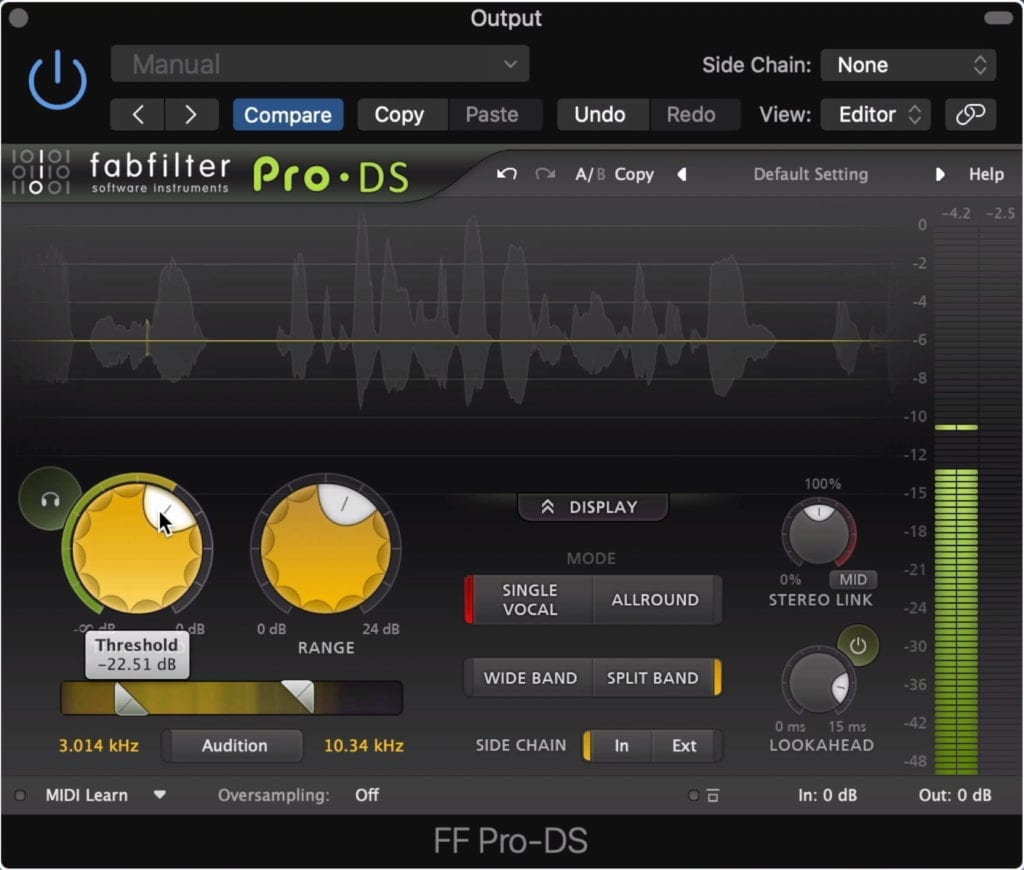
When using gating the ‘Range’ function is an incredibly important one. It’s what you’ll use to ensure that gating isn’t too aggressive.

The range function is used to making gating sound more natural or drastic.
Once you’ve set your threshold, make the ‘Range’ function have a value of 6dB to 8dB - this ensures that the audio is only attenuated 6dB - 8dB whenever the signal falls below the threshold.
If the Range is set too high, say 60dB, then the signal will be attenuated too greatly, in turn causing some of the issues listed above.
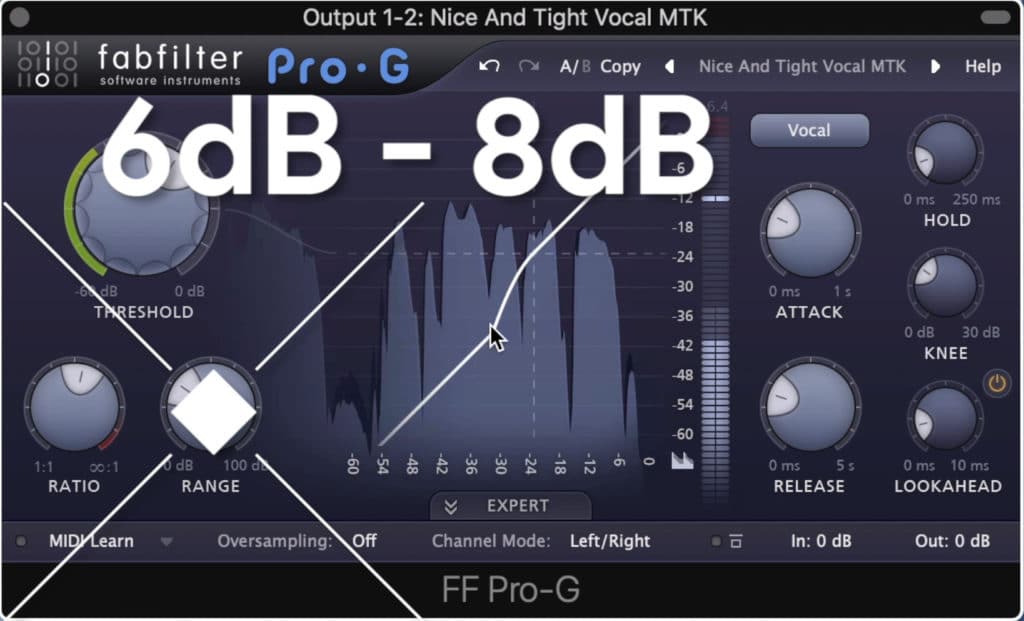
For vocals, I like to set the range between 6dB - 8dB.
Also, ensure that you don’t set too drastic of a ratio - unless you set a low range like the one just suggested. There’s a lot of factors at play here so be sure to use your ears to determine what sounds right and what doesn’t.
If the ratio and range are set too high, then you'll have drastic gating
Step 2: Equalization
Subtractive equalization is the process of removing aspects of your voice (or a signal in general) that are excessive or cause an imbalanced sound.
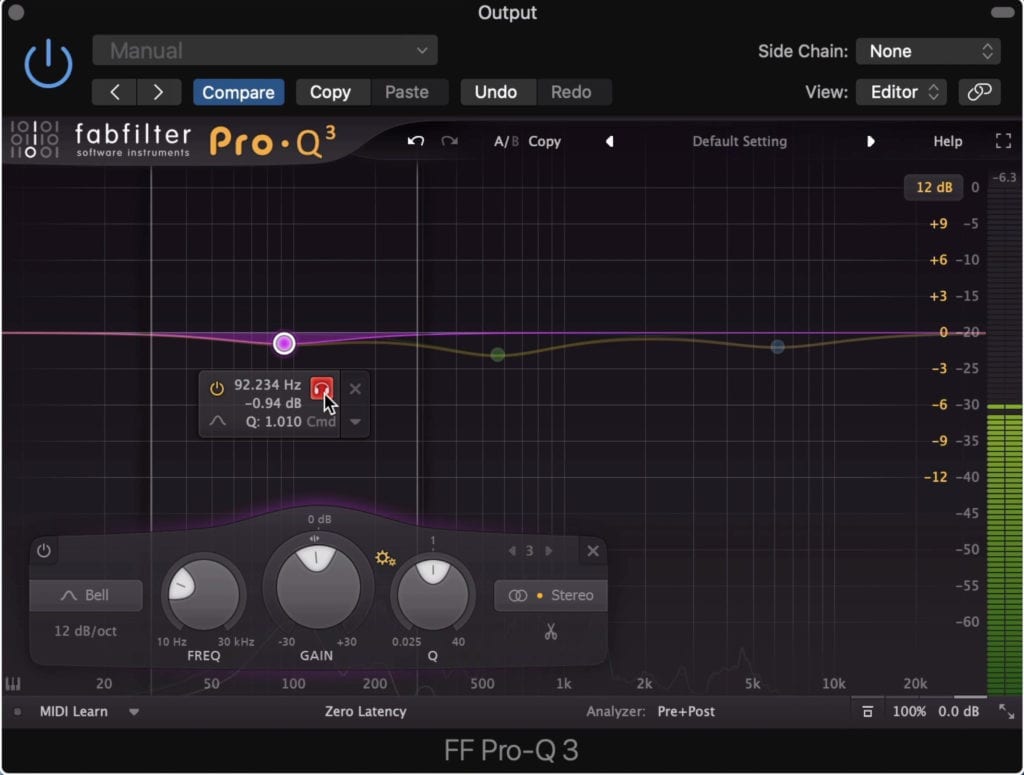
Subtractive equalization is used to attenuated aspects of the signal you don't want.
By performing subtractive equalization you remove frequencies from the frequency response that would make the vocal less clear or intelligible.
Typically speaking, there are 3 ranges that are often attenuated when equalizing dialogue.
The first is 0Hz - 80Hz. This is removed with a high-pass filter. Attenuating these low frequencies removes plosives and microphone rumble.
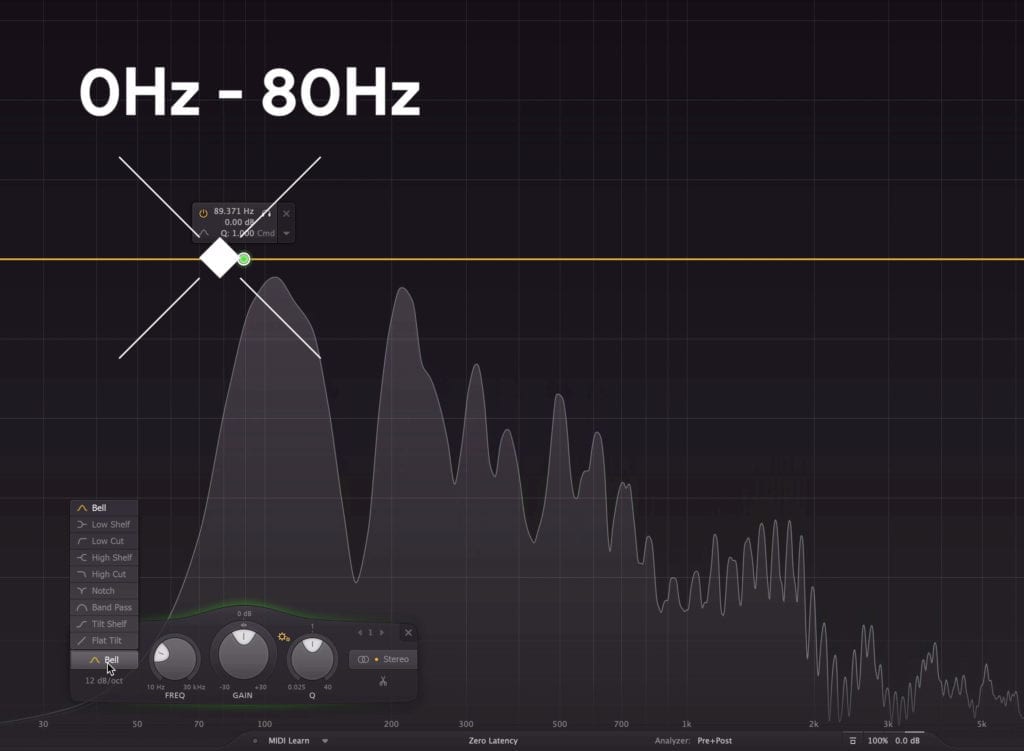
Remove 0Hz - 80Hz with a high-pas filter.
The second is 300Hz - 800Hz. These frequencies are attenuated with a bell filter, and to varying degrees based on what’s needed. Attenuating this mid-range will make the dialogue clearer.
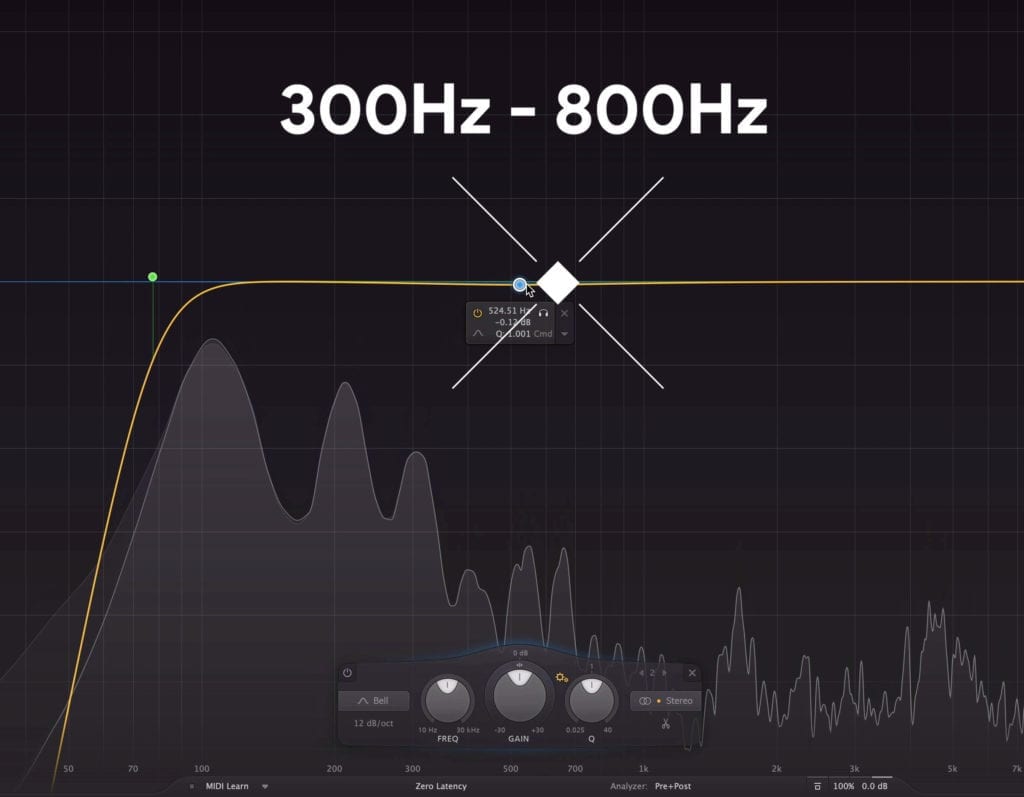
These frequencies can gently be attenuated to add clarity to a vocal.
The third is 5kHz - 10kHz. These frequencies are attenuated with a bell filter and are don’t so minimalistically. Attenuating these frequencies by roughly 1dB to 2dB helps to lessen aggressive sibilance frequencies.
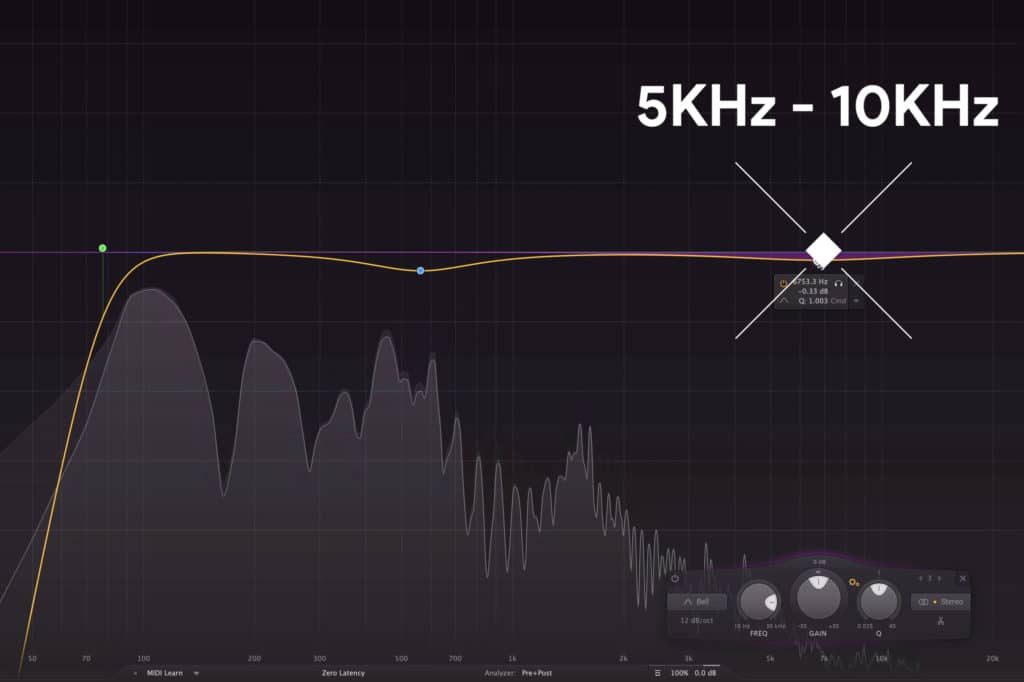
These sibilance-based frequencies can be made less harsh with subtractive equalization.
Be sure not to remove these frequencies in an aggressive manner or it will noticeably alter the timbre of your vocal.
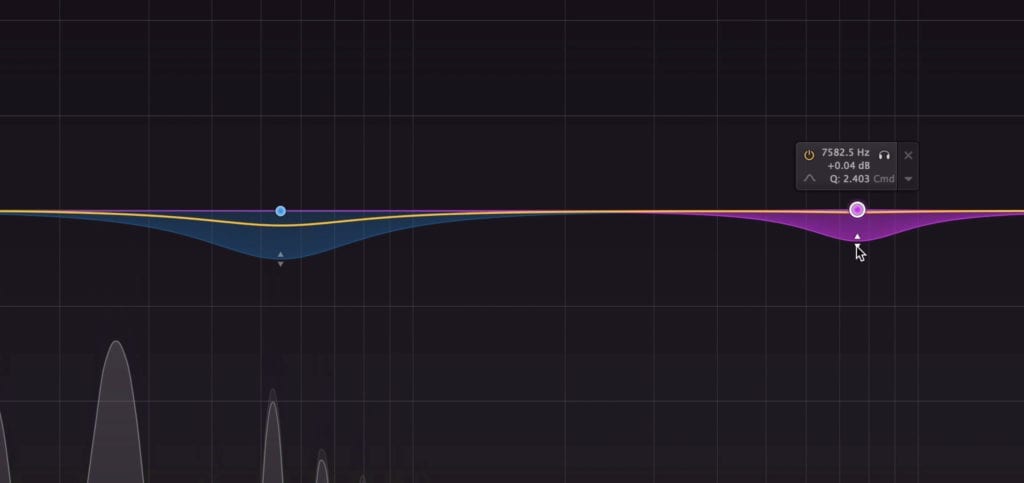
Some equalizers allow you to make these bands dynamic.
Additionally, if your equalizer allows for it, try to make the bell filters dynamic, meaning they only attenuate the frequencies when the signal becomes loud enough. This will ensure that the frequency response only changes when the offending frequencies are present.
If you want to find some great equalization plugins, but don’t want to spend a lot of money in the process, check out our blog and video on the topic:
We discuss the functions of each plugin, as well as listen to examples of each in real-time.
Step 3: De-Essing
De-essing is a form of compression that targets a specific range of “sibilance-based frequencies.” These frequencies are located higher in the frequency range and are related to the ‘ess’ sound and other high-frequency syllables.
De-essing compresses sibilance-based frequencies.
These sounds can quickly become excessive due to their amplitude and the high energy, as well as how our ears are particularly sensitive to them.
With that in mind, it’s important to attenuate these frequencies if they reach a certain amplitude. A de-esser does just this.
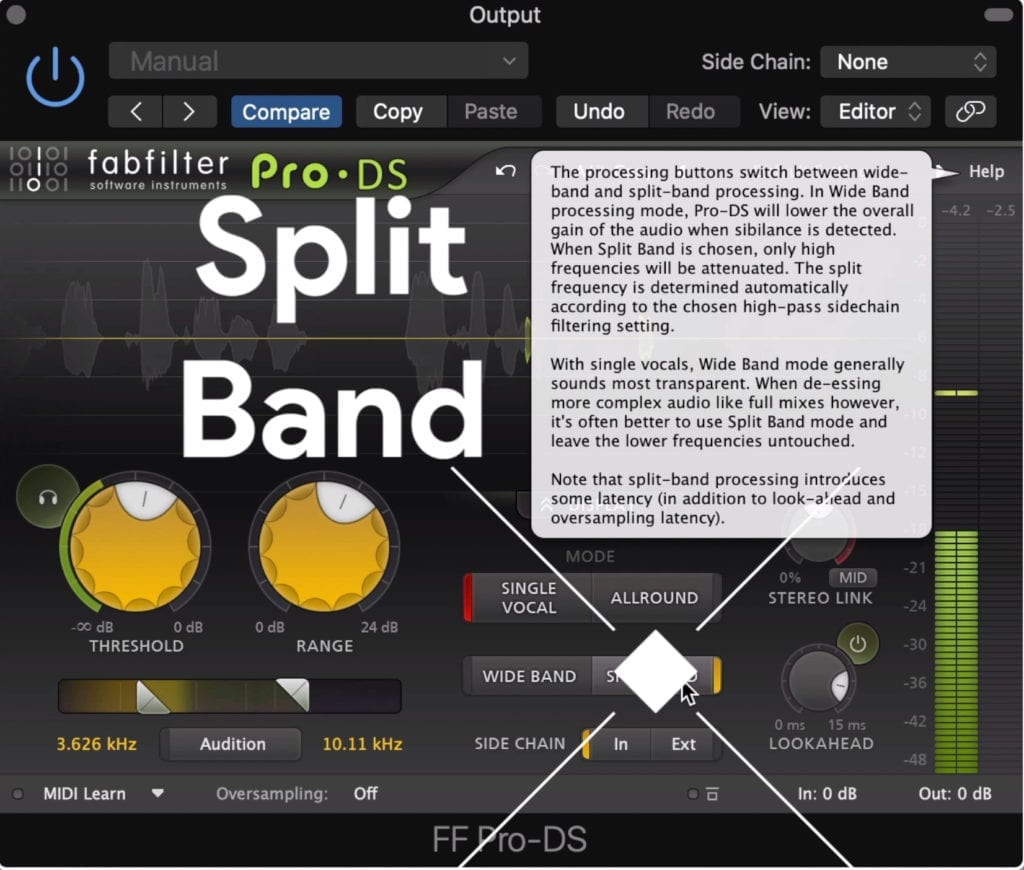
Using a split band setting means that only the high frequencies are attenuated.
Although you’ll probably come across different recommendations for using one of these plugins, I’ve always found that the best results come from using a split band setting, instead of a wideband setting.
It's best not to attenuate your sibilance by more than 4dB.
This way, the compression is more accurate, in turn leaving unrelated aspects of the frequency response unaffected.
Step 4: Compression
Compression is used to control the dynamics of a recording - by doing so, the audio is more consistent. In other words, listeners and viewers will be able to hear each word of the voice-over, without having to turn up or down the volume.
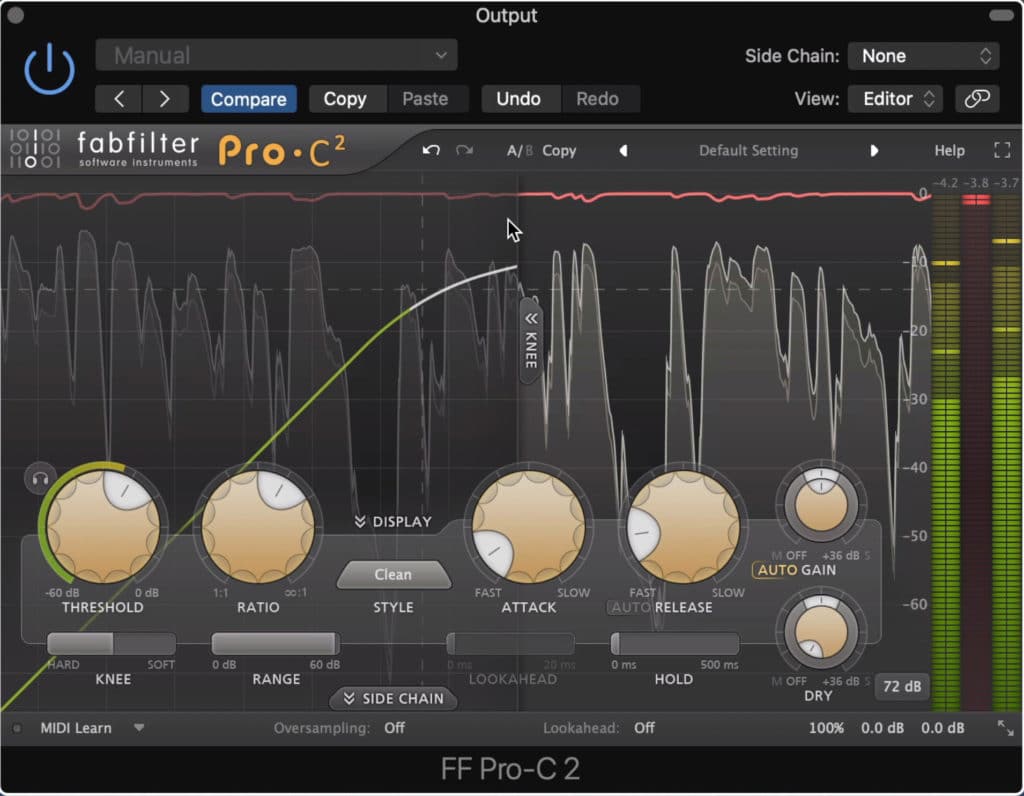
Compression results in more uniform dynamics and overall volume.
When properly compressed, the tone of the dialogue doesn’t change drastically - the vocal should still sound natural, or at least how it did when it was recorded, but the overall volume of the vocal should be more uniform.
If a signal is compressed too heavily, the recording will sound unnatural and may become jarring or unpleasant for listeners.
Although the amount of compression you use will depend on how the vocal was recorded and the performance, it’s generally a good decision not to introduce more than 6dB of compression.
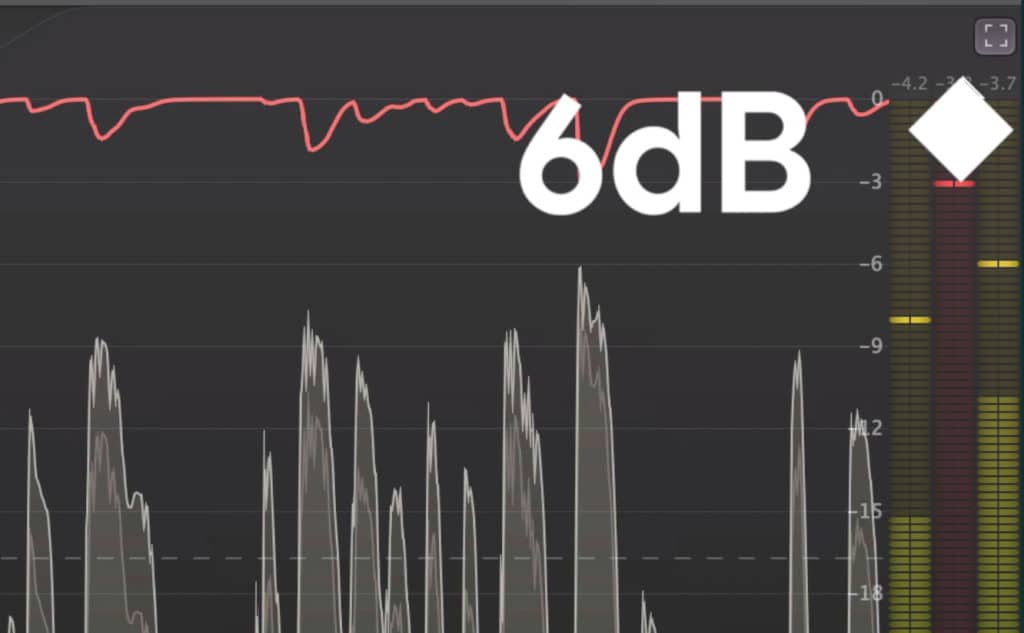
When compressing dialogue, it's best not to attenuate the signal more than 6dB.
Additionally, it helps to use a moderate attack and a quicker release time. If the attack of the compressor is to fast, it will begin to attenuate the vocal right away, which will in turn affect the timbre of the vocal.
Conversely, a slow attack may mean that the compressor won’t react fast enough to attenuate the offending dynamic passage.
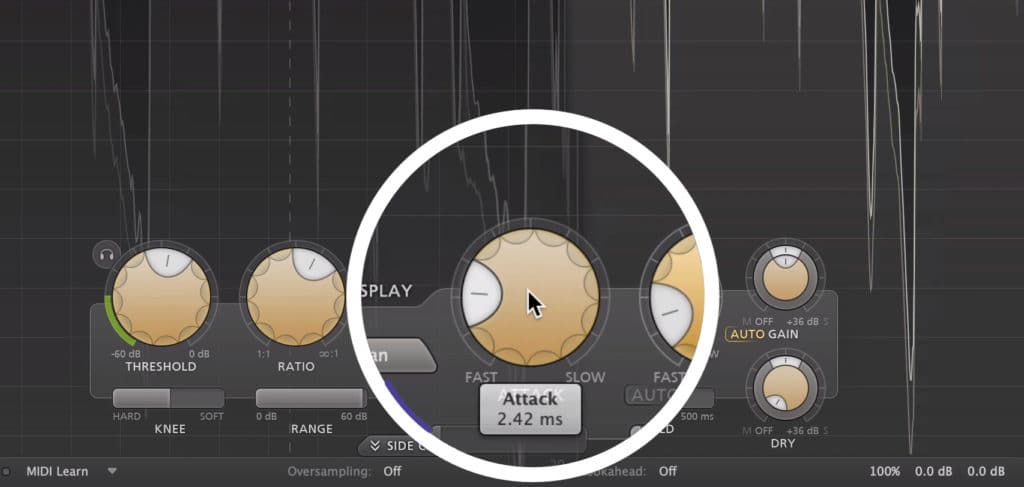
A moderately fast to medium attack is a good setting for dialogue.
When it comes to your release settings, if the setting is faster, the compressor will return the signal to its typical level faster. This will make the compression less noticeable , as it won’t cause attenuation to signals that are unrelated to the offending dynamic, or in other words, the passage that triggered the compression.
As you can imagine, a long release will cause the opposite of this and will result in compression that’ll attenuate unrelated aspects of the signal.
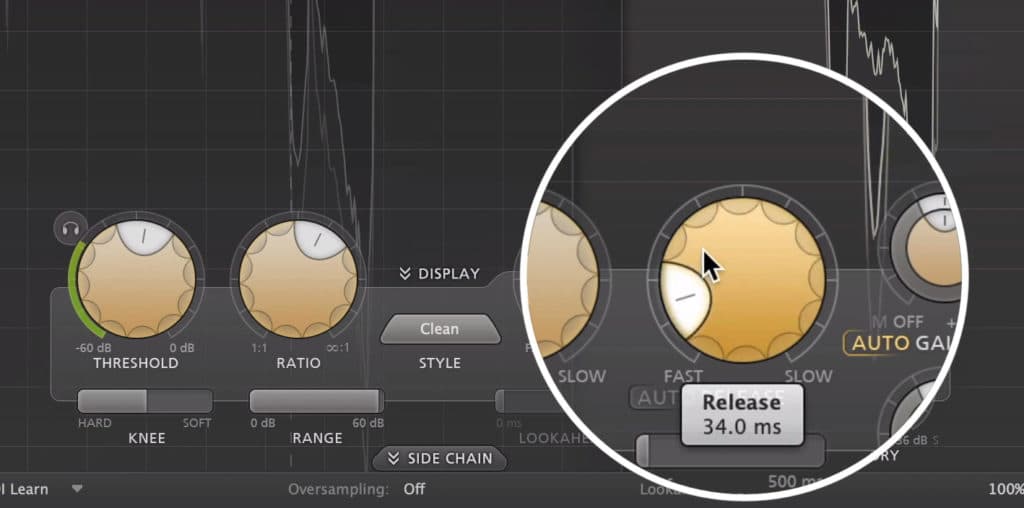
A faster release will be more transparent when mastering dialogue.
Lastly, when using a compressor it may help if the model or plugin you use has automatic make-up gain. This means that the compressor will compensate for any attenuation it causes by automatically introducing variable gain to offset the reduction in amplitude.
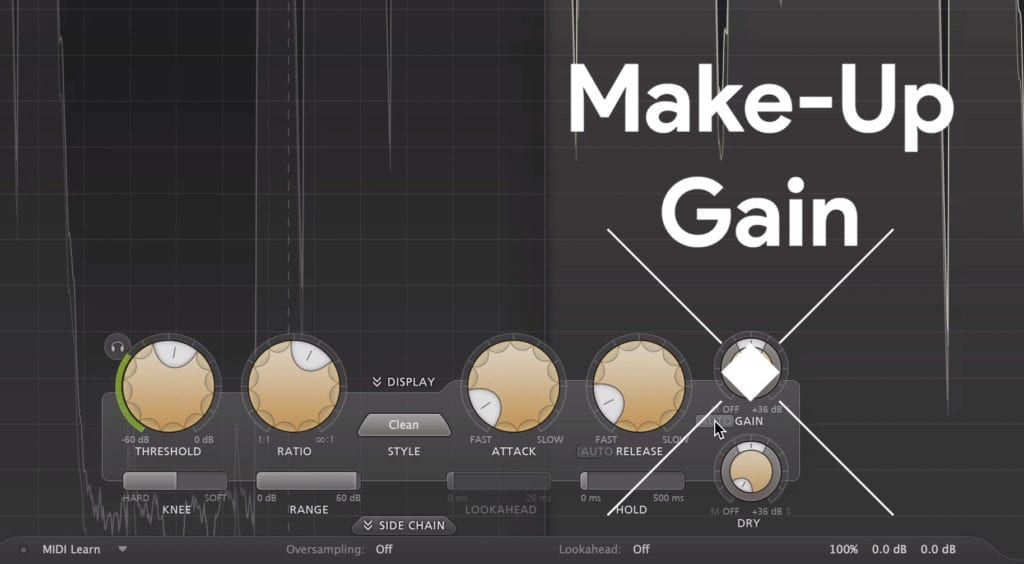
A compressor with make-up gain can be useful when mastering dialogue.
If you want to learn more about compression and how it can be used in a mix, check out this video and blog post on the topic:
We go into detail about how to perform these techniques as well as discuss when they should be used.
Step 5: Limiting
Limiting has the most potential to either augment or ruin your dialogue or vocal - it’s a highly useful, yet often overused effect.
Limiting is a lot like compression in that its primary use is to attenuate signals that cross a certain threshold; however, whereas compressors attenuate a signal with a 2:1, or maybe 4:1 ratio, limiting attenuates the signal with a 20:1 or greater ratio.
Limiting introduces a severe ratio, meaning that attenuation can quickly become drastic.
Brick-wall limiting, or a limiter with a severely high ratio, is often used during mastering as a way to ensure that clipping distortion does not occur. It can also be used to push the level of the signal into louder territory.
Making your dialogue louder can be very helpful for listeners, especially those that use lower quality consumer-grade equipment.
When your dialogue is made louder, these listeners won’t need to rely as heavily on their equipment to amplify the signal, meaning you’ve provided them with a more ideal listening experience.
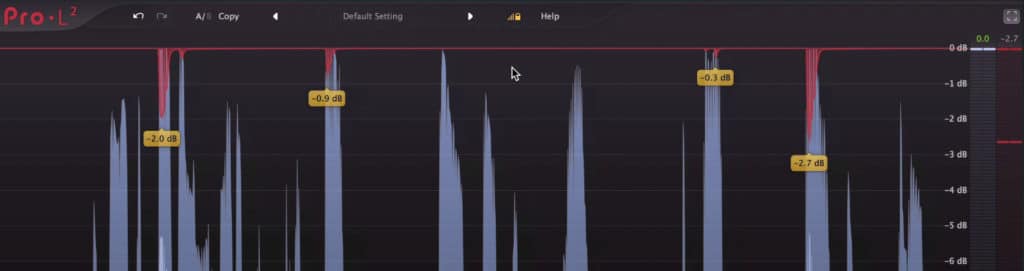
Try to keep attenuation under 6dB, similar to compression.
Try to keep the amount of attenuation under 6dB, similar to compression. Always keep in mind that the more attenuation you’re causing, the more noticeable the limiting will become.
Excessive limiting will more times than not, cause an aggressive and unpleasant sound. Additionally, making your signal excessively loud will most likely cause clipping distortion, even if your meters aren’t directly showing this.
When using limiting, especially to make a signal louder, you’ll need to rely on some metering to determine if you’re setting your signal to the right levels.
Step 6: Use an LUFS and True Peak Meter
An LUFS meter is used to measure the overall loudness of a signal. A True Peak Meter is used to measure the peaks of a signal, to ensure that it isn’t clipping.
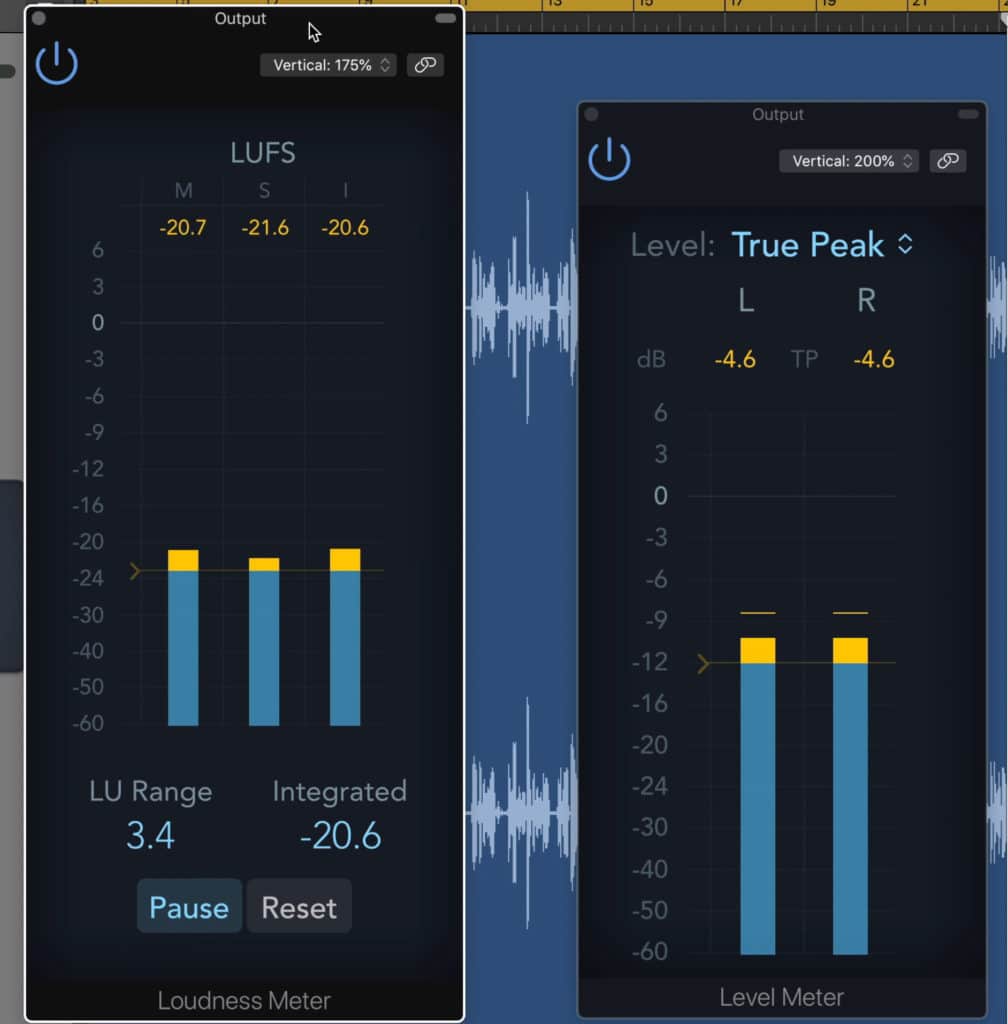
An integrated LUFS and a True Peak meter are needed when mastering dialogue - these can usually be found as stock plugins.
Both of these meters will be needed when mastering dialogue. Typically you can find these meters as stock plugins if you’re performing this mastering yourself.
If you’d prefer to have some options with your metering, find some great free options here:
In this video, you’ll find a lot of great free plugins you can use for mastering, including metering plugins.
When measuring the LUFS of your signal, be sure to use the Integrated LUFS - this is a measurement of the loudness of the signal over time. Additionally, you’ll need to reset this meter prior to measuring the signal from the beginning of the track.
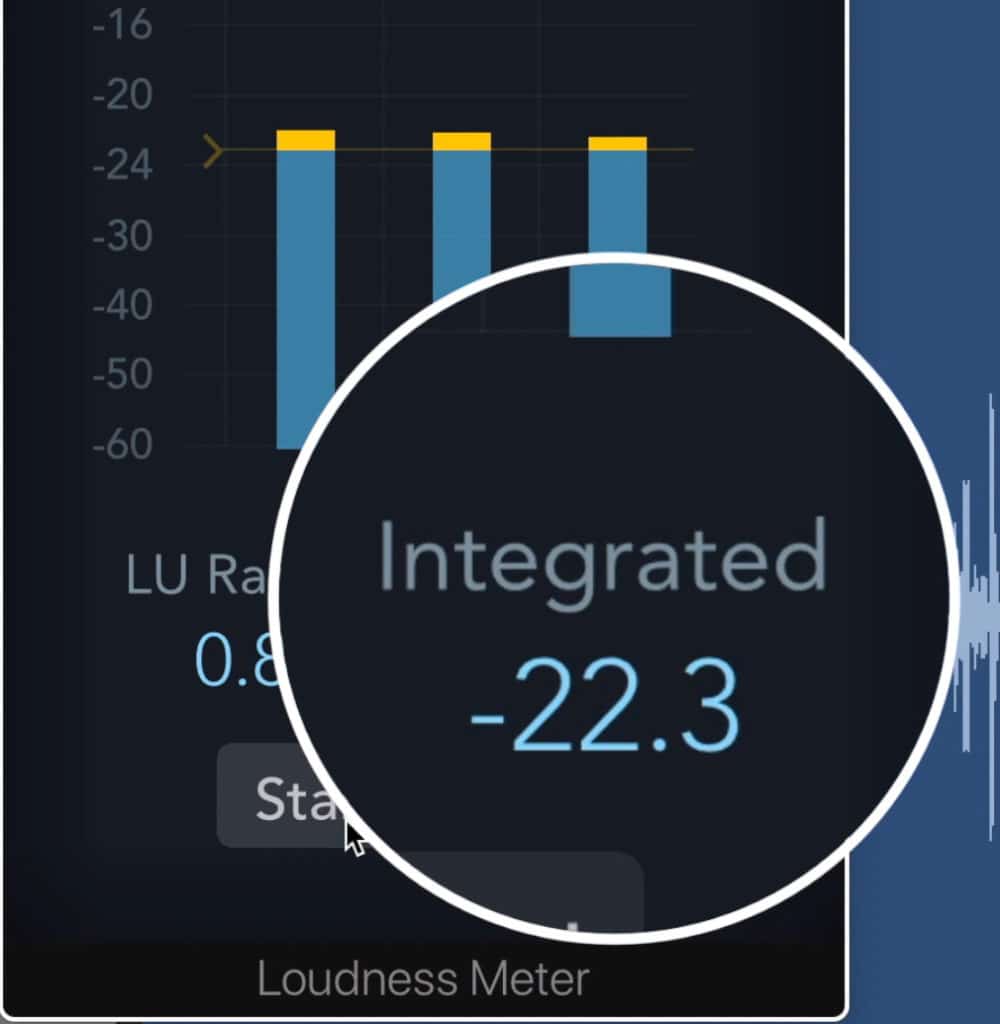
Be sure to measure the integrated LUFS.
Furthermore, when measuring the peak of your signal, it’s best not to use a traditional peak meter, but instead to use a True Peak meter. A true peak meter measures the amplitude of a signal in-between the samples of a digital recording.
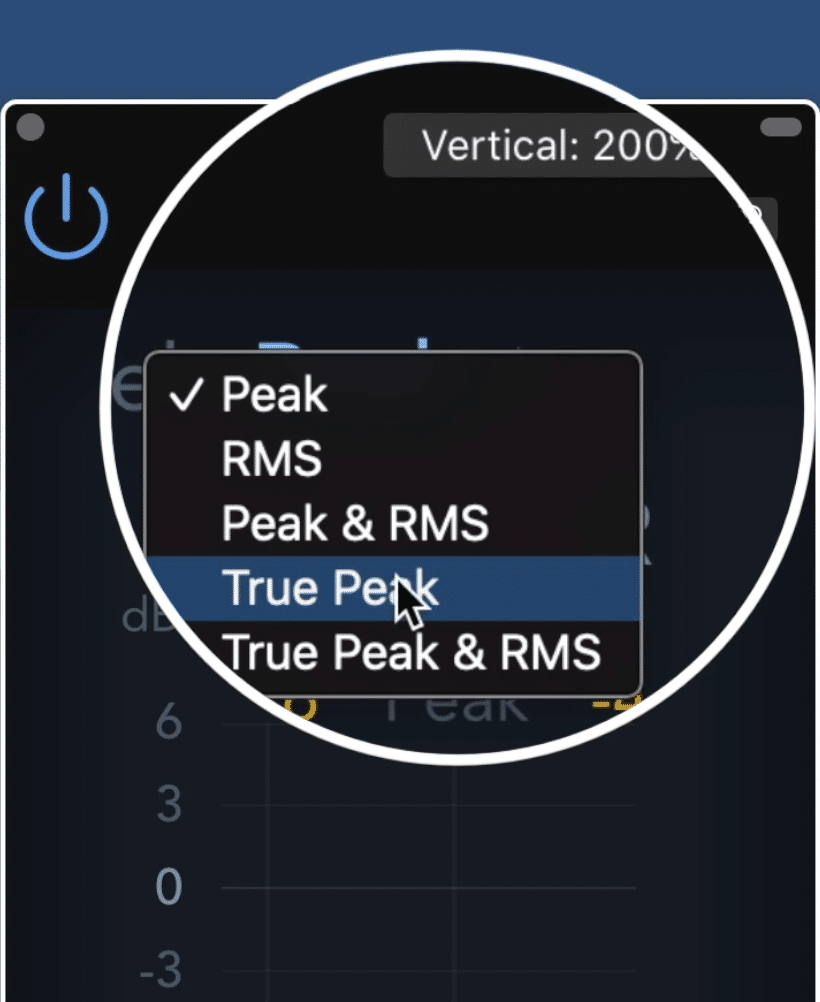
Be sure to use the true peak, not a regular peak setting.
If you’re using a regular peak meter there may be clipping distortion in-between the digital samples of the audio, leading to perceivable distortion.
This begs the question, ‘how loud should your signal be if you plan to distribute it to YouTube, or even Netflix?’
How Loud Should my Dialogue for Video Be?
If you’re mastering dialogue for video and plan to distribute the video on YouTube, make sure your audio is between an integrated -15 LUFS and -13 LUFS and has its loudest peak at -2dBTP . This way the audio won’t distort and is at the correct loudness.
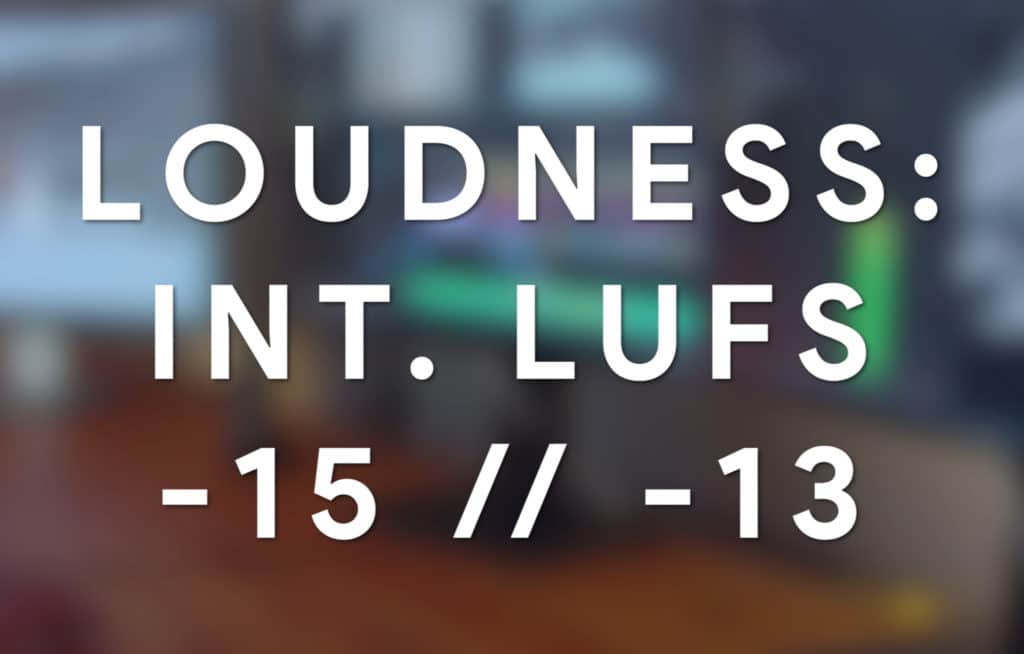
This is the loudness for YouTube.
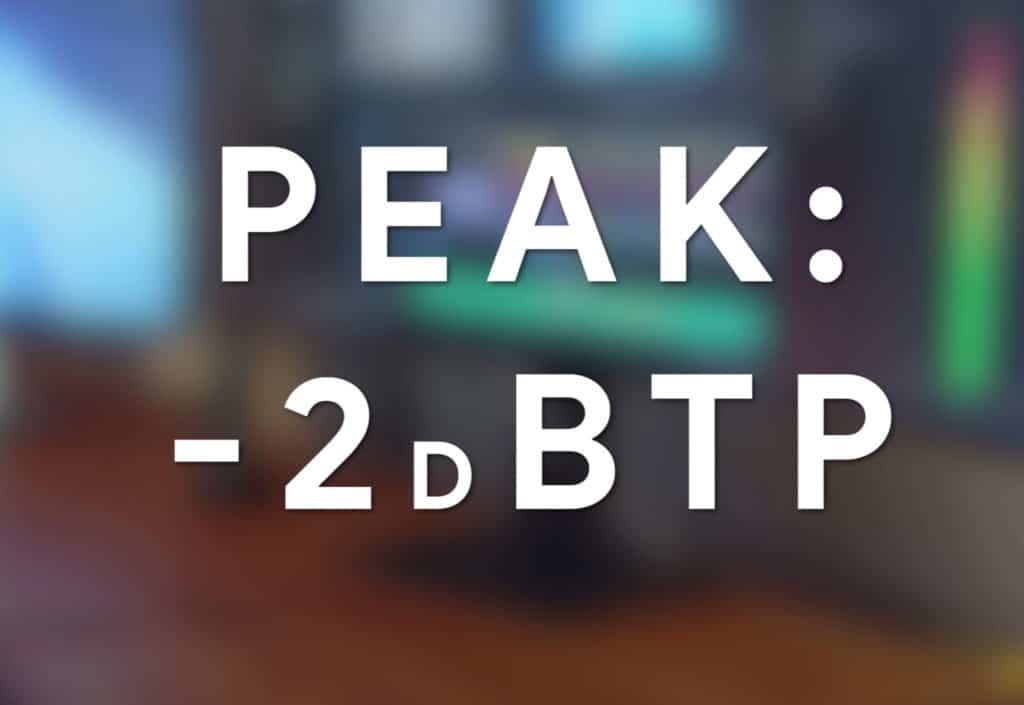
This is the max true peak for YouTube.
When it comes to Netflix, your levels are going to be a lot quieter. Whereas the dBTP will stay the same, -2dBTP , the integrated LUFS needs to be less than an integrated -27 LUFS.
This is the loudness for Netflix.
This is the max true peak for Netflix.
When uploading your video to YouTube, YouTube will introduce something that’s called Loudness Normalization.
When it comes to YouTube’s loudness normalization algorithm, it doesn’t turn the audio up during normalization, only down when the audio is louder than a certain threshold.
So if a video is roughly -12 LUFS, it’ll be turned down by roughly 2dB to 3dB; however,if the audio was at -20 LUFS, it would remain at this loudness.
This makes it even more important to get the audio closer to -15 LUFS to -13 LUFS if its quieter than that level - otherwise it will remain quieter, and may result in an unpleasant experience for the viewer.
The reason the audio’s loudest peak should be at or below -2dBTP, is due to the changes in volume that occur during the encoding process.
Whenever a video is uploaded to YouTube, the video and the audio are altered to match the same file type as other YouTube videos. During this process, the audio can change in volume by up to 2dB, meaning that in order to avoid potential clipping distortion, the loudest peak of the audio will need to be -2dBTP.
If you have Voice-over dialogue that you’d like to hear professionally mastered, send it to us here:
We’ll master it for you and send you a free sample for you to review.
How to Make my Dialogue Louder without Distortion
Making your dialogue loud enough for YouTube without causing noticeable distortion can be a challenge - but the main way to avoid this distortion is to use compression more than limiting. Because limiting creates a more aggressive form of attenuation, try supplementing this limiting with more compression.
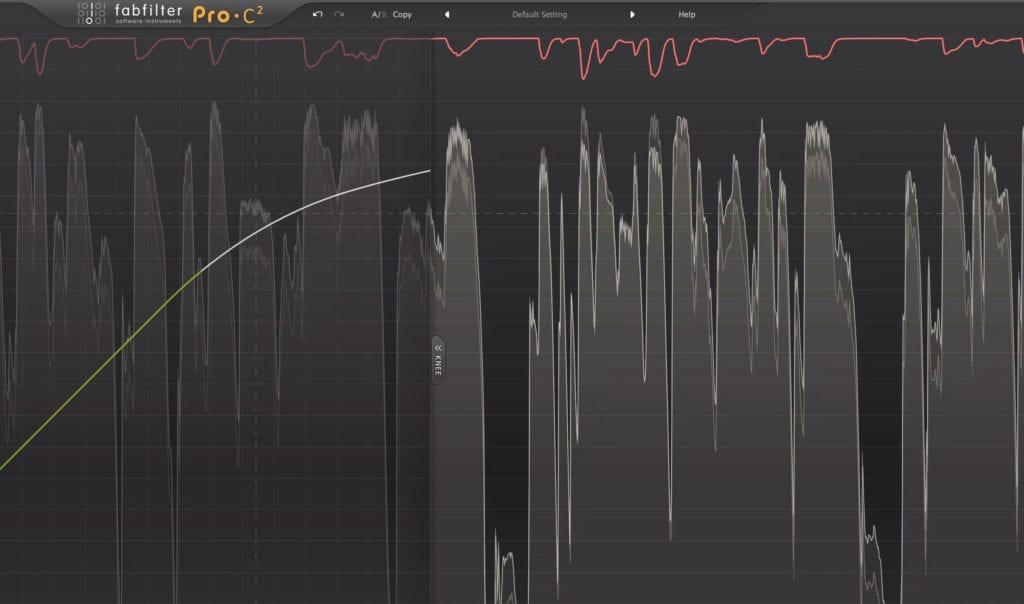
Use more compression before limiting to achieve great loudnesses without distortion.
The more attenuation you leave up to limiting, the more this limiting will create aggressive compression and mild compression. Aggressive limiting can destroy the timbre of a recording , especially the timbre of dialogue due to the need for dialogue to sound realistic.
Instead, try using soft-knee compression and maybe some saturation, as this results in natural-sounding attenuation and compression. Once the signal has been controlled dynamically, then introduce more limiting.
This way, you don’t leave the compression and attenuation to the limiting, and instead, use actual compression to handle that particular job.
Conclusion
Mastering your dialogue can be a difficult task - especially when your focus is on creating great video content. But your audio and its quality are just as important.
That’s why you need to know how to introduce gating, equalization, de-essing, compression, and limiting.
Additionally, it helps to know how loud you need to make your dialogue:
- YouTube: -14 LUFS, -2dBTP
- Netflix: -27 LUFS, -2dBTP
Lastly, you can’t rely solely on limiting to compress your audio and control its dynamics. If you do, you’ll introduce distortion and alter the timbre of your signal.
Instead of using limiting in an excessive manner, try using a mixture of compression and saturation to control your dynamics prior to limiting.
If you have dialogue that you’d like to hear professionally mastered, send it to us here:
We’ll master it for you and send you a free sample for you to review.
Have you ever mastered voice-over dialogue for video?


