What is Stereo Imaging?
Quick Answer
Stereo Imaging is the manipulation of a signal within a 180-degree stereo field, for the purpose of creating a perception of locality within that field. Stereo imaging is used during tracking, mixing, and mastering and is used to create a sense of space for the listener.
Stereo Imaging in Detail
Stereo imaging is by no means a new topic. Ever since the advent of the stereo playback system, the notion of manipulating the stereo field, and the placement of various signals within that field has been a topic of discussion amongst audio engineers.
Stereo Imaging has long been a popular topic among engineers.
Prior to the popular use of stereo playback systems, mono or single speaker systems made tracking and mixing a bit simpler. In short, every instrument that was recorded would playback through this one speaker - the signal would be entirely mono.
All records used to be mono, prior to the advent of the stereo playback system.
When stereo speaker systems were introduced, engineers needed to consider new and exciting possibilities for a recording’s various signals.
“Should the drums be centered or panned to one speaker? Should the vocals be centered, and if so, how does that affect how loud it should be relative to other instruments?”
These questions and uncertainties are made evident when we revisit early stereo mixes and masters. For example, if you listen to an early stereo Beatle’s mix, you’ll hear the bass guitar panned hard left, or maybe Paul’s or John’s vocal panned hard right.
Early records utilize stereo imaging in what is now unorthodox manners.
This type of stereo imaging would seem extreme by today’s standards, since how we interpret the possibilities of stereo imaging has changed.
In many ways, stereo imaging of today is more reserved and precise, and in many ways, there are still common misconceptions about it that negatively affect modern mixes and masters.

Many modern mixes and masters have excessive stereo imaging.
Let’s look deeper into stereo imaging, some of its important concepts, definitions, and misconceptions. Additionally, let's cover some of the processing used to affect the stereo image, how it works, and how it's utilized during tracking, mixing and mastering respectively.
Lastly, let's consider and discuss some creative ways stereo imaging can be implemented , how you can use it to evoke certain eras of music, and how it can be used to defy listener expectations in a good way.
The Fundamentals of Stereo Imaging
A Stereo Image can be broken down into 3 distinct sections:
- The center 90 Degree image
- The Left 45 Degree Image
- The Right 45 Degree Image
The stereo field is 180 degrees.
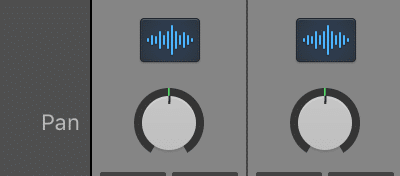
The majority of your signal will be located within the first section - that is the center 90-degree image. Any traditional panning that you use will operate within this 90-degree image - so if you were to pan say a guitar hard left, it would be to the full left side of this 90-degree stereo image.
Why is this important?
If you only use a traditional pan pot, you’re working solely within 90 degrees of the stereo image - which is completely fine as many if not most albums work exclusively within this first section.
Panning only moves the signal with the center 90-degree field.
But this also means that you’re limiting yourself to only half of the potential 180-degree stereo image.
If you only use panning, you'll only affect this center 90-degree field.
So how do you access the 2nd and 3rd sections of a 180-degree stereo image?
This is where delay and phase cancellation comes into play. By separating a mono signal into two separate signals, and then delaying one slightly (or significantly), you cause phase cancellation.
Delaying one side of a signal will cause phase cancellation and in turn, widen the stereo image.
This phase cancellation results in the widening of the signal into various parts of the full 180-degree stereo image. The degree to which the signal is widened depends on multiple variables, including the frequency and amplitude of the signal, and the amount of delay used.

Notice that the image has slightly moved into the 180-degree field.
Regardless of how it works, your stereo image can be widened by this effect. We’ll delve more into the creative and practical applications of this technique later on.

Different amounts of delay will result in a varied widening of the image.
First, let's discuss two common stereo imaging terms and try to define them to better understand them.
What is Width and Depth in Stereo Imaging?
“Width” is the location of a signal within the 180-degree stereo field - a “wider” image is one that stretches further into this stereo field and away from the center or 0 degrees. The “Depth” is the amplitude of this signal - a louder amplitude seems closer, a quieter, farther away.
Depth is also affected by temporal processing like delay and reverberation. A larger room size or longer reverberation time will make a signal seem as if it is farther away.
Temporal processing also affects the stereo image.
Conversely, a signal recorded with a close mic technique, or what is often referred to as a dry signal will seem much closer.
A dry signal sounds upfront and close from the listener's perspective
It should be noted that although width and depth are spoken about together, they each represent different forms of processing and different concepts. Granted, the reverberation that affects the perceived depth of a signal may also affect the stereo imaging , but width and depth can be thought of separately.
Now that we understand these concepts and the delineation between width and depth, let’s discuss some techniques that are used to affect the perceived stereo image.
How is the Stereo Image Affected During Tracking?
Stereo Imaging is established during tracking by using various microphone formations and post-recording panning, including but not limited to a “Spaced Pair, ” a “Mid-Side” and a “Decca Tree” formation. Each microphone formation causes specific stereo imaging to occur and typically affects the centered 90-degree stereo image.
Let’s look at each one of the aforementioned techniques individually, and explain what is going on.
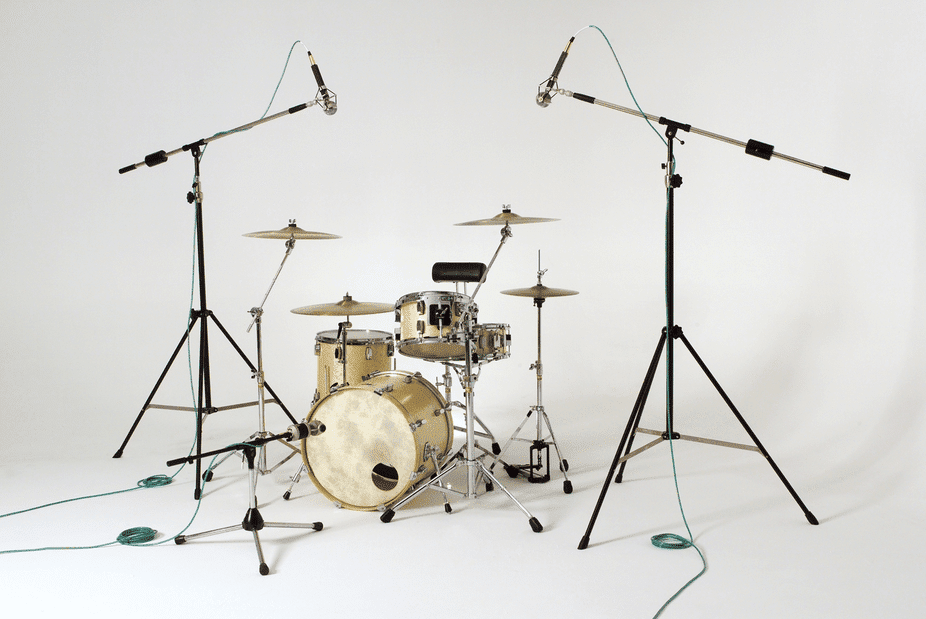
The Spaced Pair
A spaced pair is a great option for acoustic guitar and drum overheads.
As the name suggests, a spaced pair formation consists of 2 microphones identical in make and model. These two microphones are spaced an equal distance apart from one another and from a sound source to minimize the effect of phase cancellation, or they are spaced in a 3:1 ratio from the sound source.
Let’s focus on the spaced pair formation in which both microphones are an equal distance from a sound source.
In a spaced pair formation, the two microphones are panned in an equal and opposite manner.
In this formation, once the source has been recorded, you’ll pan the two signals hard left and hard right (or an equal and opposite amount away from the center. )
Doing so places the recorded signal somewhere in the 90 center stereo field.
The M/S or Mid-Side
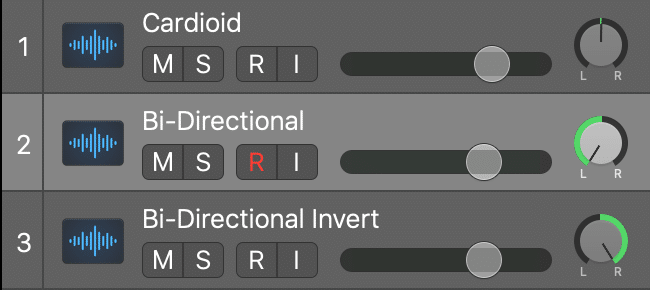
Mid-Side consists of a bi-directional and cardioid microphone.
The Mid-Side microphone technique consists of two microphones, one of which is cardioid and the other is a figure 8 or bi-directional polar pattern. The cardioid signal will stay mono , whereas the bi-directional signal will be panned hard left and right after being duplicated and inverted.
This creates 3 tracks in total, with two panned hard left and right.
Once recorded, the bidirectional signal is duplicated, creating 3 channels in total (1 cardioid and centered, 2 bidirectional and panned hard left and right).
By adjusting the balance between the centered signal, and the 2 bidirectional signals,you’re essentially affecting your Mid and Side images. By increasing the bidirectional image you increase the amplitude of your side image, by increasing your centered, cardioid signal you’re increasing your Mid image.
This technique places the image within the 90-degree center stereo field.
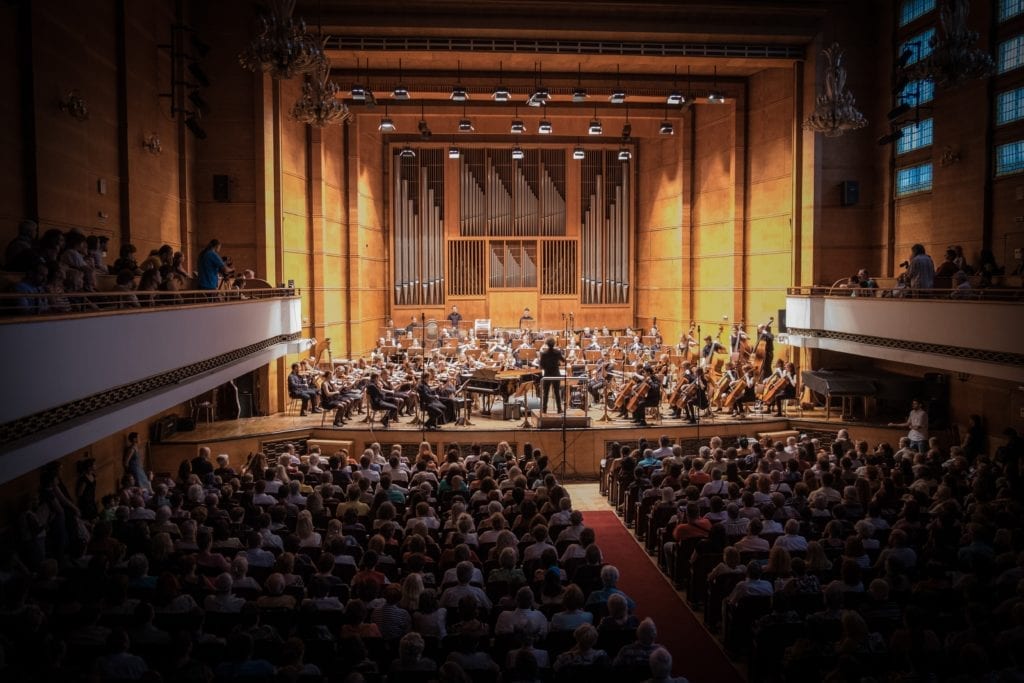
The Decca Tree
The Decca tree is often used to record live orchestral performances.
Similar to a spaced pair, the Decca tree employs 2 identical spaced microphones; however, with the addition of a third omnidirectional microphone placed in the middle. The two spaced microphones are panned left and right, whereas the center Omni mic’s signal is left as is.
By adjusting the amplitude of the Omni microphone and the spaced pair, you can create an image within the center 90-degree field. The spaced pair will represent the left and right sides of the 90-degree image, whereas the Omni microphone will fill in the gaps in between.
This technique is great for creating a full stereo sound - one in which the majority of the 90-degree stereo image is filled.
Typically, the spaced pair microphones are placed 2 meters away from one another, and the Omni microphone is placed in the center of the two, 1.5 meters closer to the sound source.
Of course, more techniques exist and can be utilized to affect the 90-degree centered section of the 180-degree stereo image. These techniques are definitely worth knowing if you have a home studio and want to create more unique and impressive stereo images.
If you’re curious about tracking and want to know more about the profession, check out our blog post on the topic:
How is the Stereo Image Affected During Mixing?
The Stereo Image of a mix is affected using various forms of processing and panning - including traditional panning, as well as delay and spectral based effects. The stereo image of a recording is affected the most during mixing, as both the depth and width of the image is altered.
Traditional or level-based panning is frequently used during mixing.
If you’ve created a mix, or seen a song being mixed, you’d definitely come across panning. Panning is used to adjust the position of a signal within the 90 degree centered stereo field and is the most common method for affecting the stereo image during mixing (and tracking as shown earlier).
Hard panning is often used when situating drum overheads.
By panning, say a drum overhead hard left, you’ve moved the signal into the left speaker of a stereo speaker system.
By altering the pan of multiple instruments, their amplitude, and their temporal processing, a mixing engineer can accomplish a lot. With these tools, they can create the perception of both width and depth , in turn creating a more realistic space for the multiple instruments to occupy.
By altering temporal processing, amplitude, and level panning, you can create a realistic stereo image.
In addition to traditional panning, delay and spectral panning can be used to push various signals into the left and right 45 sections as described earlier. Again, these types of processing move the signal from the centered 90-degree field into the 180-degree field.
Let’s look at these types of panning individually.
What is Delay-Based Panning?
Delay-based panning is comprised of two identical signals, with one signal delayed a small about to create phase cancellation. When using delay-based panning, the effects sound natural, as they closely mimic how a sound source is delayed when traveling to our ears at slightly different times.
Delay panning uses a delay to push the image into the 180-degree fields.
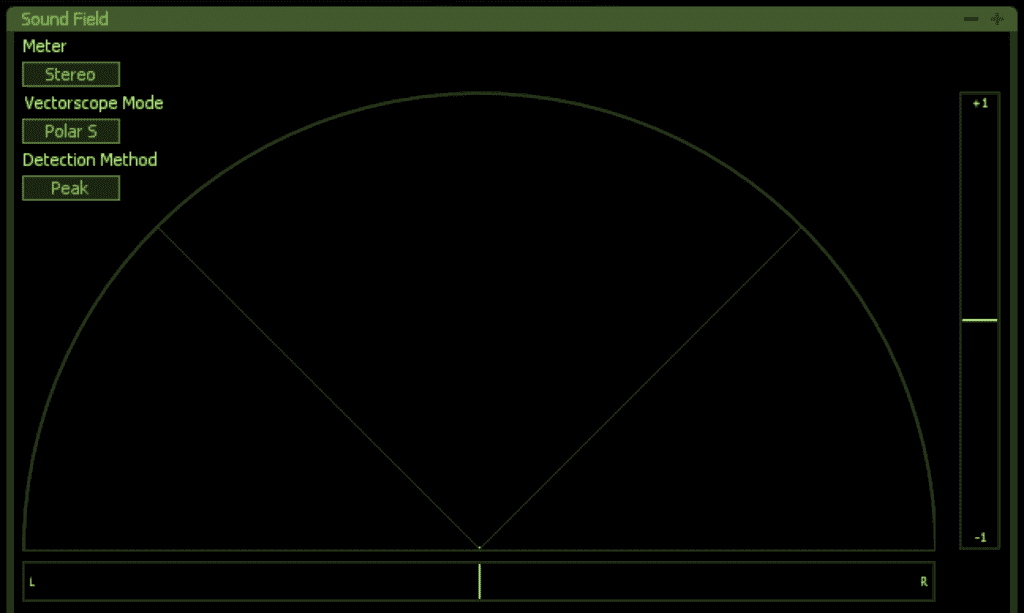
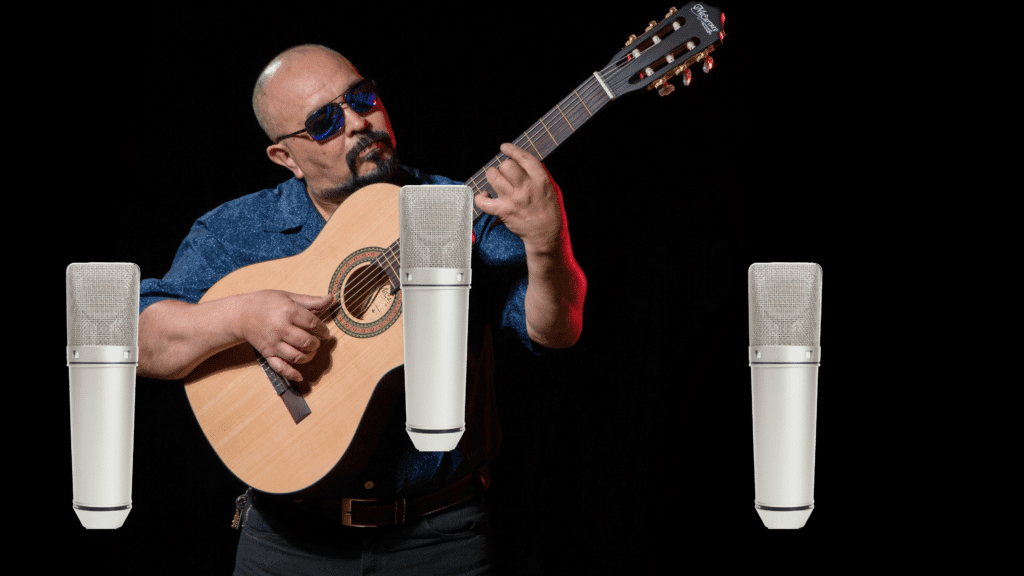
Considering our ears are spaced apart, any sound source that is to the left or the right will arrive at our ears at different times. So for example, if a car horn is honked to our right side, our right ear will receive that signal before our left ear.
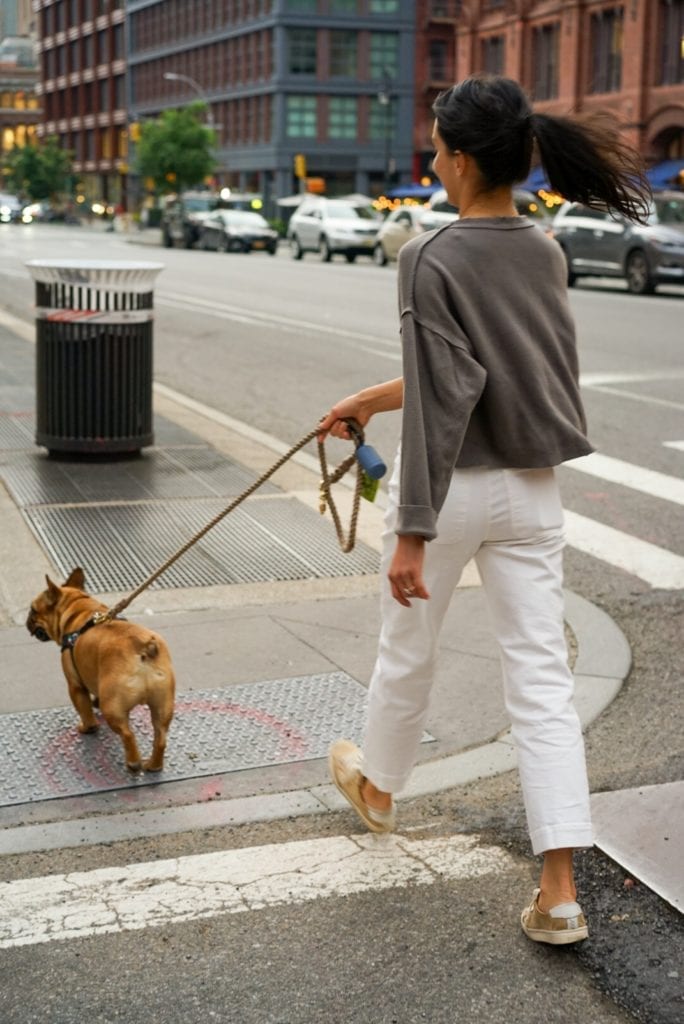
In the above photo example, if a car horn was honked to the right, the right ear would hear the sound prior to the left. There would be a delay between the arrival of the sound between the right and left ear.
As a result, our brain will correctly interpret the source of that signal as being to our right.
A similar concept is used when using delay to pan something. If we want an acoustic guitar to sound as if it is coming from the left, we can delay the right signal.
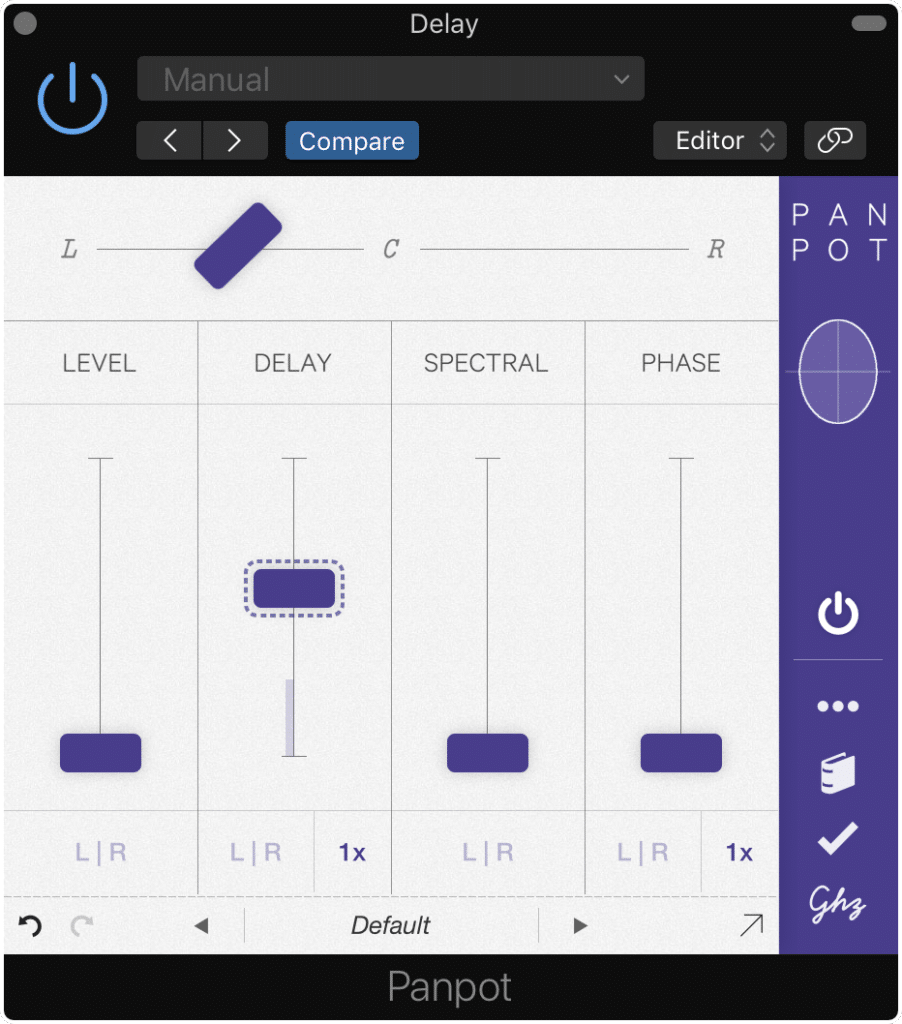
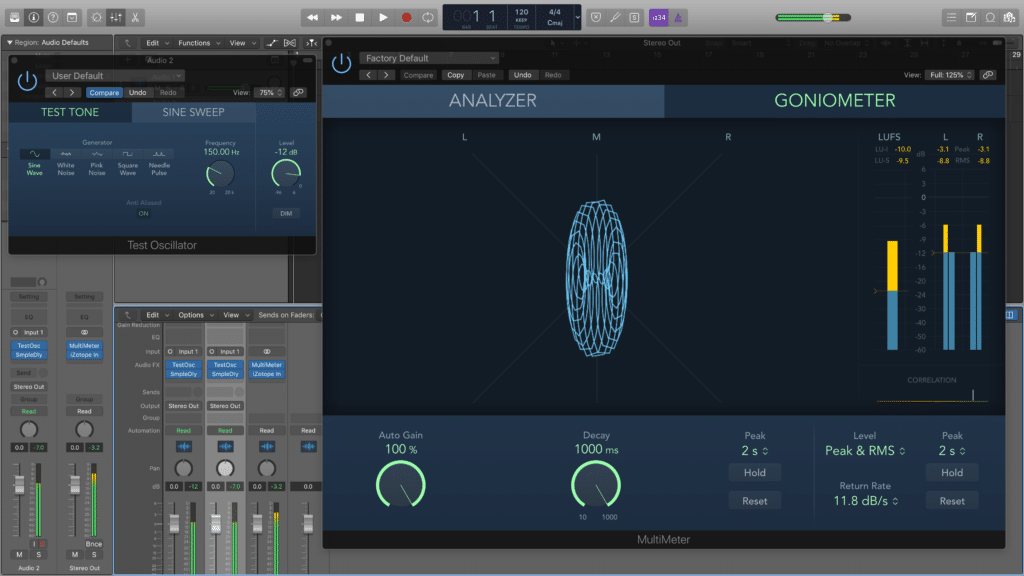
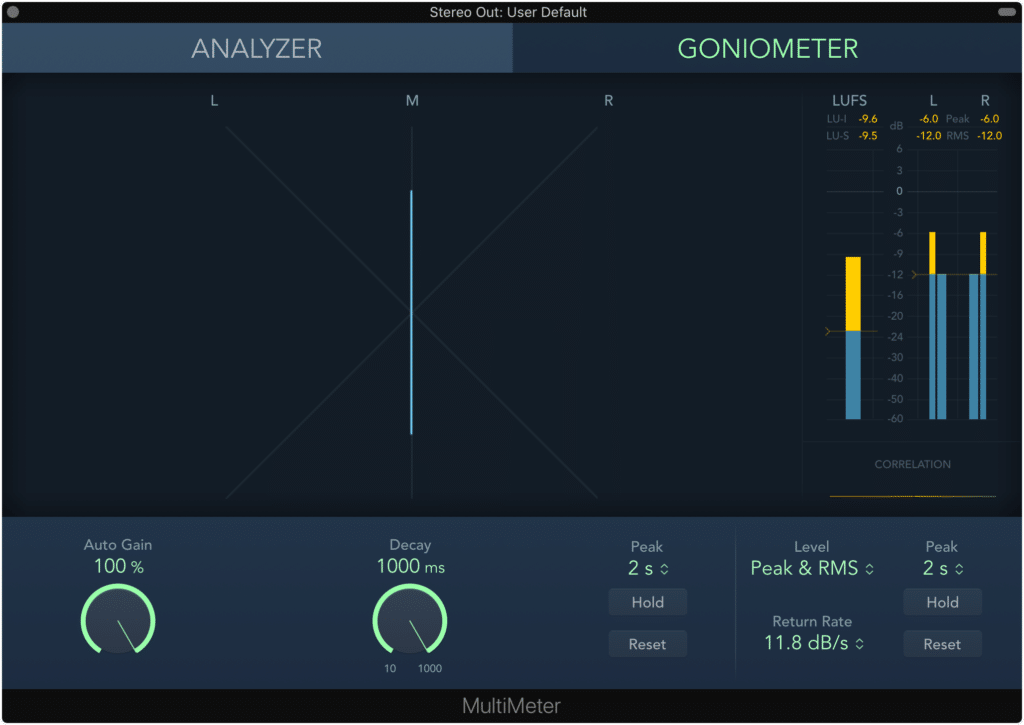
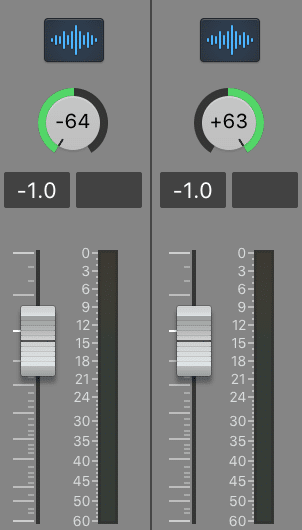
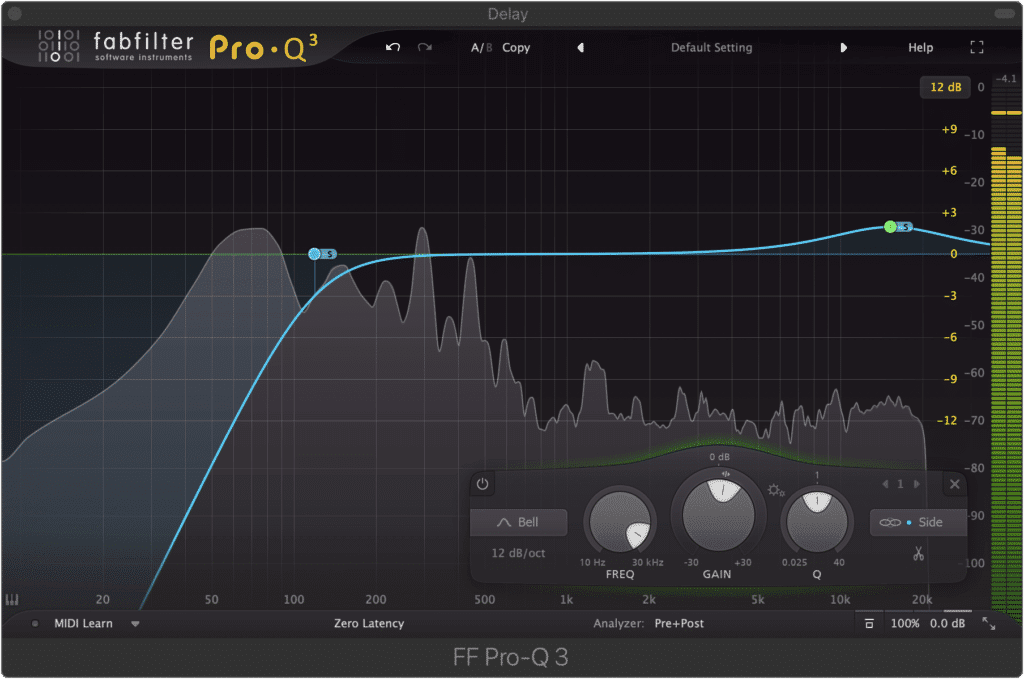
Notice how the delay panning function is altering the stereo image via the top right metering.
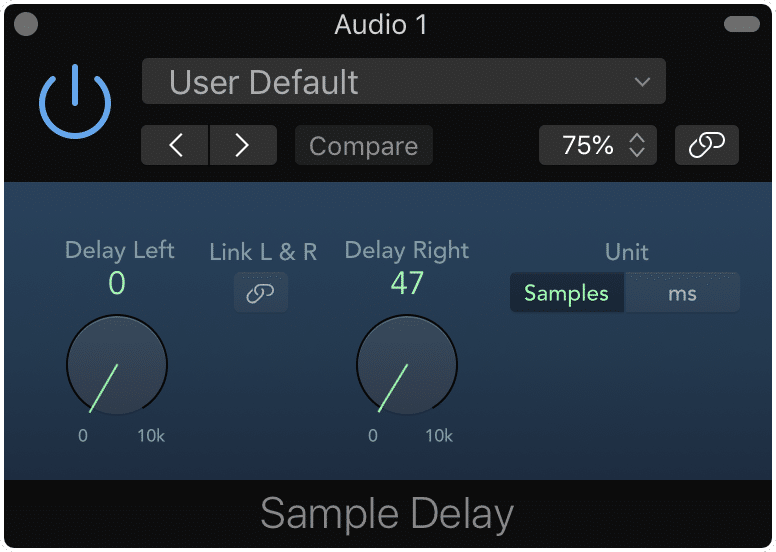
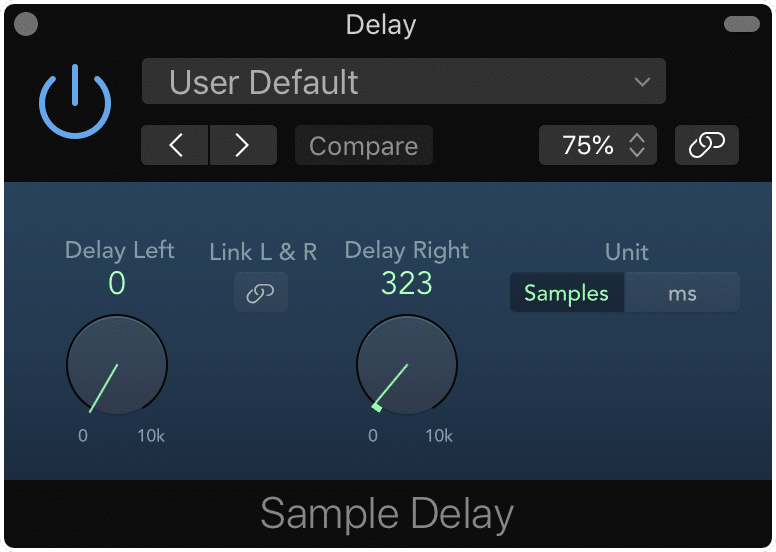
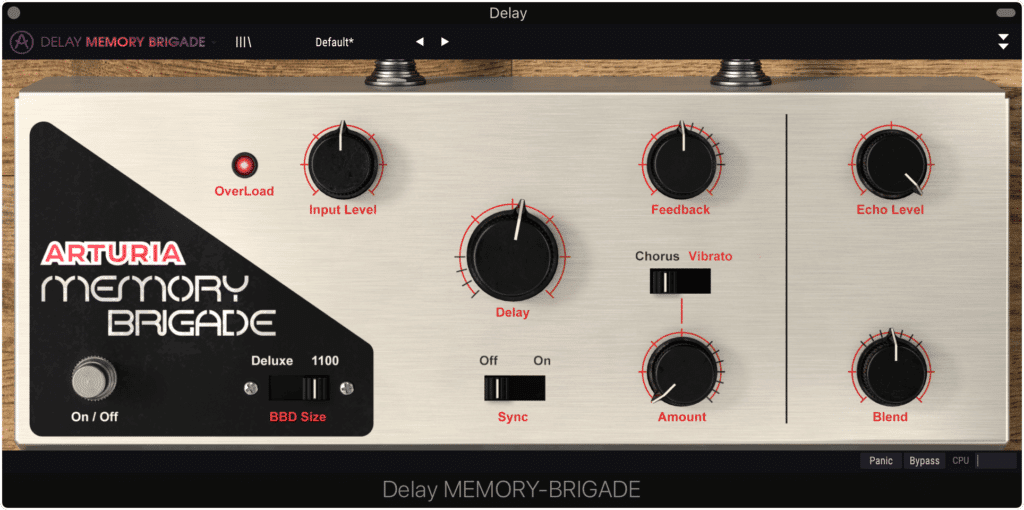
As a result, the left signal arrives at our left ear and then our right ear, creating the psychoacoustic perception that the signal is coming from our left. This handy trick is often utilized in modern mixes, and can very easily be created using a sample delay, like the one pictured below:
This is Logic's stock delay plugin.
What is Spectral-Based Panning?
Spectral based processing is comprised of two identical signals, with one signal having its original frequency range, and the other having an attenuated high-frequency range. When using spectral-based panning, the effects closely mimic how our ears perceive sound sources, making it a very natural sounding effect.
Spectral panning is created by utilizing high-frequency attenuation.
Like delay-based panning, spectral-based processing works by providing two identical signals and then altering one slightly to more accurately mimic how we perceive sound sources in the real world.
Because our ears are placed on either side of the head, the shape of our head, as well as the position and shape of our ears, will affect the frequency response of any incoming signal.
The "buffer" between our ears causes spectral panning.
So for example, say a guitar is a play on your right side. Your right ear will hear the guitar with its typical frequency spectrum, but what will happen to your left ear?

If a guitar is played on your right side, the right ear will hear the full frequency spectrum, whereas the left will hear the source with a slightly truncated high-frequency range.
Because your head is in the way of your left ear and the sound source, certain frequencies (primarily high-range frequencies) will be absorbed, reflected and dispersed - ultimately causing them to be attenuated.
As a result, your left ear will hear the guitar, but with an attenuated high-frequency range. This will cause your brain to perceive the guitar as coming from the right side (as this same effect would occur in the real world).
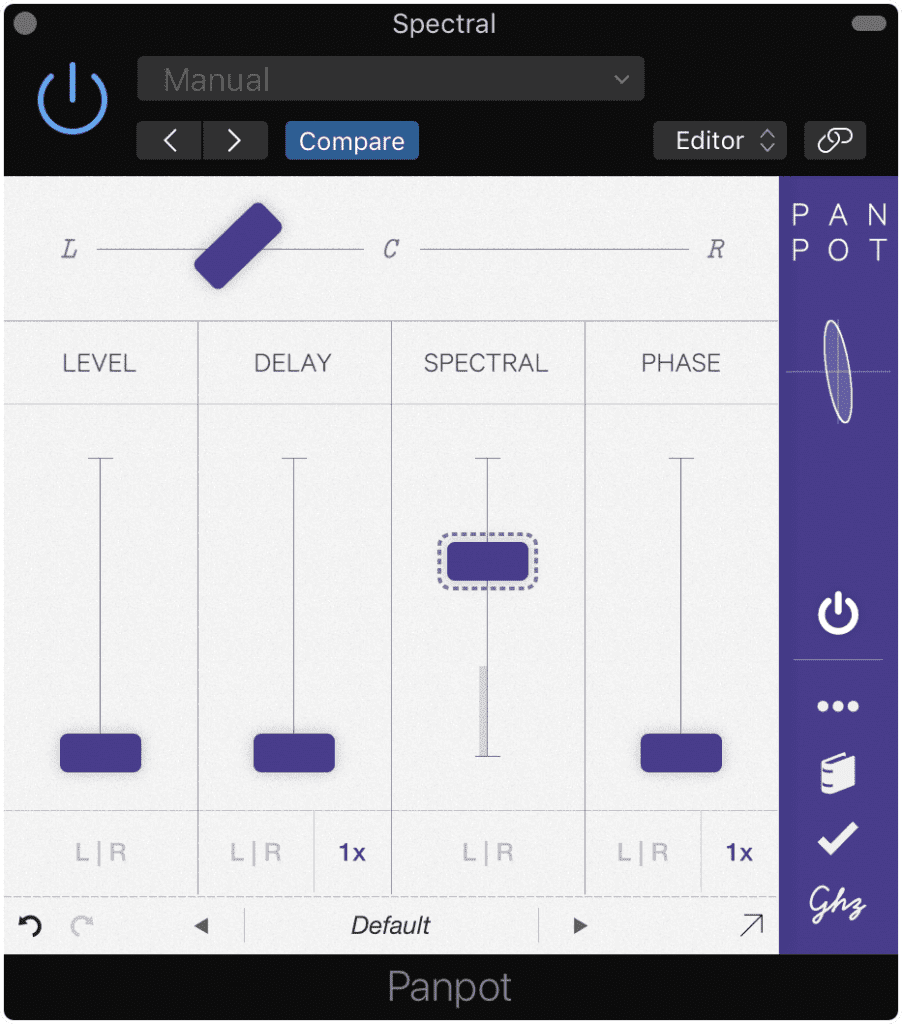
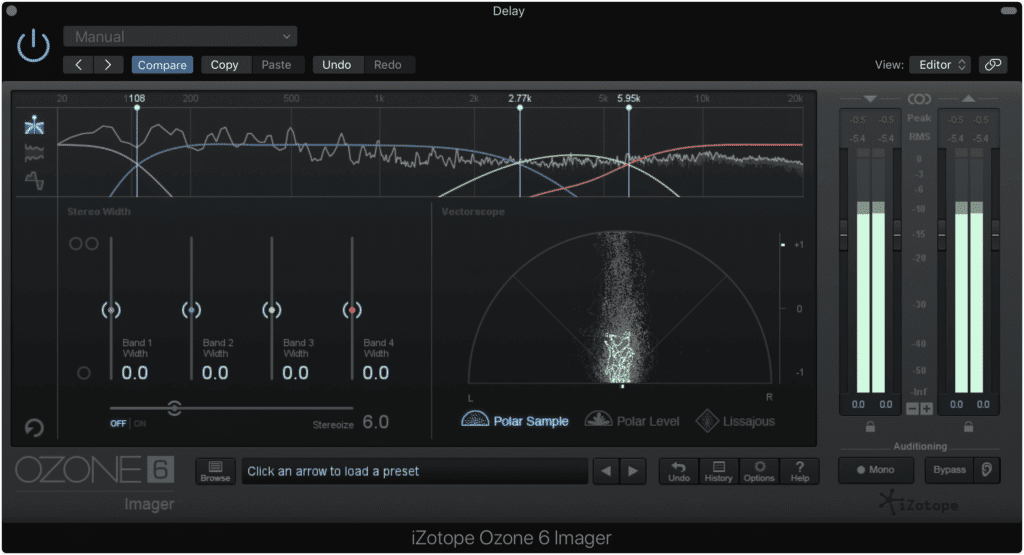
Take notice of how spectral panning alters the stereo image via the top right metering.
If you’re mixing, and you want to create an incredibly natural-sounding, yet advanced form of panning, utilize delay and spectral panning. This, when paired with traditional panning, temporal processing, and various amplitudes of your signals will give you the tools to create an impressive stereo image - both in width and depth.
So to recap, you can use these forms of stereo imaging during mixing:
- Traditional Panning
- Delay-Based Panning
- Spectral-Based Panning
As well as a multitude of temporal processing effects and variances in amplitude to establish depth.
Temporal processing is also used in mixing to create a sense of depth.
If you want to know more about psychoacoustics, check out our blog post on the topic:
How is the Stereo Image Affected During Mastering?
The Stereo Image of a recording is affected during mastering in a multitude of ways - some expected and some unexpected. Although both the width and depth of a stereo image can be affected during mastering, mastering typically affects the depth of a stereo image more than it affects the width.
Mastering does affect the stereo imaging of a recording.
The primary way that mastering affects the stereo image, at least in terms of width, is through mid-side processing. Because mastering typically deals with a stereo file , the option to adjust instruments individually is not an option.
Mid-side processing provides engineers options when they're working with a stereo file.
Mid-side processing gives mastering engineers extra control over the stereo file, by allowing for left and right channels to be separated it into 2 additional channels (Mid and Side).
The mid-channel includes the centered image, or the entirely mono image - which will make up the majority of a recording. The side channel includes everything that is not mono, which can represent up to 179 degrees of the stereo image.
By affecting the side image, frequencies in the 180-degree field can be amplified or attenuated
By amplifying or attenuating the mid-channel you’re affecting your mono image, and by amplifying or attenuating your side-channel you’re affecting your stereo image.
What are some other ways the stereo width is affected during mastering?
Outside the realm of mid-side processing (which typically takes the form of mid-side equalization) affecting the stereo-width of the mix doesn’t really occur. In other words, a mastering engineer isn’t going to be using panning, spectral or delay-based effects too often.
The only other possible example of affecting the stereo-width during mastering would be with a delay-based imager. This type of plugin will apply the same type of sample delay to a signal, causing phasing to push the image into various parts of the 180-degree image.
Delay-based processing can be used during mastering, but should typically be avoided.
Although this is an option, it isn’t utilized too often, or at least shouldn’t be used too often. The reason being, delaying entire groups of instruments and frequency ranges can cause severe phase cancellation.
Additionally, widening the image at this stage will cause significant widening - this can and often does cause a master to lose its impact . Furthermore, significant widening, especially into the 180-degree image will not translate on a mono speaker system.
With that said, delay-based stereo imaging should be approached very carefully during the mastering stage. In other words, more is certainly not better when it comes to stereo widening during mastering.
But, as stated earlier, the primary way mastering affects the stereo image is by affecting its depth. Let’s look at this in greater detail.
If you’d like to learn more about stereo imaging during mixing and mastering, take a look at some stereo imagers you can use:
How Does Mastering Affect a Stereo Image’s Depth?
Mastering affects the depth of a stereo image by pushing low-level signals further into the forefront - this occurs during low-level compression and limiting. Considering these low-level signals give listeners an indication of an instrument's depth, making these signals louder greatly impacts this perception.
So let’s say that reverb and a lower amplitude was used to create a sense of depth for an instrument - if a mastering engineer was to push the signal louder, this sense of depth could possibly be destroyed.
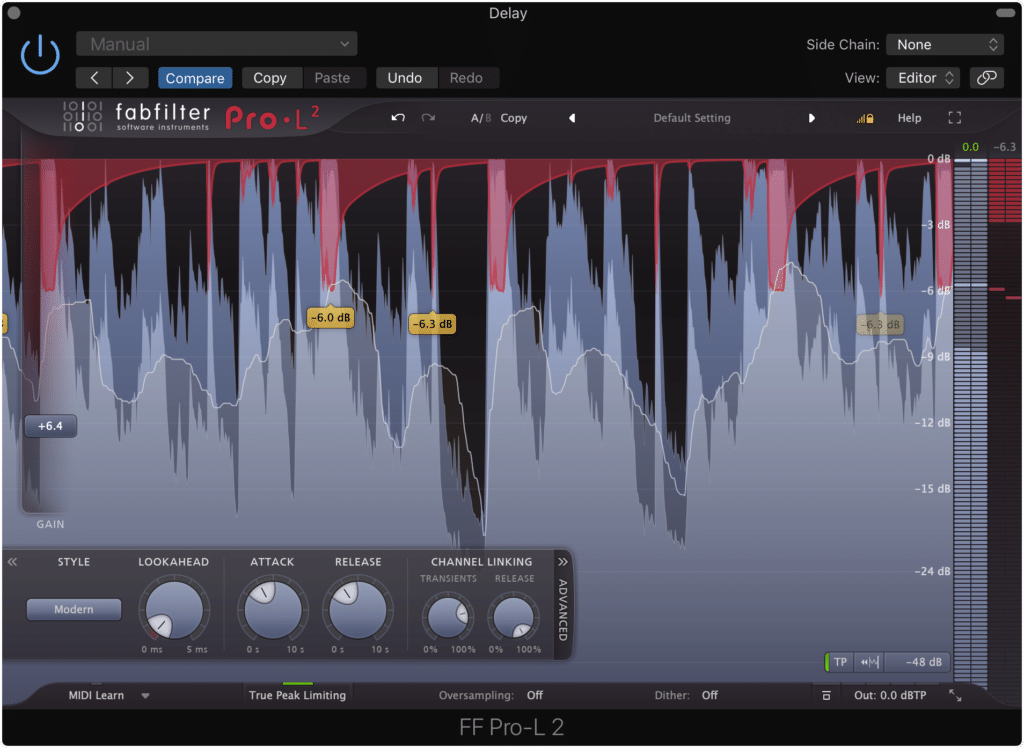
Excessive limiting drastically alters the sense of depth in a record.
Although this seems unlikely, it often occurs when creating an excessively loud master. When using excessively limiting, attenuation of the dynamics or peaks is occurring - so the difference between louder and quieter instruments is narrowing (in other words the dynamic range is becoming smaller).
If you keep pushing the signal into the limiter, the loud aspects will continue to be attenuated by the limiter’s ceiling, while simultaneously, the quieter parts of the mix become louder and louder.
After this excessive limiting, the difference between the previously quiet aspects of a mix and the previously loud aspects of the mix is made almost non-existent. The dynamic range and the sense of depth are unfortunately destroyed.
So although mastering doesn’t play a huge role in stereo widening, it does have the potential to negatively impact the depth of an image.
If you’d to have your mix master, but not have its dynamic range and depth destroyed by excessive limiting, send it to us here:
We’ll master it for you, and send you a free sample.
How to Use Stereo Imaging Creatively
As stated earlier, stereo imaging is much more reserved than it used to be. You won’t find too many albums with the bass, lead vocals, or the entirety of the drums panned hard to one side.
Although this seems like the way things should be, it opens up the opportunity to surprise your listeners.
Although many engineers focus on creating a realistic stereo image, one that could be replicated in a theatre or in the real world, creating unrealistic effects can be just as, if not more entertaining to listeners.
I’m sure we’ve all heard the effect of an instrument slowly being panned from one side of the stereo image to another. This effect, although entirely unrealistic (unless we expect musicians to pick up their instrument and amplifiers and run from one side of the stage to the other) is amusing and adds character to a mix.
Use panning creatively by utilizing automation and making tasteful but unexpected choices.
Similar effects can be and should be utilized to create unique and unexpected sounds. You could briefly hard pan an instrument that is typically centered, or maybe swap the entirety of your stereo image so that everything on the right side is now on the left or vice-versa.
Whatever you choose to do, try some creative effects to your mix, and see if you find anything worth sharing (odds are you will).
If you need some references for inspiration, here are a couple of tracks with impressive and unique stereo imaging:
- Song: Klapp Klapp / Artist: Little Dragon / Album: Nabuma Rubberband
- Song: Come With Us / Artist: The Chemical Brothers / Album: Come With Us
Both of these examples employ very unique, creative, and exciting stereo imaging that is simultaneously captivating and impressive.
Conclusion
Whether you’re tracking, mixing, or mastering, you have a plethora of options for affecting your stereo image.
You can use psychoacoustic effects, microphone techniques, mid-side processing, traditional panning and amplification changes, temporal processing, low-level compression, and a slew of other techniques and forms of processing to change both the width and depth of your stereo image.
You may prefer to keep your image within the 90-degree frame that most mixes occupy, or you may want to get creative and push certain elements into the 180-degree field.
Maybe you want to emulate the avant-garde mixes of the 1960s, or you prefer to keep things controlled and organized.
However you choose to implement stereo imaging, and whatever stage of audio production you’re working on, there is a lot to understand and digest. Start small with a spaced pair technique, some panning, and some mid-side processing.
See how this sounds and then move to more advantaged micing, mixing and mastering techniques.
If you’d like to hear your mix mastered in a manner that augments the clarity, depth, and width of your stereo image, send it to us here:
We’ll master it for you and send you a sample for you to review, completely free of charge.
How do you like to perform stereo imaging?


