How to Mix EDM Tracks
EDM is a genre like no other. It capitalizes on huge synth lines, dramatically sidechained melody lines, and massive stadium-like drums. However, the work-flow of mixing these tracks isn’t as straightforward and eludes most starting producers. We will run through the most time-consuming and detail-oriented stage of the song creation process--Mixing.
Note: Keep in mind, these are guidelines not rules.
Pre-DAW Prep
Before you even open of your session you have to go in with a positive and energetic mindset. If you aren’t excited about mixing, don’t even open the computer. If you are stuck in this negative mindset, you’ll ruin the mix and waste the day you have set aside to do it. Go in with reference tracks that are mixed well and are a great end product to aim for. Big artists like Steve Aoki, Krewella, and Zedd are safe bets.
Many people may not see the benefit to mixing in the morning, but this is when the ears are fresh. Mixing during this time of day can greatly increase the longevity and endurance of your ears during the mixing process. When you get up, also make sure that you have a large chunk of time to mix. Anywhere in between six to ten hours should suffice with built in 15-30 minute breaks. This is assuming that mixing will be done in one day. If the mixing is spread out for two or three days maximum, four to eight hours should be enough every day. During this prep time, be sure to to clearly envision the song’s potential. This ensures that you will go into mixing with a clear end goal and purpose. Set aside all distractions (phone, email, youtube, etc.) and focus solely on creating a great project. Then, you can open up your DAW.
From Scratch
To start, open up the project you’re mixing. If this is your own project that you have half-mixed and produced, bounce everything out dry and stick it into a blank, new session. Non-committal mixing isn’t mixing that's worth keeping. Also, MIDI slows down the CPU and getting rid of it eliminates any errors from software not reading it correctly. Removing MIDI also ensures that all reverb tails and volume variations are clearly seen in the waveforms, making it easier to address any problems. If this is a project of someone else’s, then you probably already have all the dry tracks and can go straight into a new session for track organizing.
Bedroom EDM producers don’t see organizing tracks as a necessity but it saves a lot of time, pain, and struggle in the end. Once all the dry tracks are loaded into the session, they will need to be titled correctly and color-coded by type of instrument. For instance, all drums tracks can be red, all bass tracks can be blue, and any audio effects and transitions can be green, and so on. This basic organization will make finding tracks easy and obvious. The next step is to create VCAs and assign all the tracks to groups. This will make it easier to turn down a group of tracks rather than turning them down one at a time. Along with this step it would be very beneficial to route groups of tracks to busses. Busses help ease CPU load from repeating instances of a send or an effect and also to help “glue” groups of tracks together such as drums. Now is the time for the fun part!

80/20 Rule
The Pareto Principle in reference to mixing says that 80% of results come relatively fast, while the last 20% is more demanding and meticulous. The 80% is the very first part of mixing.
At this point, what most audio engineers do is to pull all of the faders down and start to pull them up starting with the most important instruments. Some suggest to loop the biggest part of the song, which in most cases is the last chorus or drop. This guarantees that things won't get too out of hand during the quieter parts. In EDM, kick and snare are probably the most important parts of the mix, so find a suitable level (around -8db). Moving forward, do the same with all other drums, bass, vocals (if there are any), melody synths/samples, etc. Then continue down the list. This is a good time to also pan tracks and find an appropriate stereo image for the song. In EDM, the wider, the better. Some things are meant to stay center such as main vocals or the kick. All bass has to be mono unless you want extreme phasing issues, but after that, chorusing effects and hard panned instruments are the norm. Just like EQing though, everything needs a spot so don’t overcrowd any part of the balance.
Once levels are set, I suggest listening to the whole song, if you haven’t done so already, to really come up with a game plan of how everything should be mixed and what the end goal is. Now is the time to take notes and listen to the reference tracks again to gain a clear vision on how to tackle the song.
Processing
The meat of mixing is done here. Processing is how we fit all aspects of a mix together and start to get a clear picture. Some start with drums first because they are the hardest to mix, and once they are in place, the whole song starts to fit together. Starting here makes sense because the most important instruments and voices should be perfected and be given their own space in the mix well before anything else. Then, in a similar way to how we got levels, we loosely follow the path of most important to least important instruments.
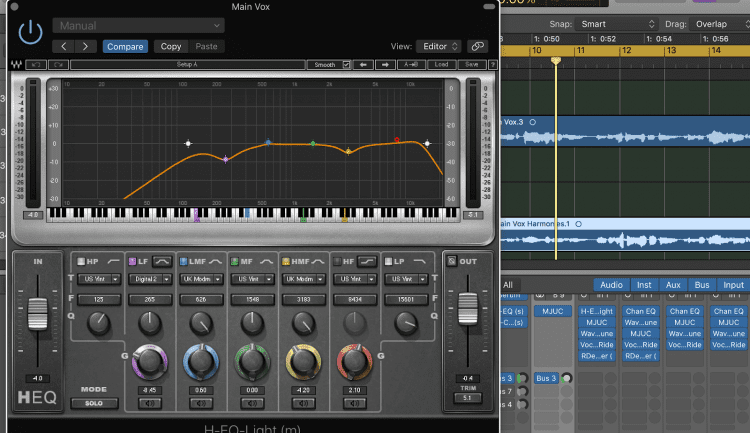
The most basic effects are the compressor and EQ. They are used the most and help sculpt the landscape of the mix the most. I start with the EQ to eliminate frequencies that are unneeded and tend to muddy the mix, by applying highpasses. Most instruments don’t need anything below 100-200hz. Then I get to fixing any other major problems such as sibilance in a voice or a ring in a snare. After fixing those problems, I may compress and add another EQ after the compressor, or continue editing the EQ to cut out frequencies that conflict with other more important tracks. The whole purpose of EQing is finding a spot for everything and leaving the most important aspects their own space to avoid masking instruments and making the mix muddy. A good rule for EQing is to always cut first, and then if necessary, boost. Boosting eats up headroom and muddies the mix, You’ll always have more room to subtract than to boost. If done correctly, all of the instruments should be clear and easy to hear throughout the mix.

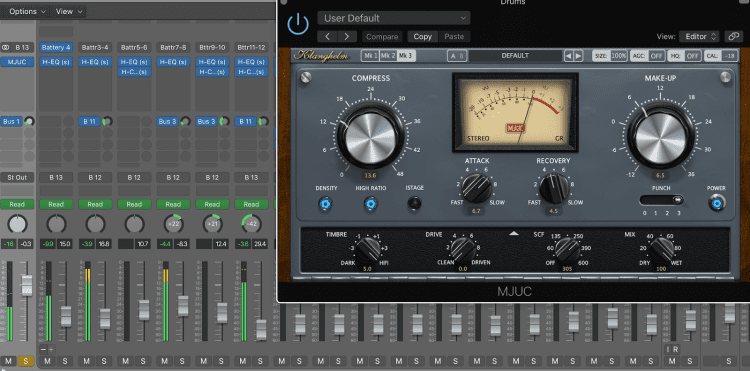
Compression and sidechaining, which is used after EQ most times, serves a vital purpose in EDM. Compression is used to take the peaks of a track and, well, compress them, and take the quiet parts and boost them. Sometimes though, compression isn’t needed. If you have a heavy synth-chord part with flat ADSR curves, the chances are, there aren’t very many volume variations, so don’t compress. Many kick and snare samples also are already extremely over-produced and compressed so they may not need any compression. Things that have variation are parts like vocals, melody lines, soft pads, and arpeggiating synths. These parts need compression to help keep them leveled to later make the track louder overall. Yet, sometimes even compression is not the answer for leveling a signal. Sometimes volume automation does the job better with a clean result. Sometimes heavy compression is used to obtain a popular effect in EDM, however, the “effect” should be used sparingly to avoid a thin, overly squashed mix.
Sidechaining is a very popular effect obtained with compressors. This is normally used to trigger a volume drop with the kick to make space for low bass parts or parts that can get in the way of the kick. Sidechaining is not only good in this way, it can be used to make room for vocals against a melody line, or room for a noisy snare against crash cymbals or busy percussion loops.
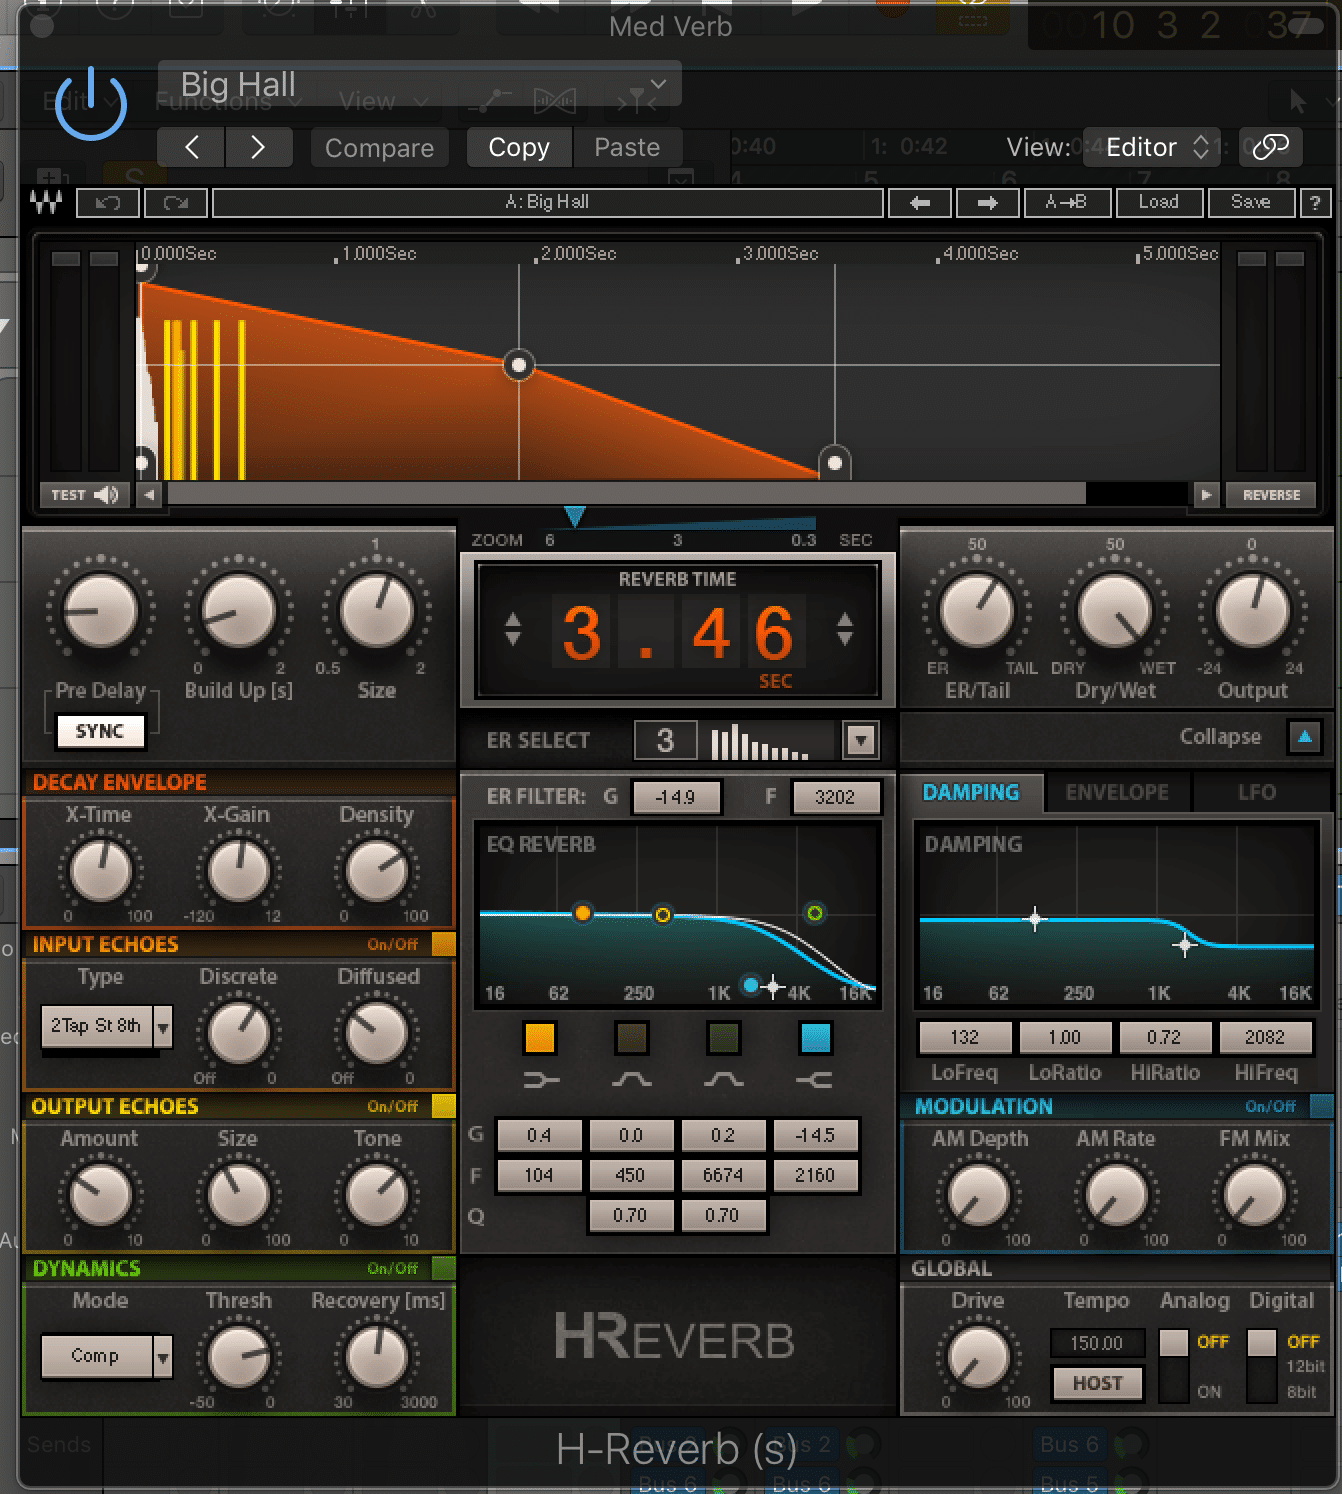
After EQ and compression are dealt with, it’s time to add secondary effects to obtain any desired effect. Chorusing, phasing, overdrive/distortion, and others are often used next in the signal chain. When it comes to other effects, use them creatively and experiment often. This can help create an original sound but be careful to not waste time on effects that you don’t know anything about or would not make any sense. After these, effects such as delay and reverb would be placed usually last or preferably in a send to save CPU. When it comes to setting up the reverbs, don’t use overly drawn out reverbs. Five second reverb times are rarely needed while short reverb times can be used to save space in a mix and obtain a nice “big” sound without muddying up the mix too much. Similar delay settings are desired. Five to seven delays is most likely way too much--two or three can be just fine. Just don’t go overboard. A tactic I like to use is to set the send level to where you think it would be enough, then scale it back five to ten percent. Also, don’t forget to reference your reference tracks a few times throughout all this!

The Details
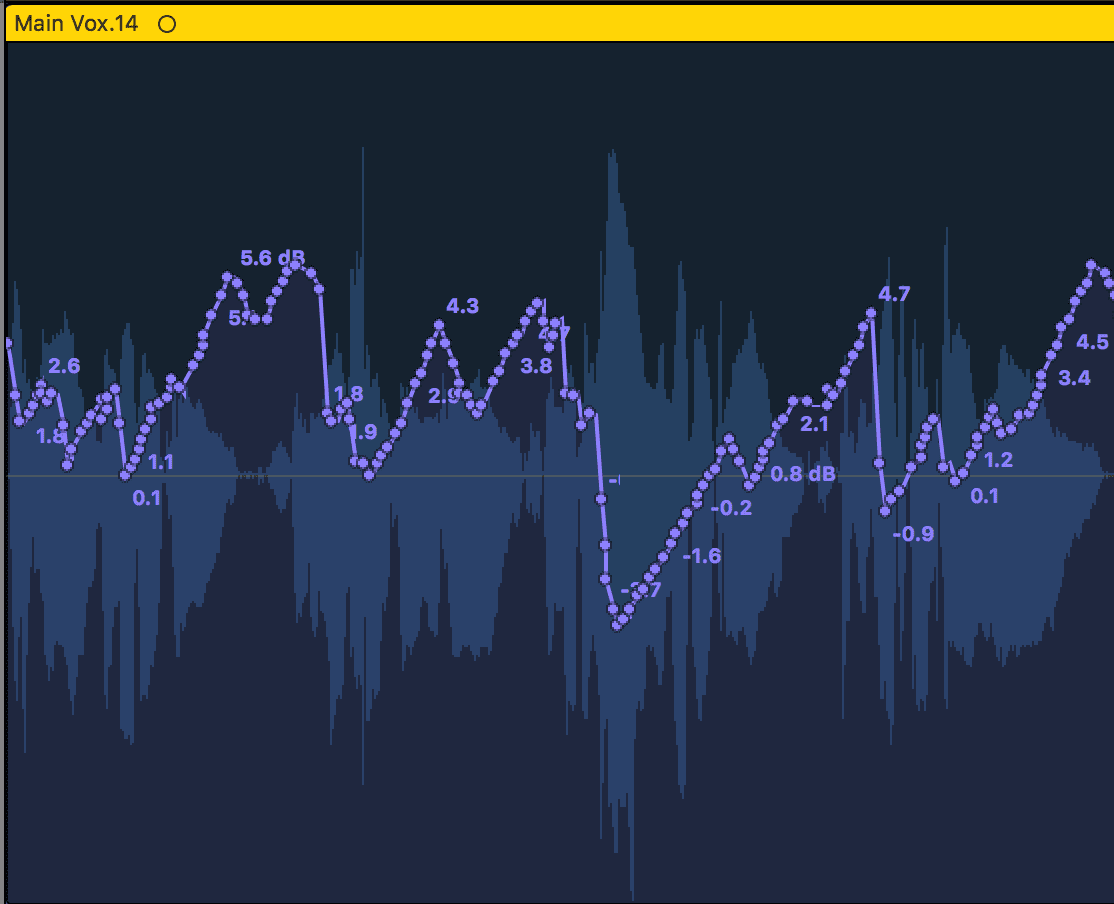
This portion of mixing takes the longest and it massively relies on your ear. In this section, minute automation edits, fine detailing of effects, fades, and audio edits take place. Fine volume automations are used on all vocal tracks to achieve an incredibly consistent level and to always keep it at the center of attention. Certain other fine details in automation can be applied like filter frequencies, reverb send levels, pitch shifting, panning, and bypassing to further the creativity in a mix and add nice shine to the mix where others may fall short. Other changes to the mix that demand extensive detail are done here to start to finalize the vision for the song.
After tying up all the loose ends in the mix I like to take a longer break of 30-45 minutes to rest my ears and go back to my reference tracks one last time. After returning to mixing, it’s time to see how the song stacks up against reference tracks. Is there too much bass? Are the background vocals too loud? Is there a good balance of frequencies throughout? Lastly, I use a spectrum analyzer to check how the frequency spectrum looks overall. If your ear is telling the truth, this will also be spot on.

Finals
Be aware that mastering will not fix your song! Many producers think it will and their masters sound off because the songs weren’t mixed well. If something sounds off before mastering, it will be just as obvious after mastering. The song at this point should sound extremely close to your well-mixed reference tracks. It’s smart to sleep on the mix and come back to it in the morning the next day. This can be extremely valuable to seeing if the choices you made were good choices and if the mix sounds finished to you, compared to the reference tracks. Listen to it on all your headphones, all your speaker setups, all your cars, and your friends’ cars too! Test it with friends, family, and even strangers to intentionally find the problems! They have completely fresh ears to this song and may point out something you overlooked. Before the song is sent off to be mastered, make sure to check with the mastering engineer or service for their requirements for peak levels and bounce quality and send it off!


