The Best Way to Quickly Add Clarity to Your Mix: Inverse EQ Matching
Most of us have heard the saying, “there are no shortcuts in audio.” Although this may be true in most situations, sometimes new technologies come along that drastically speed up the audio editing, mixing, or mastering process.
For example, imagine trying to perform your digital edits on analog tape. The process would take hours as opposed to seconds.
It is of course possible then for another time saving technology to present itself.
This seems to be the case with EQ matching, a relatively new software that is making its way into more and more equalizers.
The best way to clean up your mix quickly is by using EQ matching amongst two similar instruments or instrument groups. Once the two have been matched, invert the gain of the matched track, to amplify the frequencies that made it different from the other track, and attenuate the frequencies that made it similar.
Let’s take look at how to perform this technique using FabFilter’s Pro Q 3.
Inverse EQ Matching
First you will need to record the audio into your EQ plugin. With the FabFilter Pro Q 3, place the insert on one instrument or group, and then side chain a similar instrument or instrument group.
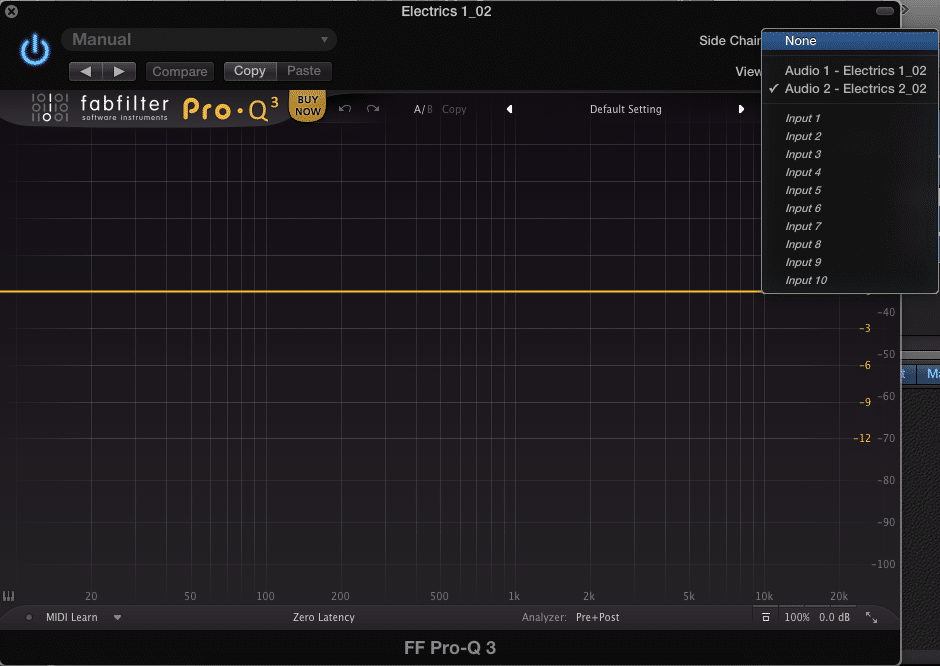
For this technique, it isn't too terribly important which track you use as the reference audio.
Be sure to enable automatic gain function in the lower right of the plugin. This ensures that the two signals are of equal volume and can be matched accurately.
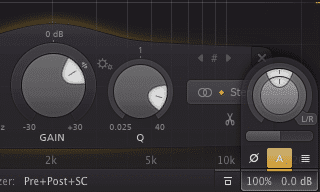
Click the Yellow 'A' to enable this function
Set your reference to either the input or to your side chain, and play the tracks simultaneously.
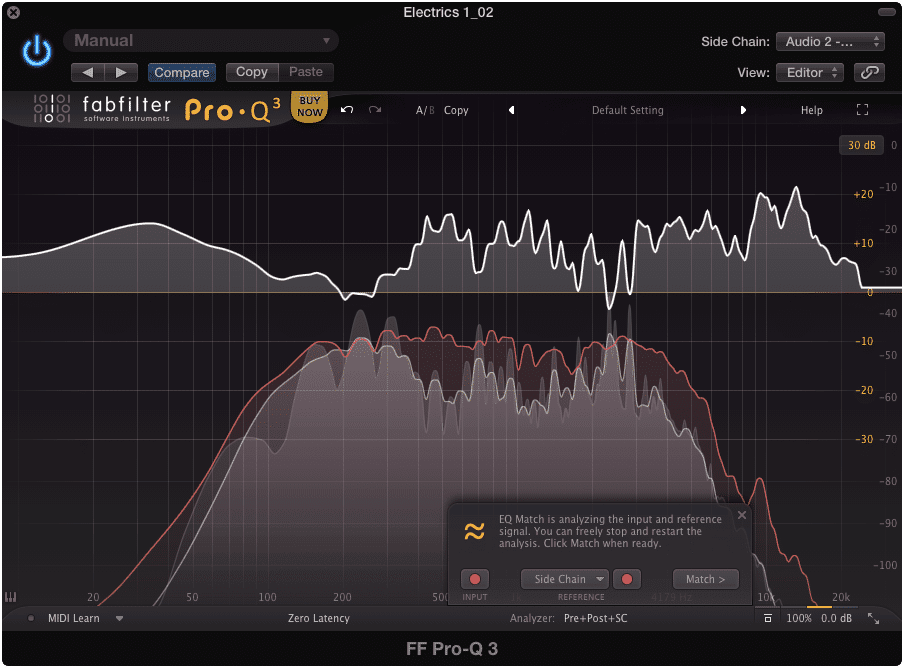
If you choose the side chain as your reference, playing both tracks automatically creates an EQ curve.
The FabFilter Pro Q 3 will prompt you to decide how many bands you want to create. I’d recommend choosing the maximum amount for the most detailed response.
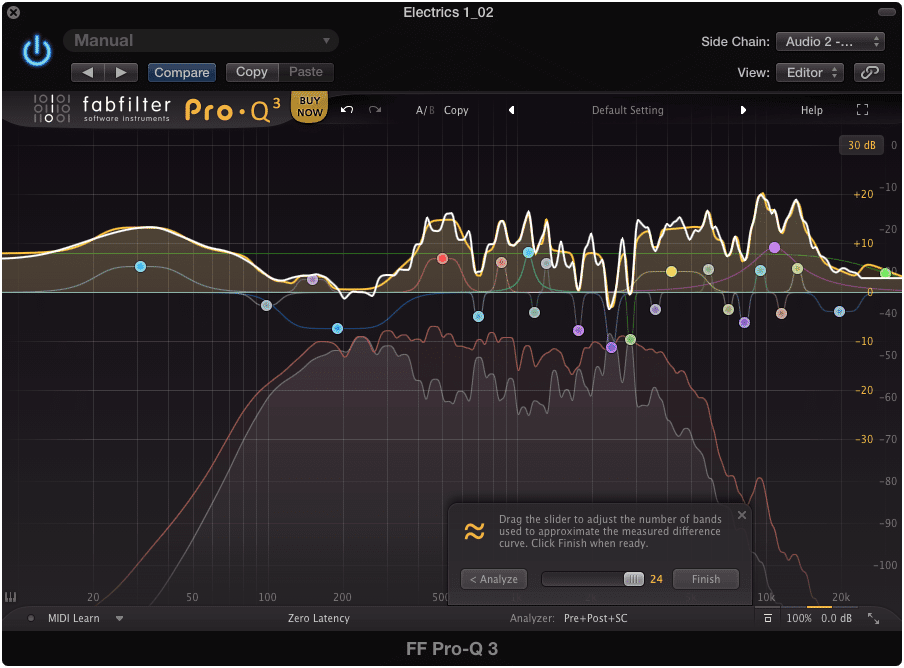
Choosing less bands will result in a less detailed EQ curve.
Once your bands are created, highlight the entirety of the curve in the display window. Once they’re highlighted, adjust the gain to the opposite of its current setting.
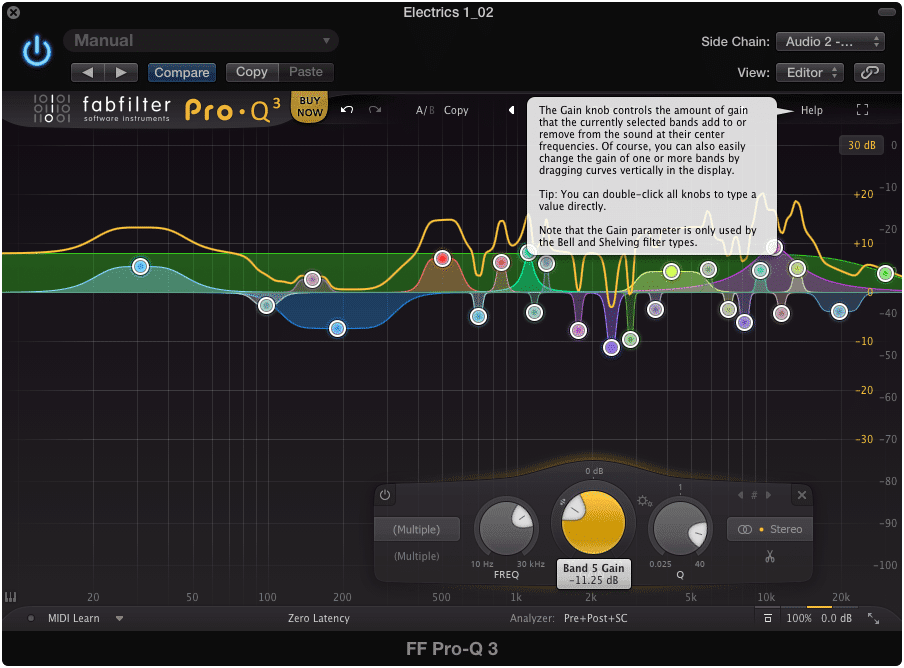
Notice that the gain is set to roughly -11dB.
For example, if the gain setting is -11dB, change that to 11dB, or vice versa.

Notice that the gain has been adjusted to roughly 11dB.
Be sure to take the side chain out of the signal, and then play both instruments or instrument groups simultaneously again.
You should be able to hear increased distinction between the two. Adjust your gain settings, number of bands, and Q settings to personal preference.
Listen to a Before and After:
Before:
After:
Conclusion:
Using this technique allows for a quick and precise way to separate two signals. Even the most trained professionals wouldn’t be able to hear all of the distinct and nuanced differences and similarities between two tracks, let alone identify them. This trick offers an unprecedentedly fast way to create clarity between two instruments, or groups.
How do you clean up your mixes?


