Professional Recording in a Home Studio
Quick Answer
Creating a professional recording in a home studio comes down to setting up the room correctly, using the best introductory equipment, recording your signal to the proper level (at least -18dB), and recording your instruments in the correct order. To start, ensure your room is sound-proofed.
Professional Recording in a Home Studio in Detail
Creating a professional sounding recording at home is a challenge almost every modern producer has faced. The availability of recording equipment has been an amazing thing for producers and artists that want to create demos or even fully-realized recordings from the comfort of their home.
Not only does this method of recording result in a lower overall cost, but it also gives artists the time to create something at whatever pace they want to go. For many artists, home producing opens up a world of new opportunities - but it can just as easily be a source of frustration.
That’s why its helpful to know certain techniques for recording at home, and how to make your recording sound as professional as possible. By following some of the ideas presented here , you should notice a significant improvement in the quality of your home recordings.
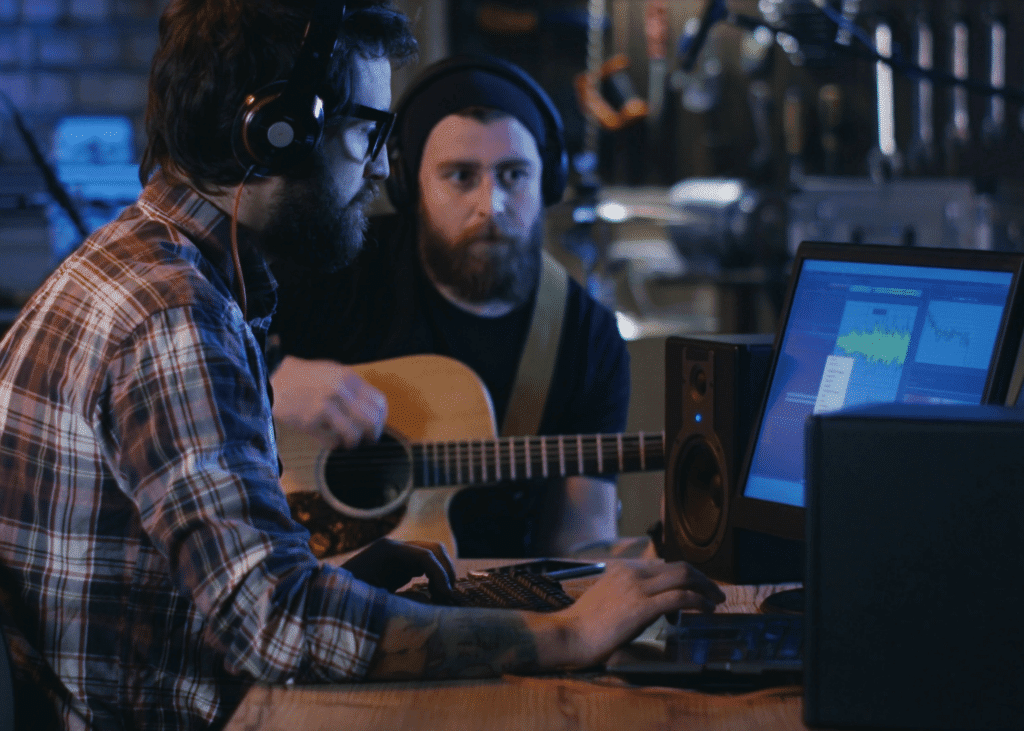
Recording from home can be an exciting but difficult process.
Not all of these suggestions will be easy to incorporate, but they are needed to create professional home recordings.
We won’t be covering mixing or mastering home recordings, but instead, delving deeply into home recording. Well cover what equipment you need and what small changes in equipment can do for your recordings, how to optimize your recording environment, what settings you should use and levels you should record to, and then lastly, what order you should record your instruments in and why.
If you have a home recording that you’ve just finished mixing, and you’d like to hear it professionally mastered, send it to us here:
We’ll master it for you and send you a free sample for you to review.
What Equipment Should I Get for Home Recording?
When setting up your home studio, there’s no limit to the quality of equipment you can purchase - professional equipment can be utilized, making your home recordings sound top-notch. If you’re an engineer or artist on a budget, you can still get amazing equipment for a reasonable amount of money.
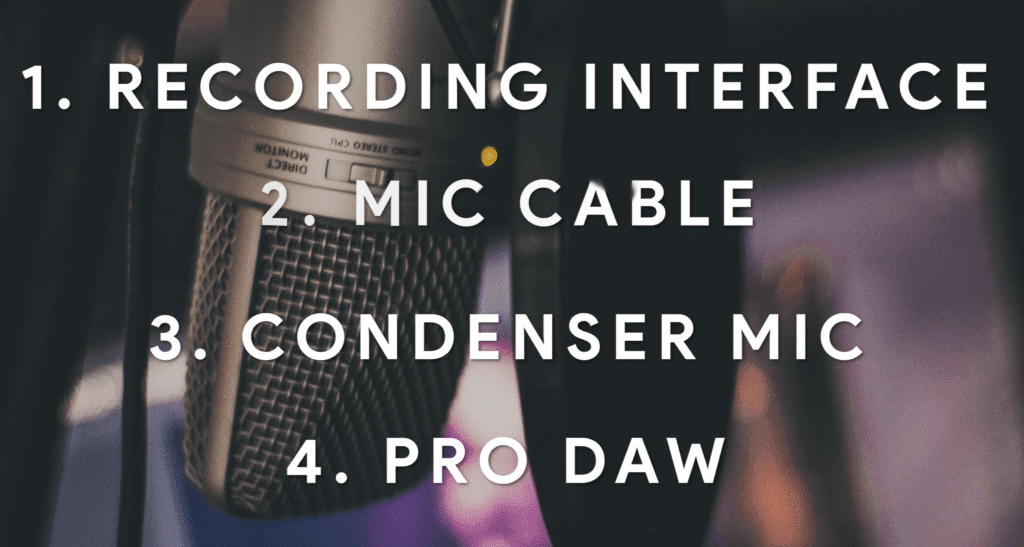
These are 4 pieces of equipment you'll need when recording from home.
With that said, let’s assume for the remainder of their post that you have a low to medium budget, and don’t want to spend tens of thousands of dollars on recording equipment.
The four primary pieces of equipment you’ll need, aside from your computer, are as follows:
- A recording interface
- A microphone cable
- A condenser microphone
- A Professional DAW
A Recording Interface
A recording interface acts as multiple devices - each crucial and necessary for recording at home. It acts as a microphone preamp and power supply, an Analog to Digital or A to D converter, and as a monitor as a D to A convertor.
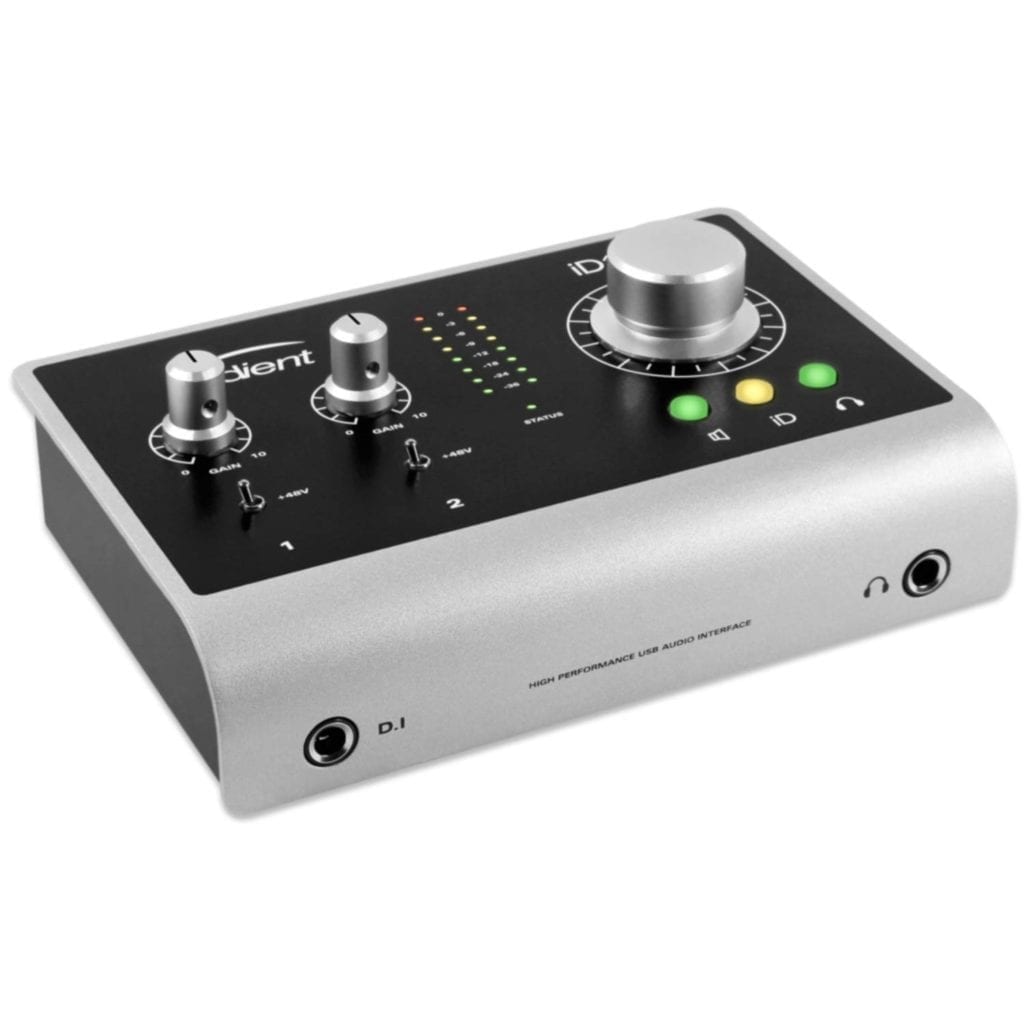
An interface is multiple forms of hardware in one.
Depending on the interface other functions may also be included, but these are the primary functions of a recording interface.
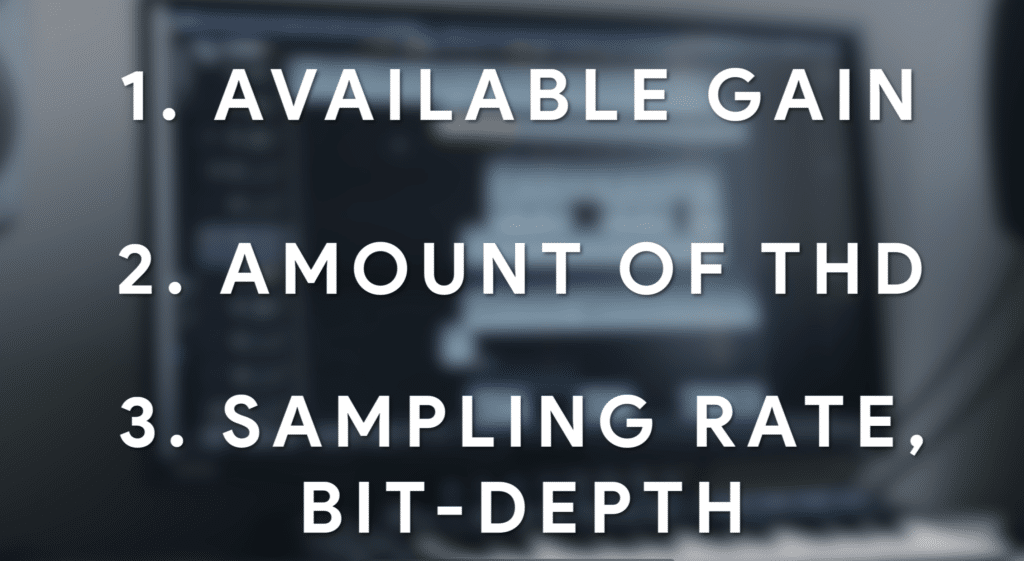
Consider these things when choosing your interface. THD stands for total harmonic distortion, and lower is typically better.
When you’re choosing your recording interface, you want to make sure of a few things:
- How much gain the microphone preamps can apply
- The amount of distortion the preamps apply
What sampling rate and bit depth the device is capable of converting
You’ll need an interface that can amplify the microphone a decent amount with a preamp that doesn’t cause unwanted distortion or significant noise.
You want an interface that can convert signals up to these specifications.
Additionally, you’ll want to record at a higher sampling rate and bit depth - ideally, your interface is capable of 96kHz sampling rate, 24-bit recording.
If you want more information about affordable interfaces that we’d recommend, check out our video and blog post on the topic:
We cover 10 great interfaces, their functionality, and connectivity.
A Microphone Cable
This is one piece of equipment that often gets overlooked, or at least, is usually purchased cheaply. However, having a good microphone cable is incredibly important, as one that isn’t properly shielded can affect the levels of noise and electrical interference.
A microphone cable is much more important than typical thought.
Even some great sounding microphones and preamps can be made to sound subpar when connected with a cheap microphone cable.
Additionally, a faulty microphone cable has the potential to damage your microphone. If your microphone is a condenser microphone, then your microphone cable is responsible for carrying the 48V phantom power to your microphone.
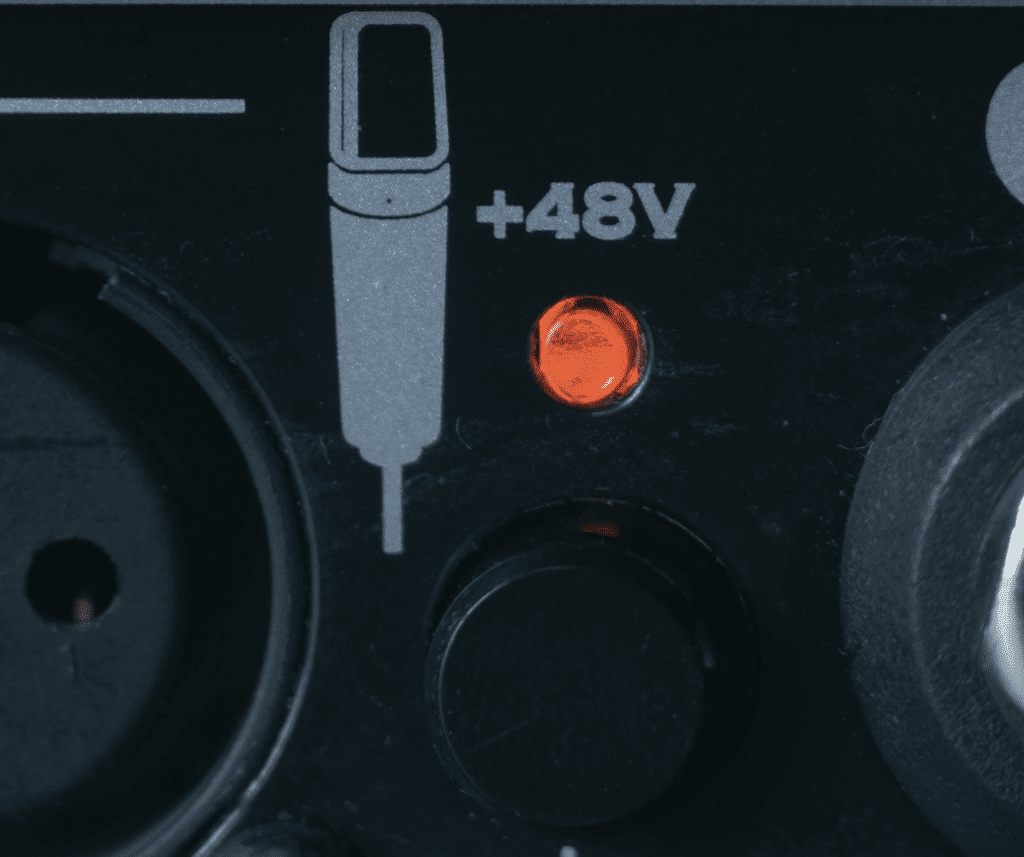
The mic cable is responsible for carrying 48V of electricity to a condenser microphone.
If done improperly, your mic can easily and unexpectedly become unusable.
Lastly, a good microphone cable will save you some money in the long run, since you won’t have to replace them on a regular basis. That said, save yourself from a potentially damaged microphone, a noisy signal, and the need to constantly replace your cables by purchasing one good one.
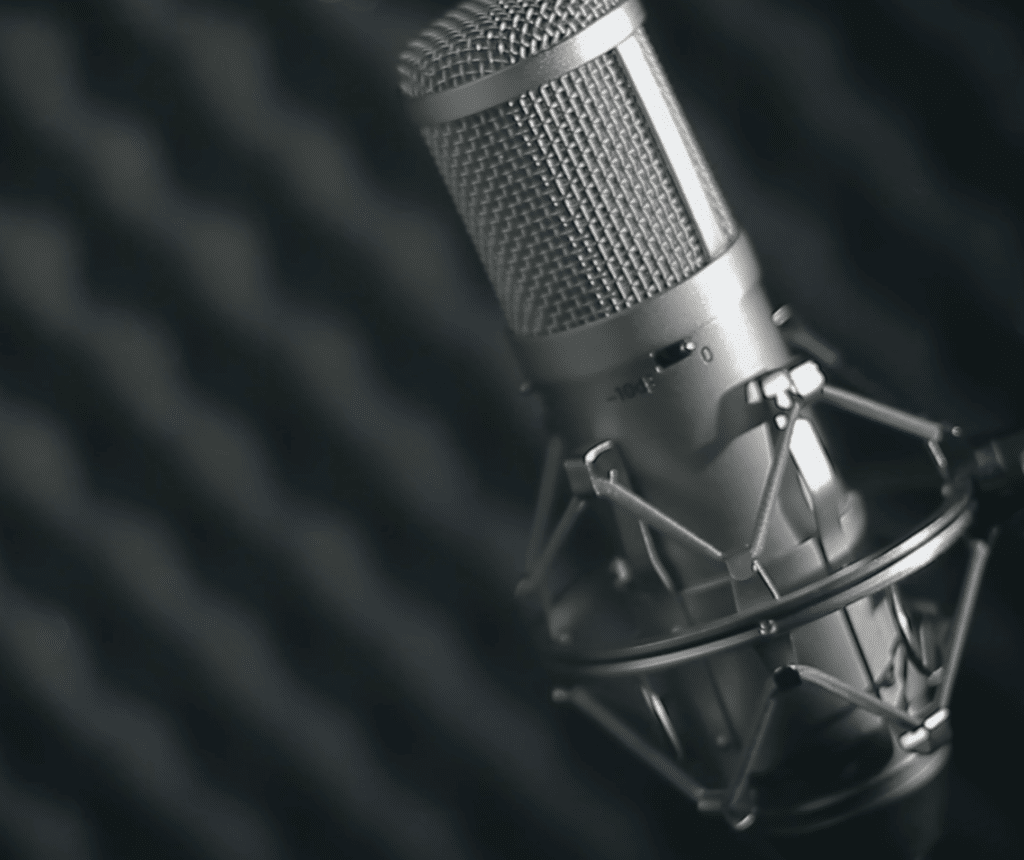
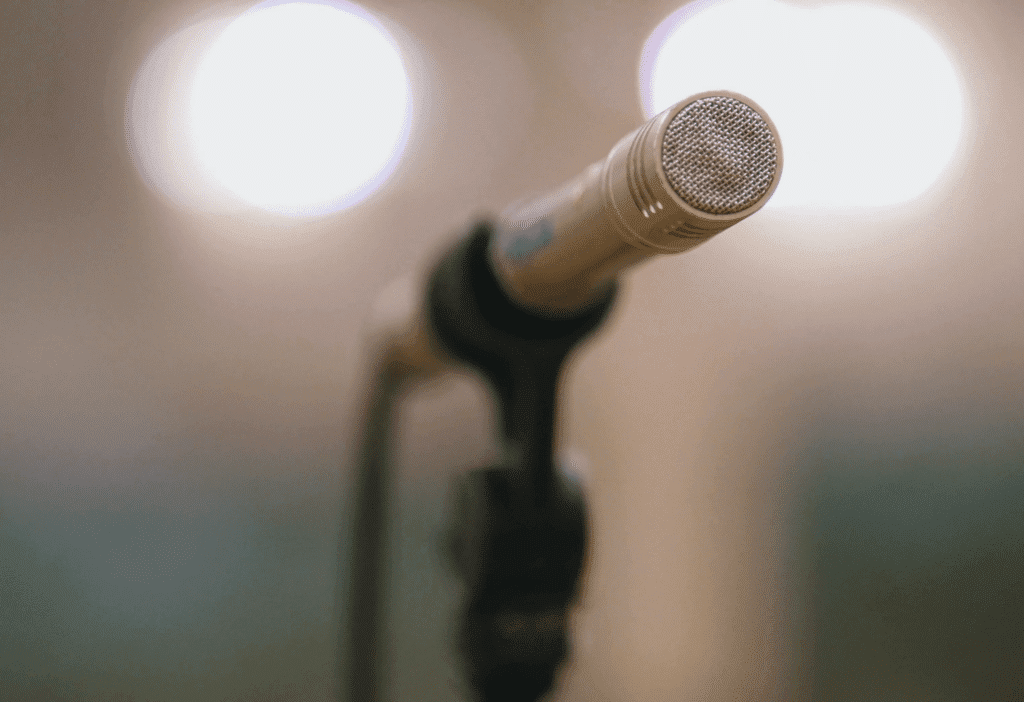
A Condenser Microphone
Although you may be inclined to purchase a notable dynamic microphone like an SM58 or an SM7B, a condenser microphone will give you a more detailed and less noisy signal.
A condenser microphone is a great choice for home recording.
The reason being, condenser microphones require less gain to operate at an ideal level than a dynamic microphone. Additionally, the capsule in a condenser microphone is much more sensitive, resulting in a more detailed recording.
Whereas a dynamic microphone requires a lot of gain to operate at the best level, which requires a more expensive preamp, a condenser microphone can be made to sound great even on introductory interfaces.
Its capsule is more sensitive and can pick up much greater detail.
When choosing a condenser microphone, choose one with a lower self-noise, and consider its max SPL if you intend to record louder sources like guitar amps.
If you’re looking for an affordable condenser microphone for home recordings, check out our list:
There’s both a written list and video that details some of the important aspects of condenser microphones.
A Professional DAW
Even if your recording needs are simple, using a professional DAW can help you achieve a more professional sound from home.
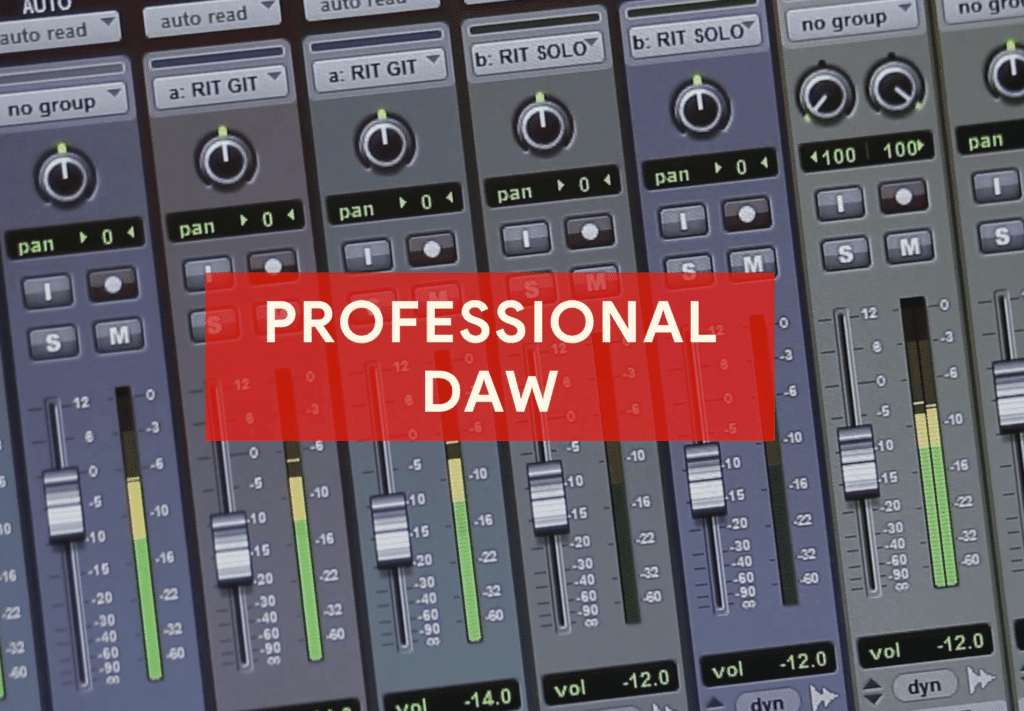
A professional DAW allows you to record at higher bit depths and sampling rates.
The reason being., most introductory DAWs or digital audio workstations, don’t offer recording at higher sampling rates and bit-depths.
For example, at the time of writing this, GarageBand only allows for a 44.1kHz sampling rate . Although this is alright for some applications, if you want to achieve a professional sounding recording, this isn’t high enough.
Logic Pro X is a good option if you're a Mac owner.
Additionally, GarageBand and other introductory DAWs introduce processing that may be helpful for beginners, but will almost certainly hinder the efforts of more experienced engineers.
By introducing this processing, GarageBand can make a signal sound better for new engineers and artists, but it ultimately limits the amount of control you have over your session. For this reason, it is better to use a professional DAW like Logic Pro X, Pro Tools, Cubase, or something of similar quality and complexity.
How to Prepare a Room for Recording
Soundproofing a room on a budget may be a difficult task, but if you have rugs, a mattress, or a closet full of clothing, you can achieve a cleaner, less reverberate signal. Additionally, you can purchase sound-absorbing panels and hang them on the walls in your recording room.
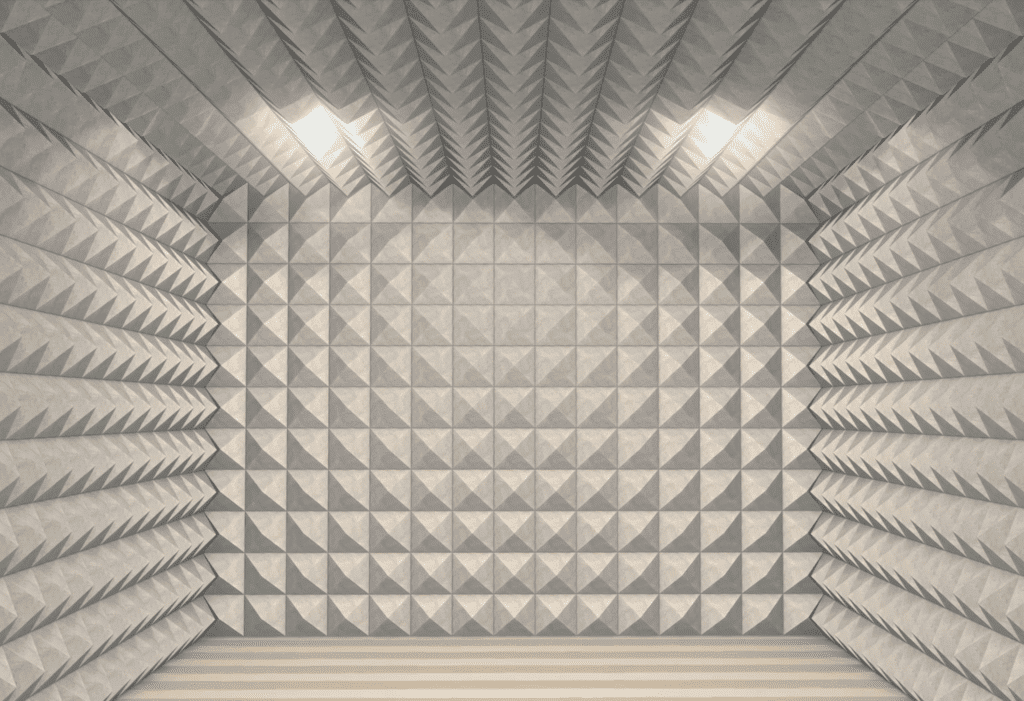
Although this level of isolation may not be possible, still attempt to soundproof your room.
Making a room soundproof is an expensive task, but it does result in a better sound - one that doesn’t include unwanted room reflections.
Collections of certain frequencies known as standing waves, can gather and be picked up from your microphone. When this happens you’ll end up with an unbalanced sound that may sound too muddy or unclear.
A mircophone will pick up unwanted room reflections leading to a potentially muddy sound.
To remedy this, hang sound absorption panels and move the microphone around the room until you notice less of these excessive frequencies. If all else fails, you can always record in a closet that’s full of clothes.
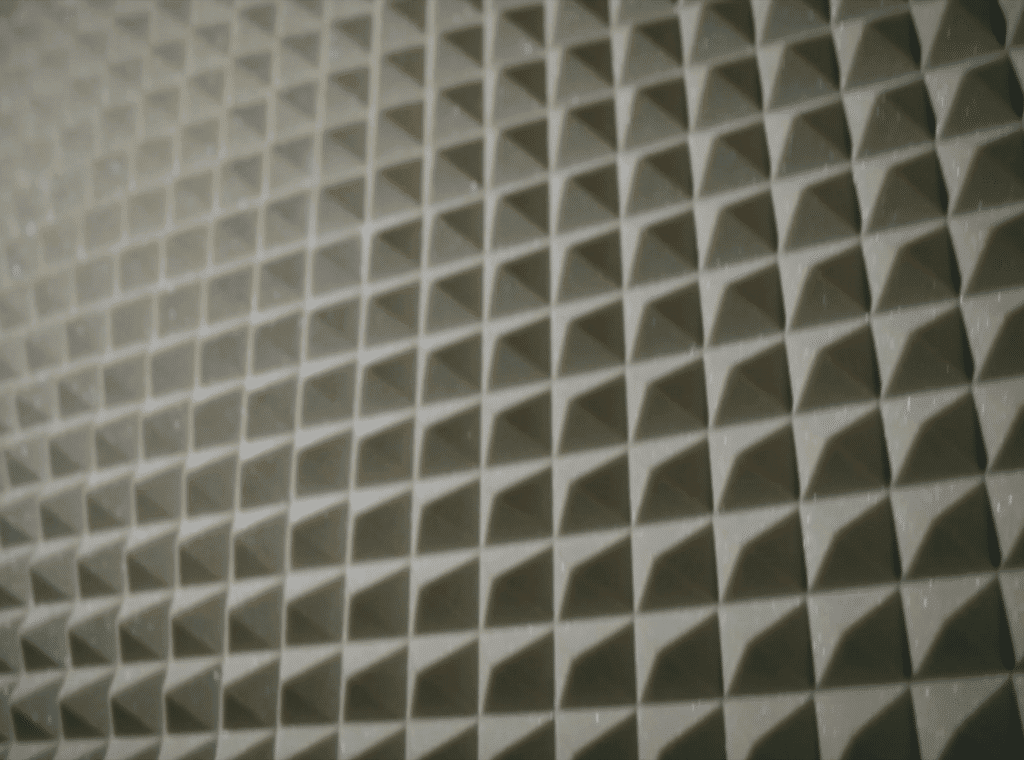
Use material like this or similar material to soundproof your room.
The small square footage of the closet paired with the amount of sound-absorbing material should result in a dry sound.

You can also record in a closet - the number of cloths will dampen the sound of reflections.
Additionally, it’s important that noise is minimized. The most common offender is centralized air or an AC unit. The air pushed into a room via a vent can greatly increase your noise floor.
Always keep in mind that your noise floor is only as low as the room you record in - if the room you’re recording in is noisy, your recordings will be noisy.
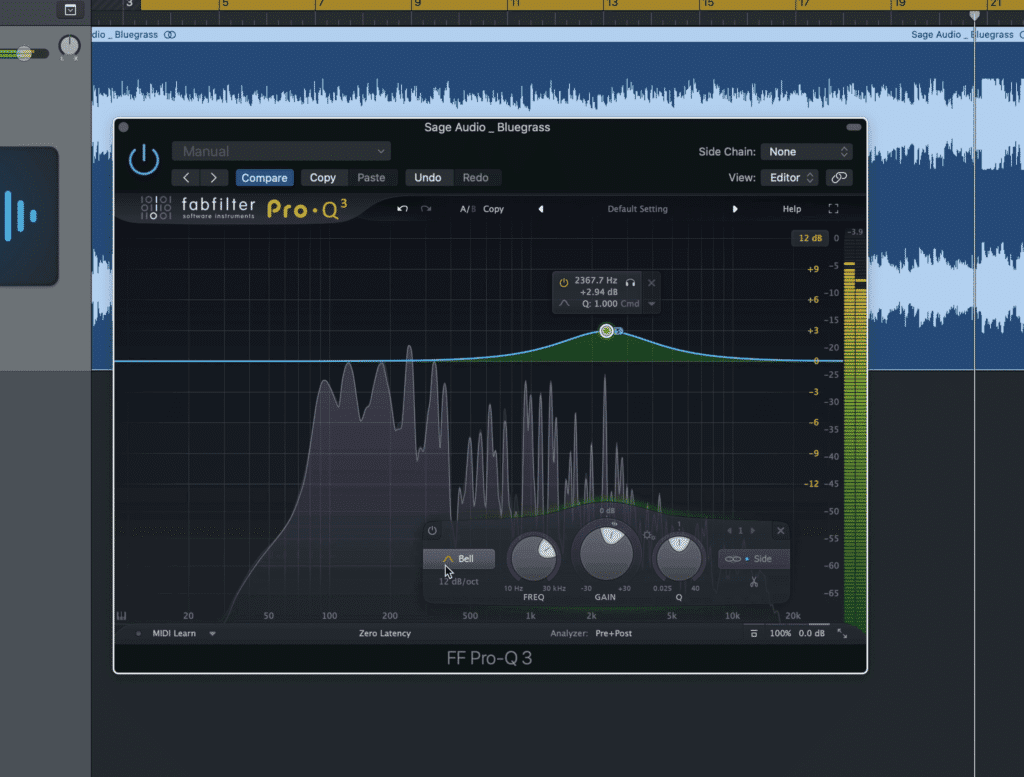
What Settings and Levels Should I Record With?
When recording your music or dialogue, it’s important to set your session up with a 96kHz sampling rate and a 24-bit depth. Additionally, it’s important that you record to at least -18dB to achieve a clean signal, or a higher level if you want a slightly distorted signal.

-18dB is a good level to record to.
Although it almost goes without saying, never record your signal to 0dB or greater than 0dB - this will cause clipping distortion which results in unpleasant and easily perceivable harmonics.
The reason you should record at this bit depth is to create an accurate digital depiction of your recording - but just as important, to avoid something known as quantization distortion.
When a recording is created with a lower bit-depth, there is a greater difference between the level of the electrical signal and the level of the digitized or quantized signal, than if it was recorded with a higher bit-depth.
This difference, known as quantization noise or quantization distortion, results in more noise and a louder noise-floor for your recording.
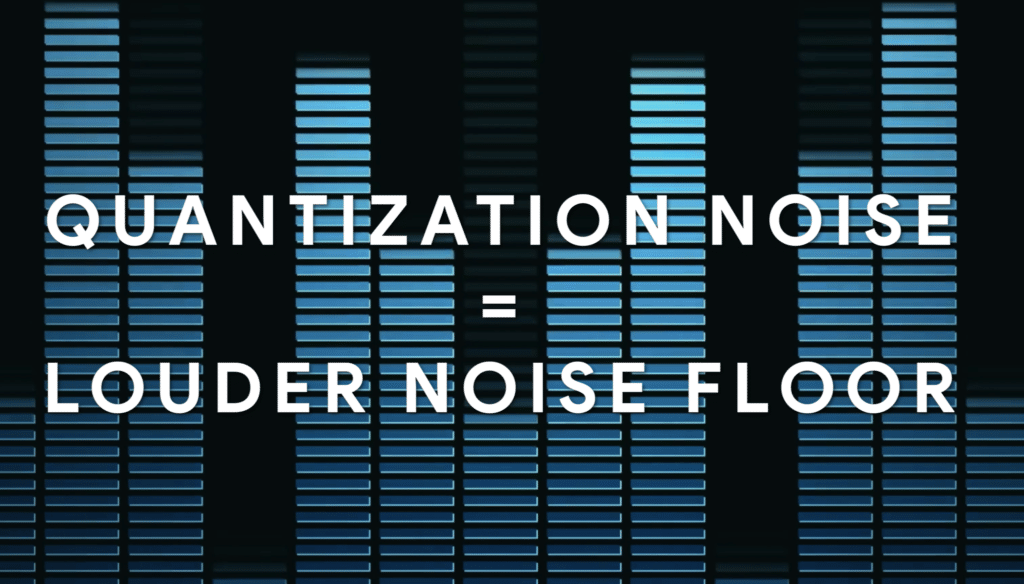
A higher bit depth means less quantization distortion, and in turn less noise.
When it comes to the sampling rate - this determines the frequency range of your recording. The human range of hearing is roughly 20Hz - 20kHz ; a sampling rate of 44.1kHz results in an available frequency range of 22500Hz.
Although this seems as if it would be enough, it may be enough to fully capture a sound source - which could cause something known as aliasing.
For example, if a microphone is capable of recording above 20kHz and a signal, is let's say 30kHz, then when it’s recorded, this information cannot be represented due to the lower sampling rate (which again, only allows for 22500Hz as its maximum frequency.)
As a result, this information is represented in an equal and opposite manner in the frequency spectrum as harmonic distortion. So, in this example, the frequency is 7500Hzabove the 22500Hz limit . This excess signal , or signal above the 22.5kHz limit, will show up in an equal and opposite manner, as a 17.5kHz signal (7.5kHz below the 22.5kHz limit).
This will make it audible to listeners and cause phase cancellation for signal occupying those frequencies.
All this to say, a higher sampling rate is needed to avoid this form of distortion.
If you have a home recording you just mixed, and you’d like to hear is professionally mastered with all analog equipment, send it to us here:
We’ll master it for you and send you a free mastered sample.
Why Record to at Least -18dB?
Recording to -18dB ensures that you cover the noise floor of your equipment and room, but also allows for a significant amount of dynamic range. If you record your signal to -18dB, you can increase the gain of this track up to that amount (if needed) without causing clipping distortion.
So simply put, recording at -18dB covers two important aspects of recording:
- It covers the noise floor of your equipment and room.
- It allows for enough headroom to ensure a dynamic recording that can be further processed.
If you’ve finished your home recording process and want to learn more about mixing, check out our video on compression techniques:
It showcases some great, but rarely used compression tricks that you can use to augment your mixes.
In What Order Should I Record Instruments?
- A Guide Track Recorded to a Metronome
- Drums or Percussion
- Bass
- Rhythm Instrumentation
- Lead Vocal
- Lead or Theme Instrumentation
- Any and All Additional Layers
What is a Guide Track?
A Guide Track is a recording of a full song that includes the primary vocal and primary rhythm instruments such as a guitar or piano. This track is recorded to a metronome and serves as a temporary “Guide” for other instrumentation that is added on top of it.
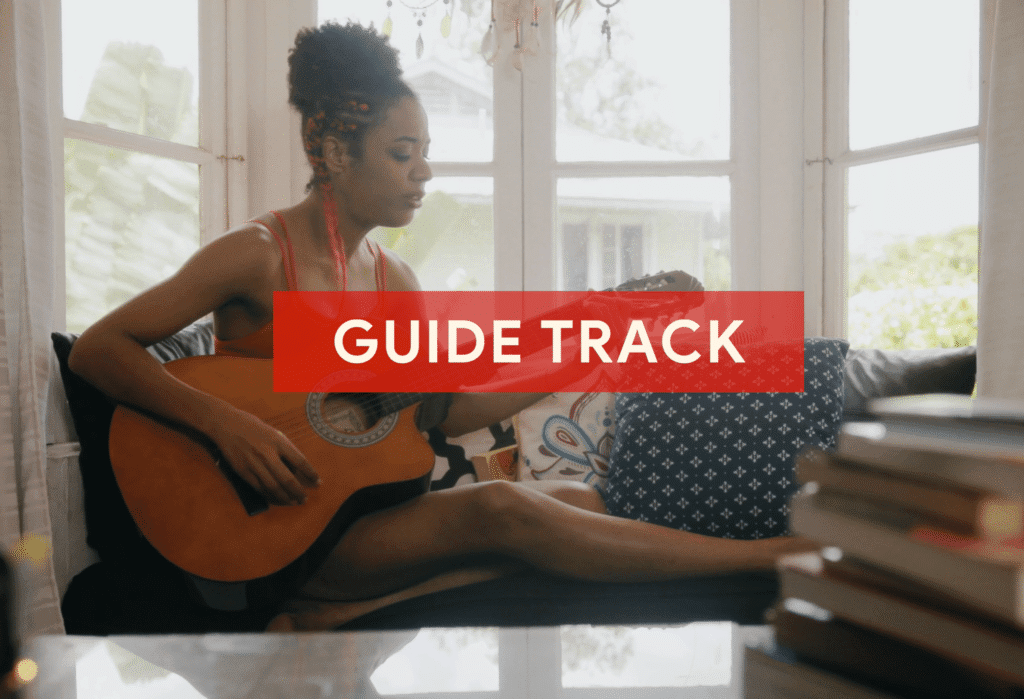
A guide track will be deleted later on but helps guide musicians during recording.
A guide track will most likely be deleted , but it does help musicians understand the structure and mood a song and it’s sections.

It's typically vocals and a rhythm instrument.
Drums and Percussion
Drums are the backbone of any track, as they maintain the timing of all other instrumentation (in most forms of music). Recording them as the first permanent instrument is crucial if you want the intricate layers of a song to fit together in a cohesive manner.
Drums need to be recorded first to ensure the correct timing of all layers of the recording.
Personally, I’ve made the mistake of recording a guitar or piano first , and then tried to layer drums on top of this - but it does not work.
9 times out of 10, if you record your drums after your rhythm instrument, it won’t be in time. This means anything that you record on top of it will also be out of time, resulting in a frustrating mess.
If you don't record your drums, or percussion first, you'll run into timing issues later on.
If you have no interest in slowly and painfully cutting your drum track into samples and then realigning them (not with the grid, but with the first instrument you recorded) then record the drums first.
Bass
Although bass can be added later on without much consequence, it still makes the most sense to record it next. Bass often ties in closely to the percussion and follows the kick pattern - making it both a percussive and melodic instrument.
Bass closely follows the drums, and can be considered both melodic and percussive.
By recording your bass after your drums, and tying it in as closely as possible with your kick, you’ll achieve a tight sound indicative of professional recordings.
Rhythm Instrumentation
Rhythm instrumentation is often recorded after the bass and includes guitars, piano, synth, and other primarily melodic and chord structure-based instrumentation.
Rhythm instrumentation typically creates a chord structure.
Although this instrumentation is percussive, it certainly isn’t a reliable foundation for a song’s tempo - meaning its better to layer it later on.
Lead Vocal
Although you might typically add this in last, it helps to add your lead vocal before your lead instruments and themes. The reason being, the vocal melody will most likely be the most easily recognized melody in the song.
The lead vocal will be the focal point of the song and should be recorded on top of the rhythm tracks.
If you record your lead instrument, or instrument theme prior to the lead vocal, it may clash with the lead vocal’s melody (especially if you’re writing while recording.)
Lead Instrumentation and Themes
With the tempo’s foundation laid, the rhythm added, and the lead vocal providing the primary melody for the song, add in your lead instrumentation.

Lead instrumentation is recorded after the lead vocal to ensure it doesn't clash with the lead vocal.
This lead instrumentation can be additional hooks or catchy themes that provide listeners with some extra memorable moments. Often times these leads are back up for the lead vocal’s melody (typically during a chorus) , meaning they need to be recorded in near perfect timing with the lead vocal’s melody.
Any and All Additional Layers
These layers can truly be anything you want them to be. Maybe they’re some extra accents on a particular melody, or a quiet background vocal to strengthen the lead.
Additional layers add detail and nuance to the recording, making it sound fuller and more thought-out.
Or maybe it’s just ambient noise of a city or bar to cover the noise floor and to create something subconscious for listeners.
Whatever the case may be, once all of the important elements are created, and you can fully understand your recording, think about the small details that can push your production into more interesting territory.
Conclusion
Home producers have a lot to consider when making music. The equipment used, the recording settings, the room recorded in, and the order in which instruments are recording all play a significant role in creating a professional sound.
If you’re a home producer these are all things you must keep in mind if you intend to create a professional sound.
Use this video and blog post as a reference whenever you’re curious as to how to achieve a professional sound from your home studio.
If you have a home recording that’s almost finished, send it to us here:
We’ll master it for you and send you a free mastered sample.
Do you record from home?


