5 Ways to Make a Wide Master
- Implement Mid-Side Processing for Stereo Imaging
- Use a Limiter with a “Wide” Function
- Use a Frequency Specific Stereo Imager
- Implement Parallel Compression to Accentuate Stereo Processing
- Use advanced Phase Relations to Accentuate Side-Image Instrumentation
5 Ways to Make a Wide Master in Detail
Making a wide master is something a lot of engineers aspire to do. Although creating a wide master can be as easy a properly mastering an already wide mix, for many engineers, things are not this simple.
Many engineers want to achieve a balanced and wide sounding master.
Additionally, creating a wide master that still retains its punch, clarity, and drive, (or in other words, a master that still retains energy in the mono image) is a challenge. That’s why it best to implement certain techniques and forms of processing to create a wide master.
Certain forms of processing can be used to achieve a wider master.
As with most things in mastering, creating a wide master is something that needs to be done carefully - too wide of a master will have a negative effect on the intelligibility and enjoyability of your master.

When making a wide master, keep in mind that too wide of a master will not sound good on most playback systems.
Always keep in mind when creating a wider master, that your master needs to playback on all stereo systems and still sound good. Creating an excessively wide master will alienate a fair deal of listeners who use lower grade stereo equipment or even mono listening systems.
An excessive wide master will not playback well on a mono listening system.
As you can imagine, any information that is pushed into the stereo image will be lost when played back on a mono system, so try to find a balance between mono and stereo.
With that addressed, let’s take a look at 5 ways you can create a wide master.
If you’re an artist and you have a mix you need mastered, maybe one that you’d prefer to sound wider, send it to us here:
We’ll master it for you and send you a free mastered sample of it for you to review.
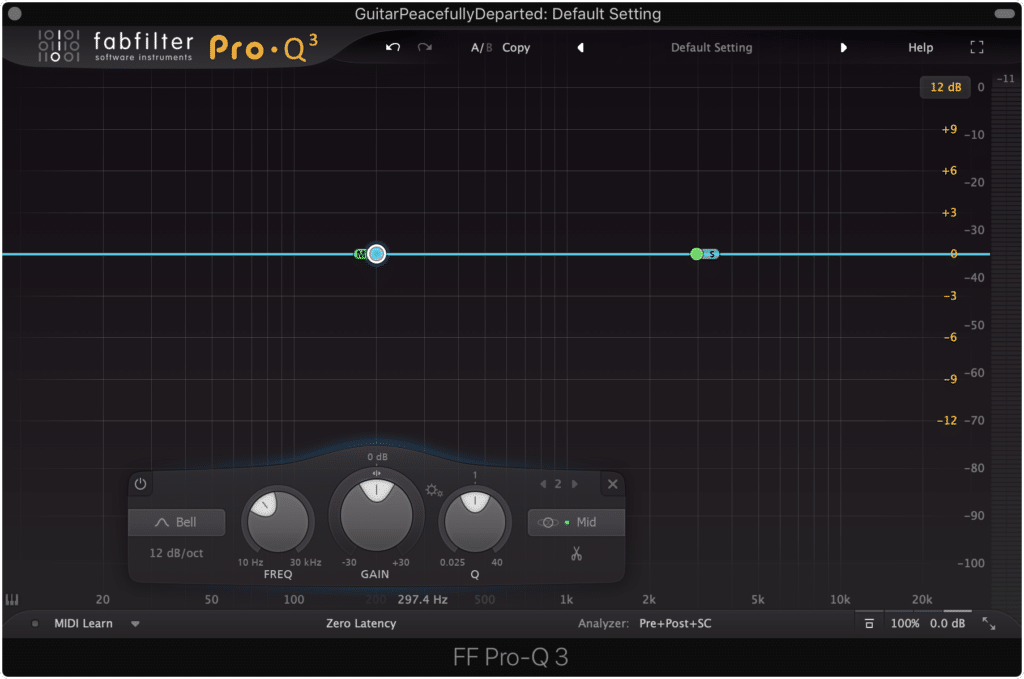
How to Use Mid-Side Processing for Stereo Imaging
Mid-Side processing is one of the best ways to add some width to an image. If you aren’t familiar with what mid-side processing is, it essentially is using phase relations to separate your Left and Right stereo signal into a Mid and Side signal.
Mid-Side Processing separates your stereo signal into a Mid and Side signal.
The Mid channel is mono or centered, whereas the Side channel contains the entirety of your solely stereo signal.
Typically, low-frequency information, as well as prominent instrumentation like the kick, snare, and vocal are kept in the center , whereas guitars, synths, and temporal or time-based processing like reverb occupies the side image.
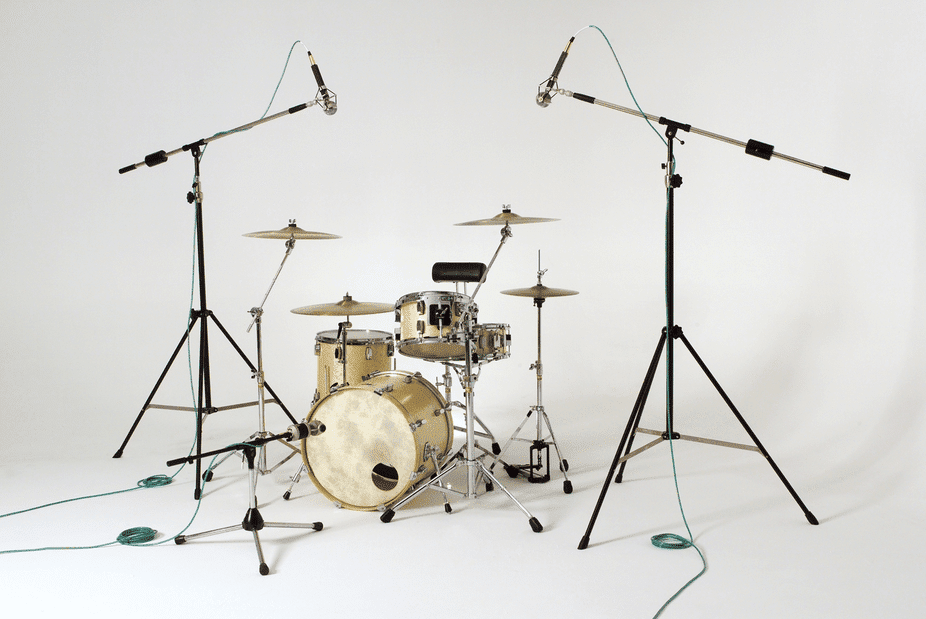
Drums will cover most of the frequency spectrum, including both mid and side images.
Now, although an instrument may be present in the Mid channel or the Side channel, this does not mean it is exclusive to that channel. With that in mind, different aspects of an instrument can occupy either channel and to varying degrees.
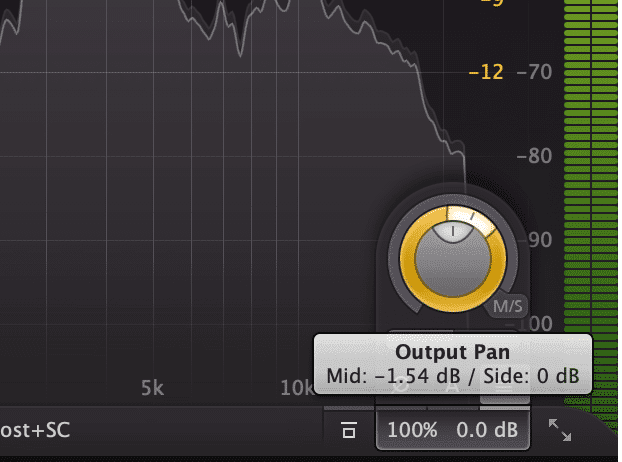
The simplest way to add some width to your master when using Mid-Side processing is to simply increase the gain of the side image.
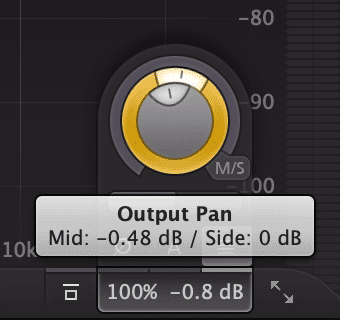
The simplest way to add width is by adjusting the output.
The best way to accomplish this is by using a mid-side equalizer, or other mid-side capable plugins, and then using the output section to either increase the gain of the side image, or to pan the signal slightly more to the side image.
When doing so, you’re either amplifying the side image signal, or you’re shifting the output of the signal to be more side than mid. Either way, you’re widening your stereo image.
Any amplification to the side image will widen your master.
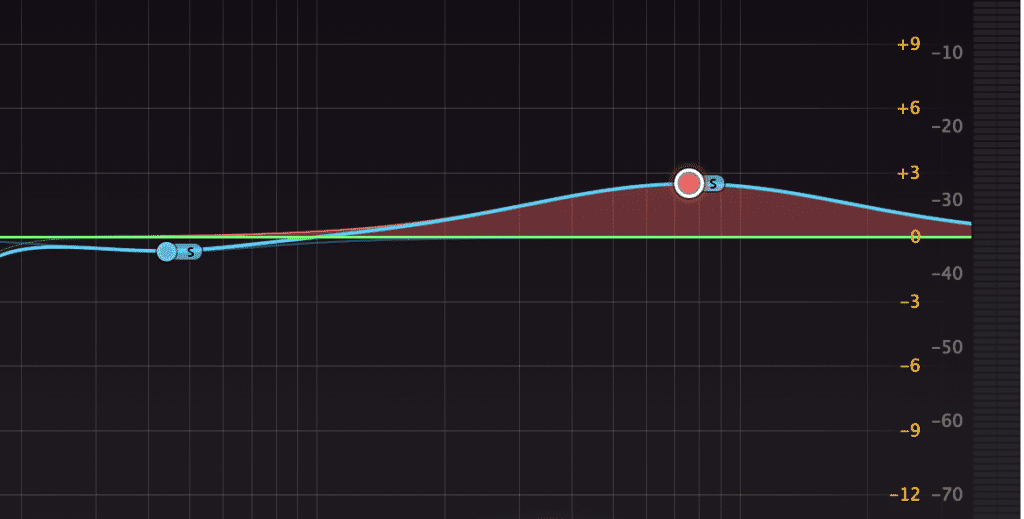
If you use a mid-side equalization plugin or mid-side equalizer in general, any EQ boost that you apply to the side image can be considered the same as increasing the gain of the side image. This will, in turn, increase the width of your image , and allow you to amplify the specific frequencies you wish to accentuate in the side image.
As you can imagine, this process doesn’t always work as well as intended. If your signal has very limited information or signal in the side image to begin with, then trying to amplify a signal that simply is there is an exercise in futility.
But, if your mix was made properly, and panning and stereo imaging were implemented, then you should have a significant side image that you can widen.
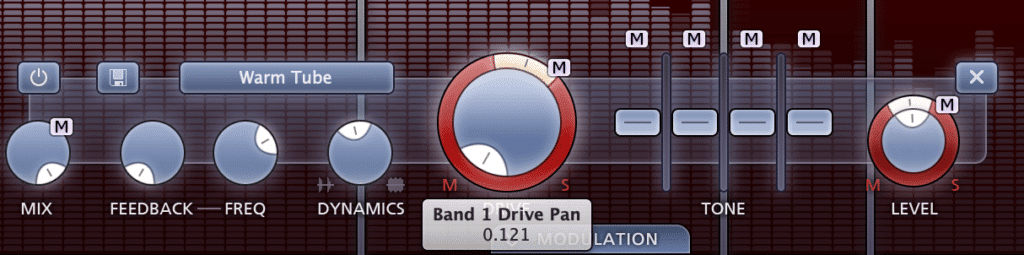
Other than equalizers, certain multi-band compressors, and saturators have mid-side capabilities and allow you to widen your master as needed.
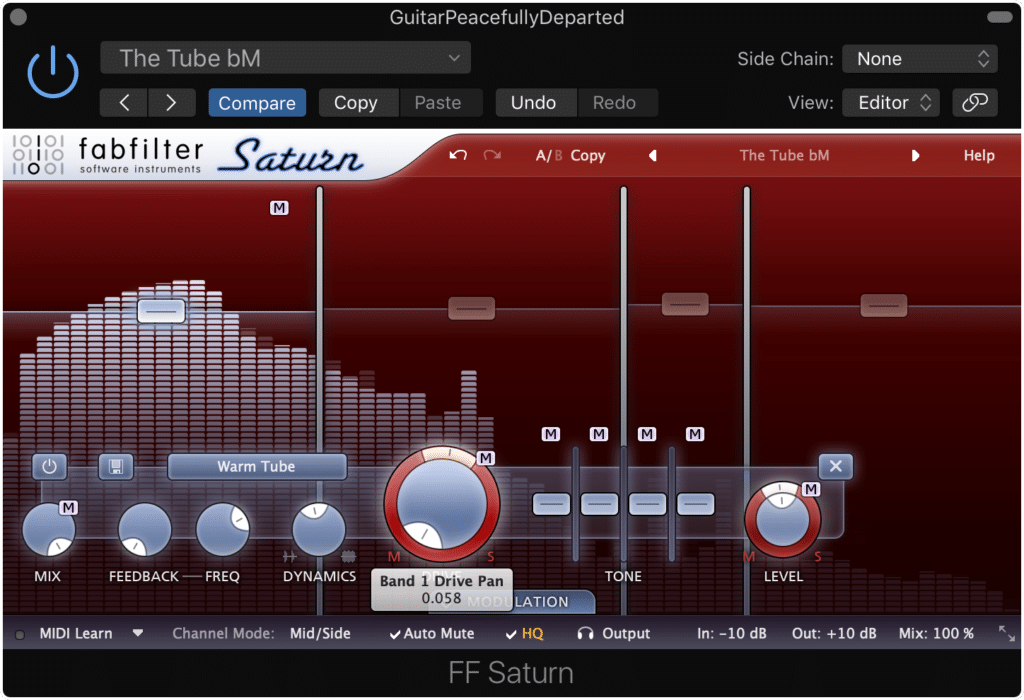
Plugins other than equalizers have Mid-Side capabilities.
For example, the FabFilter Saturn offers mid-side capabilities that allow you to send a band of the signal to the side image, or even to send the distortion to the side image.
This is an incredibly effective way to utilize mid-side processing , as it allows you to accomplish a wider stereo image while cutting down on unnecessary or redundant processing.
So to recap, here’s how to use mid-side processing to widen your stereo imaging:
Step 1: Insert a mid-side plugin on your master
Insert the plugin, and then ensure that you've turned on the mid-side functionality
Step 2: Increase the Gain of the Side Image at the Output or Pan the Output to the Side Image
Increase the side image's gain, or pan the gain to the side image/away from the mid-channel.
Step 3: If using an equalizer, amplify a band or bands on the side image
Amplify a band or bands on the side image.
Step 4: If using a mid-side saturator, pan the drive to the side image
Find additional functions to pan to the side image, like the drive.
Although there are more ways mid-side processing can be utilized to widen the stereo image, we’ll cover those ideas later on - particularly in the section titled “Use advanced Phase Relations to Accentuate Side-Image Instrumentation.”
If you’d like more of an introduction into mid-side imaging and equalization, check out one of our blog posts that show you how to use these types of plugins:
It shows an incredibly simple technique for cleaning up your master’s stereo image, using the same type of processing and the same concepts detailed above.
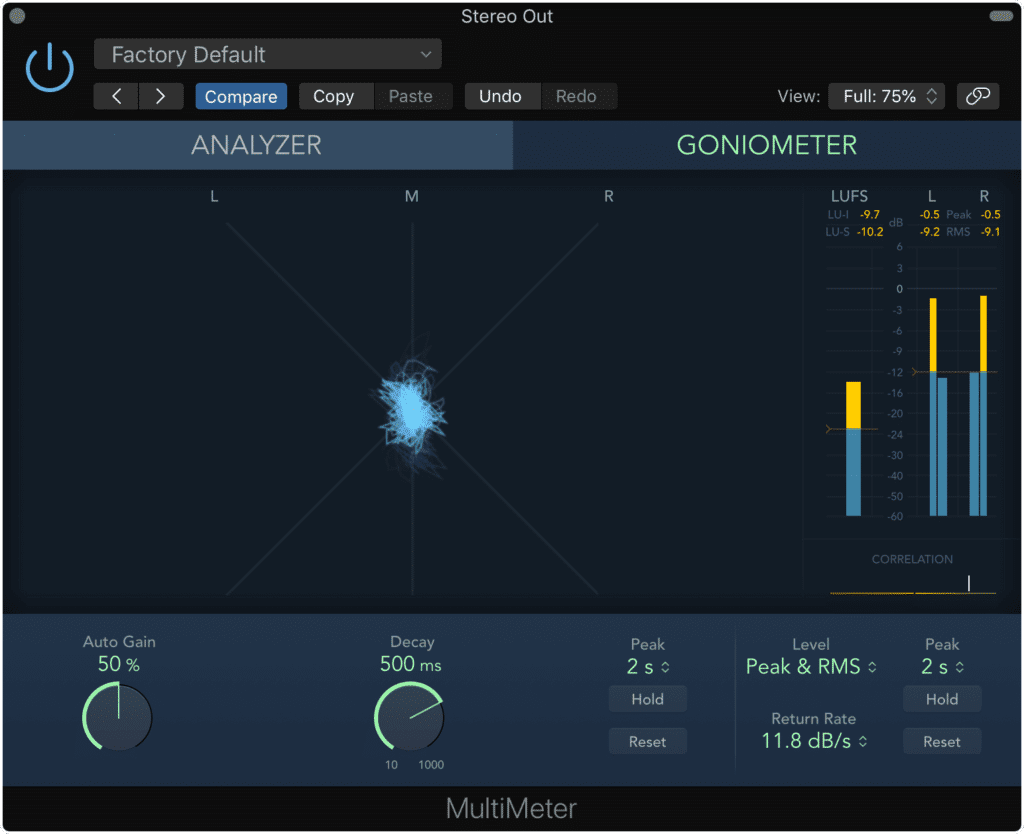
What is the “Wide” Option on a Limiter?
When adjusting the settings of a limiter, especially limiters with additional functionality, you may notice different settings that correspond to various stereo widths. For example, you may see settings such as "wide", "punch", "dynamic", and so on - all of these functions have an impact on your master’s stereo image.
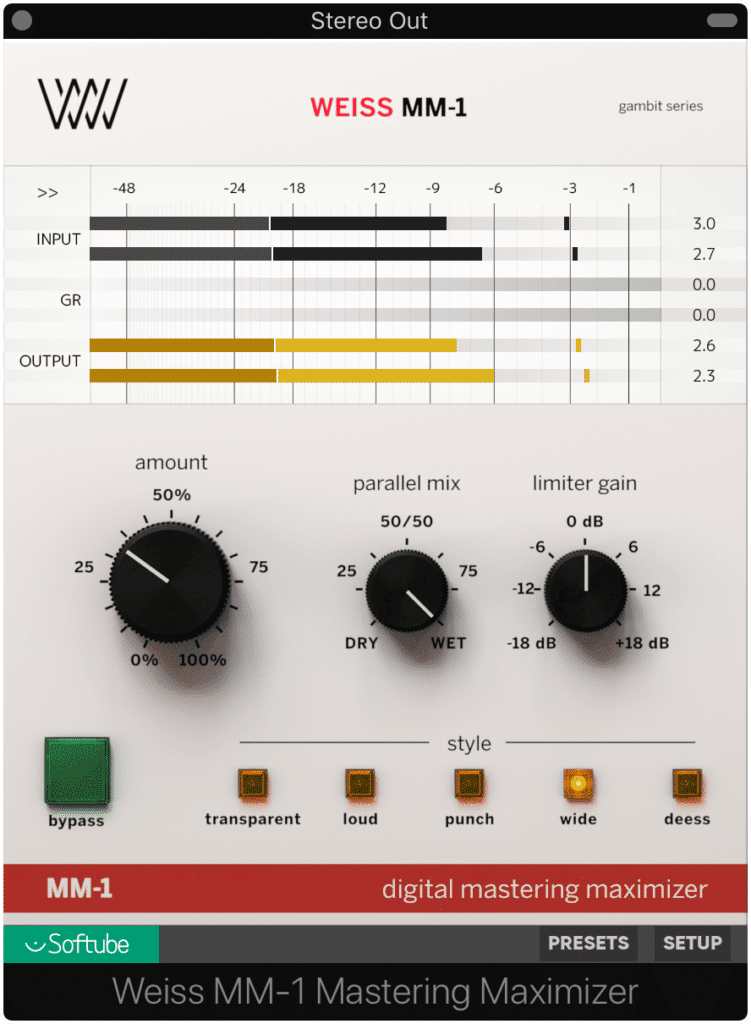
Advanced limiters and maximizers offer different stereo imaging algorithms.
Although these settings may seem as if they won’t have a large impact on your stereo image, they do employ processing that will affect your stereo image.
Multiple settings will affect your stereo image in various ways.
For example, a “Punch” setting will most like use a longer attack and shorter release time to ensure that compression doesn’t attenuate the transients of your master . A “Dynamic” setting may do something similar but with a slight variation to ensure that the quietest and loudest aspects of your master remain their respective volumes as much as possible.
With that in mind, a “Wide” setting will often affect the stereo image differently, most likely employing mid-side processing, so that compression on the Mid-channel and Side-channel are treated differently.
It should be known that a “Wide” function on a limiter doesn’t do any stereo imaging using delays or anything of that nature, but instead alters how a signal is limited to best emphasis the width of a stereo image.
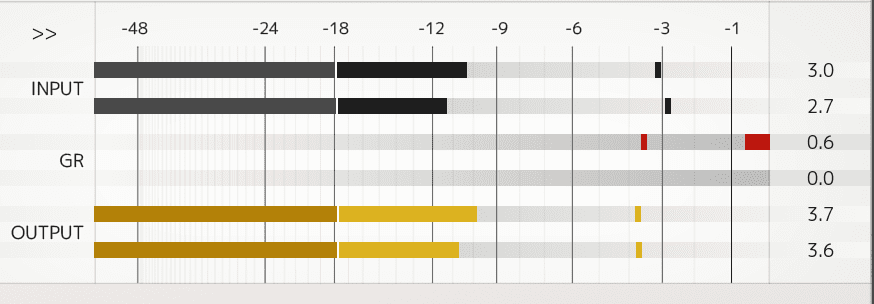
Notice that when the "wide" option is engaged, the mid-channel and side-channel appear to be separated in the GR section.
Although each algorithm will be different, what is most likely happening is that compression is applied first to the Mid or mono image, and then subsequently to the side image , allowing the side image to retain its transient detail and impact.
Or it may mean that when the Side image is compressed, it is done so with different attack and release times than the mid-channel, or it’s done so in a manner that causes the side image to be amplified more aggressively than the Mid channel.
Whatever the case may be, “Wide” functions on limiters offer a great way to quickly add some width to your master during the final stages of processing.
If you’d like to hear your music mastered with analog limiters and stereo imagers, send it to us here:
We’ll master it for you and send you a free mastered sample for you to review.
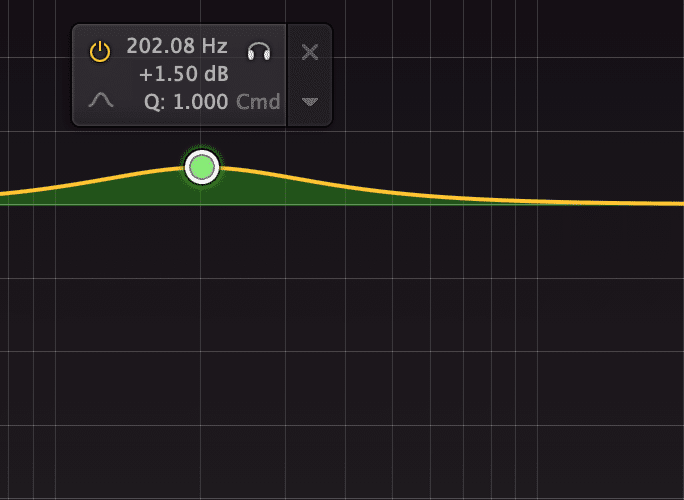
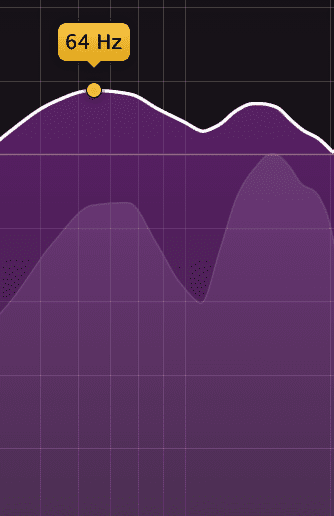
Why Use a Frequency-Specific Stereo-Imager?
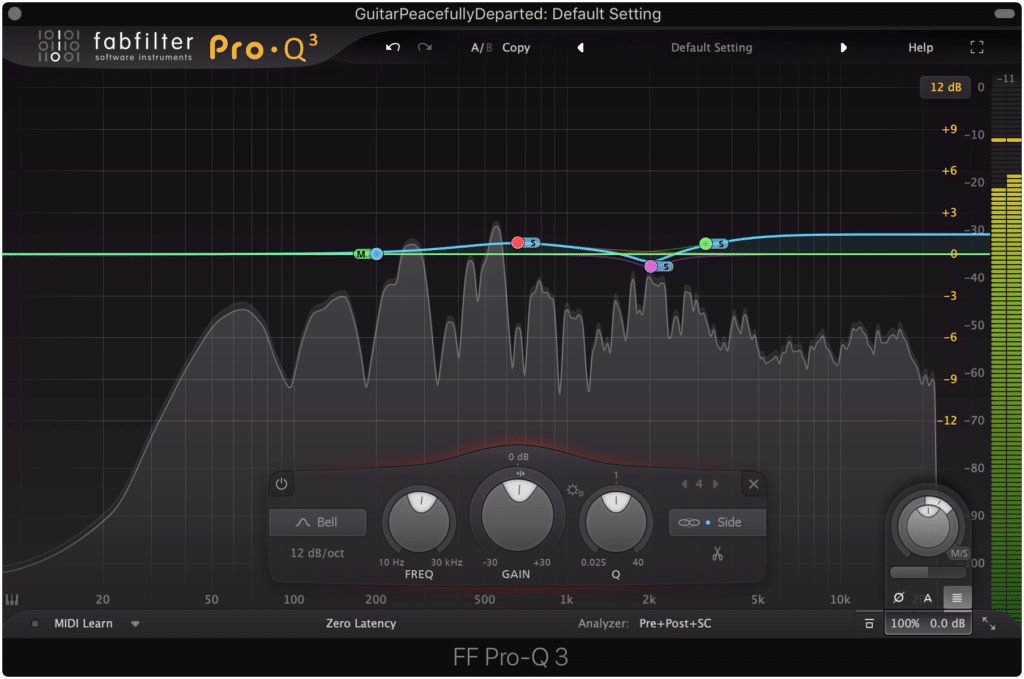
A Frequency-Specific Stereo-Imager is a great tool to use for widening your stereo image during the mastering process and during other forms of post-production. A Frequency-Specific Stereo-Imager allows a mastering engineer to hone in on the frequencies she or he wishes to widen or narrow.
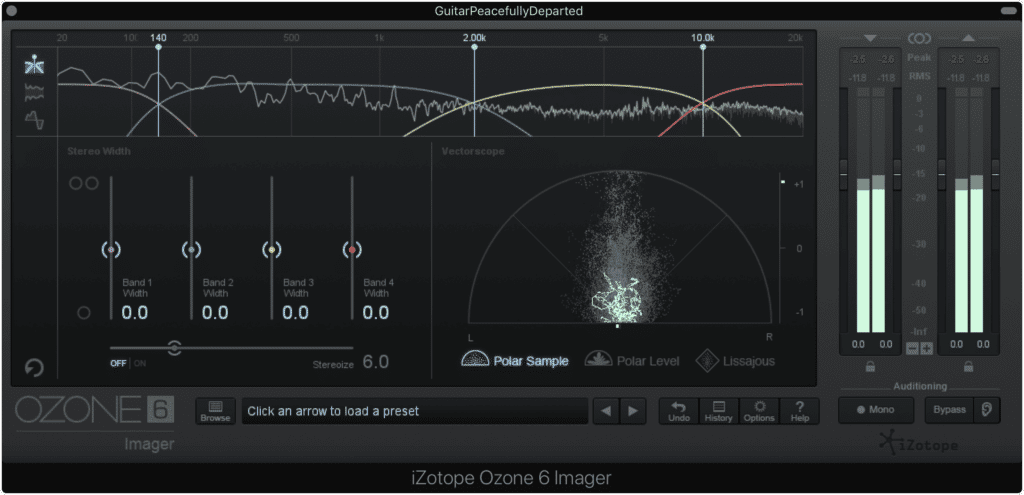
Frequency specific stereo imaging function similarly to other multi-band plugins
The operation of most multi-band stereo imagers is somewhat similar to any multi-band plugin , in which the bands are adjustable. Depending on the imager, crossover points may mean that joined frequency bands share some of the same imaging depending on the slope of the crossover.
When using a multi-band imager, listen critically to your signal as well as consider where your instrumentation might be. By both listening and knowing the typical cutoffs for various instruments, you’ll be able to accurately set your bands.
Certain bands need to be kept mono to ensure the playability of your music.
Perhaps the most important aspect of multi-band imaging is knowing what you should widen and what you should narrow. For example, widening the low-end of a mix will cause problems for stereo systems, music mediums (such as the vinyl record), and detract from the overall enjoyability of your mix.
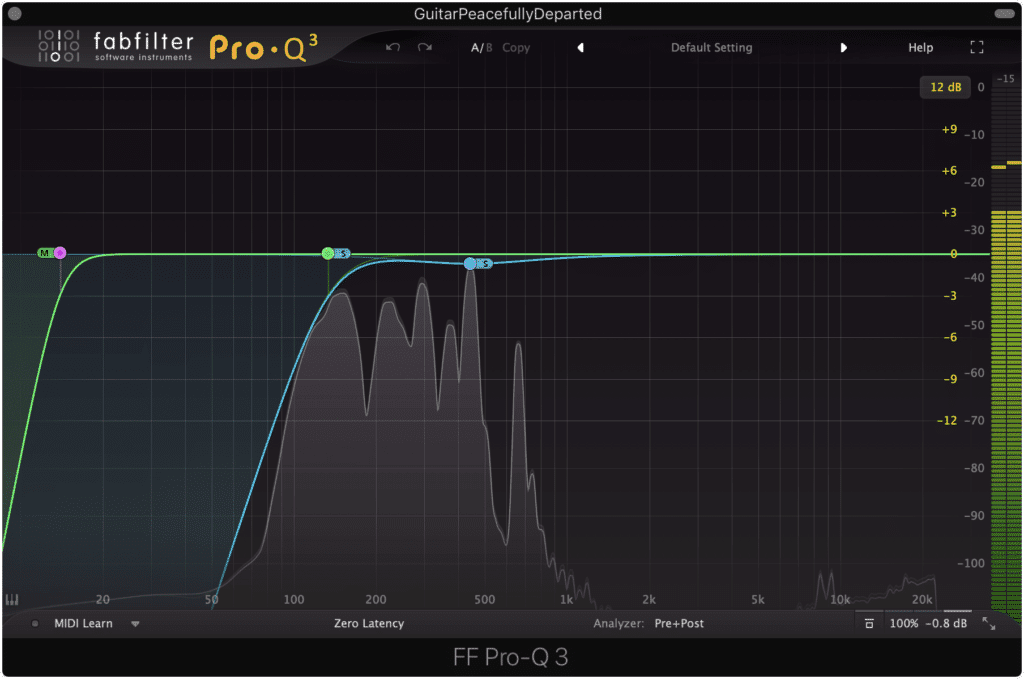
That’s why it is best to make frequencies up to 135Hz mono while avoiding any widening to frequencies up to roughly 400Hz.

The vocal should be kept slightly more mono to ensure its intelligibility.
Additionally, it may be best to keep the 1.5kHz to 2.5kHz range more mono, as this will contain the most relevant signal for the vocals. Making these vocals too wide will cause a washed-out, unfocused sound , and may make the vocal unintelligible on certain playback systems.
Other frequencies can be widened to the discretion of the mastering engineer, and with the current width of the image in mind.
Just to recap, here are some frequency bands and our recommendation as to whether to widen or narrow them:
- 20Hz - 400Hz: Narrow, with frequencies under 135Hz mono.
- 400Hz - 1.5kHz: Can be widened sparingly to create a more impressive mid-range.
- 5kHz - 2.5kHz: Either keep the same or narrow slightly to retain the vocal’s energy in the Mid Channel
- 5kHz - 20kHz: Widen sparingly to moderately
Widening frequencies above 2.5kHz can be very beneficial to a master - both in creating a more impressive stereo image and in making higher frequencies less abrasive to the listener.
For example, if you were to widen the frequencies of 5kHz to 9kHz, you would lessen the effect of sibilance but dispersing the signal to the side image. Granted this won’t entirely negate excessive sibilance, but it can help to reduce its impact.
The same holds true for any high-hats or cymbals that seem harsh. By widening them with a multi-band stereo imager you’re both reducing their impact and increasing the gain of your side-image, in turn widening it.
How to Implement Parallel Compression to Accentuate Stereo Processing
Although parallel compression may not typically be thought of as a way to widen your master, it does result in some beneficial effects for that purpose. The act of heavily compressing and then amplifying a signal will result in low-level temporal processing being made perceivable.
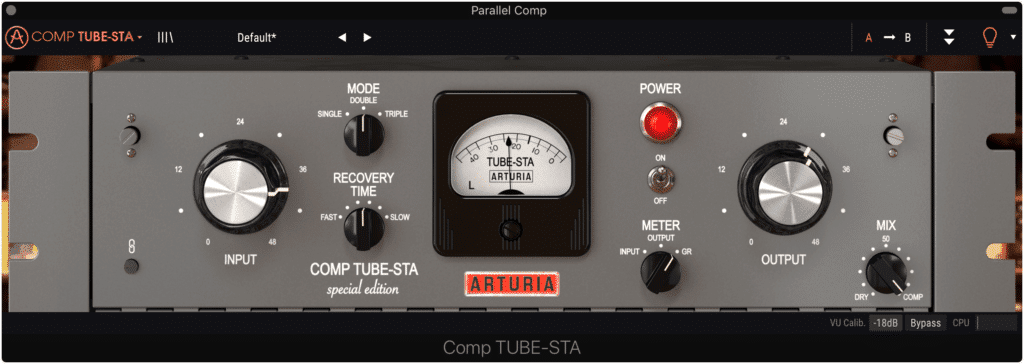
Parallel compression is a great way to accentuate lower-level stereo imaging.
Parallel compression is often used as a way to “glue” a master together, or to cause low-level aspects of the signal to become as loud as more easily perceived aspects of the signal. This is, of course, a great reason to use parallel compression.
But, parallel compression can also be used to take less perceivable temporal processing from the side image, and push it into more perceivable territory.
Parallel compression amplifies quieter aspects of the side image.
Simply put, amplifying this temporal processing is synonymous with amplifying the side image, which as we said in previous sections, widens the stereo image.
Additionally, if you use a parallel compressor with analog emulation features than these harmonics will make your amplified signal that much more perceivable (if you amplify them enough, otherwise they could mask this temporal processing).

Follow your parallel compression with a mid-side EQ to bring this out even more.
With that said, you can easily take advantage of this amplified Side image by further accentuating it.
Try following your parallel compressed signal with a mid-side equalizer and boost some of the side-image. This will only serve to further amplify your side image and to widen your master.
If you do try this technique - let us know how it sounds in the comment section of this video!
Also if you want to learn more about parallel compression, check out our blog post on the topic here:
It demonstrates 1 technique for making your parallel compressed signal sound full and complex.
Use Advanced Phase Relations to Accentuate Side-Image Instrumentation
Phase relations, or the physics of sound waves and how they interact with one another, make up pretty much the entirety of audio production. Almost every plugin you use, and every piece of hardware operates by altering the phase relationships of the signal is one way or another.
With that in mind, understanding phase and how it can be used to your advantage is an invaluable skill for any audio engineer , regardless if it's tracking, mixing, mastering, editing, sound design or any other possible field of audio.
When it comes to widening your master, using subtle but effective phase cancellation, and/or alleviating a signal of phase cancellation can make a big difference.
Some important things to know about Phase Cancellation:
- Lower Frequencies Cause Phase Cancellation to the Frequencies directly above them
- Louder signals Mask or Cancel quieter signals of the same frequency
So for example, an amplified bell curve at 200Hz will slightly mask 240Hz and other frequencies directly above it. This means that by attenuating 200Hz you are in turn making 240Hz more perceivable.
Lower frequencies typically mask the frequencies directly above them.
Additionally, if you have a bass guitar at say 70Hz, and a Kick drum at 70Hz, whichever instrument was louder when both played simultaneously would cause masking to the other instrument.
When two signals are played at the same frequency, the louder signal will mask or cover up the quieter one.
With these two principles in mind, let’s see how to use them to widen the stereo image of your master.
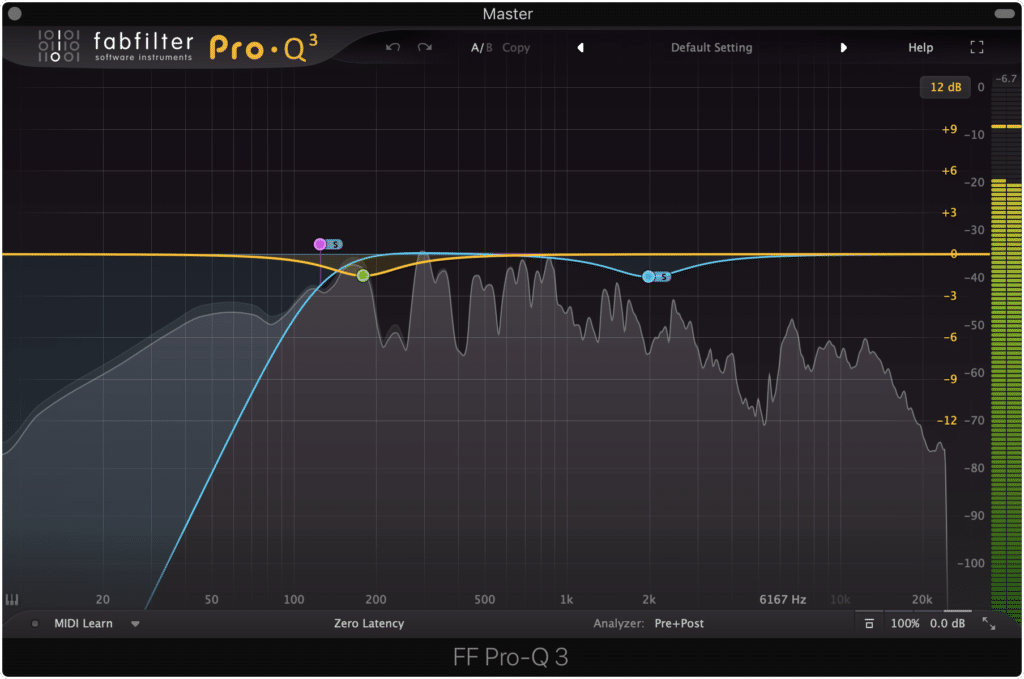
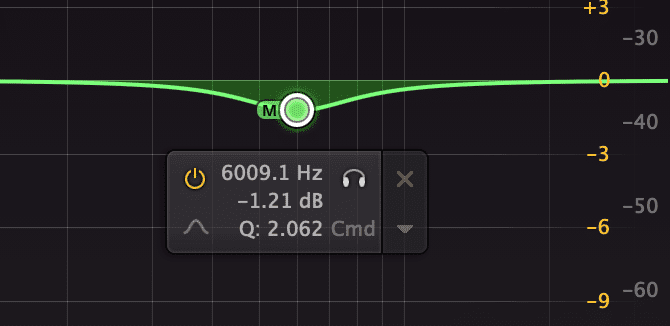
Using a mid-side equalizer, you can attenuate frequencies on the mid image to increase the perception of the side image (in turn causing a perceived wider image).
So if you attenuate 6kHz on the Mid image, this means that 6kHz on the side image will be masked to a lesser extent , in turn making 6kHz on the Side image louder. Additionally, the frequencies directly above 6kHz would be masked to a lesser extent, making these frequencies more perceivable.
You can use the two principles listed above to alleviate or employ phase cancellation to your advantage.
The inverse of this same idea was showcased recently in one of our other blog posts - instead of attenuating the Mid image to free up sonic space on the side image, the side image was attenuated to free up sonic space on the Mid image.
If you’re interested in this technique and want to see other applications for it, check it out here:
Conclusion
If you’re looking for some ways to widen your stereo image during mastering, then the techniques shown here will work well.
Again, any one of these 5 techniques or forms of processing will add some width to your stereo image:
- Implement Mid-Side Processing for Stereo Imaging
- Use a Limiter with a “Wide” Function
- Use a Frequency Specific Stereo Imager
- Implement Parallel Compression to Accentuate Stereo Processing
- Use advanced Phase Relations to Accentuate Side-Image Instrumentation
Try one of them for yourself and share your results with us - we’d love to hear how they worked for you and your mix or master.
Also, if you have a mix you need mastered, send it to us here:
We’ll master it for you and send you a free sample of it for you to review.
How do you widen your master?


