What is Mastering for Cassette
Quick Answer:
Mastering for Cassette tape is the process of creating a distribution-ready sequence of songs, that can be recorded onto the cassette medium. The process of mastering for cassette depends heavily on the tape type that will be used, as it affects distortion, frequency response, and the sequencing of tracks.
Mastering for Cassette in Detail:
The cassette tape has made an unexpected comeback.
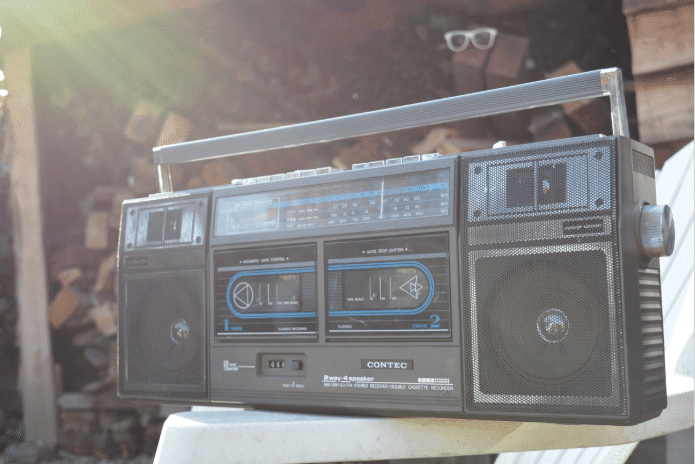
As physical mediums such as vinyl have come back into the limelight, a cassette driven music culture has experienced a resurgence.
Although the newfound popularity of cassette hasn’t matched that of vinyl, it has offered artists the potential for a great source of revenue.

For many touring bands, merch sales are their primary source of revenue
Considering that streaming services such as Spotify and Apple offer roughly .003 USD per stream, creating a cassette for approximately $2 and selling it for $5 is an exciting prospect for many indie artists.

Although convenient, digital streaming has limited artist's ability to make money from their music.
When you couple that with the way cassettes shape any signal recorded onto it, there’s no doubt why artists wishing to emulate sounds of the past would turn to the medium.
That’s why it’s so important to give listeners an experience that they will enjoy.
Getting a Great Master for Cassette:
To create a proper master for cassette, the first thing that needs to be considered is the type of tape your songs will be recorded onto. Choosing a tape type may not be as simple a process as you might think.
Each type has specific characteristics that lend itself to certain genres. Some are more budget friendly, and some are more popular for consumer grade playback. All of these factors and others need to be taken into consideration prior to the actual mastering process, as again the tape type heavily influences the mastering process.
With that in mind, let’s take a look at the 3 primary tape types. We’ll discuss what makes each unique, the process behind mastering for this specific tape type, and how this all relates to your potential album release.
But first, let’s dive into some technical terms that are highly relevant to mastering for cassette and subsequent cassette duplication. These are hysteresis, bias, and saturation.
Hysteresis:
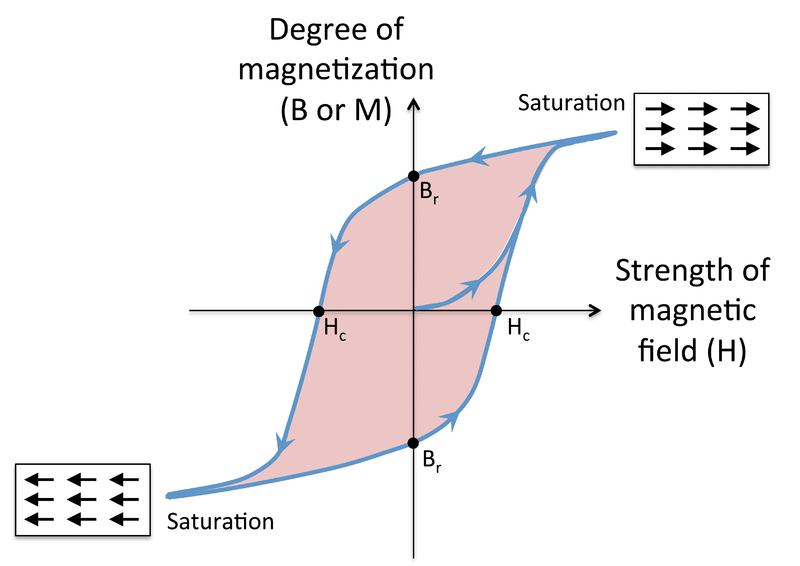
Saturation occurs at high levels of amplitude. Distortion also occurs at lower amplification levels.
This is the memory of magnetic tape.
As signal is recorded onto tape it affects the magnetic particles of the tape. Once these particles have been moved in a particular order, they can be played back as the signal that was recorded onto it.
The only issue this creates, is when a new signal is recorded over it. Essentially, depending on the tape type and the strength of the previous signal or signals, some of the older signal will remain on the tape.
This occurs due to the non-linear manner with which magnetic tape responds to incoming signal. Low energy, high frequency waves, typically have difficulty displacing previously recorded signal. Subsequently the previously recorded signal will interfere with the newly recorded signal.
The remedy for this phenomenon is called bias.
Bias:

Notice the 3 bias settings on this TEAC Tape machine
Bias is a high energy, high frequency signal that counteracts the effects of hysteresis. Prior to the new signal being recorded, bias, or an ultrasonic, high frequency signal is recorded onto the tape.
This causes the breakage of stagnant tape particles, in turn allowing the new signal to be recorded without interference.
Subsequently, a “clean” recording and playback of the new signal is possible.
How Hysteresis and Bias Relate to Cassette Tape:
Each tape type is made of different magnetic particles. As a result each one has varying degrees of hysteresis and requires differing forms of bias to correct hysteresis.
As we look into each tape type, we’ll discuss the materials used to create the tape, the bias used to counteract hysteresis, and what this means for any consumers of the tape cassette.
Just as importantly, these factors will play a huge role if you plan to duplicate the cassettes yourself.
Saturation:
Saturation occurs when a signal’s input is no longer matched by its output in a linear manner. All mediums can saturate in one way or another, including tape. With tape saturation, the signal has no more magnetic particles onto which they can record the signal.
As a result, the signal will be both distorted and compressed. Depending on the tape type, the signal’s frequency response, and the amount of saturation, this effect can be either pleasant or detrimental to the listenability of your cassette.
Tape Types:
Tape Type 1:
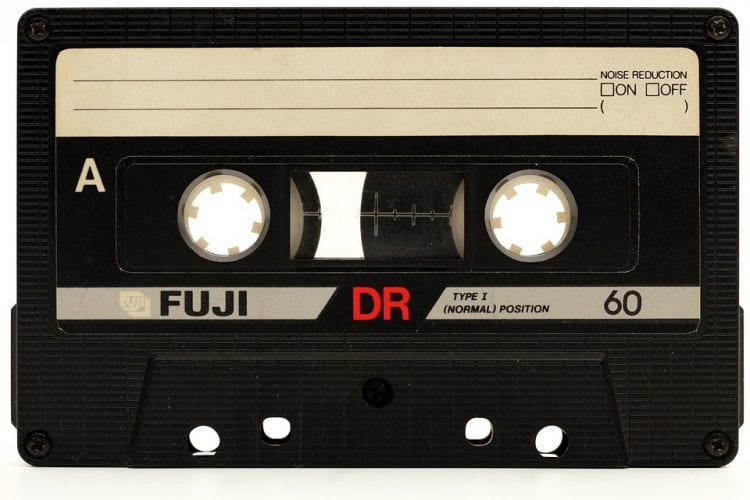
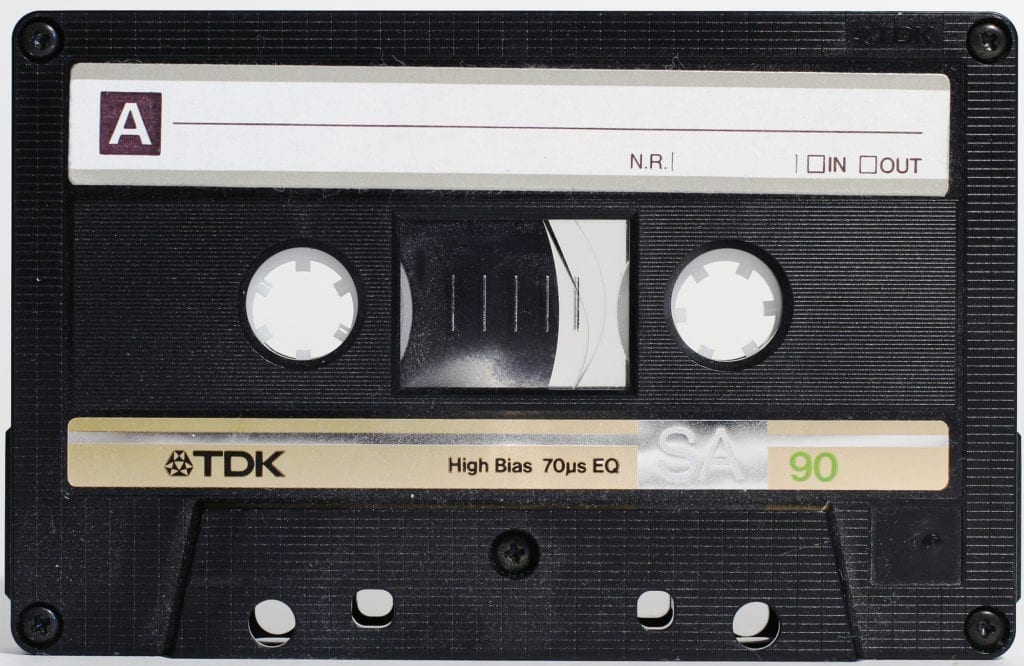
This can be considered the “classic” tape type, since it was the first to be manufactured and popularized.
Made of gamma ferric oxide, “ferric tape” as it’s often referred to, is a popular option amongst many tape enthusiasts and a great place to start for cassette distribution. You may also find it labeled as "Normal Bias" tape.
It’s chemical composition lends itself to a warmer recording, with an attenuated high frequency range. A louder signal can be recorded onto the tape without distortion, meaning that the overall integrated LUFS of the signal can come close to that of a digital recording. Also it should be noted that Tape Type 1 has a greater amount of hiss, due to a lower signal-to-noise ratio.
This means a hotter signal will need to be recorded to the tape to cover up this noise.
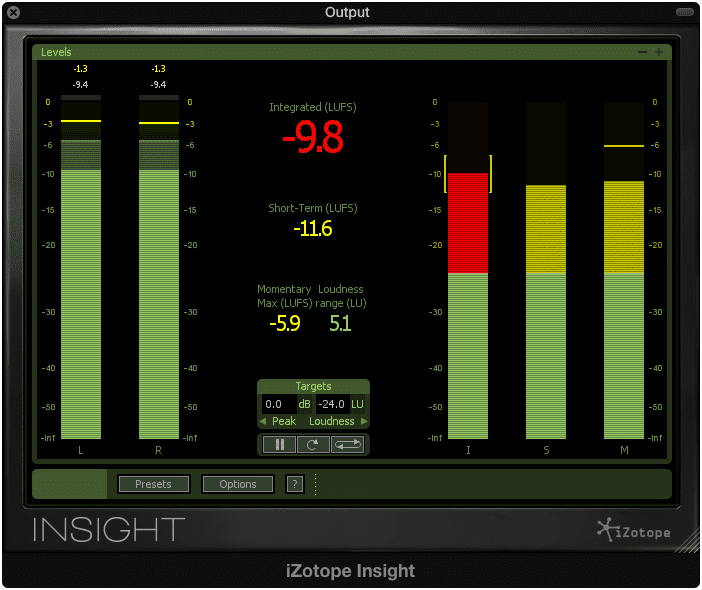
A higher LUFS may be needed to cover the noise floor of type 1 tape.
Noise reduction is an option in many tape players; however, the need for this should be avoided, as attenuating the high end of a Type 1 tape might cause a muddy signal, due to its already unbalanced frequency response.
Type 1 tapes are by far the most affordable and common type of tape, so understanding how to make your music sound great on them is definitely advantageous.
It costs roughly $1-2 for each cassette, meaning that if you have the means to duplicate these tapes, you can create a great source of revenue for you or your band.

The Mastering Process for Type 1 Tape:
When mastering for Tape Type 1, three things are particularly important:
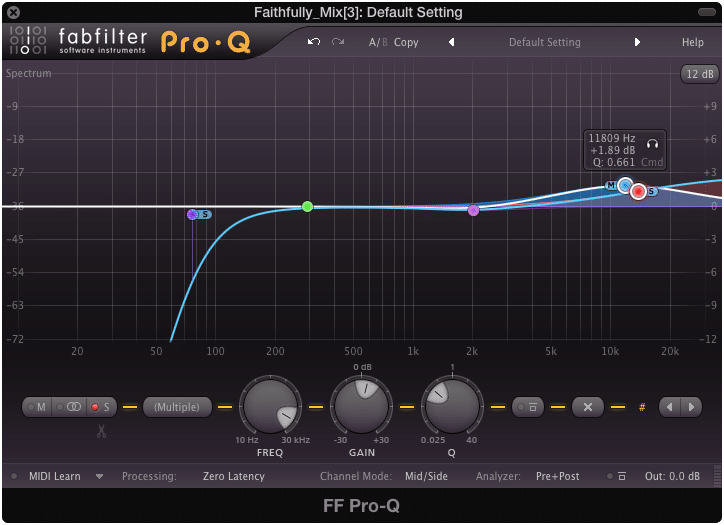
1. Frequency response
The master will most likely need to have an accentuated high frequency range to combat the attenuation the tape type will cause, if a balanced response is desired.
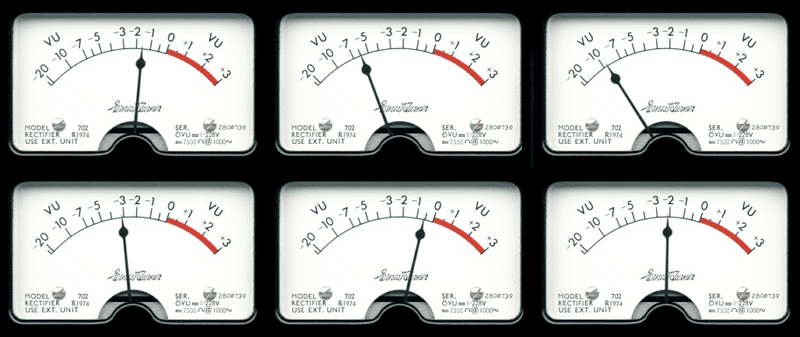
2. Signal-to-Noise Ratio
The master being fed into tape type 1 will need to be louder to cover the noise created from a lower signal-to-noise ratio, and to avoid the need for noise reduction during playback.
A Louder Signal Required for Saturation
The master will need to push the signal to the point of gentle saturation to generate harmonics and gentle compression.
If implemented correctly, all of these factors will create a recording that sounds great.
If you’re looking for a tape that changes the sonic characteristics of your recording - one that perhaps makes your recording sound classic, and introduces the analog warmth many artists go for, then this is a great option.
Tape Type 2:
Notice that tape type 2 requires a higher frequency bias to combat hysteresis.
Tape type 2 is the 2nd most popular, and the 2nd tape type to be introduced to consumers chronologically speaking.
It’s created using chromium dioxide, and is often referred to as “chrome” tape. It is also typically labeled as "High Bias" tape.
Unlike Tape Type 1, chrome tape can more easily reproduce higher frequencies, making it suitable for genres more often characterized by their high frequency response.
With that said, Type 2 has a more difficult time reproducing lower frequencies, and can sound thin in comparison to Tape Type 1.
Overall Tape Type 2 can record at louder levels; however, unlike tape type 1, saturating this tape type can cause unwanted and unpleasant high frequency distortion.
It costs roughly $4 per cassette, making this a viable option for any band looking to expand their merchandising.
The Mastering Process for Type 2 Tape:
When mastering for Tape Type 1, these two things are particularly important:
1. High Range Frequency Response:
Because Tape Type 2 can easily reproduce higher frequencies, their level needs to be kept in mind. Although I wouldn’t immediately recommend attenuating the high end, if saturation is a desired effect, then high end attenuation may be needed.
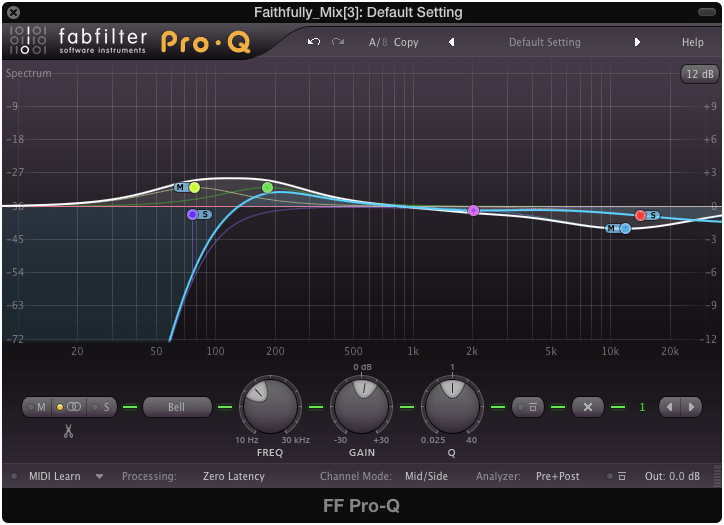
An excessively amplified high frequency range will lend itself to harsh distortion, especially when the tape is fed a signal that brings it to the point of saturation.
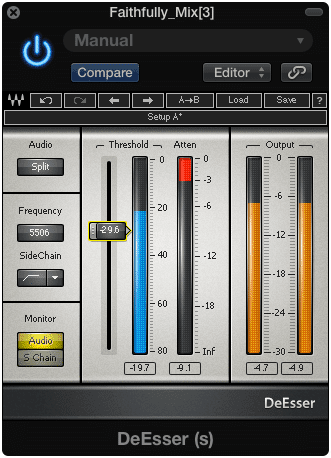
A Deesser decreases the risk of high end distortion on a Type 2 Tape.
2. Low Range Frequency Response:
As stated above, tape type 2 attenuates the lower frequencies. It’s important to amplify these frequencies slightly to counteract any attenuation they may experience.
Furthermore, a low harmonic generator will help to restore any lost fundamental frequency by generating and amplifying the 1st, 2nd and 3rd order harmonics. This may be a good option if you expect listeners to play back your cassette on a speaker system with a limited low frequency range.
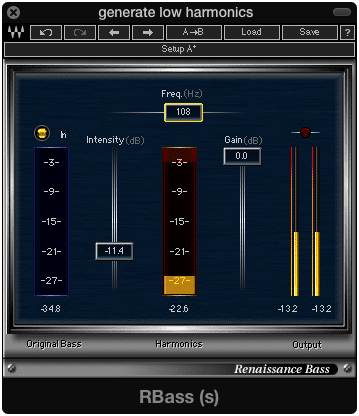
Low order harmonics cause the psycho acoustic effect, or a perceived fundamental - even when it isn't present.
Tape Type 4:
You may be wondering what happened to tape type 3. Although it did exist, it never became a popular cassette type for multiple reasons. With that in mind, understanding it in greater detail may not be helpful, as you most likely will not have your songs mastered for this format.
Most of you probably won’t have your songs mastered for tape type 4 either, but it is still a relatively popular format, so let’s look into what makes it unique, and the best approach for mastering when using it.
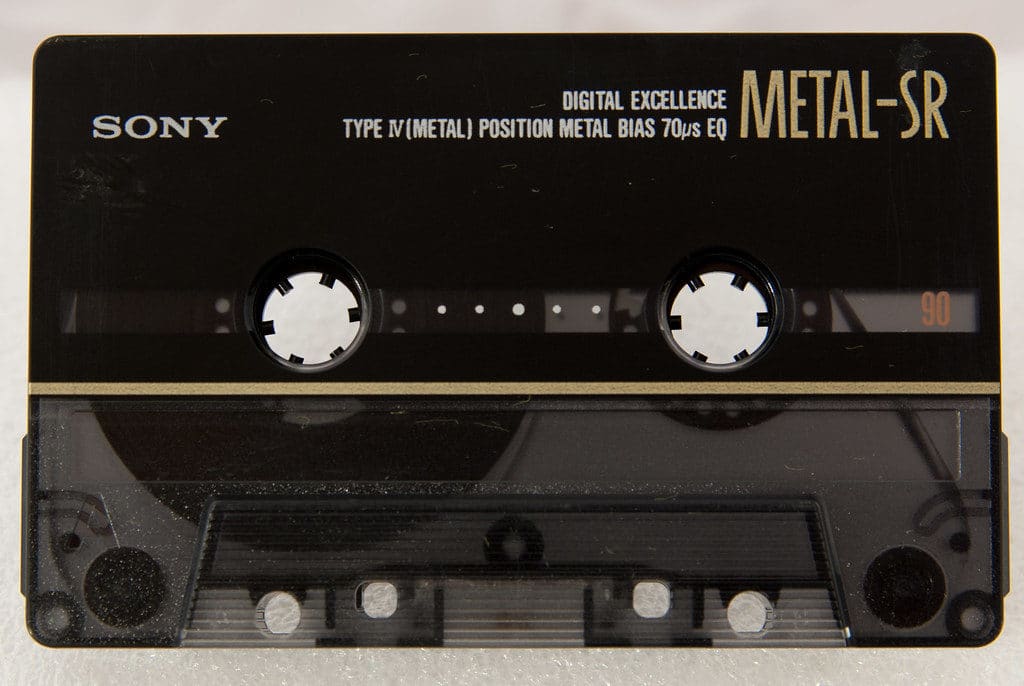
Type 4 uses metal particles instead of an oxide like type 1 and 2, and is often referred to as “metal tape.”
It improves the overall frequency response, both high and low, as well as the dynamics. Just as importantly, it reduced the amount of high frequency distortion that came with tape type 2, making it perfect of highly detailed recordings.
Naturally, with these improvements came a higher price tag. At roughly $10 a cassette, these may not be the best option for a band looking to even out the cost of touring or playing out.
It should be noted that although tape type 4 offers the best sonic playback, some tape decks don’t allow for tape type 4 playback, due to the unique bias it requires during the recording and duplication process.
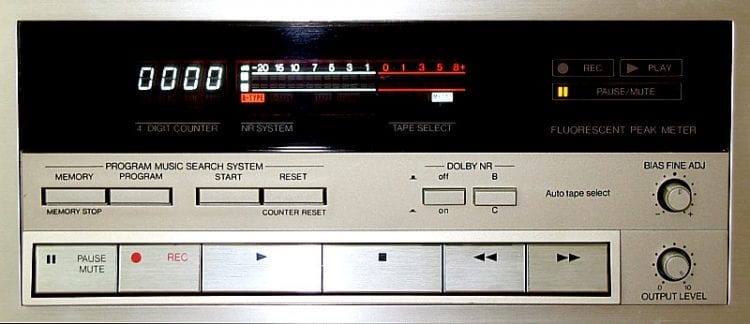
Notice the bias adjustment on the lower right. This adds flexibility to playback and recording.
Many consumer grade tape decks cannot create a bias high pitch enough for Tape Type 4. Because of this technical limitation, only high end tape decks are created with the equipment and specifications needed for type 4 playback and duplication. In turn this creates another cost-to-entry barrier between your music and your fans.
The Mastering Process for Type 4 Tape:
Because these tapes can handle both low and high frequencies, the master can be similar to that of a typical CD or digital master.

A CD is a 16 bit, 44.1kHz Digital file
Recording a master onto these tapes will result in the lowest noise, and the highest output, with a balanced frequency response.
Which Tape Type to Choose:
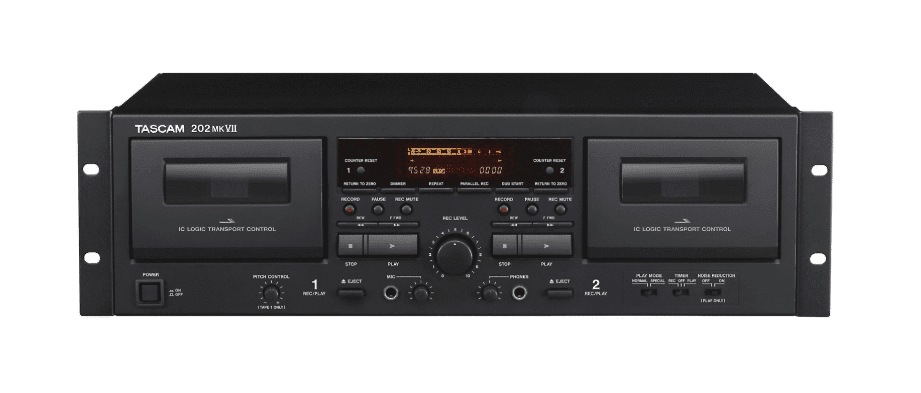
The new Tascam 202MKVII, allows for the reading and writing of type 1 and type 2 tapes.
This depends on your budget and the budget of your listeners. It also depends on the sonic characteristics you wish to achieve by recording your music onto a cassette.
If you want a cassette that sounds warm, and gives your music a classic feel, while maximizing your cost-to-profit ratio, then tape type 1 is the best option.
If you require high frequency detail, but have to remain within a certain budget, then tape type 2 should be your choice.
And if you want a cassette that sounds as close to a digital master as possible, and you and your fans don’t mind paying a little extra for the sonic quality, tape type 4 is definitely the route you should take.
What You Need to Know for Tape Duplication:
So now we know that the tape type you choose truly dictates the type of master that will take place. Any engineer will need to account for the frequency response, the point of saturation, and the signal-to-noise ratio when creating a master for cassette.
But what about tape duplication, and what role do Bias and Hysteresis play?
Well, if you plan to duplicate the tapes yourself, as many artists do, you will need to know which bias to choose during the process.
Tape Type 1 requires Tape Type 1 Bias (or Normal Bias).
Tape Type 2 requires Tape Type 2 or Chrome Bias (or High Bias).
Tape Type 4 requires Tape Type 4 or Metal Bias.
It’s really that simple. Just make sure you are using the bias associated with the tape type you choose. The bias types should be clearly labeled on any tape deck. Of course, if you intend to duplicate a specific tape type, ensure that your tape deck offers the bias for that tape type.
You also have the option to outsource the work to a distributor. This can range from roughly $200 for 100 label and case free type 1 cassettes, to $600 for 100 type 1 cassettes with cases and artwork included.
But for any of you choosing to duplicate the cassettes yourself, if you are duplicating onto formerly used cassettes, bias will be essential to sonic quality of your production.
The Best Way to Create Your Cassettes:
Many tape decks offer tape to tape duplication. Meaning that you can record your tape from another tape, and so on and so forth.
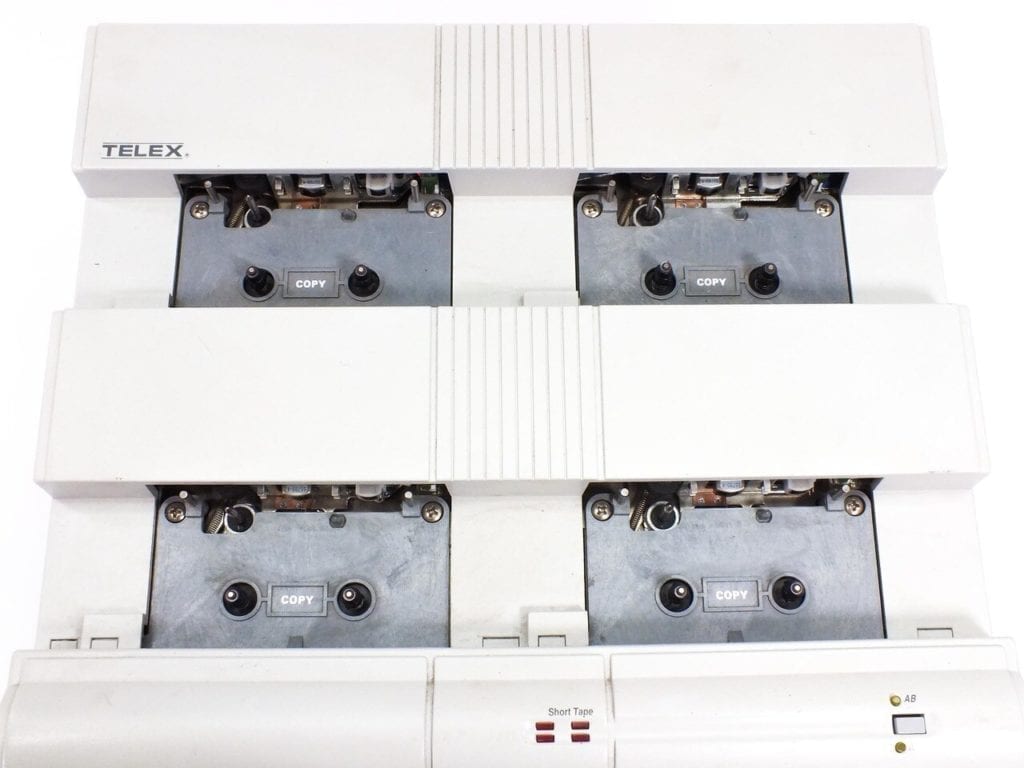
Cassette duplication devices used to create the majority of distributed cassettes.
However, this will no doubt result in signal degradation over time, as the magnetic particles from your master tape shed.
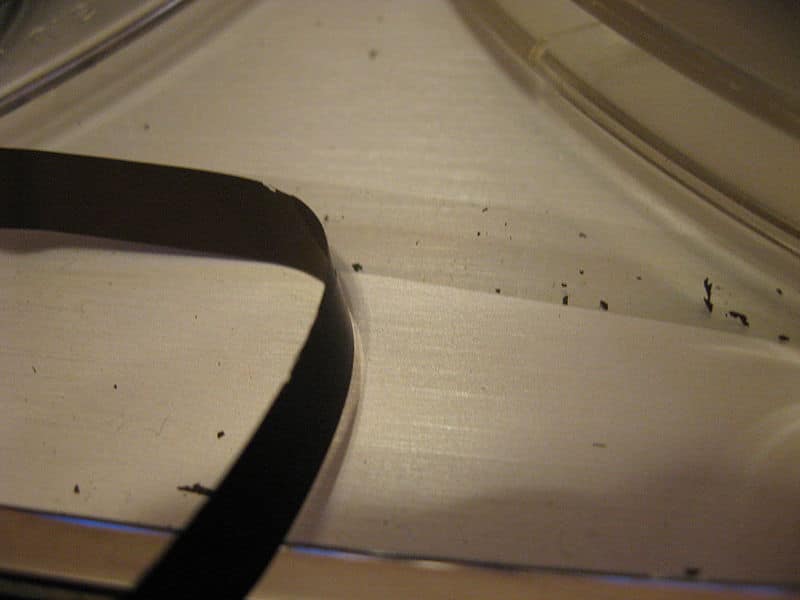
Magnetic tape particles fall off in various degrees during every playback.
On the back of your tape deck, you will most likely notice a line input. Using your digital master as the source, send the signal to the tape deck to record the cassettes, one at a time.
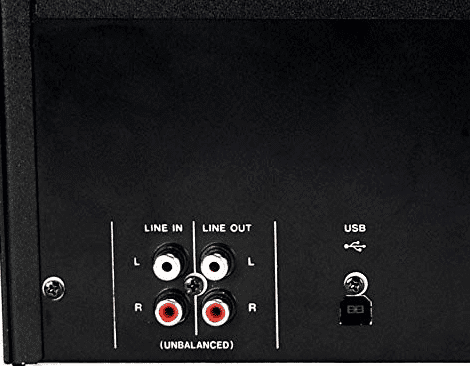
This way the master signal is always the same, no degradation takes place, and you can keep your tape record levels the same.
If you record your cassettes in this way, your cassettes will sound great, and consistent from copy to copy.
Of course, be sure to use the same tape type, ideally from the same manufacturer.
Be sure to sequence your tracks to create roughly the same time on both tape sides.
If you have excess free space on a tape after all of your songs have been recorded, you can open the cassette and cut any excess blank tape out and then reconnect it using special tape. This way listeners don't have an awkwardly long silence at the end of your album.

Conclusion:
Although mastering may not be your first thought when considering duplicating your cassette, it will no doubt improve the quality of your production.
That’s why consulting a mastering engineer prior to duplicating your mix is so incredibly important. Having someone who knows the format you’re duplicating, and can create a master tailored to that medium will make your fans glad they bought your cassette.
Knowing the sound you want to achieve as well as the budget for creating your first or next batch of cassettes is crucial for creating the perfect master.
With that in mind, know which tape type you want to duplicate before beginning the mastering process.
To get a sample of your mix mastered send it to us here: www.SageAudio.com/register.php
Have you ever recorded your music onto a cassette?


