How to Create Depth and Width with Reverb and Delay
Quick Answer
Reverb and delay both create a sense of depth and width, adding a three-dimensional element to any mix or master. Reverb and delay can be used to varies degrees, and with certain techniques to create depth and width during the mixing stage or music production.
How to Create Depth and Width with Reverb and Delay in Detail
Making a mix 3-dimension is just as important as proper equalization, introducing harmonic distortion, achieving the correct levels, or any other fundamental of mixing.

Recreating the sound of a room or space is an incredibly important aspect of mixing audio.
Despite this, conversations about the mix balance are more common than conversations about mix depth and width. For this reason, many engineers tend to ignore delay and reverb or treat them as mere aesthetic choices instead of crucial mixing cornerstones.
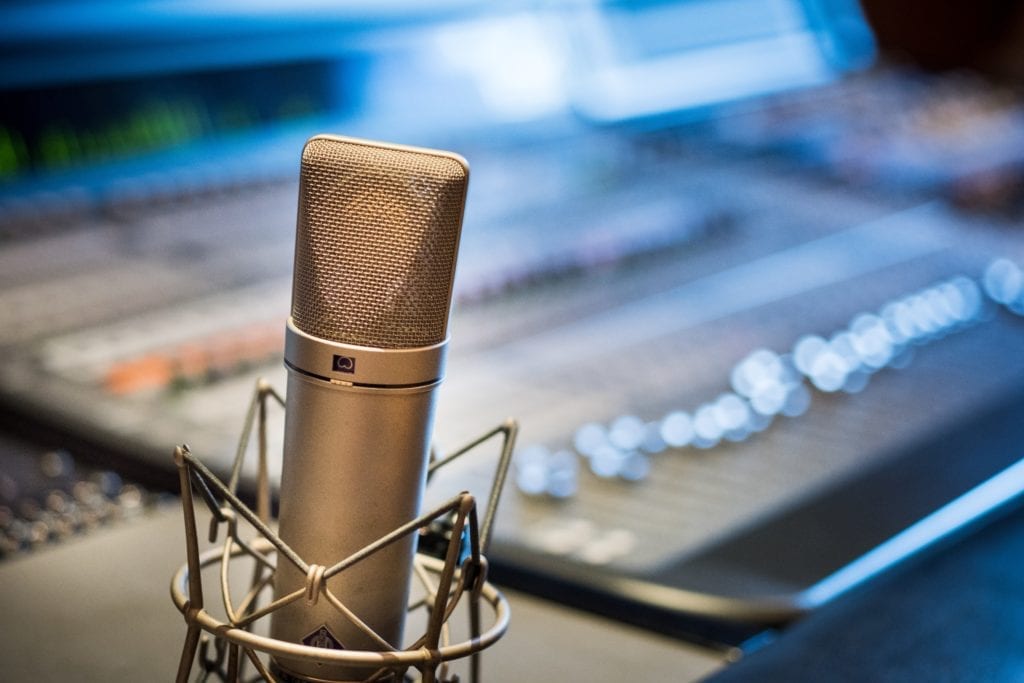
Reverb plays a crucial role in the creation of a 3D space.
With that said, let’s explore the importance of reverb and delay for creating mix depth and width.
We’ll also cover techniques that you can use to make your reverb and delay more impressive and/or conducive to a deep and wide sounding mix and master. Meanwhile, we’ll consider some of the ways these effects are over-used, in turn, having the opposite of their intended effect.
If you have a wide mix that you want mastered, send it to us here:
We’ll master it for you and send you a free mastered sample for you to review.
Why are Width and Depth Important?
In an era of music where instrumentation is becoming increasingly forward, as the depth is being thrown to the wayside for louder masters and a more intelligible sound, we’ve seemed to have forgotten how important it is the create a complex field of sound for listeners to enjoy.
Creating a 3-dimensional sound begins at the recording process.
The reason why 3-dimensional sound has been such an important part of music for so long is due to the original intention of recorded music - to recreate a live performance that music lovers could enjoy at home.
The first attempts to create depth in a recording began almost immediately after the technology’s inception. By placing performers away from a single microphone at varying depths , an engineer could recreate a sense of room dimension and depth.
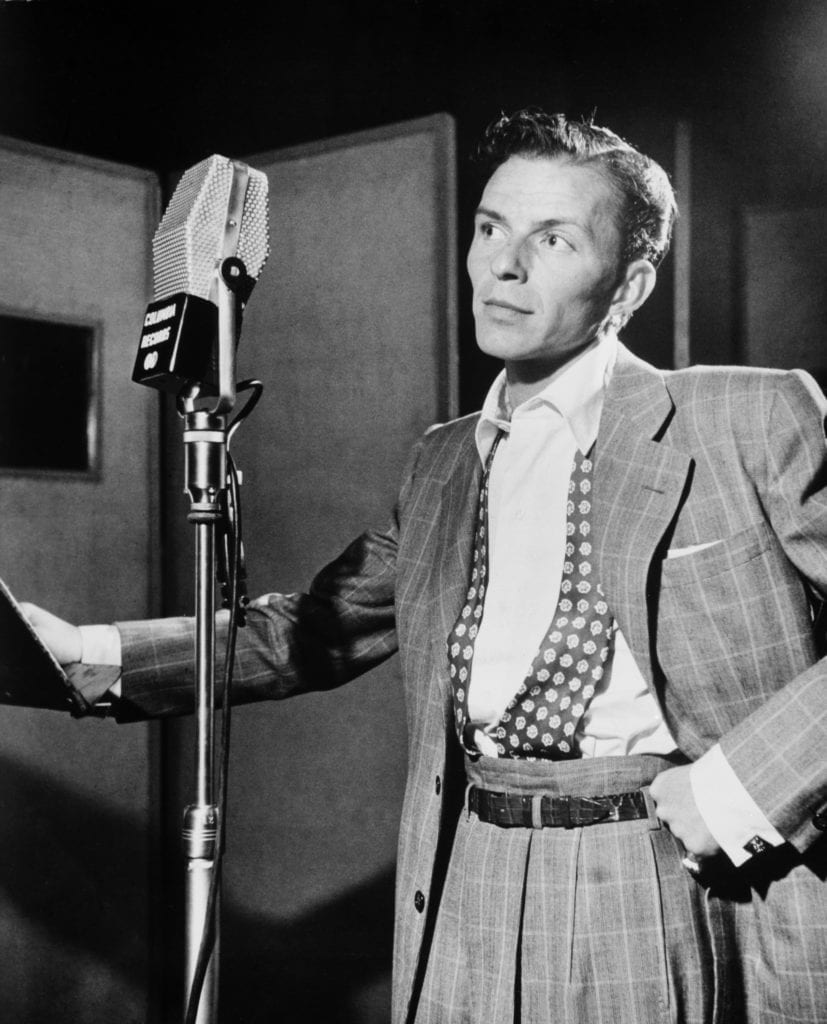
In classic recordings, depth was created by positioning performers closer or farther away from a microphone.
This way, certain instruments were recorded louder than others, making them sound closer to the listener than those recorded farther away. This was often the case when recording vocalists, as they would be positioned much closer to the microphone than the band.
Today, we can recreate this effect by using channel faders and making some instruments louder than others.
The effect volume has on the perception of depth is now recreated with volume changes and gain.
The positioning of performers also created a sense of depth through room acoustics. The instruments recorded from farther away introduced reflections that indicated the distance of that instrument from the microphone (another way to think about this is that the microphone represented the listener’s position, and was considered to be the listener’s ear.)
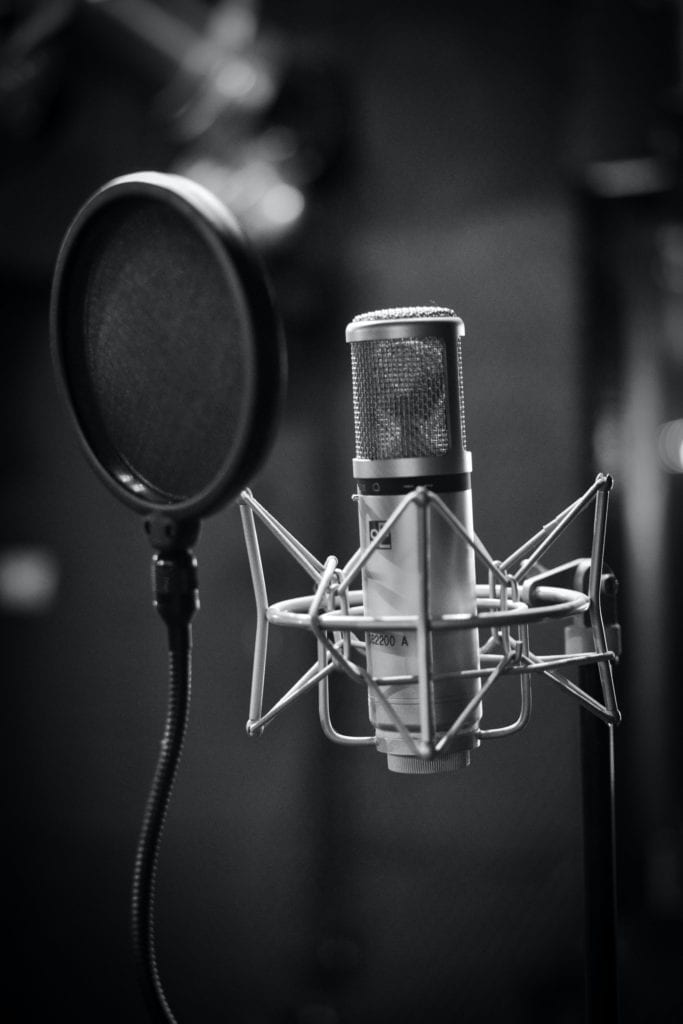
Instruments and vocals are mainly recorded with the close mic method today - making reverb and delay crucial for establishing depth and width.
Today, instruments and vocals are mainly recorded using the close mic method, meaning that little to no room acoustics play a role in helping our ear determine the placement of an instrument.
In modern audio processing, we reinforce the sense of depth with artificial reverberation. This creates the missing reflections and gives listeners a sense of the instrument being played within a certain space.
If you’d like to learn more about reverb, check out our blog post on making reverb more distinct
It showcases a technique for making reverb more noticeable.
How Was Width Created in Classic Recordings?
Although depth has been a staple of audio recording since the beginning, width only becomes a possibility after the creation and popularization of stereo recordings. By creating two channels for the signal to occupy, an engineer could position instruments left and right to create stereo width.
Stereo recording and playback systems made width an important part of recordings.
With stereo recording and playback now possible, each channel now represented the left and right ears of the listener - in turn giving engineers the opportunity to position instruments in a way that mimicked instruments within a stereo field.

Earl adopters of stereo processing used the effect more creatively than realistically.
Granted, this wasn’t the original intention, as more creative stereo imaging was often used during the initial stages of the technology (think full drum sets panned hard left, or lead vocals panned hard right.)
Regardless, once engineers better-understood stereo imaging they begin to use it as a means to accurately create a sonic space within a recording.
Today we use panning and other methods for creating a wide sonic space.
Today, we use similar methods for creating this space - we pan the signal left and right, or use more creative psychoacoustic effects to establish a sense of incoming direction.
With all of this in mind, we can break down creating a 3-dimensional space into the following forms of processing:
- Overall volume/level - Used to create depth
- Artificial Reverberation and Room Acoustics - Used to create depth
- Delay - Mainly used to create width, but can be used to create depth
- Panning - Used to create width
Now that we understand some of the history or width and depth, and the tools that have been used to create it, let’s look at these tools and techniques more in-depth to better understand how they can be practically used to create these effects.
If you’d like to hear your mix with a wide yet balanced sound, send it to us here:
We’ll master it for you and send you a free sample for you to review.
How to Create Depth with Channel Faders
Using your channel fader to increase or decrease the volume of a particular instrument is the most common way to establish depth in a mix. By either increasing or decreasing the volume level of a signal, you’re positioning the signal either forward or backward.

It goes without saying, but sound sources that are farther away sound quieter - this can be recreated by adjusting the volume of a track.
The reason why changing the volume or level of a signal works is due to how we perceive sound sources. It almost goes without saying, but sounds that are farther away sound quieter whereas sounds that are closer sound louder.
Channel faders and other tools like clip gain and output allow for individual instruments to have their volumes controlled.
By amplifying or attenuating the level of a signal, you’re establishing this simple yet effective perception of distance.
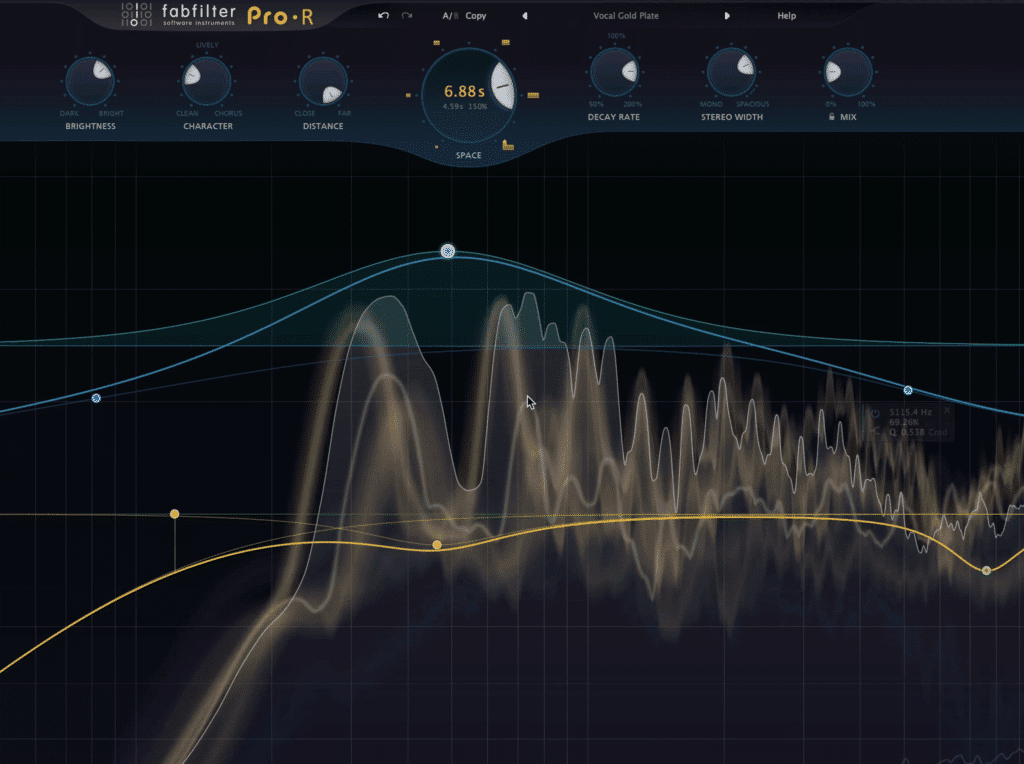
How to Create Depth with Reverb
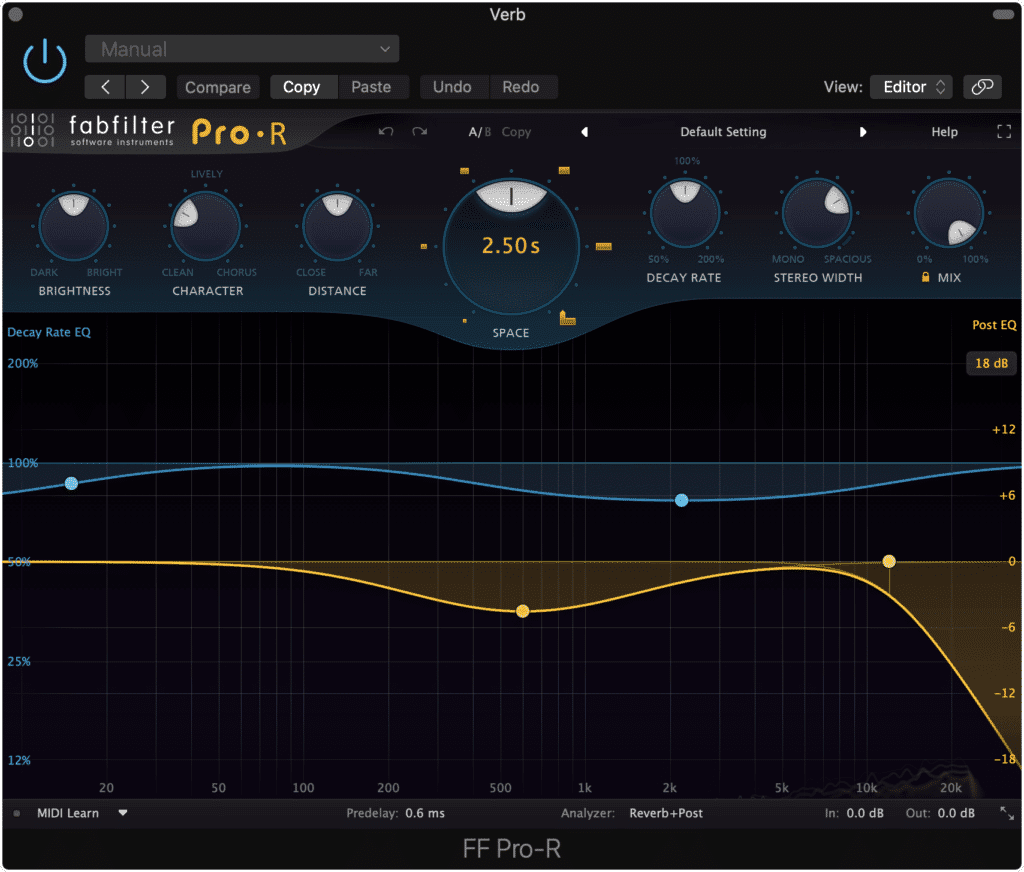
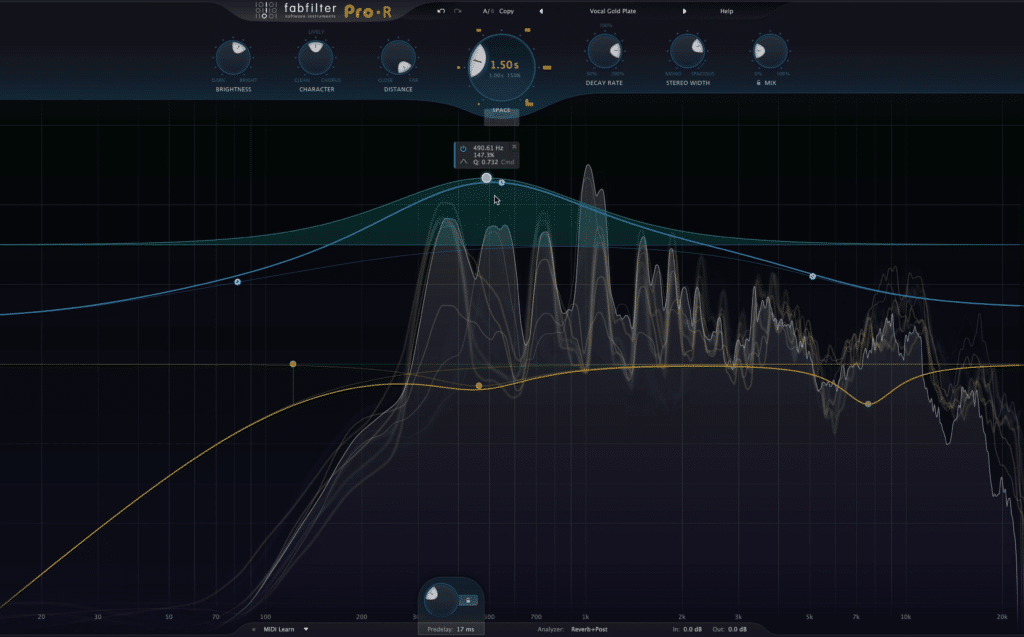
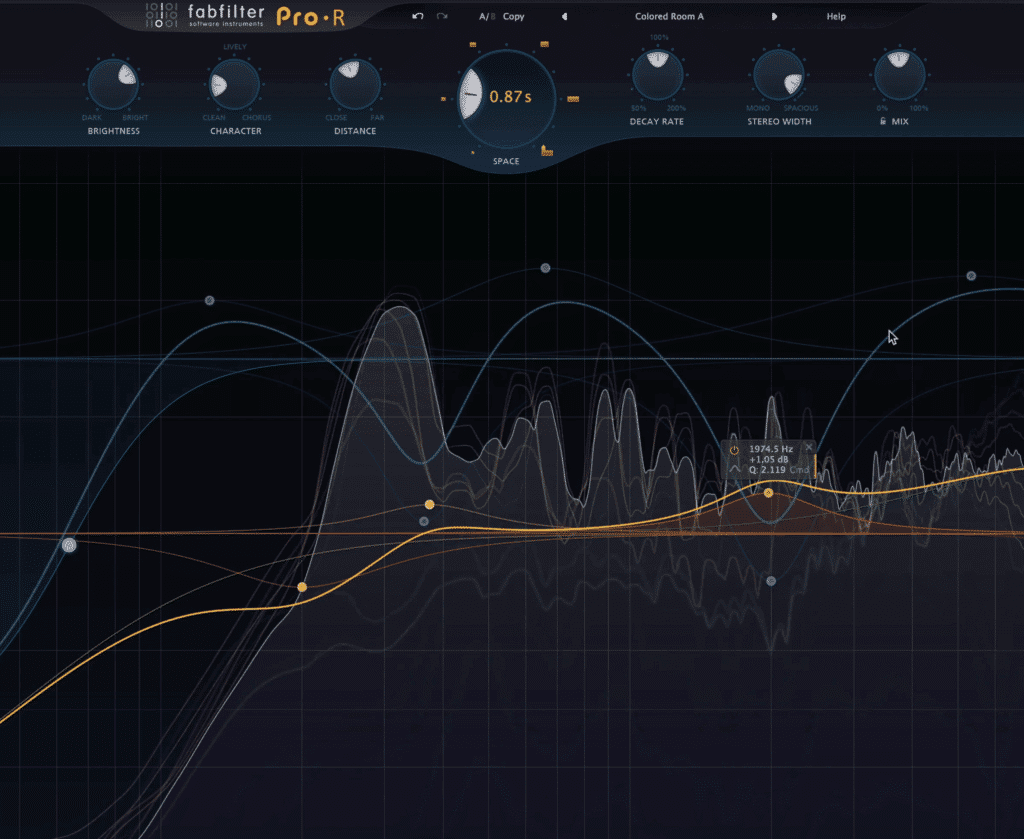
Reverb can be used to create depth by using reverberation times greater than 1 second, and by using pre-delay times to establish a sense of distance from the original source and the walls that create reverberation. Shorter reverb times create a sense of closeness by increasing a signal’s amplitude.
Artificial reverberation is used to recreate the sound of a room and to establish depth in a recording.
When creating depth with reverb, the extent to which a signal sounds close or far away truly depends on the reverb time, the number of reflections, and the pre-delay.
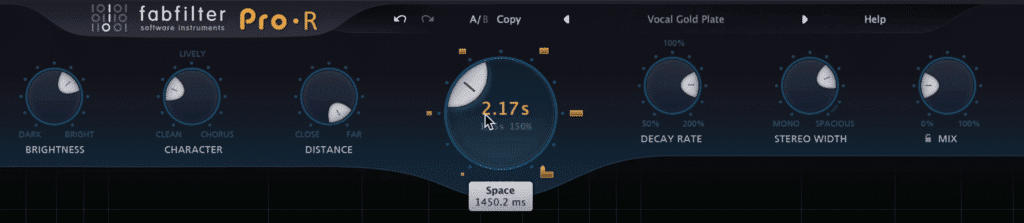
The various parameters greatly affect the sound of reverb and the perceived depth of the processed signal.
Additional parameters affect the perception of the room, such as the material of the walls and the room’s dimensions, but for the sake of establishing depth, we should concern ourselves more with the other parameters discussed previously.
If the time of the reverb (referred to as the RT60) is greater, then the instrument or vocal will seem as if it is further away. Just as important is the ratio of the dry signal and the wet signal.
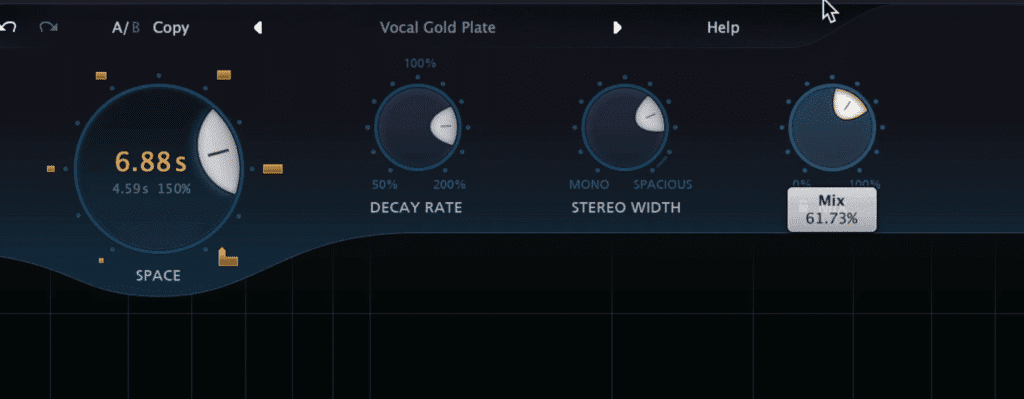
The wet/dry function and the RT60 function have the greatest impact on the perceived depth of a signal.
If the signal is completely wet, then the reverberation will have a much greater effect on the signal, and in turn, will make the signal sound much farther away. By blending the dry and wet signal you affect the degree of depth - more reverb equates to a greater depth, less reverb equates to less depth.
The number of reflections creates a sense of the room or reverb type. For example, a plate reverb utilizes a greater amount of reflections at the beginning of the reverberation, whereas a hall reverb utilizes reflections at roughly even intervals.
Other functions are more indicative of the reverb's character or the room type, but they do still play a role in the perception of depth.
Although the placement of the reflections is more indicative of the reverb’s character or the room type, they do evoke a sense of realism or artificiality than can and do affect a listener’s perception of depth.
Lastly, pre-delay is the time between the reverberated signal’s arrival and the original or direct signal. So if you were to increase the pre-delay to 50ms, then you’ll hear the original signal first and then the reverberated signal 50ms later.
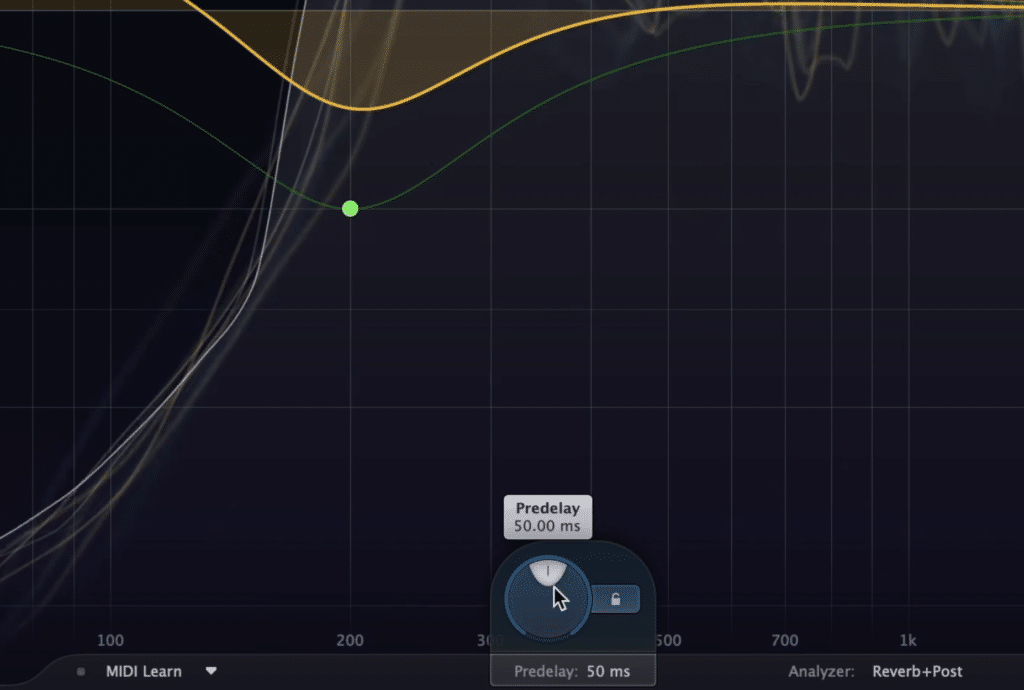
Predelay is used to route the reverberated signal to the output after the original signal, making the original signal be perceived first.
Pre-delay is often used to create a more clear vocal or reverberated signal, but as you can imagine, giving the listener the direct and unaffected signal first and then the reverberated signal affects the perception of depth.
If you’d like to learn more about stereo imaging, check out our blog post on the topic:
It offers a comprehensive understanding of stereo imaging during tracking, mixing, and mastering.
How do Short Reverb Times Contribute to Depth?
Shorter reverb times often create a greater overall amplitude without contributing to a strong sense of space - this, in turn, makes the reverb’s sound almost non-perceivable. Some shorter reverb times do have a lot of character that can be noticed, but they don’t significantly contribute to depth.
Short reverb times don't establish a sense of greater depth, but they do increase the amplitude of a signal which may make it sound closer.
If you’d like to use a shorter reverb time to increase the amplitude of your signal and to add some complexity and realism to it, use a reverb time under 1 second. This will create emulate the sound of a room without significantly contributing to a sense of depth.
That being said, if you’re looking to create depth, it is best to use a longer reverb time - preferably one over 1 second.
How to Create Width with Delay
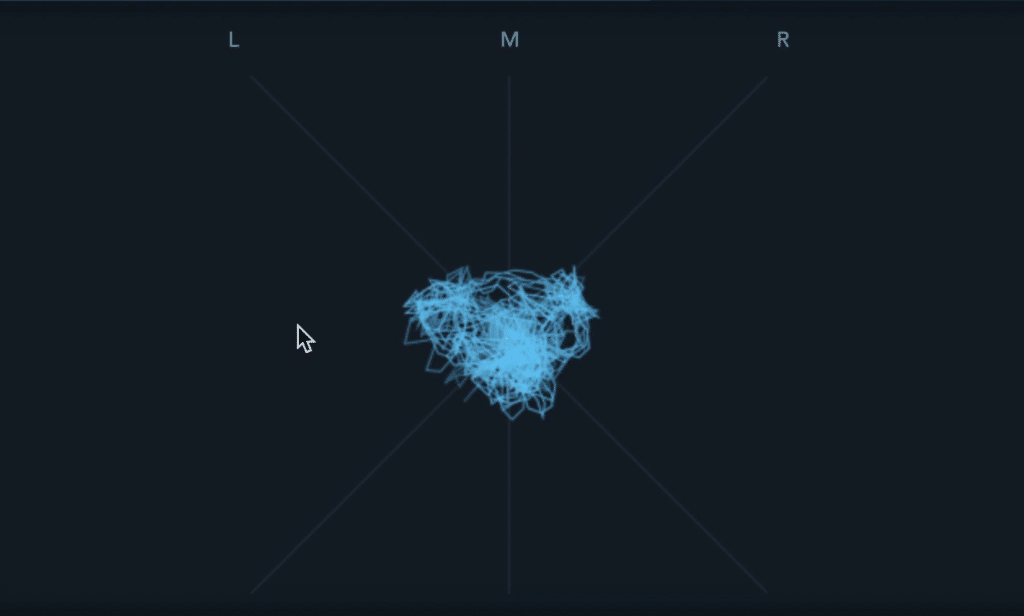
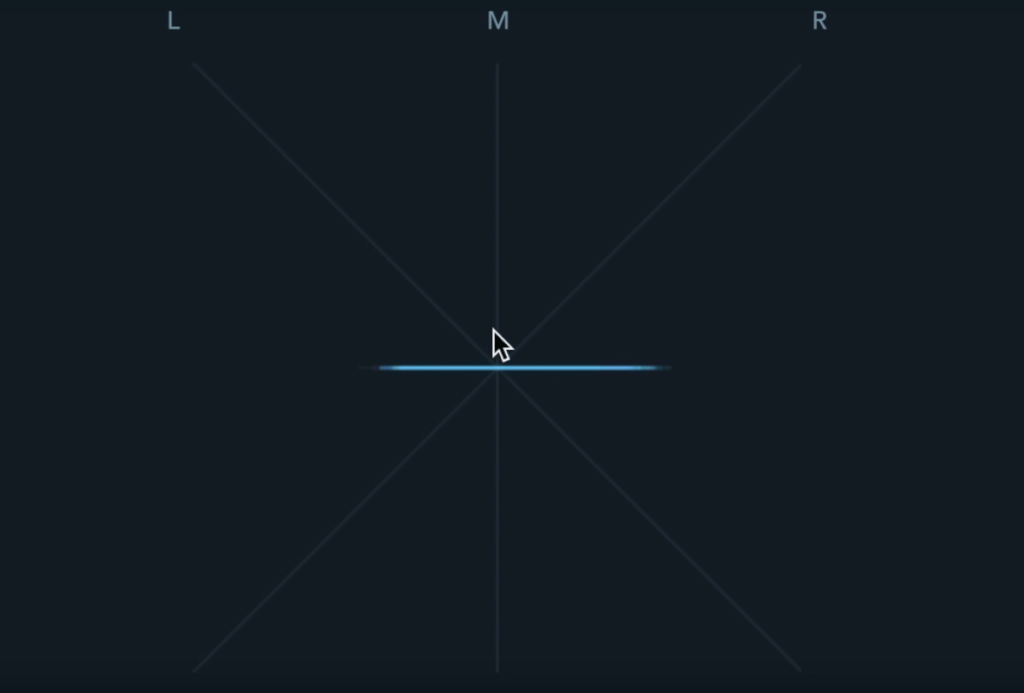
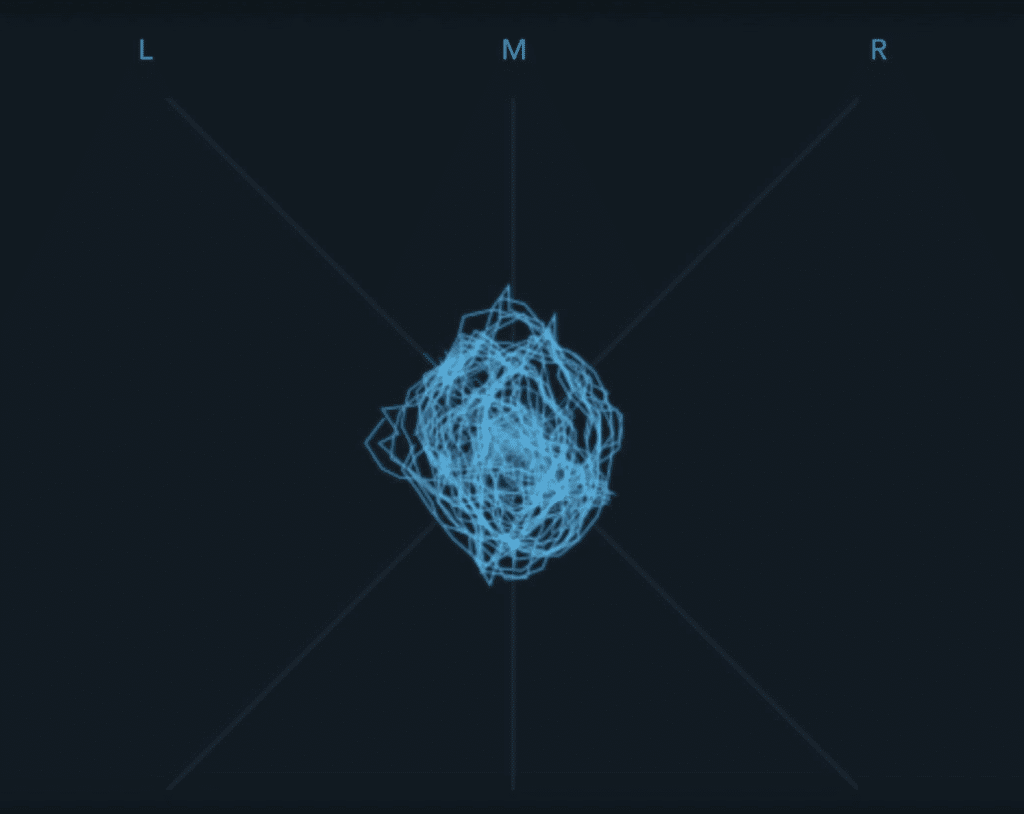
When mixing, a delay effect can be used to create phase cancellation amongst two identical signals - in turn pushing the image into the 180-degree stereo field. This technique is also often used during tracking, as recording the same instrument with two microphones creates this effect.
A Mono image is in the middle of a 90-degree stereo field
Delay is the foundation for all stereo imaging.
No matter the plugin or microphone technique, delay is used to create phase cancellation that for one reason or another pushes the signal outward and creates the perception of width.
Stereo widening can be accomplished with mid-side equalization.
For example, when using mid-side equalization phase inversion is used to create the side channel. Although at first, this doesn’t seem like delay, the principal is the same.
By altering the time it takes for signals to play, you alter the phase relationship, in turn causing phase cancellation which spreads the signal in the 180-degree stereo field.
Delay can push any image into the 180-degree field.
All this to say that delay is a great way to create width - whether tracking, mixing, or mastering.
Here are some ways you can use delay to create a wide mix.
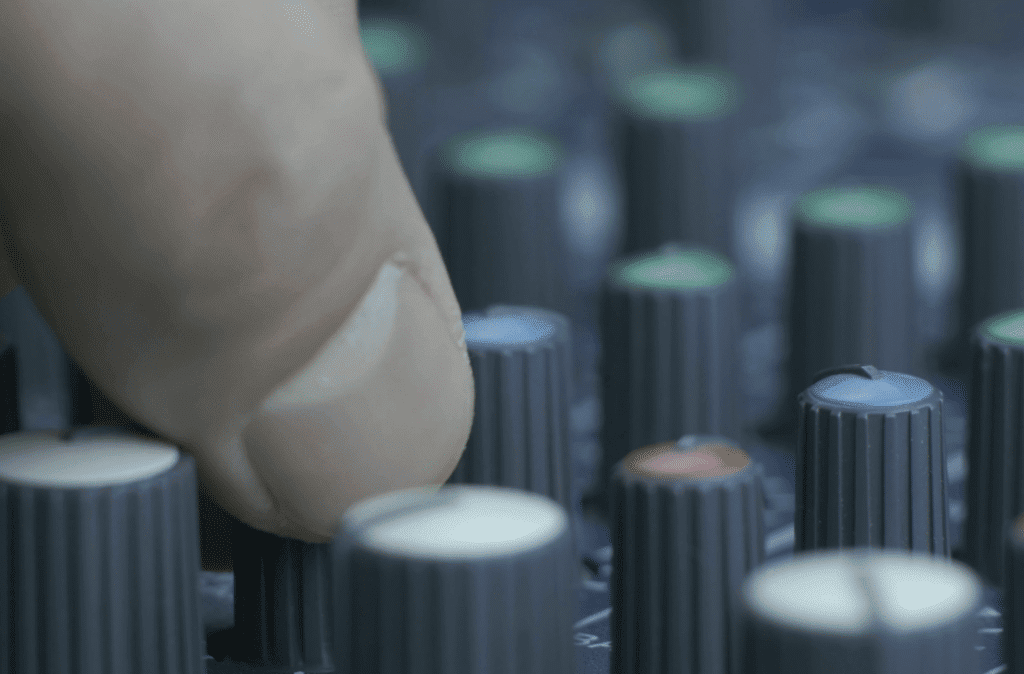
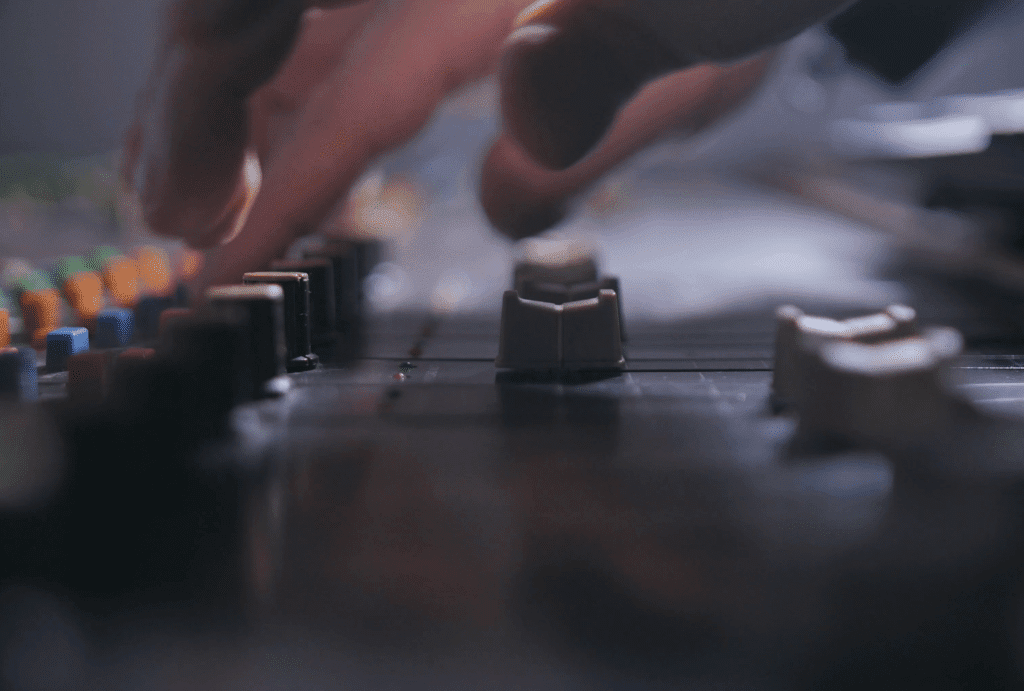
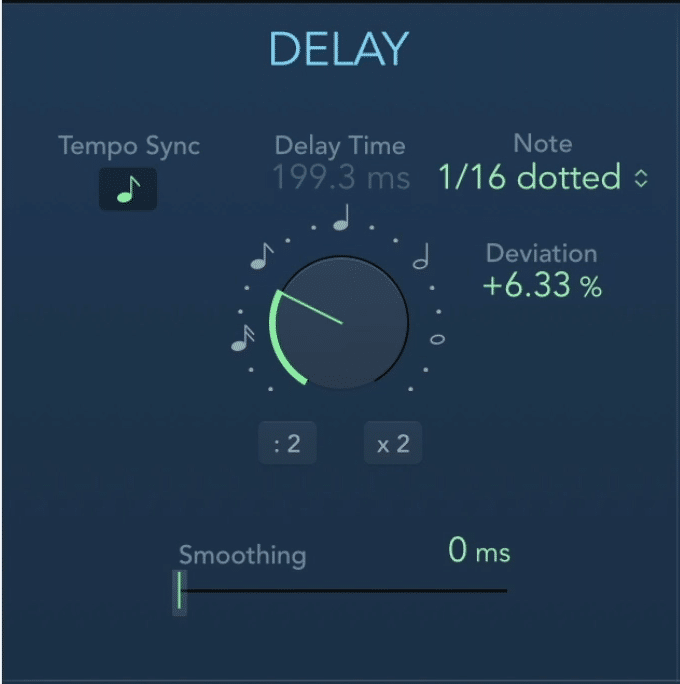
The first is to you a sample delay on an instrument. Insert your sample delay plugin (a stock plugin like the one shown below will do just fine) on your instrument or vocal.
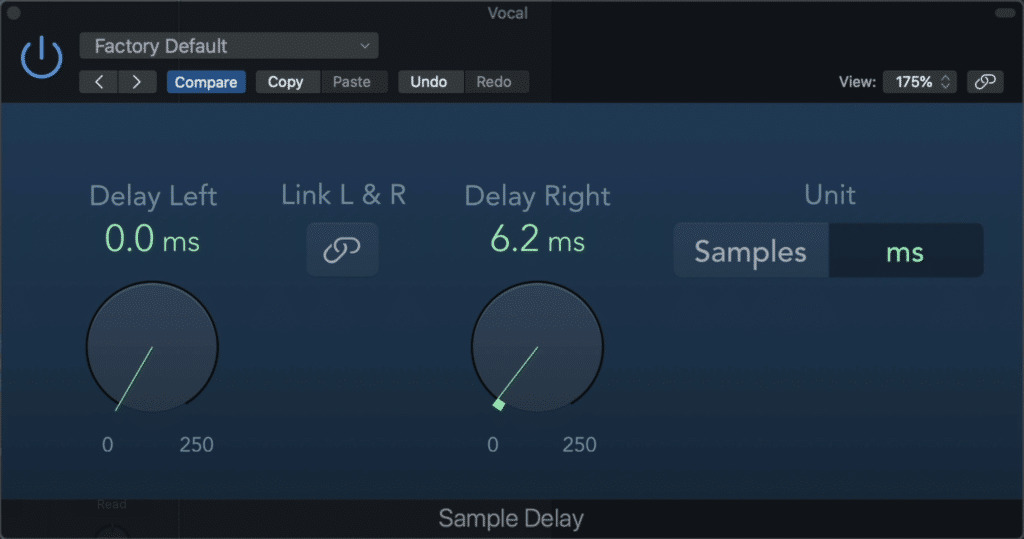
Using a delay to delay either the right or left signal will cause the image to move into the 180-degree stereo field.
Next delay either the left or right side of the signal - this will alter the phase relations of the left and right channel, in turn making the image expand into the 180-degree stereo field.
You can also simply use mid-side equalization and amplify the side image. This will create a similar effect.
Or, if you’d prefer to have your mono signal be completely in the 180 field you can follow this method:
Step 1: Duplicate your mono signal onto a separate track - you should now have two identical signals.
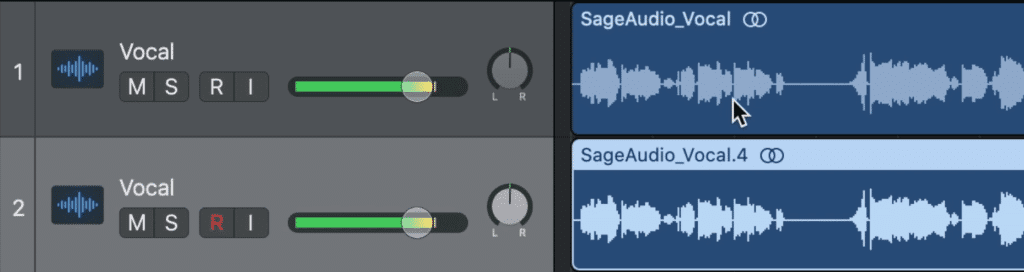
Simply recreate the same channel for this effect.
Step 2: Insert a phase inverter plugin on one of the tracks and invert the phase - at this point if you were to play both tracks simultaneously you will have no signal due to phase cancellation.
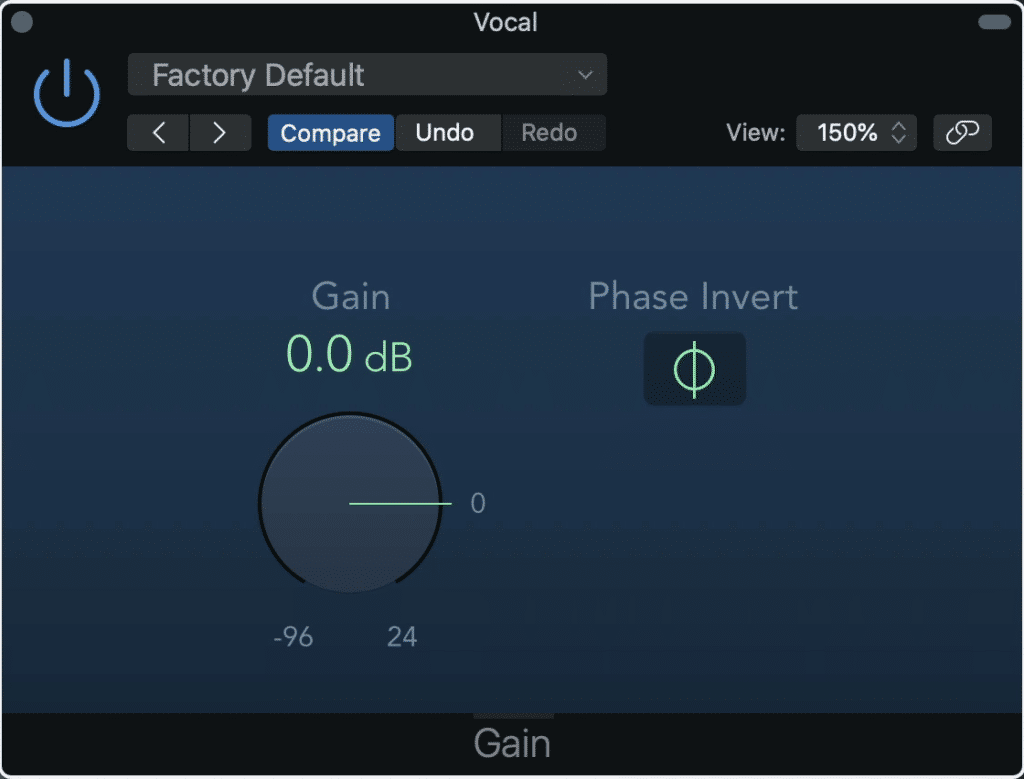
Using a utility plugin, invert the phase of one of these tracks.
Step 3: Pan the two signals hard left and right. Your image will change from directly in the center or 0 degrees to completely 180 degrees.
After panning these two tracks hard left and right, your signal should now have a completely 180-degree stereo image.
Lastly, if you’d like to have your signal perceived as coming from either the left or the right, you can use sample delay up to 35ms on either the left or right channel. If the right channel is delayed, then the left ear will hear the sound first making the mind perceive the signal as coming from the left, and vice versa.
If you’re using this info to process your vocals, check out one of our blog posts on mixing vocals:
It offers step-by-step instructions for mixing your vocals.
How to Create Depth with Delay
Delay can be used to create depth in a recording in a similar fashion to reverb. A slap-back delay, greater than 130ms, causes the signal to sound as if it's in a small room - greater delay lengths can also evoke a sense of depth.
Delay can also be used to create a sense of depth.
The reason a delay needs to be greater than 130ms to create depth is that delays that are shorter than that time will be perceived as one signal. When this occurs,the signal will simply sound louder , in turn making the signal sound closer to the listener.
By increasing the delay time to greater than 130ms, our minds perceive the signal as two separate signals. In the instance of a slap-back delay, we perceive the original signal, and then the delayed one as if the delayed signal is a strong room reflection.
To be completely honest though - although delay can create depth, depth created by reverb will be more complex and nuanced, in turn, making the depth more believable.
How Can Delay and Reverb Detract From Width and Depth?
In audio, there can definitely be too much of a good thing. This is especially true for reverb and delay.
Too much reverb results in an unintelligible sound. In other words, the more reverb you use, the less defined and detailed your signal will become.
Excessive reverb will make the signal unintelligible, in turn making the reverb incomparable with any dry or more dry signal. This will make it difficult to determine the depth of a sound source.
As you can imagine, if reverb is performed excessively, and in a way that does not prioritize transient retention or detail, then it becomes easy for the sound to lose a sense of realism.
When this happens, the listener can no longer place the sound source within a realistic space, in turn, completely negating a sense of depth.
When it comes to delay, this issue is even more problematic. The reason being, most listening systems and playback systems cannot handle an excessively wide stereo image.
Excessive delay can cause the signal to spread too far into the 180-degree stereo field, in turn making the recording transfer poorly to most listening systems.
As a result, any signal that extends beyond a certain point will be lost during playback. This means that your master will lose a significant amount of its impact.
Just as importantly, important parts of the recording will be attenuated or completely lost - making for an incomplete recording or master.
That being said, it’s never a good idea to use excessive delay due to the effects it can have on the phase relations, and in turn, the stereo imaging of a mix or master.
Conclusion
Creating width and depth with reverb and delay (and volume) is a complex but necessary aspect of audio production.
Use delay and reverb with the understanding of how drastically it can affect your mix and master. This means using it in a controlled way and listening critically to how your reverb and delay is affecting the width and depth of your mix or master.
If you have a mix that you need mastered, send it to us here:
We’ll master it for you and send you a free sample for you to review.
How do you use reverb and delay?


