How to Mix a Song with Samples
Quick Answer
Mixing a song with samples means knowing how to make your samples sound the best they possibly can, and knowing the easiest and best ways for replacing aspects of your mix with samples. Mixing a song with samples means knowing some of the ins and out of your DAW.
How to Mix a Song with Samples in Detail
Samples have become an increasingly popular and useful tool in audio engineering. Instead of spending countless hours in a studio crafting the exact sound we want, odds are a near-perfect equivalent that has been created and is available for use.
That’s why it often makes more sense to gather a large library of samples, and then use them interchangeably when needed.
Using samples has become an increasingly popular tool in audio production.
However, crafting the right sound with samples can be difficult - especially if these samples were recorded in different locations, and with different gear.
Additionally, some shy away from samples due to the time they think it’ll take them to implement them in a mix, but there are many ways samples can quickly and easily be introduced.
So whether you’re curious how to make drum samples sound realistic, or maybe you want the quickest way to introduce samples into your mix, or maybe you simply need a little help getting your samples to sound like they were recorded in a studio, we’ll detail how to accomplish this.
If you’re working on a song that includes samples, and you’re ready to hear it professionally mastered, send it to us here:
We’ll master it for you and send you a free mastered sample of it for you to review.
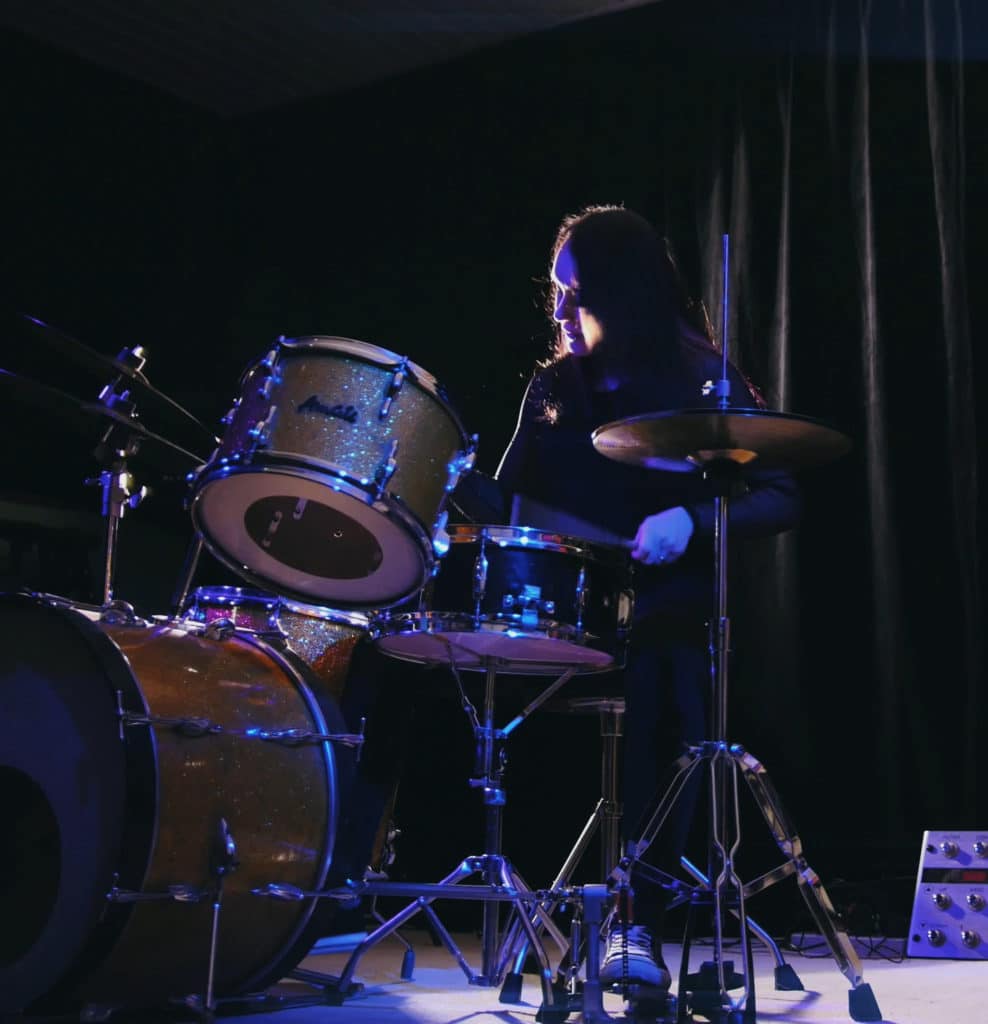
How to Blend Samples in with Pre-Recorded Drums
Drum track replacement is one of the biggest uses for samples - blending these samples in with the original recorded signal is just as common and useful. Fortunately, the process of blending samples in with your drum tracks doesn’t need to be performed manually, or in a time-consuming way.
Drum replacement is one of the most common uses of samples.
When you’re first getting started with samples, you may look at a drum track and think ‘there’s no way I’m going to replace all of those hits.’
In fact, I remember hiring a producer once to do some drum placement for me. Unfortunately enough for both of us, neither one of us knew how easy it was to replace drum tracks with drum samples.
Replacing a drum recording is surprisingly easy with a drum trigger.
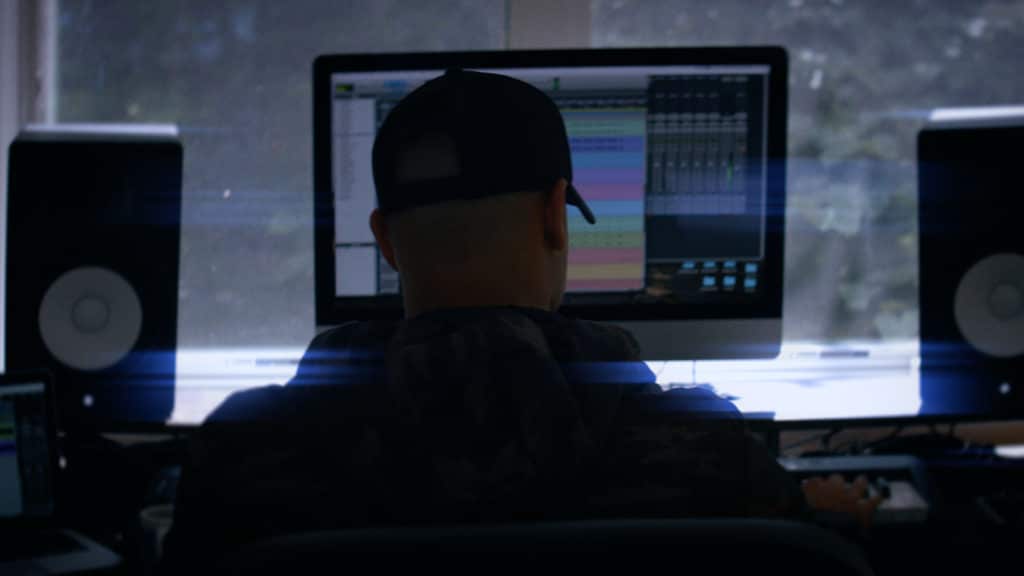
That said, let’s look at a step by step way to replace your drum tracks with drum samples in Logic Pro X.
Step 1: Find the drum track that you want to replace or double with a drum sample (ex. kick drum track) .
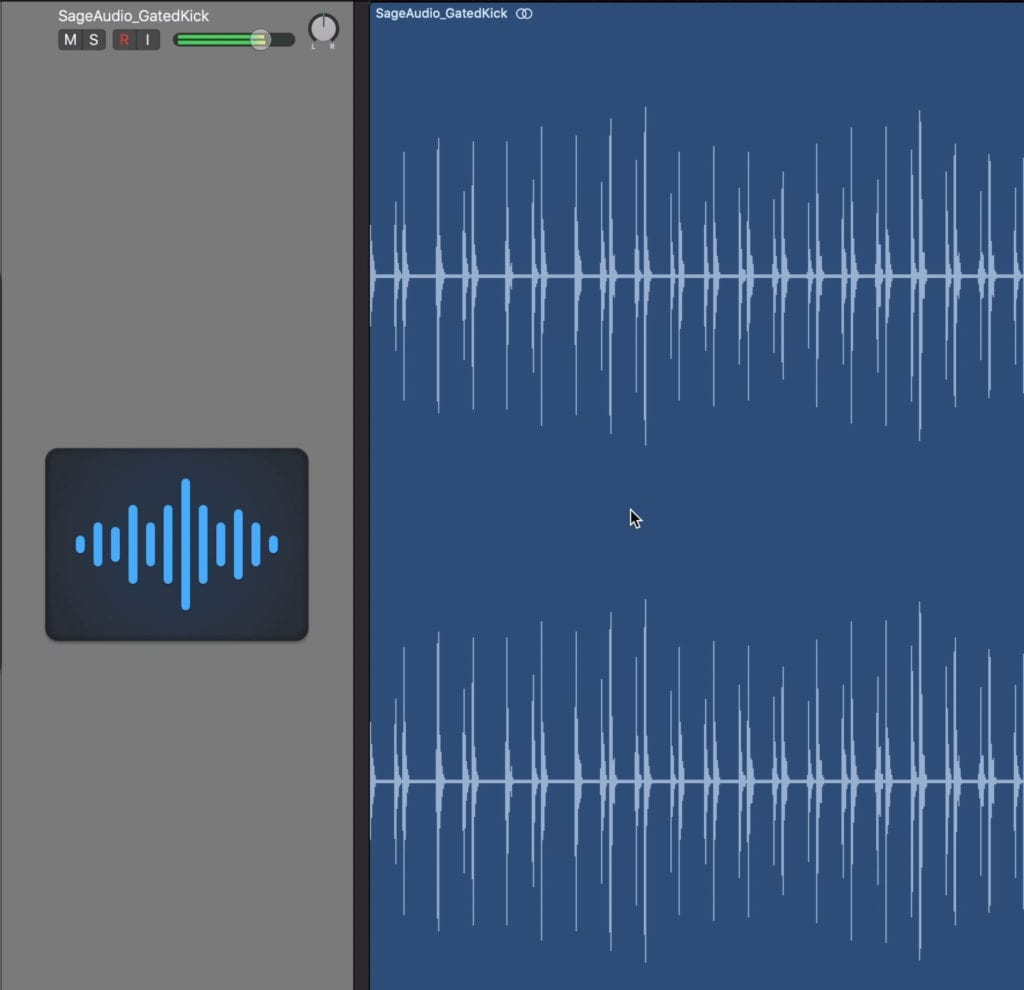
It helps if you gate the drum that you're trying to replace.
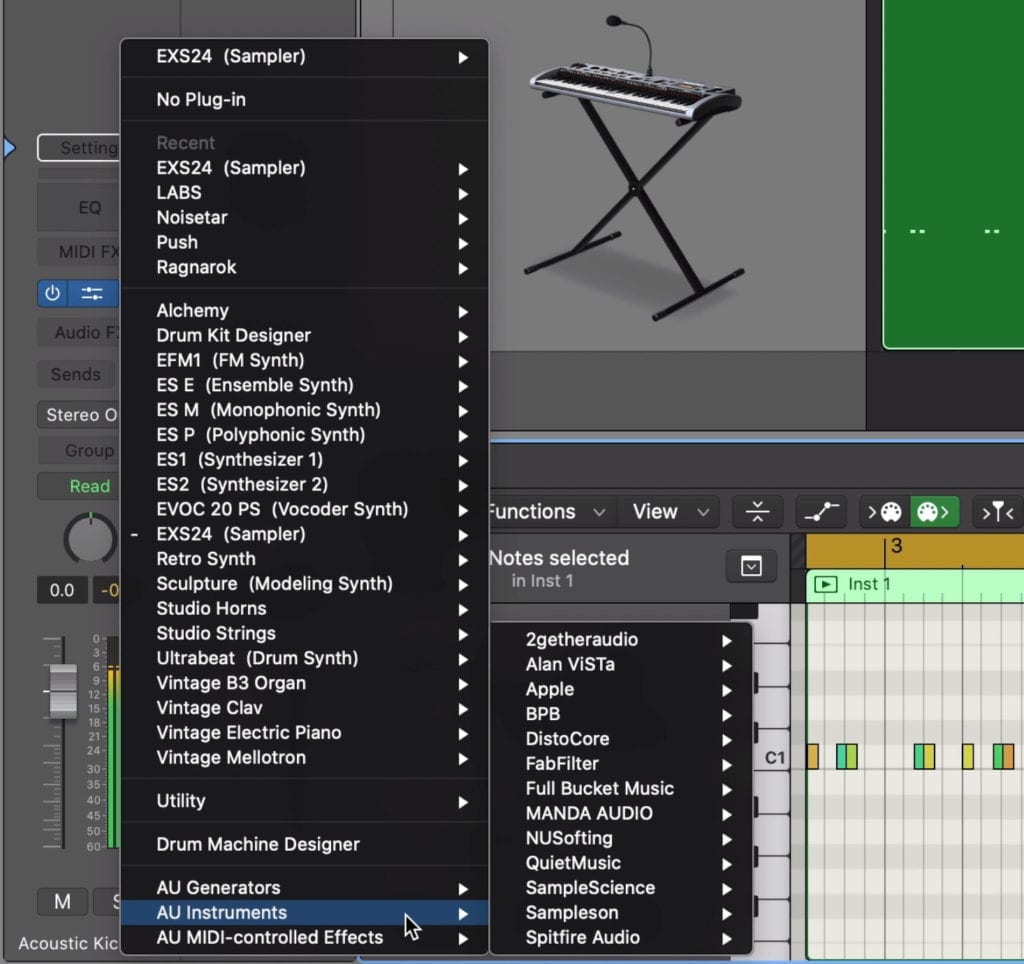
Step 2: Click on the drum track you want to replace, scroll to the top of your DAW, and click 'Track. '
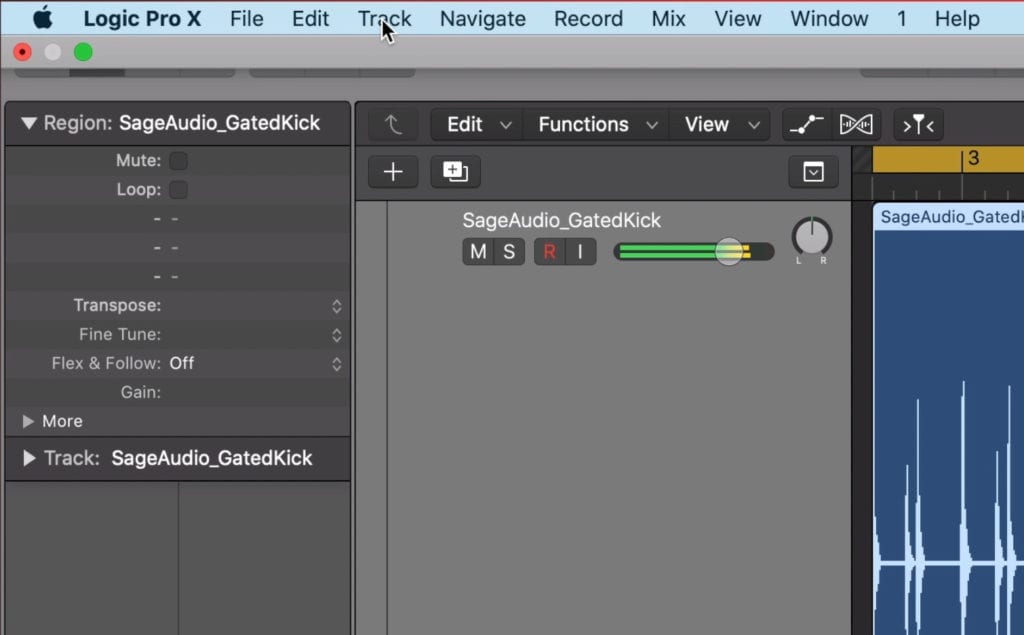
The top menu displays the needed track section
Step 3: Under the ‘Track’ menu, find and select ‘Replace or Double Drum Track.’
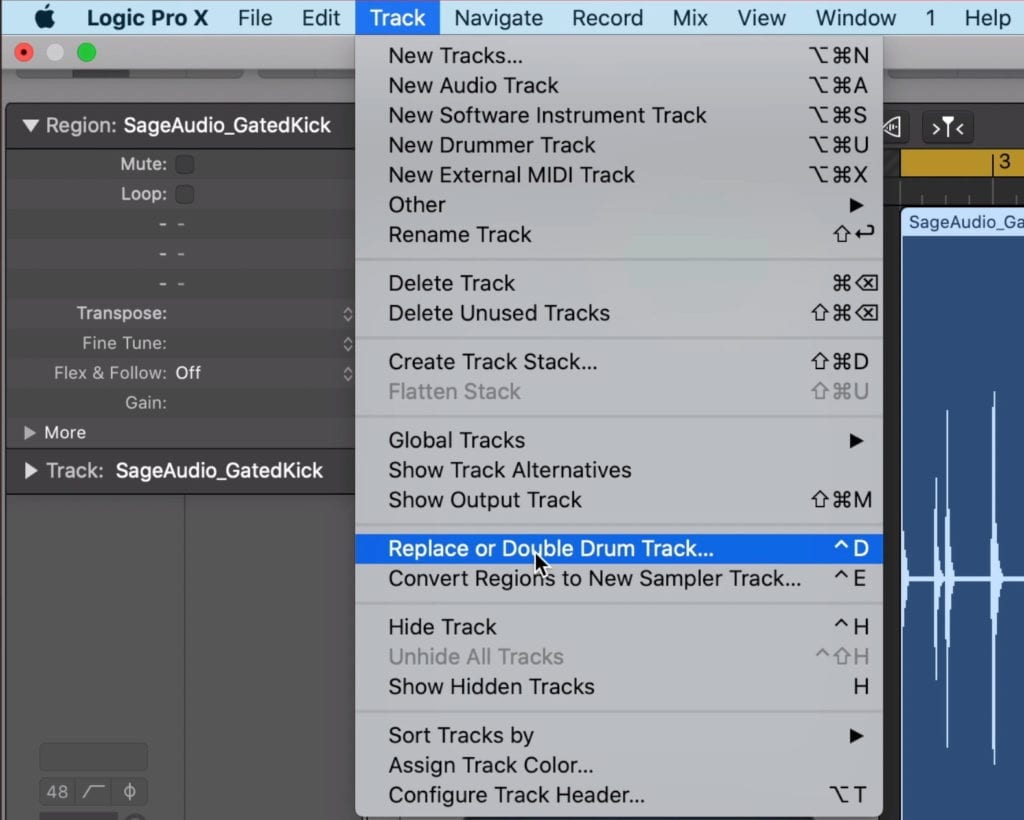
You can also use the shortcut for this process if you'd like
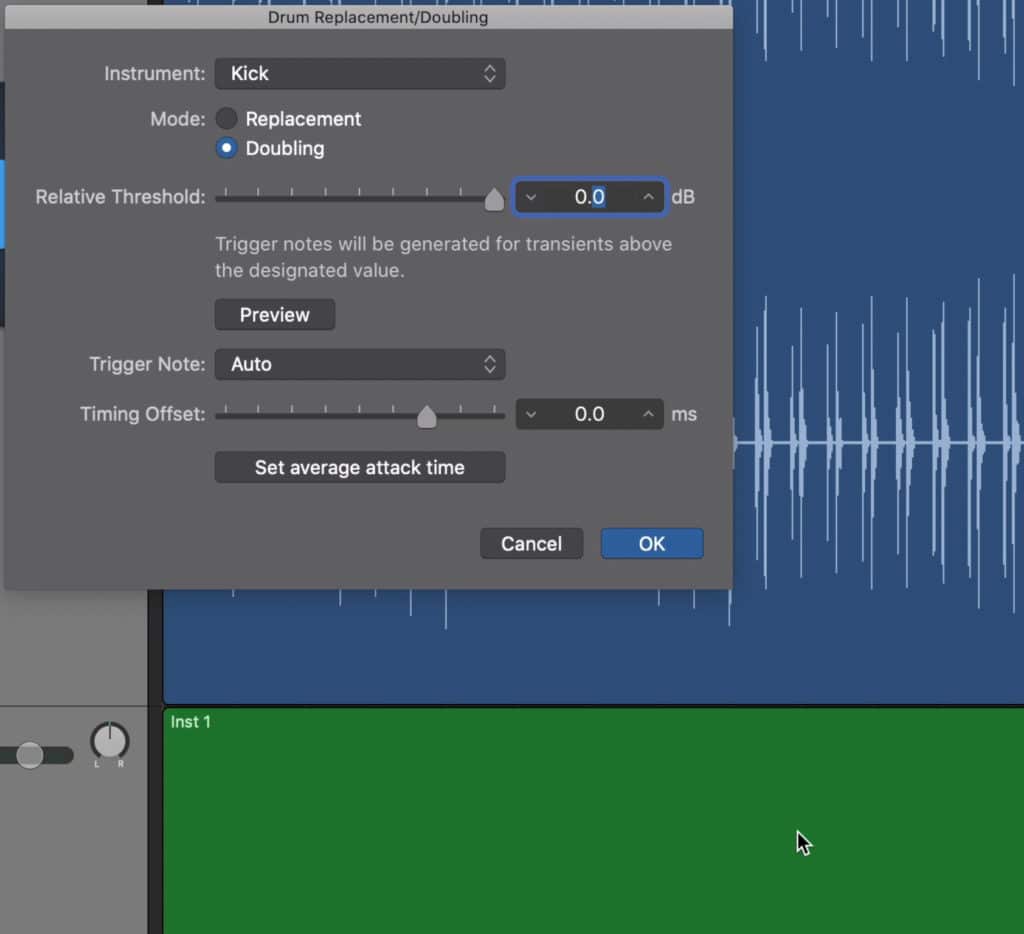
Step 4: With the replacement window pulled up, you can set the instrument type (in this case Kick) and lower the threshold.
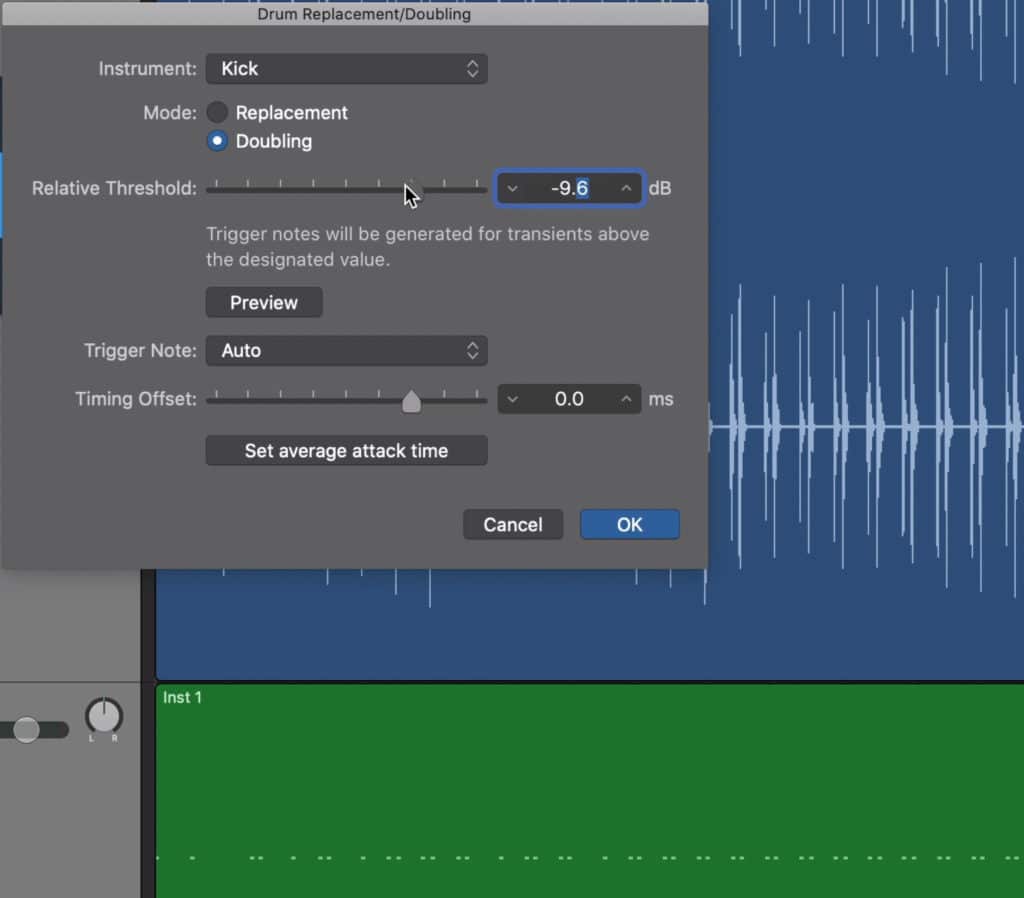
Lowing the threshold causes the trigger to detect any signal that peaks on or above that level.
Keep in mind that if you lower the threshold too much, the trigger will pick up sounds that aren’t the kick, in turn writing the wrong midi data.
Setting the ratio too high results in less midi data.
If you set the threshold too high or above the peak of your kicks, the midi data won’t be written at all, since the trigger won’t detect the signal.
Step 5: Listen back to the kick drum track and midi track, and delete any notes that aren’t correct.
Step 6: Alter the sample used for your drum replacement track with any sampler or synth that has the sound you want. Then blend your original drum and sampled drum, or simply replace your original drum track with the sample track by muting or deleting the old drum track.
You can switch the sample used for your new midi data.
You can now treat this midi data like you would any midi data - i.e. change the velocity, introduce quantization, delete notes, and so on.
How you process your drum tracks is up to you and depends on the mix, but getting the sample in tandem with the original signal is the first step to mixing an already recorded instrument with samples.
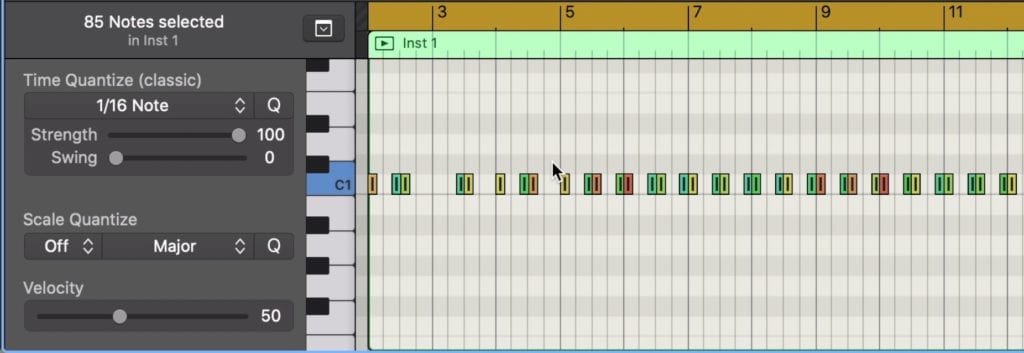
This midi data can be quantized and affected in other common ways.
Although drum replacement works best on drums, you can use this trigger for other purposes. Sometimes when writing and tracking I’ll clap my hands in a particular rhythm in the place of recording the actual drum, and then replace these claps with the drum sample that the part was written for.
Whatever the case may be, use this method whenever you want to quickly replace or double a recorded track with midi data.
If you’re working on a song with drum samples, check out our video and blog post on drum bus compression:
It showcases how to collectively compress drum tracks to achieve a particular sound.
How to Make Samples Sound Less Digital
The best way to make samples sound more realistic and less digital is to process them using analog equipment or analog emulation plugins. When making your samples sound less digital, process them in a very particular order - one that emulates how they would have been recorded.
You can make digital samples sound more real or authentic by emulating how they would've been processed in a recording studio.
If you’re using samples that don’t sound real, or don’t sound like they were recorded in a studio, but instead sound like they were synthesized, this is definitely a problem. There’s nothing more frustrating than realizing halfway through production, that most of your instruments sound fake.
Fortunately, there are some methods that can help with this issue.
We'll have to imagine the signal chain for the signal in order to get the emulation correct.
One of these methods is to imagine and emulate how a signal would have been routed had it been recorded in an all-analog recording studio.
To do that, we need to envision a sound source in a physical space, and then consider the order of equipment that recorded signal would be run through.
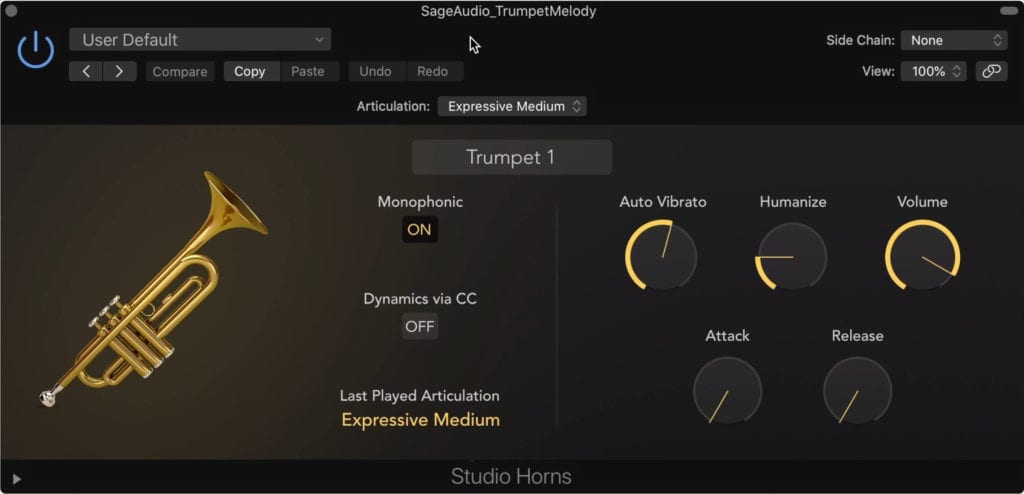
We'll use a not-so-great trumpet sample for this example.
First , you’d start with the instrument in the room - let’s imagine a trumpet sample for the sake of our example.
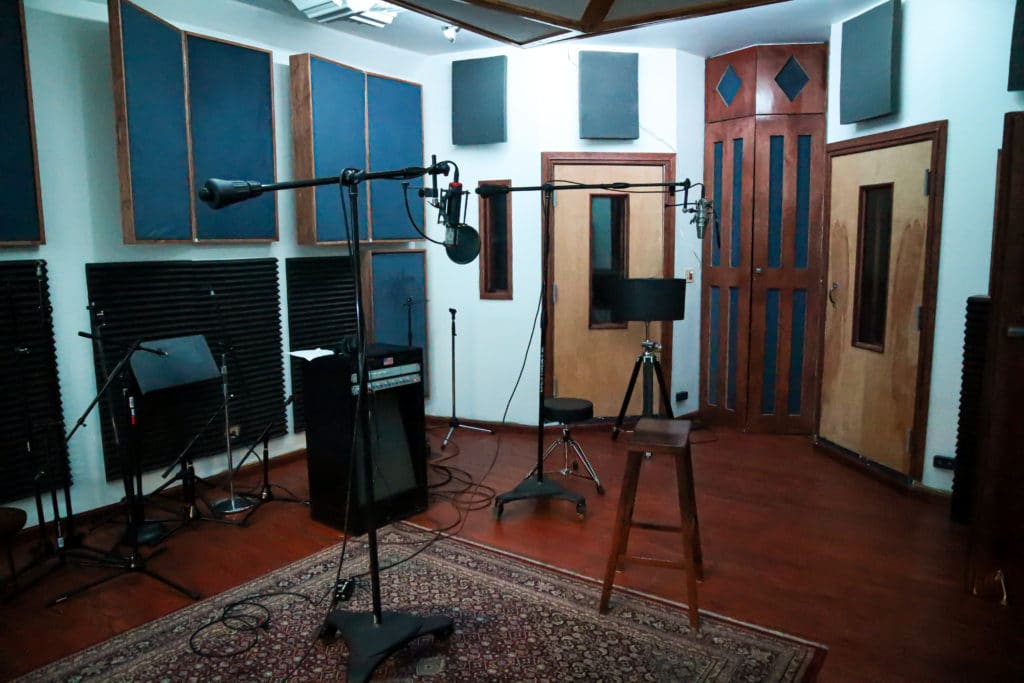
Imagine this trumpet in the studio, and envision what it would sound like with the room reflections and microphone placement.
What would this trumpet sound like in this room? It would probably sound like both the instrument and the room reflections of the space.
With that said, we know that a small amount of reverb should be the first part of the signal chain - a short reverb with a wet/dry rotary in the almost completely dry position.
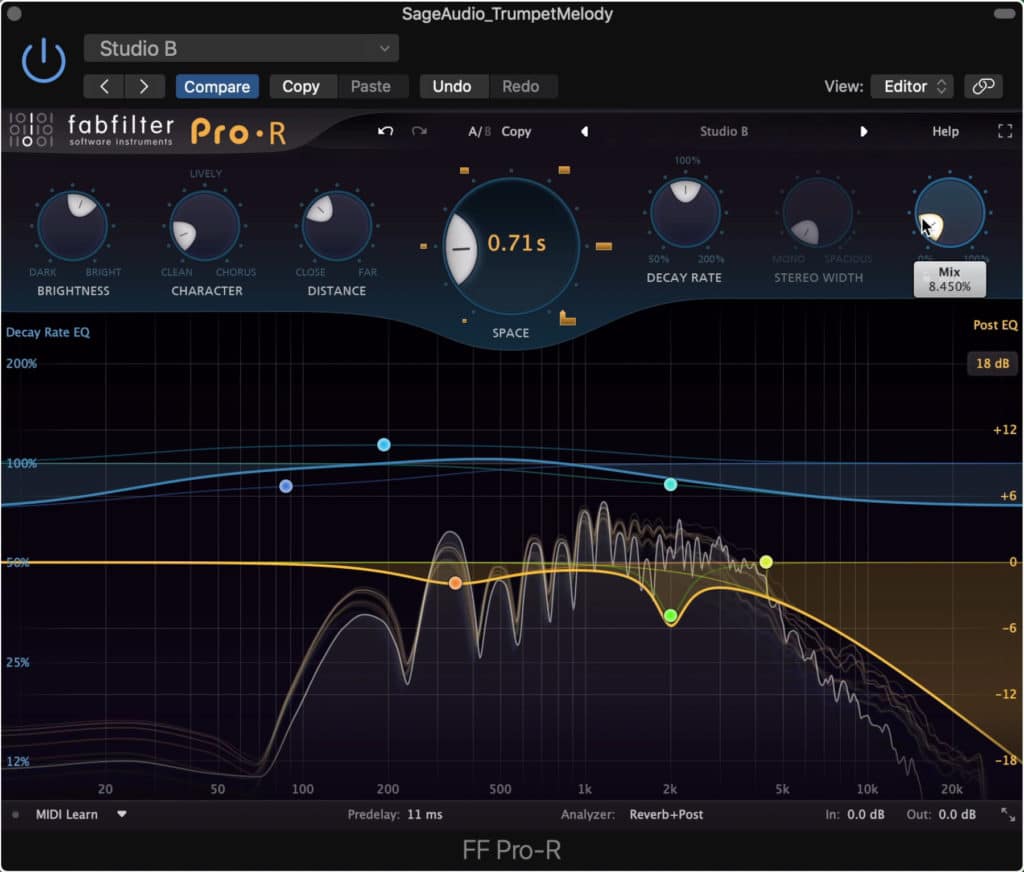
Use a very short reverb to emulate the sound of the studio in which the signal was recorded.
Second, the signal would be routed through an analog soundboard, and processed by each subsequent stage of a channel strip. With that said, a channel strip emulation plugin would be the next, most logical step.
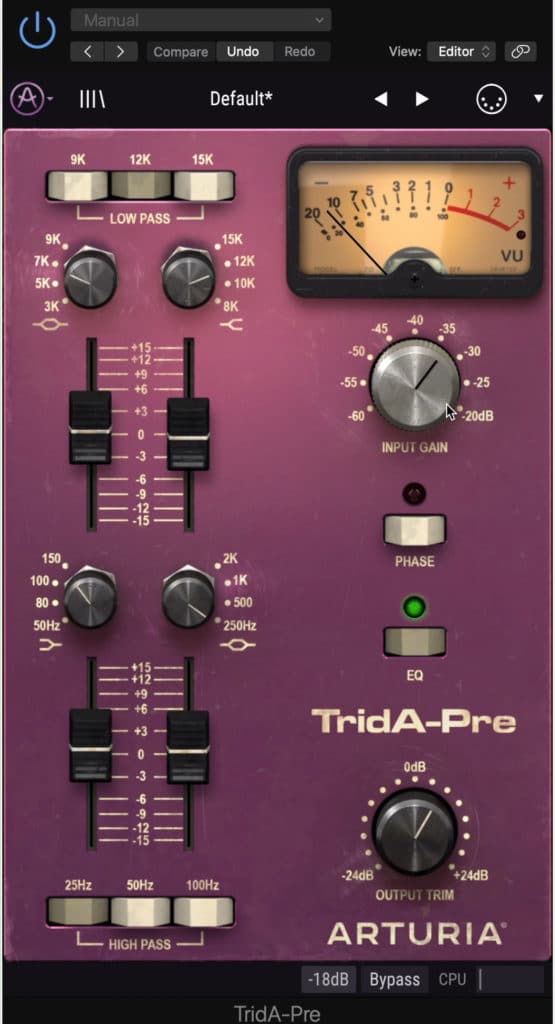
Use a channel strip emulation plugin to introduce some harmonics and characteristic indicative of a console's channel strip.
Third, the signal would most likely be routed from the soundboard or console onto a tape machine, where the signal is actually recorded and stored. A tape emulation plugin will do a decent job of adding some of the timbres a tape machine would impart onto the signal.
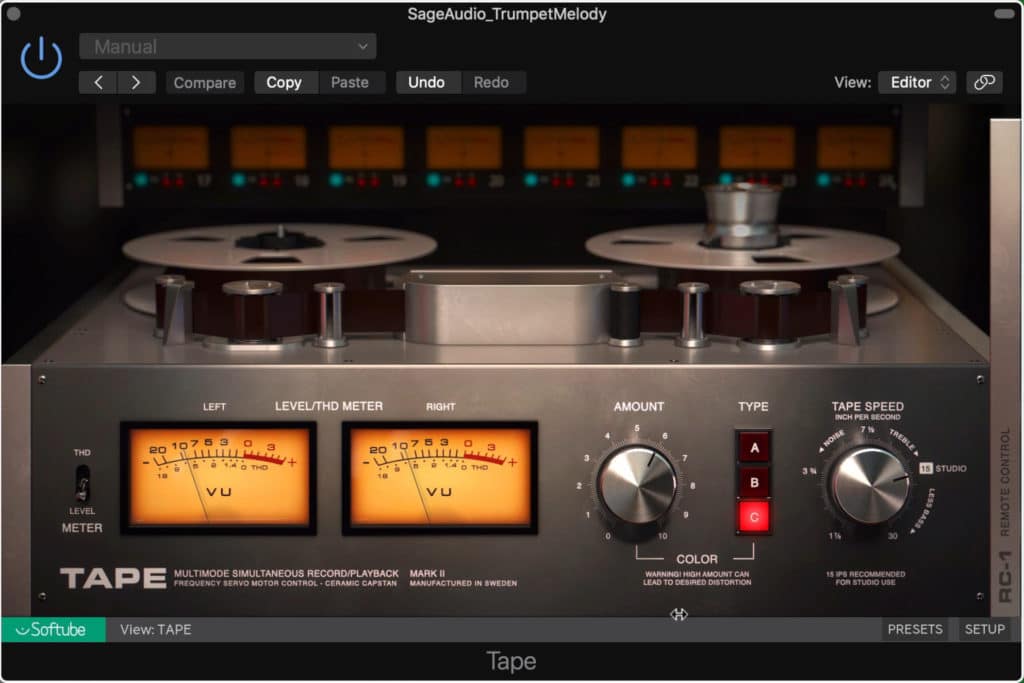
Use a tape machine plugin to emulate how the signal would have been stored in a classic recording setup.
So, in order, the trumpet is processed with:
- Short, studio room-based reverb - primarily dry signal
- Channel strip emulation
- Tape emulation
Here's the processing in order.
This way the snare sample now sounds somewhat like how it would sound if it was recorded in a room.
But let’s take this one step further. Let’s say we want this trumpet sample to sound as if it was recorded with two microphones, one close mic, and one room or ambient microphone.
How would we emulate this?
We already have our close mic setup, which is the track that we just worked on.
So next, we’d create an identical track from our original trumpet track - we should have two identical trumpet tracks now.
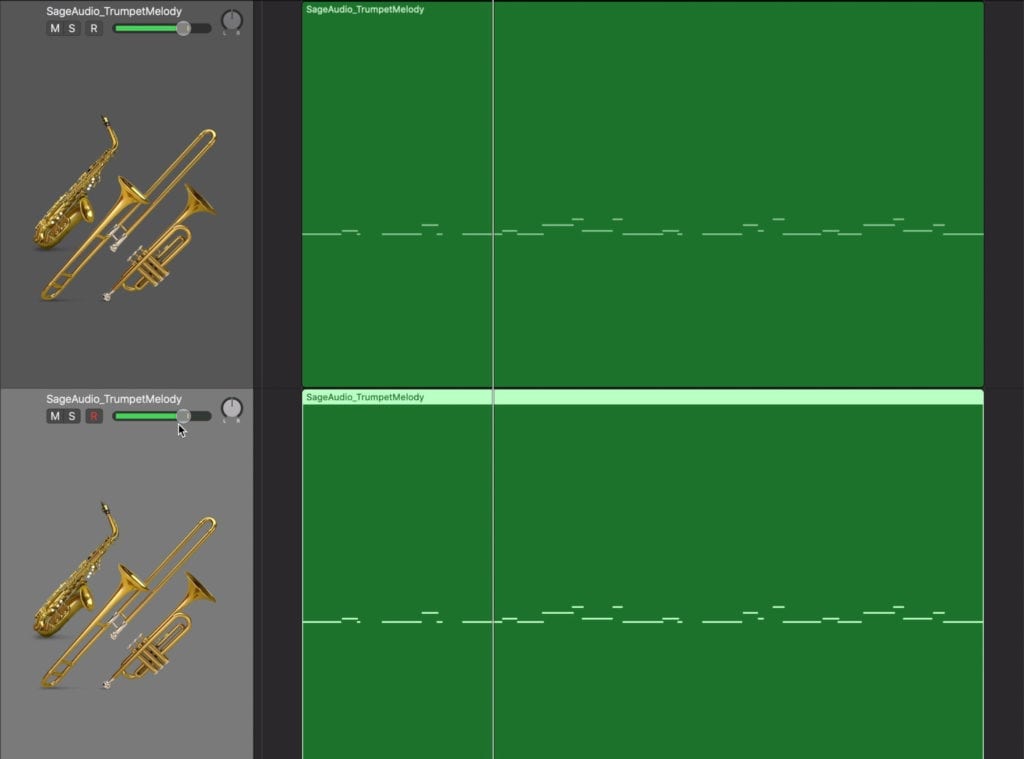
Double the trumpet. With the second track we can emulate an ambient or room mic placement in addition to the close mic placement.
Following the same logic we used before when creating the realistic signal, we’d have to imagine that a room mic is, as it’s intended to, going to pick up more room reflections and let of the actual impact of the drum.
We’d also know that this microphone would be farther away from the trumpet than the close microphone.
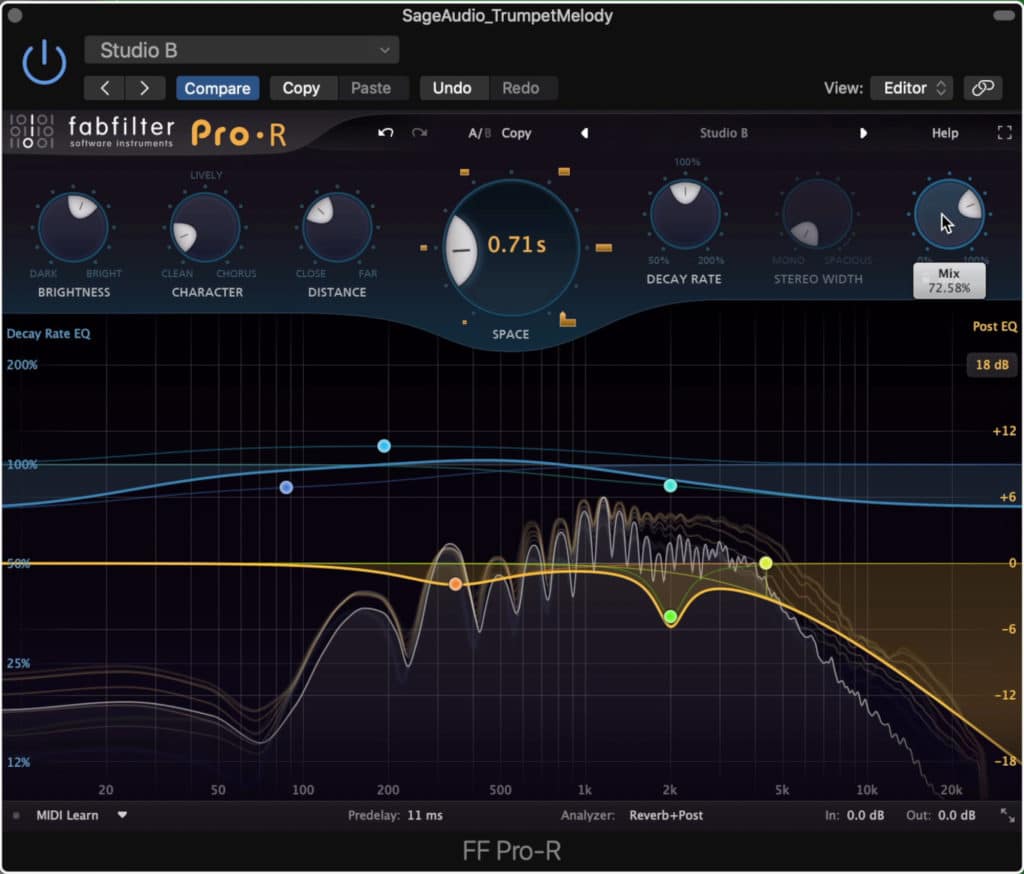
Increase the wet/dry rotary to nearly all wet to emulate the effect of the room mic.
With that said, we could use the same plugin settings as before, but adjust the wet/dry function of the reverb to have more wet signal than dry. This would emulate the microphone picking up the room reflections more than the actual signal.
The rest of the processing would follow in a similar fashion to the close mic trumpet.
So, in order, the room microphone trumpet track is processed with:
- Short, studio room-based reverb, primarily wet signal.
- Channel strip emulation
- Tape emulation
With these two tracks created, blend the ambient track in with the close mic track until you create a blend that you like.
Check out the video embedded above if you’d like to hear an audio example of this form of processing on a fake-sounding midi trumpet, and to watch this process step-by-step.
If you’d like to learn more about digital processing, and how it can be made to sound analog, check out our video on distortion and saturation - two forms of processing deeply related to analog:
It offers a lot of technical and practical information on the topic.
Additionally, if you find this method to work, and you’d like to hear how analog processing can give your full mix a more realistic and impressive sound, send it to us here:
We’ll master it for you using solely analog equipment, and send you a free sample for you to review.
How to Make Drum Samples Sound Real
Making drum samples sound realistic is one of the most challenging aspects of using samples - granted not all drum samples are designed to sound like a kit, but the ones that are often don’t sound genuine. Spatial processing and microphone placement emulation is key to making drum samples sound real.
Similar to the trumpet example discussed previously, using reverb reflections mixed with analog processing can take a dull and fake-sounding digital drum sample and make it exciting and believable.
In that regard, follow the same setup discussed previously, and you will have already accomplished a lot.
But drums aren’t entirely as simple - whereas most instruments are recorded with 1 or 2 microphones , drum sets are recorded with upwards of 5 . In some instances, 10 or more microphones are used to record an entire kit.
With that said, these are things we’re going to need to try and emulate if we want real sounding drums. Although I won’t cover how to emulate every one of these microphone placements, let’s cover a spaced pair configuration.
How to Simulate A Spaced Pair Overhead
Simulating a space pair overhead configuration can be accomplished by sending all drum tracks to 2 separate busses, panning these busses hard left and right, and potentially introducing a minuscule amount of delay on one bus. Using advanced routing techniques this can be made more realistic, yet more complex.
You can use bus sends to emulate overhead configurations.
Let’s look at this in a step by step manner:
Step 1: Send all drum tracks to 2 separate busses. 1 bus will represent the left overhead and the other will represent the right overhead , so name these busses accordingly.
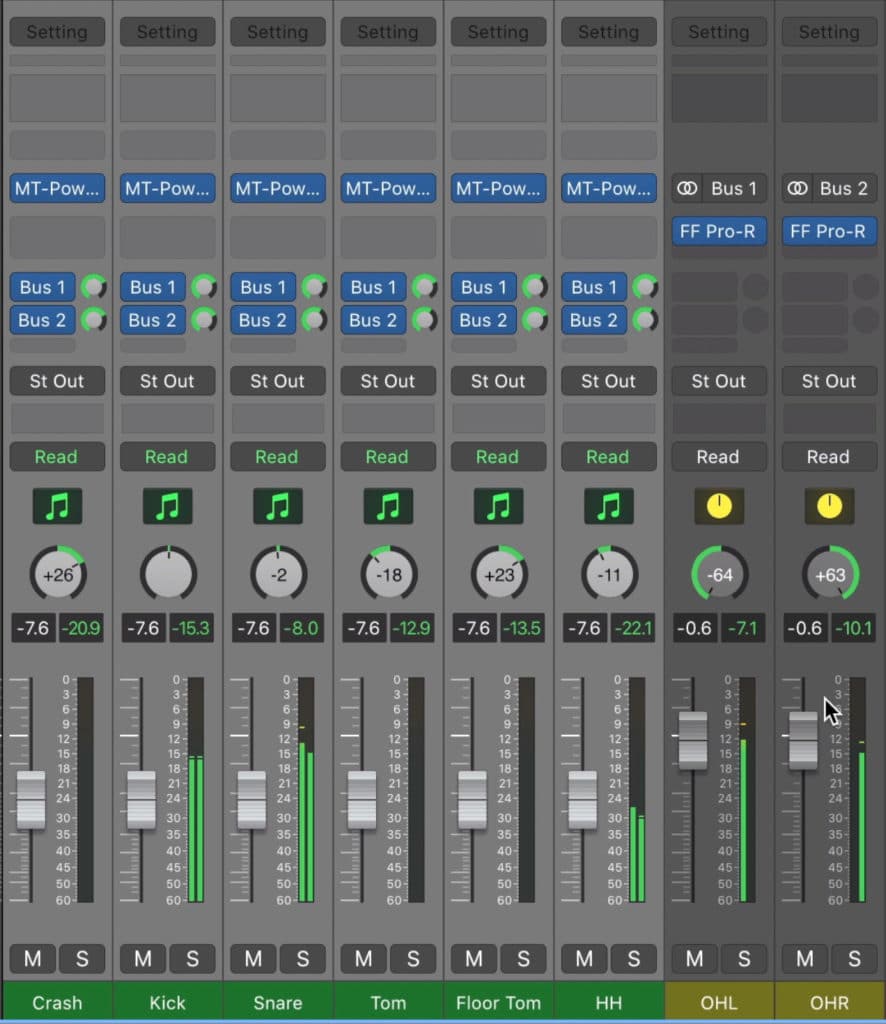
Send all drum tracks to 2 busses, 1 left and 1 right overhead.
Step 2: How much of the signal you send to the left or right overhead emulation bus depends on the distance of that drum from the microphone.
The two busses will need to represent how the signal is recorded by overhead microphones.
For example, a floor tom will be farther away from the left overhead microphone (in an audience perspective, right-handed drummer setup). As a result, you should send less of the floor tom sample’s signal to the left drum overhead emulation bus.
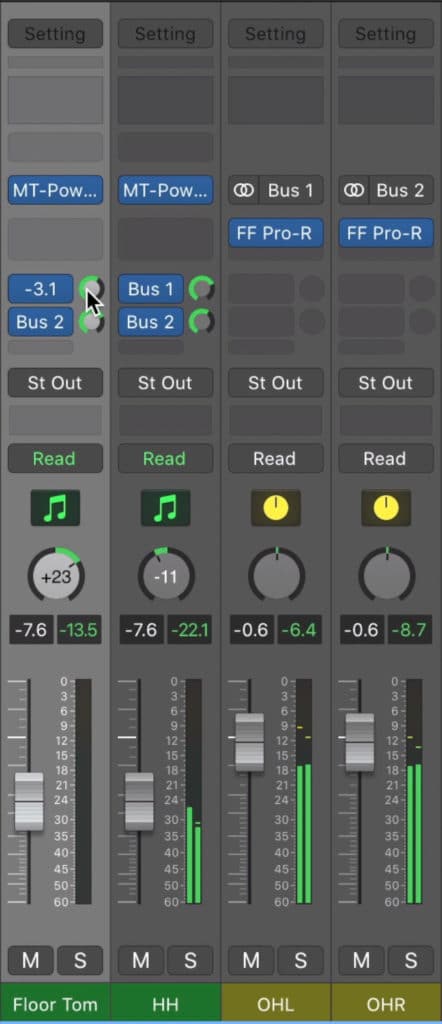
In this example, the floor tom would be farther away from the left overhead. To emulate this we'd send less of the floor tom to the left overhead bus.
The same could be said about the snare drum and right drum overhead emulation bus.
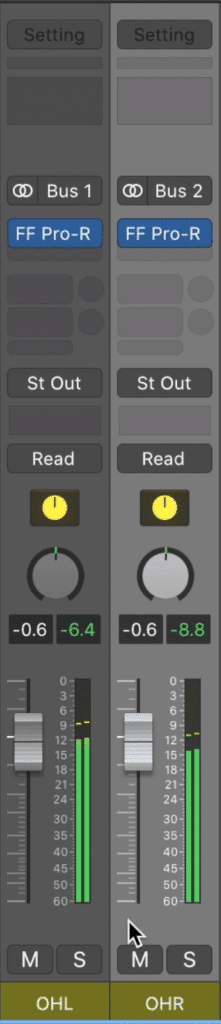
Step 3: Complete the process of sending all drum sample tracks to a drum overhead emulation bus, and then pan these busses hard left and right .
You should notice that the slight variations in amplitude amongst the two signals keep them from being identical. This works in our favor as it results in minuscule phase cancellation between the two , resulting in the expansion of the stereo image into the 180-degree stereo field.
The difference between the left and right overheads will cause beneficial phase cancellation and stereo expansion.
This same phenomenon would occur in a real spaced pair overhead recording.
Furthermore, you could introduce a very small amount of delay to one of the busses . This would simulate the natural delay or latency that would exist in the recording due to the varying distances between the drums and the microphones.
Granted, this cannot be emulated perfectly, as each drum’s signal would arrive at each microphone at a different time. Delaying one of the busses doesn’t accomplish this same delay; however, it is useful if you want to increase the stereo width of your drums.
If possible, keep this delay under 1ms - otherwise, the Haas effect will be created, and listeners will perceive the signal as coming from one direction or the other.
If you notice that using this delay causes this perception, then it’s best to avoid using the delay altogether.
Now that you have 2 tracks that represent your overheads, process these tracks as you would processing drum overheads. This means introducing bus compression, maybe some reverb, and so on.
Again, if you want to hear this for yourself, check out the video embedded above for a step-by-step and for some audio examples.
If you’d like to learn more about how we perceive sound signals, and the neurological and psychoacoustic effects that can be used to create panning, the perception of distance and so on, check out our blog post on the topic:
It offers a lot of great information and techniques on the topic
Conclusion
Mixing with samples can be a difficult task. On one hand, they provide a convenience unparalleled by other forms of audio production - on the other, they can often be easily recognized as samples , or not represent the sound you want.
Fortunately, there’s a lot of tricks and techniques that can be used to create realistic and impressive-sounding samples. These tricks make mixing with samples a lot easier.
Although we didn’t cover mixing in detail, and instead focused more on incorporating samples into a mix, this isn’t something to be too concerned about. If you know how to mix organic signals , and you know how to make your samples sound organic, then you can mix a track with samples .
In that regard, there isn’t a huge difference in making a song sound great with samples, and making it sound great with new recordings. As always, how you apply your processing will depend on a lot of factors, so objective and concrete directions for mixing can’t be given.
Hopefully, knowing how to incorporate samples into your track, and how to blend them in with your recordings will help.
If you’re working on a song that includes samples, and it’s ready to be professionally mastered, send it to us here:
We’ll master it for you and send you a free mastered sample of it for you to review.
Do you create productions with samples?


