Take Your Samples to the Next Level
Quick Answer
You can improve the sound of your samples by adding specific processing to them, based on which type of sample you’re using and the effects they may already have on them. Additionally, certain techniques such as midi-controlled samples and midi-effects can take your samples to a new level.
Take Your Samples to the Next Level in Detail
Everyone is using samples. Modern music truly consists of pulling pre-recorded sounds into a session and finding how they all work together.
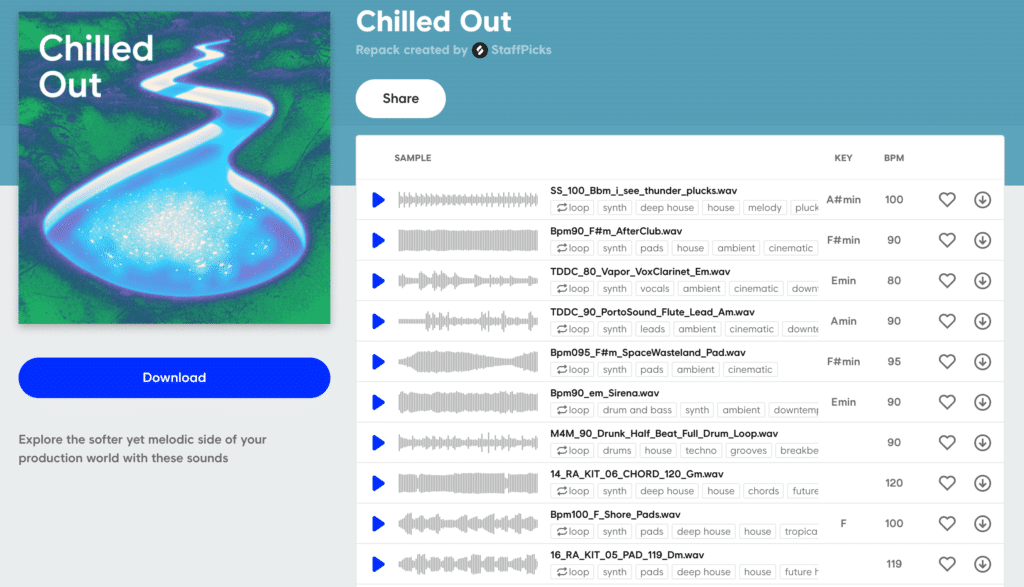
Sampling is becoming a more prevalent aspect of music production.
That said, making your samples stand out from the rest is crucial to creating a unique and impressive track, beat, or song. Regardless of the genre that you’re working in , improve the presence, depth, or sonic creativity of your samples is a good thing.
So let's look into how you can make your samples more impressive and ultimately improve the final sound of your sample-based song. We’ll be breaking things down into specific categories and based on the sample type.
We’ll be looking into improving your:
- Drum/Percussive Samples
- Melodic Samples (Guitar, Piano, etc.)
- Vocal Samples
We'll be considering the specific forms of processing you should be using to improve the sound of your samples. These forms of processing will include low-level compression, reverbs (both for creative effect and for thickening), delays, saturation, and formant and pitch-shifting effects.
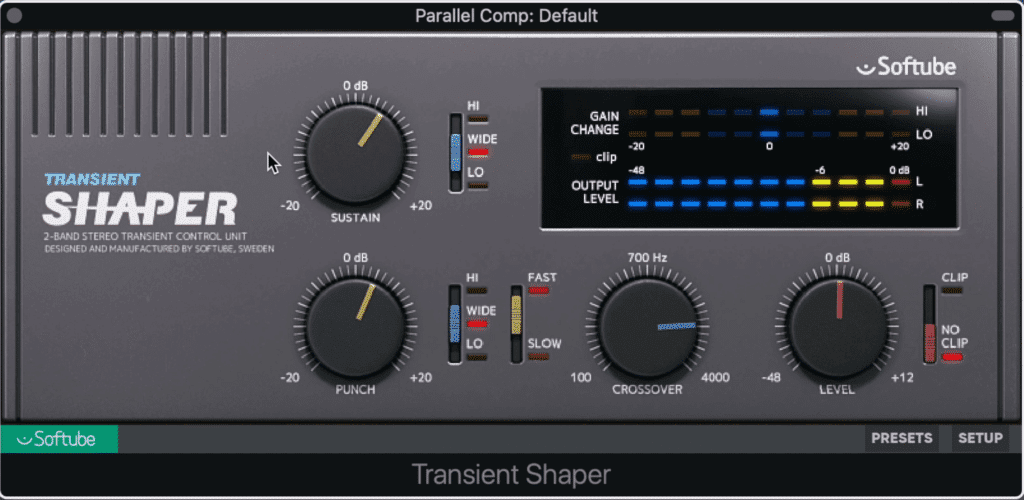
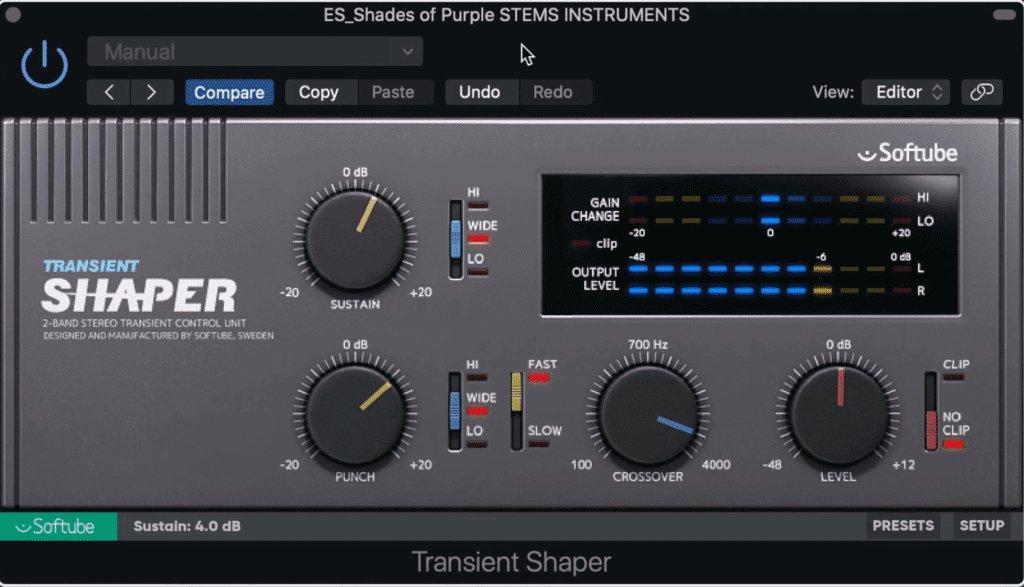
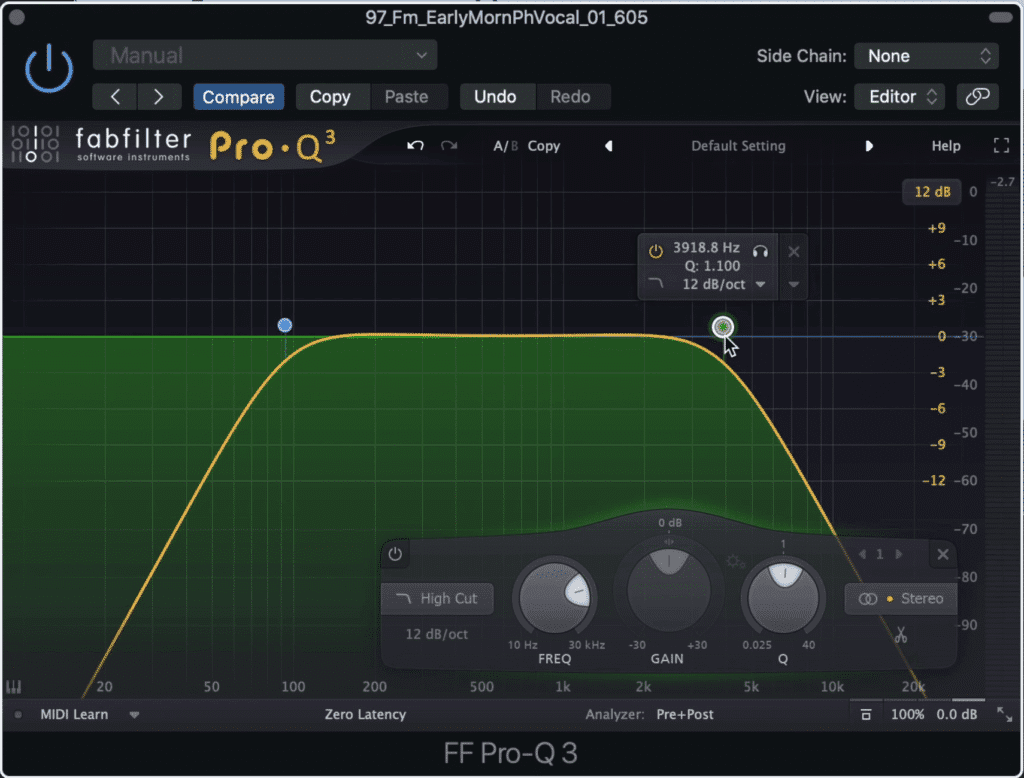
The Transient Shaper by Softube can be used as a great low-level compressor
Additionally, we’ll cover some midi-effects that make your samples sound more realistic and allow for greater control and creative expression. The three midi-effects we’ll be covering are chord-triggers, pitch-shifted midi-controlled samplers, and velocity-randomizers.
With an understanding of both the processing that makes samples sound great, and the tools to record samples in a unique or productive way, you should be able to take your samples, and your productions, to the next level.
If you have a song that you’ve been working on, and it’s time to get it professionally mastered, send it to us here:
We’ll master it for you and send you a free sample for you to review.
How to Take Drum Samples to the Next Level
Drums are the backbone of any track - that’s why they need to sound strong, upfront, and evoke a sense of immersion. Creating an impressive drum track can be accomplished using raw drum samples, but knowing how to process them properly will definitely get you there quicker.
Let’s look at 3 forms of processing and 1 midi-effect you can use to take your drum samples to the next level.
Low-Level Compression
Low-level compression isn't regular compression. Compression is mostly used to control dynamics by reducing peaks and transients - but when it comes to drum samples, this isn’t something we want to do.
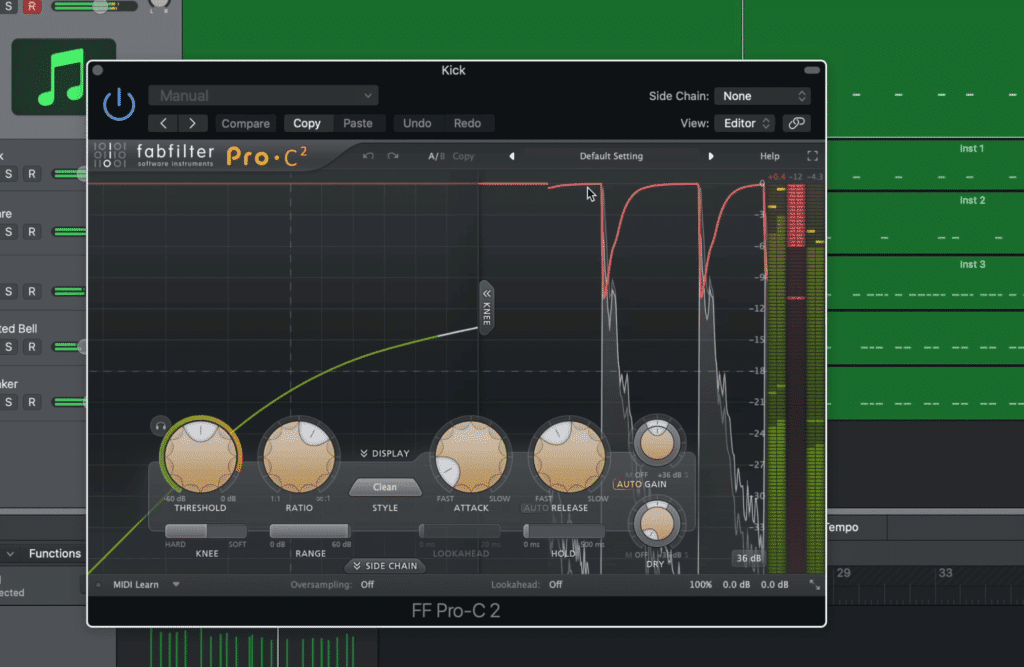
Low-level compression is not the same thing as regular compression, which is pictured above.
Most drum samples are already compressed in some way, making it unnecessary to apply additional compression.
Most drum samples have already been compressed and do not need further compression.
But low-level or upward compression is something different - upward compression takes the quieter parts of the signal and amplifies them . This makes whatever you’re compressing sound more upfront, impressive, and ultimately gives it a fuller sound.
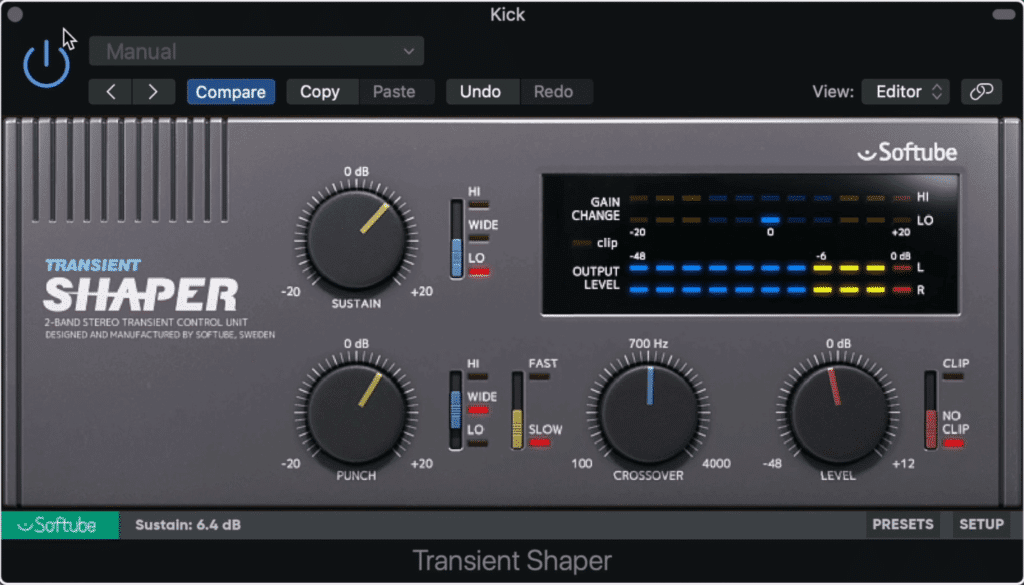
The sustain function on the transient shaper can be used for low-level compression
You can accomplish low-level compression by using a low-level compression plugin like the waves MV2, or the Transient Shaper by Softube, or you can use parallel compression.
Both of these methods take the low-amplitude aspects of the signal and amplify them while maintaining the amplitude of the loudest parts of the signal.
Short, In-tempo Reverbs
Reverb is often thought of as an effect that makes something sound big, but it can also be used to make a signal sound full and well-rounded.
Shorter reverb times have a thickening effect. This effect is often used on drums to create an impressive sound.
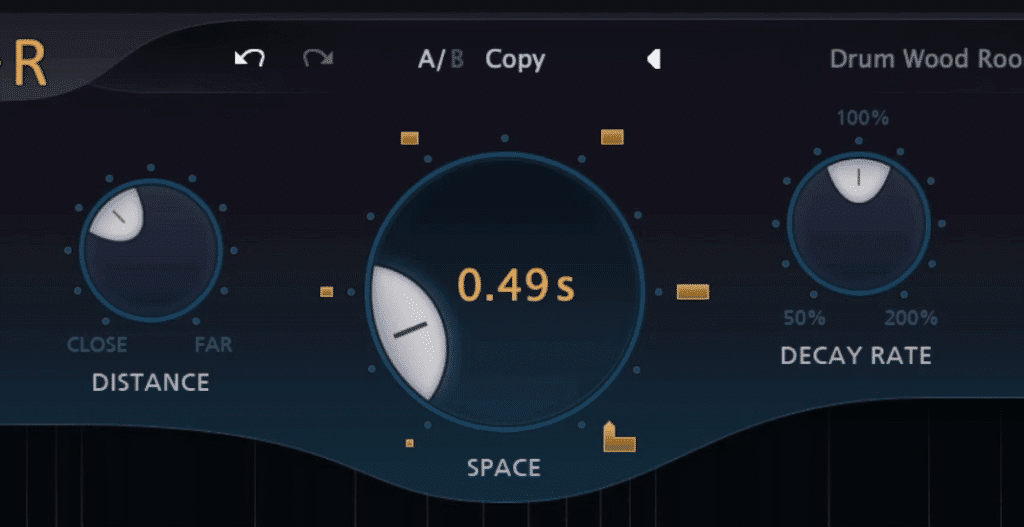
Shorter reverbs have a thickening effect that can be used on drums.
If you’d like to accomplish this effect you can use any reverb plugin and decrease the room size function or the RT60 to under 0.5 seconds.

Dampening the high-end of the reverb will cause the mid-range to stick out. This can make the drum sample sound fuller and more pronounced.
Accentuating the mid-range of your reverberated drum sample is also helpful. You can do this by attenuating the higher frequencies of the reverb.
Either your reverb plugin will have this functionality in the plugin itself, or you can implement it with an EQ after the reverb . For this second method, it’s best to send your drum sample’s signal to an auxiliary track and perform the reverberation and the equalization on that track.
Ping-Pong Delays
Unlike the previous two examples that were used to create a sense of fullness, ping-pong delays are used for a creative purpose. Although you can use ping-pong delays on anything you want to hear it on, it works especially well for high-frequency percussive elements like snares, high-hats, and claps.
Ping-pong delays should be set to the tempo of the song and should be modestly blended in with the original signal.
Granted, this effect can easily become excessive if you’re not careful, so it’s best to use a plugin that allows for a wet/dry function or to use the effect via an auxiliary send. This way you can easily control how much of the signal is delayed.
In case you haven’t come across a ping-pong delay before, in short, it alters the delay between the left and right stereo channels , to create a sense of bouncing back and forth - hence the name “ping-pong.”
Try a short delay with a ping-pong effect to see if this type of processing benefits your drum sample.
Midi Note Velocity-Randomizer
If you’re using a midi-sampler to write your drum part, then this midi-effect can really come in handy. Perhaps you’ve noticed that when you right your drum parts, all of the notes sound the same.
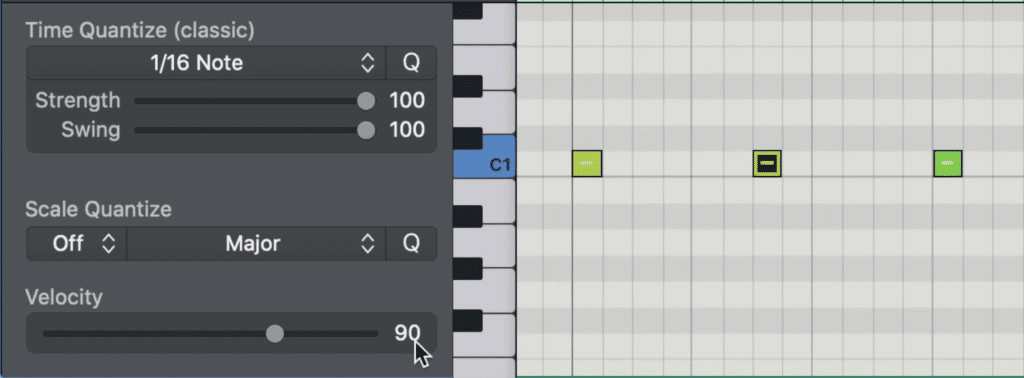
Notice the velocity of the sample under the cursor. This determines the intensity of the sample.
This is due to each sample having identical or nearly identical velocities.
Midi velocities are essentially the force with which a note is being stuck, which in turn tells the computer to either play a quieter sounding sample, or a louder sample that more closely mimics how a harder hit drum, key, etc., would sound.
When people play, the intensity with which they hit notes or strike drums changes over time.
When people play an instrument, more times than not, the intensity with which they play varies. If you want to mimic the sound of a real person playing the instrument instead of it sounding like a sample, you can either manually alter the sample’s velocity, or you can use a midi velocity-randomizer.
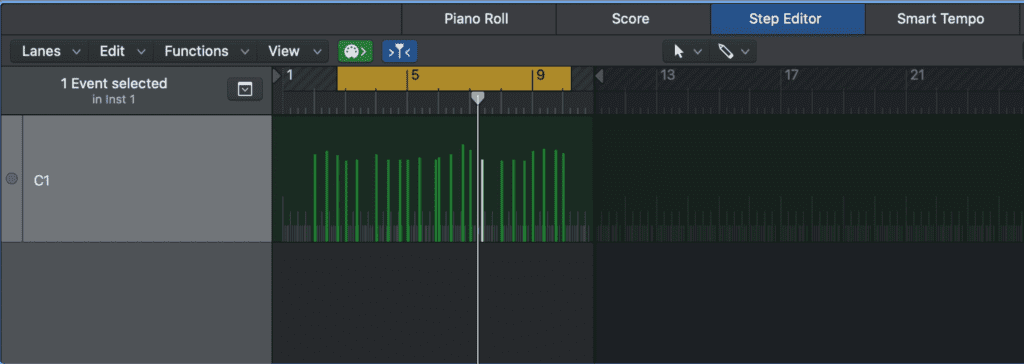
You can manually change your velocities in the step-editor window.
This midi effect can be used to create a range of velocities you want your signal to have, and then to randomize the velocity. This way you can quickly create a more realistic sounding performance.
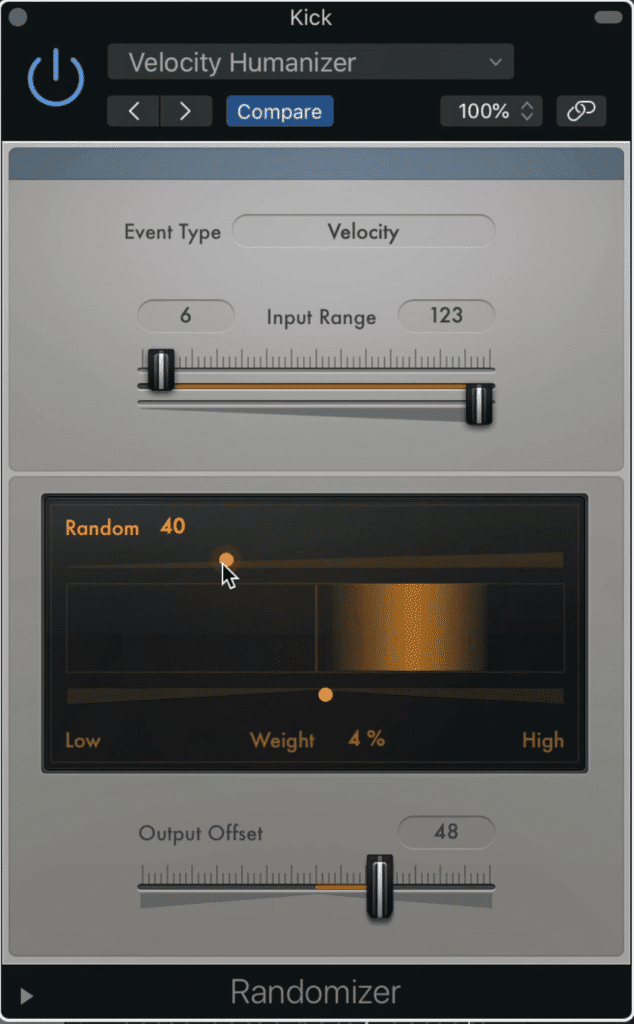
You can use this randomizer midi-effect to randomizer the velocity of your midi notes. The orange bar shows the range of the midi note velocities.
How to Take Melodic Samples to the Next Level
Although not as common as percussive or vocal samples, melodic samples are still an important part of a sample-based song. Whether they’re used throughout the entirety of a song, or in rare moments to create a unique transition, having a unique sounding melodic sample can augment your track.
Low-Level Compression with Saturation
Similar to what we were discussing before with drum samples, using low-level compression on a melodic sample can bring out the more nuanced aspects of the sample.
But more importantly, low-level compression makes a melodic sample stand out in a busy mix. This isn’t as much of an issue for drum samples since their sharp transients and specific frequencies help them pop, but for melodic samples and instruments , it can be easy to get lost.
That’s why it’s wise to use low-level compression and saturation to create a more upfront sound with your melodic samples.
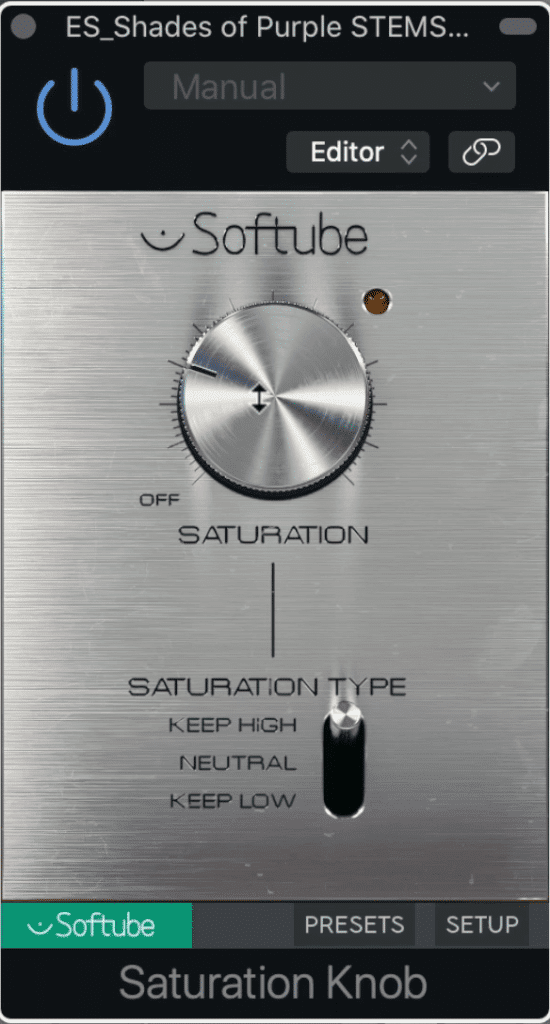
At lower levels, saturation greatly increases the intelligibility of a melodic instrument.
First, use a little saturation to distort and compress your melodic sample . This will add pleasant-sounding harmonics that create a fuller sound.
If saturation is followed by low-level compression, it can be made even more apparent.
Then follow this saturation with a low-level compressor. The low-level compressor will bring out the nuances in both the original sample and the harmonics that you just added to the sample, which in turn, makes both more perceivable.
Because the sample has all of these augment elements, it’s a lot more likely for it to stick out in the mix.
If you’re finding that your melodic samples are getting lost, or simply don’t pop as much as you want them to, try saturation followed by low-level compression.
If you’d like to learn more about low-level compression and how to use it to improve saturation, check out our video on the MV2:
It showcases the plugin as well as provides examples.
Formant and Pitch Shifting
Formant and pitch-shifting have become an increasingly popular form of vocal processing in the last decade, but they can also be used on other instruments to create a unique sound. Using pitch shifting and vocal formant altering is used in very much the same way it would be for vocals.
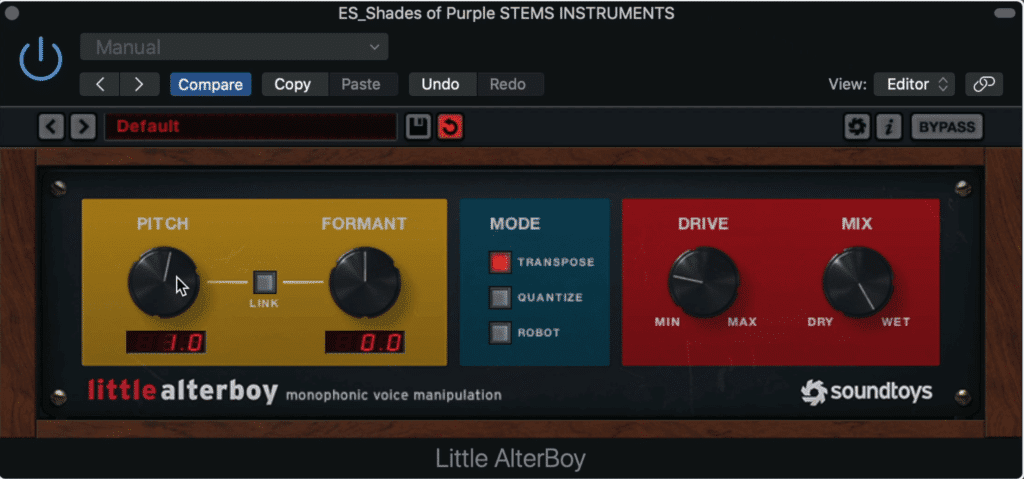
Formant and pitch shifting can also be used on melodic instruments.
Simply put, you can slightly reduce or increase a sample’s formant to create a realistic-sounding alteration, or you can do so dramatically for a highly stylized and unrealistic sounding effect.
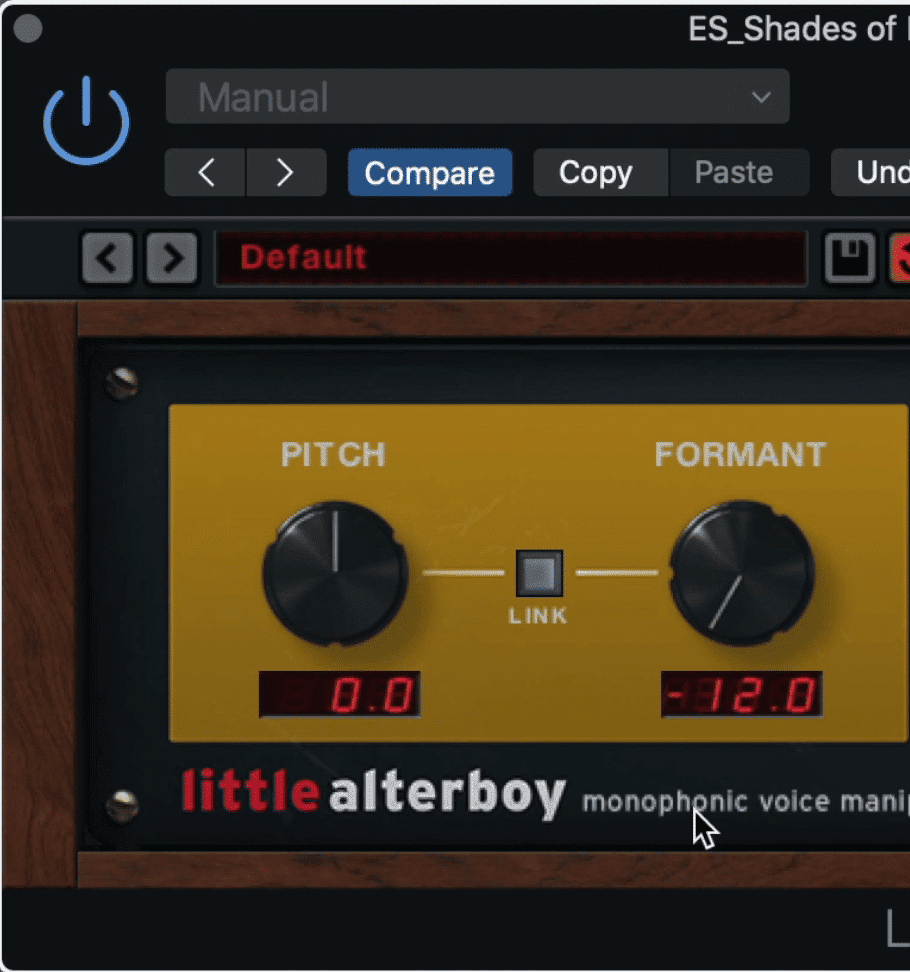
Greatly changing the Formant or Pitch will have a significant effect on the timbre of your sample.
The same goes for pitch shifting melodic samples. You can reduce or increase pitch slightly to change the tone of an instrument, or you can do so dramatically to create an entirely different timbre.
This effect works well when you want a melodic sample to serve as a transition from one section of a song to another. By altering the pitch and formant, you can create an attention-grabbing and unexpected transition.
Long and Short Delays
Like reverb, delay can be used for both practical and creative effects processing. When it comes to melodic samples, or you can use a short delay to create a fuller sound, or you can use a long delay to add a creative element to your mix.
Both long and short delays can be used for both practical and creative purposes.
When using a short delay, keep in mind that you’ll need to keep your delay under 135ms. The reason being, once a delay is greater than 135ms, the original signal and the delayed signal are perceived as two separate signals instead of one.
By keeping the delay under 135ms, you create a sound that is louder, fuller, and perceived as one signal.
Keep your short delay under 135ms to ensure the signal is perceived as one signal, not two.
A longer delay, one that is greater than 135ms can be used to creatively. When using a creative or long delay, it’s best to keep the delay in-time with the tempo of your track.
Most plugins have a tempo function, but if yours doesn’t simply divide 60000 by the bpm of your song to get a quarter note in milliseconds.
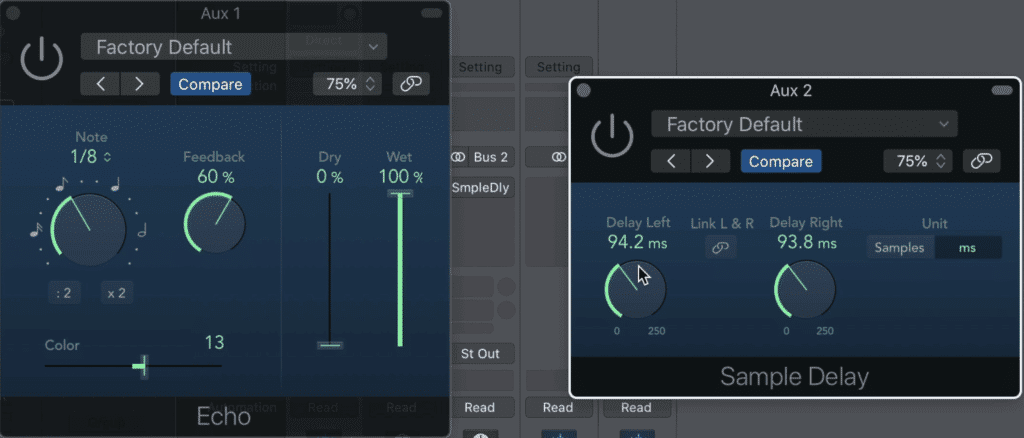
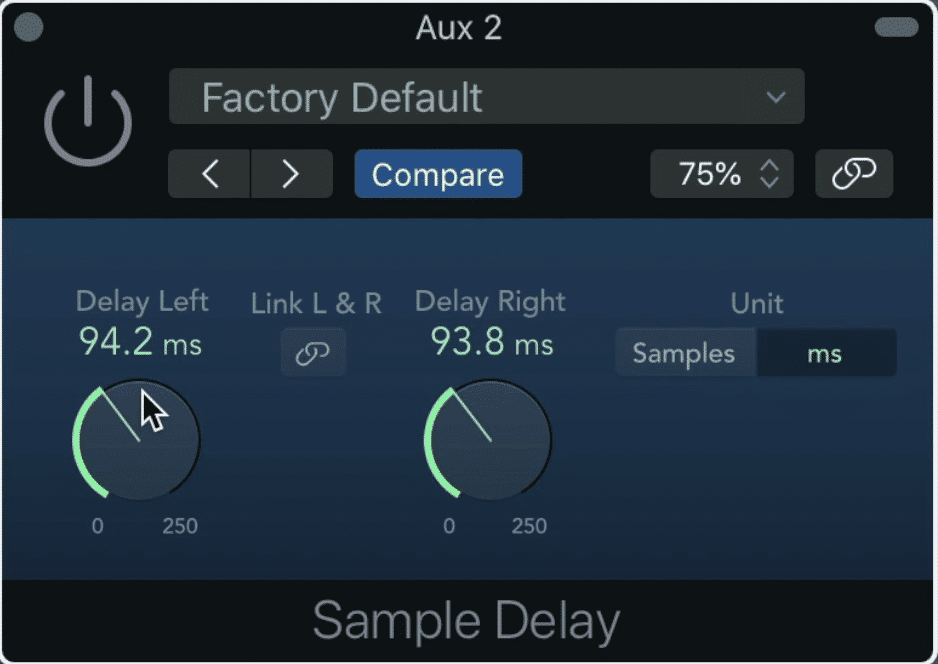
Lastly, if you’d like to make your melodic sample sound wider, you can use a sample delay and delay only one channel. Doing so causes phase cancellation that can greatly widen the stereo imaging of your sample.
If you’ve been using samples to create a track, and you’d like to hear it mastered, send it to us here:
We’ll master it for you and send you a sample for you to review.
How to Take Vocal Samples to the Next Level
Whether used for the hook of a song, as a percussive element or to transition a song section to another section (think Bound 2 by Kanye West) vocal samples are a cornerstone of producing a song with samples. That’s why knowing how to process vocal samples is a must.
Whereas drum samples have been popular for decades, vocal samples or isolated vocal samples have truly come into their own within the past decade.

Vocal samples are becoming increasingly popular and more commonly used.
That said,we’re still trying to learn their full-capacity and discover all of the unique and perhaps unexpected ways they can be used to augment a song.
Although I can’t claim to know how to push the bounds of vocal samples, I do know that the foundation for a good sounding vocal sample is knowing how to process them, and knowing what tools to use to manipulate them.
For the sake of avoiding redundant information , just know that the forms of processing listed earlier can and should be used for vocal samples. For example, low-level compression can be used on any vocal that you want to sound full, complex, and stick through a mix.
Instead, let’s focus on some of the forms of processing and the tools we haven’t covered yet.
Pitch-Based Midi-Sampler
Vocal samples are often dragged and dropped into a session - but they can also easily be loaded into a midi-sampler. By loading your vocal sample into a midi-sampler, you can now play your keyboard or midi-controller and play/record multiple pitch-shifted versions of your original sample.
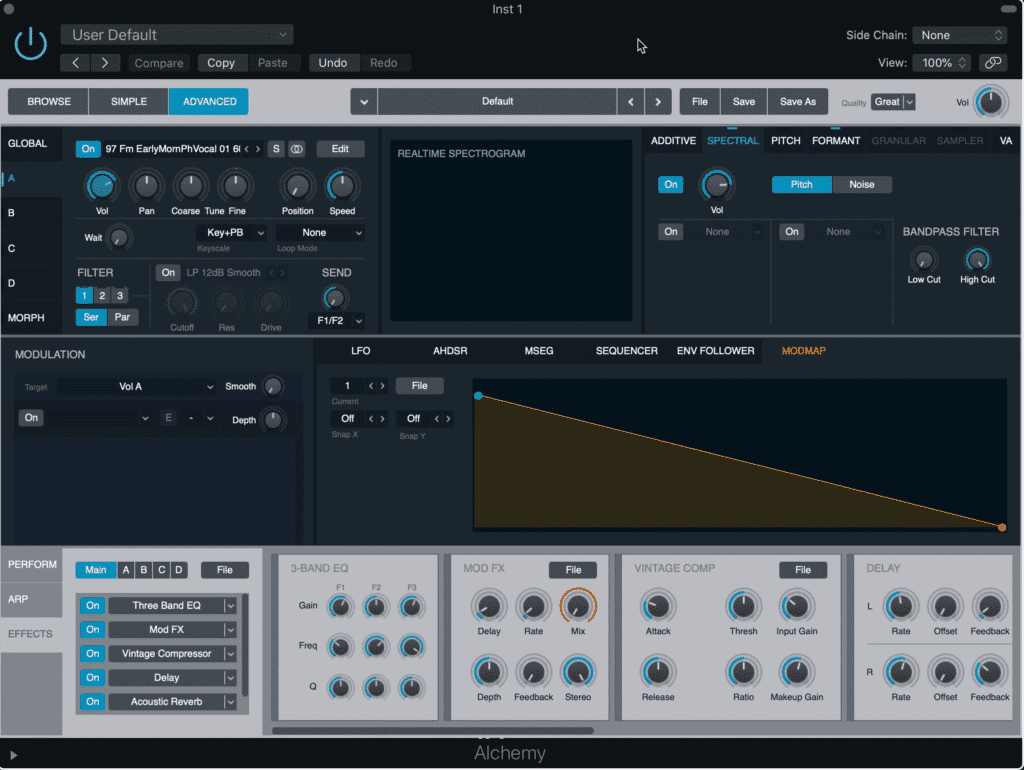
Alchemy is a stock midi-sampler from Logic Pro X.
For example, Alchemy is a stock sampler included with Logic Pro X. It allows you to take any audio file and load it into the program.
From here you can control the ADSR of your sample, some effects like distortion and reverb, and other parameters like volume.
In this midi-sampler, you can import audio. This makes it a great way to affect your vocal sample.
Once you’ve loaded your vocal sample into your midi-sampler, you can use another stock Logic Pro X tool to speed up your workflow and improve your production.
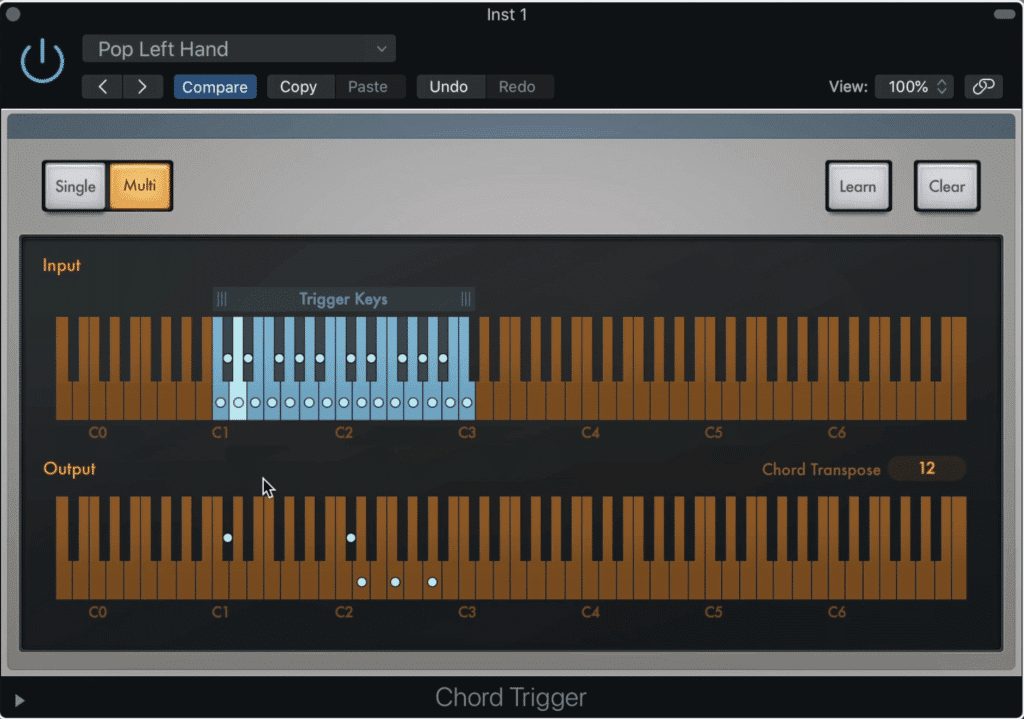
A chord trigger allows you to perform complex chords with just one press of your key.
A chord-trigger is a midi-effect that takes a single note input and creates a full chord. A chord-trigger can be set to various chord types and settings.
For example, if you’re creating a pop song, you can use the pop-chord voicing setting to easily create pop chords with the push of just one key on your midi controller.
With these two tools , you create a means by which you can have your vocal sample played as a chord and an incredibly easy way to generate these chords.
If you’d like, you can also affect your vocal sample prior to loading it into the sampler. This way you can alter your vocal’s formant, reverb time, delay, frequency response, or any other setting before turning it into a midi-controlled sample.
Lo-fi Processing
Creating a lo-fi sound can be utilized on percussive and melodic samples, but making a vocal lo-fi creates a special effect. Perhaps it’s because the vocal is the most easily perceived instrument, and altering that makes it stand out more than normal.
Regardless, making a vocal sample lo-fi is an easy and effective way to garner some attention for that sample.
The easiest way to accomplish a lo-fi sound is to cut out the high and low frequencies. This emulates the sound of earlier recording devices.
There are a few ways to do this that include equalization and distortion. Simply cut the low and high frequencies and introduce distortion or saturation, and you’ve created a lo-fi vocal.
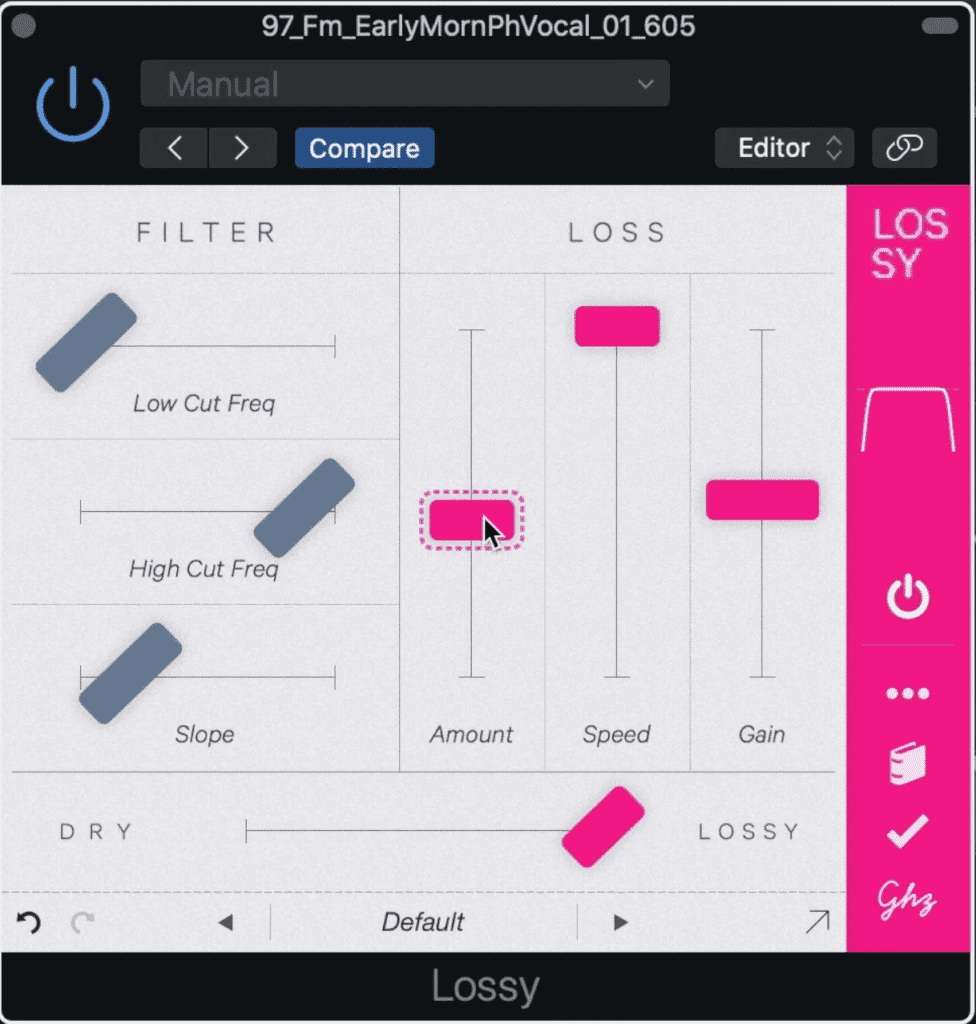
Plugins like Lossy by Goodhertz also introduce digital aliasing and bit depth distortions to create a unique lo-fo sound.
Additionally, you can use plugins like Lossy by GoodHertz to change the sampling rate and bit depth of a recording. This causes a form of lo-fi sound specific to digital processing.

One example of a digital lo-fi sound was used on Drake's track 'One Dance.' When listening, notice that the instrumental's fidelity has been downgraded to lossy quality.
This same effect was used in Drake’s hit track ‘One Dance’ on the instrumental to create a distinctive sound. Drakes producer ’40’ often uses digital lo-fi effects to create something different than other producers.
Try this effect for yourself and see if it improves your vocal samples.
If you’d like to learn more about producing a song with samples, check out our blog post on the topic:
It offers a step-by-step process for how to produce a song with samples.
Conclusion
As sampling becomes more common, differentiating your samples from the samples other producers are using will become increasingly important.
Knowing how to process these samples and use them more creatively is a start to achieving an individualistic mix.
Try using delay, low-level compression, reverb, distortion, and various midi-effects and controllers to create unique compositions and to augment your samples.
By trying some of the techniques and effects listed above, you can take your samples to the next level.
If you have a song that you’ve been working on, and it’s time to get it professionally mastered, send it to us here:
We’ll master it for you and send you a free mastered sample.
Do you use samples?


