How to Produce a Song with Samples
- Source your Primary Sample from a Hi-Res Source
- Isolate the Sample or Samples Your Want to Use
- Set the correct tempo for your session and use time correction if needed
- Layer in Your Percussion
- Layer in All Additional Instrumentation and Vocals
- Mix and Master Your Project
- If you Plan on Releasing the Song, Handle all Legal Aspects of Clearing the Sample
Sampling is a popular and useful tool for creating music. Although sampling is often discussed as a “shortcut” for creating beats and projects, in truth, sampling is an important form of creative expression that blends the old with the new.

J Dilla was one of the early adopters and pioneers of sampling.
That said, sampling has the power to make forgotten gems relevant and to establish a sense of timelessness within music.
Contrary to popular belief, sampling isn’t easy. Although its relatively simple to source a sample, incorporating that sample into your music in an effective and impressive way is a real skill.

Sampling is a challenging part of audio production.
Whether you want to create a sound like J Dilla, or you want to use sampling to create a more modern sound like Kanye or Bon Iver, follow along to understand how sampling is performed.
Additionally, it should be noted that all information provided here is done so under the assumption that the proper licensing and legal measures have taken place for sampling.
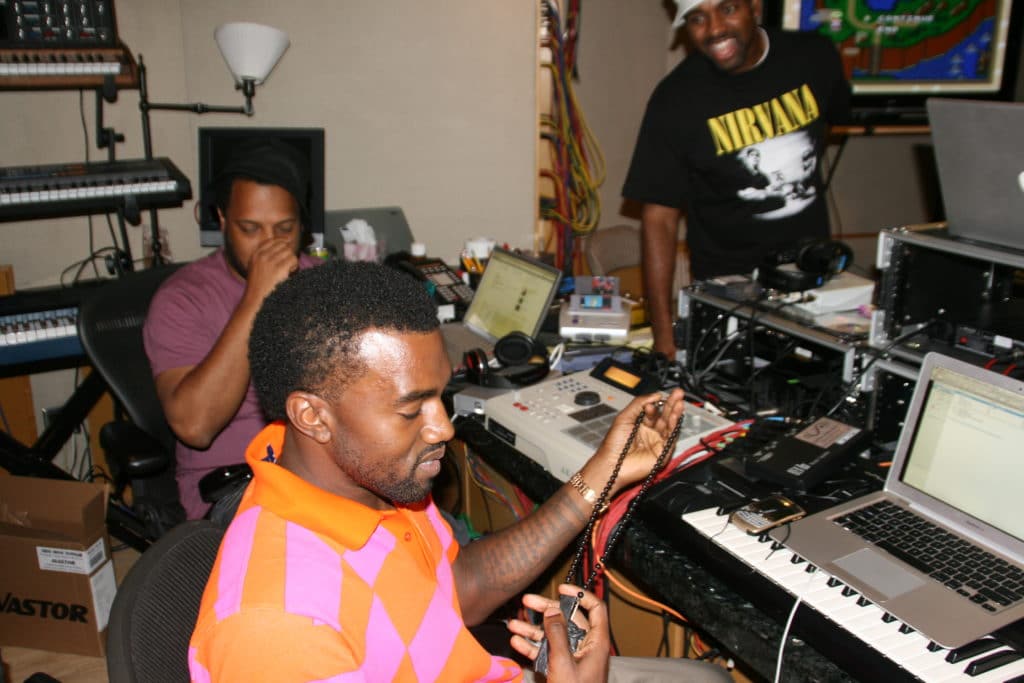
Kanye West has helped to popularize sampling. His albums have spurred new interest in the practice.
With that said, Sage Audio does not condone the illegal use of samples and/or any copyright infringement.
If you have a song you’ve created with samples, and you want to hear how it would sound professionally mastered, send it to us here:
We’ll master it for you and send you a free sample for you to review.
1. Source Your Primary Sample from a Hi-Res Source
More times than not, sourcing a sample is done incorrectly, or a least in a way that isn’t ideal. When sampling, engineers often use services like “YouTube to MP3” which converts the video file into a lossy audio file.
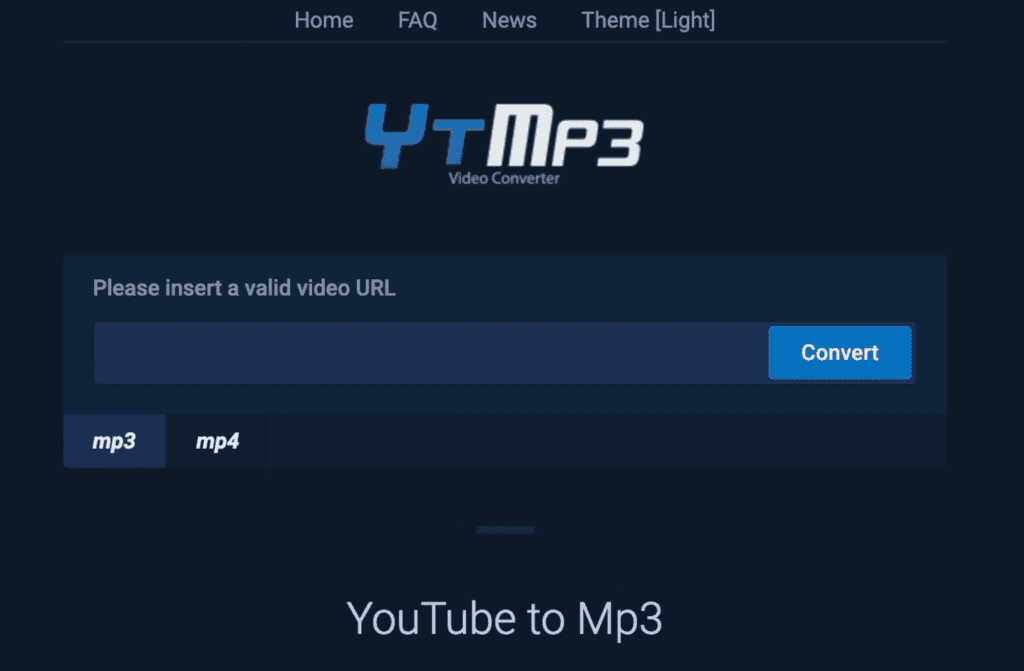
Although many engineers use sites like YouTubetoMp3, it should be avoided due to the low sound quality it produces.
When doing so, the file itself is a lower quality for multiple reasons . The first being, it is a lossy file - typically a low-resolution MP3. Secondly, the file has most like been distorted during both the upload and download encoding process.
Often times, the encoding process will cause peaking distortion. Additionally, converting the file type to a lower resolution MP3 can cause unwanted aliasing and phase cancellation.
With that said, pulling your sample directly from YouTube or a similar site isn’t ideal sonically speaking.

Although an older technology, CDs contain WAV files, which are great for sampling due to their quality.
If you want the highest resolution possible, you need to source your sample from a high-resolution file or medium.
That’s why we recommend either recording your sample into your session directly from a Vinyl Record, CD, or other higher resolution medium - or obtaining a PCM file (WAV, AIFF) or a lossless file (FLAC).
If you use streaming services, one easy option is to route the audio from your computer into your DAW - with certain precautions in places. Let’s look at this process step-by-step:
Step 1: Using Tidal as a means to access FLAC files, route your signal from your interface’s output, to your interface’s input.
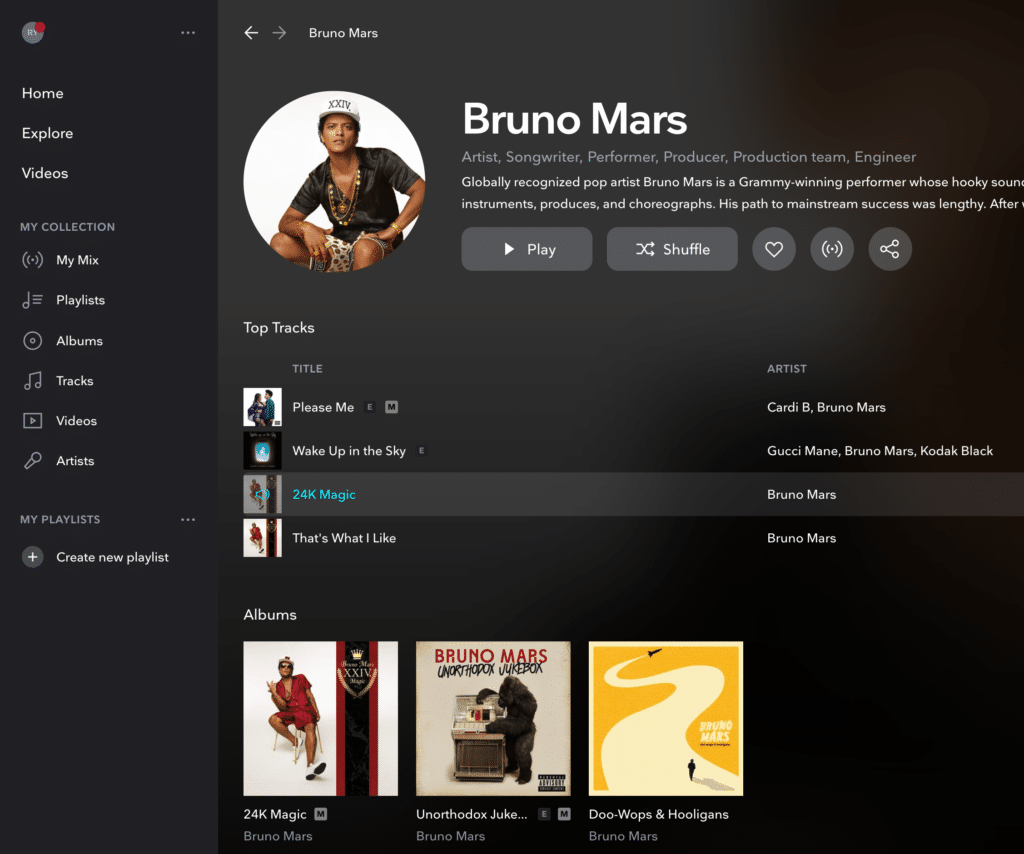
Tidal uses FLAC files which makes it great for sourcing samples.
Step 2: Be sure that your streaming settings are not ‘Normalized.’ This way the dynamics of your sample are preserved.
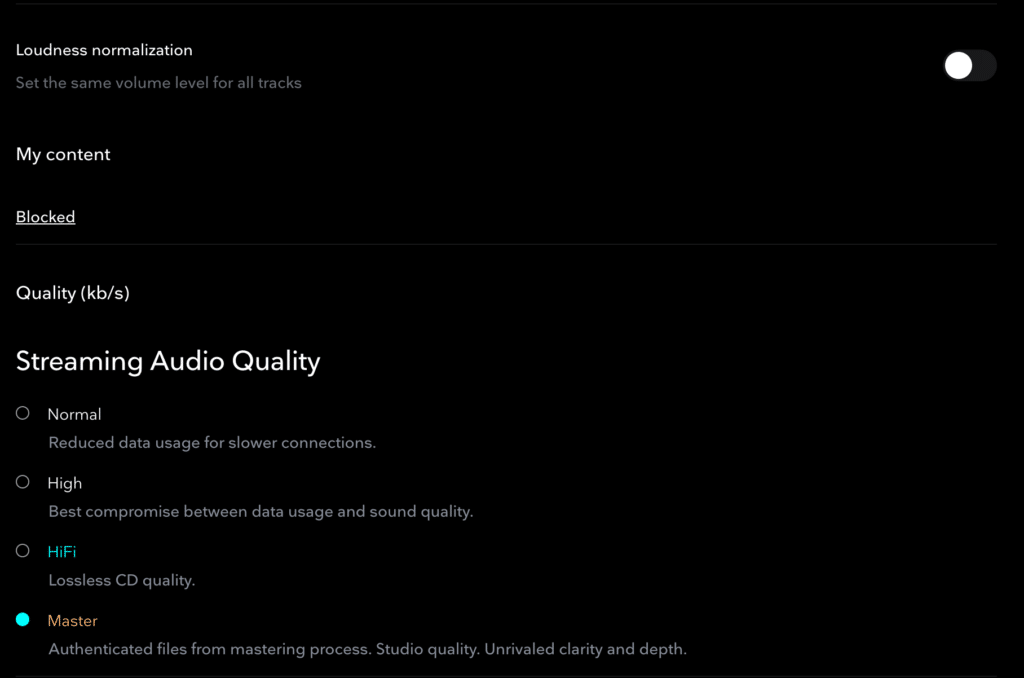
Be sure to turn normalization and increase the streaming quality in your settings.
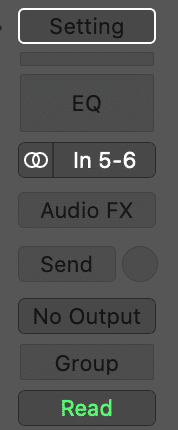
Step 3: Set up your session with one Stereo track as your interface’s output’s input - in other words, create a track to record your system’s output. Be sure that this track does not have an output.
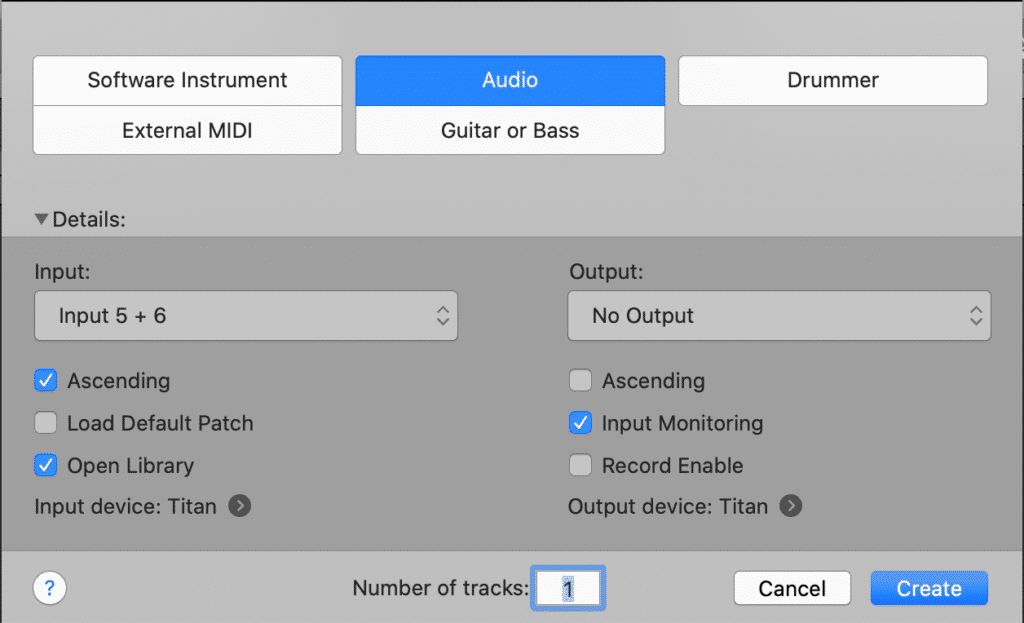
When recording your computer's output, be sure to turn off the output in your DAW to avoid a feedback loop.
Step 4:Although stated in the previous step, it is incredibly important to disable this track’s output - otherwise, you will create a feedback loop that can potentially damage your electronics and your hearing!
Again, before progressing, absolutely insure that your signal has no output when recording in the sampled signal.
Step 5: Record the signal into your DAW.
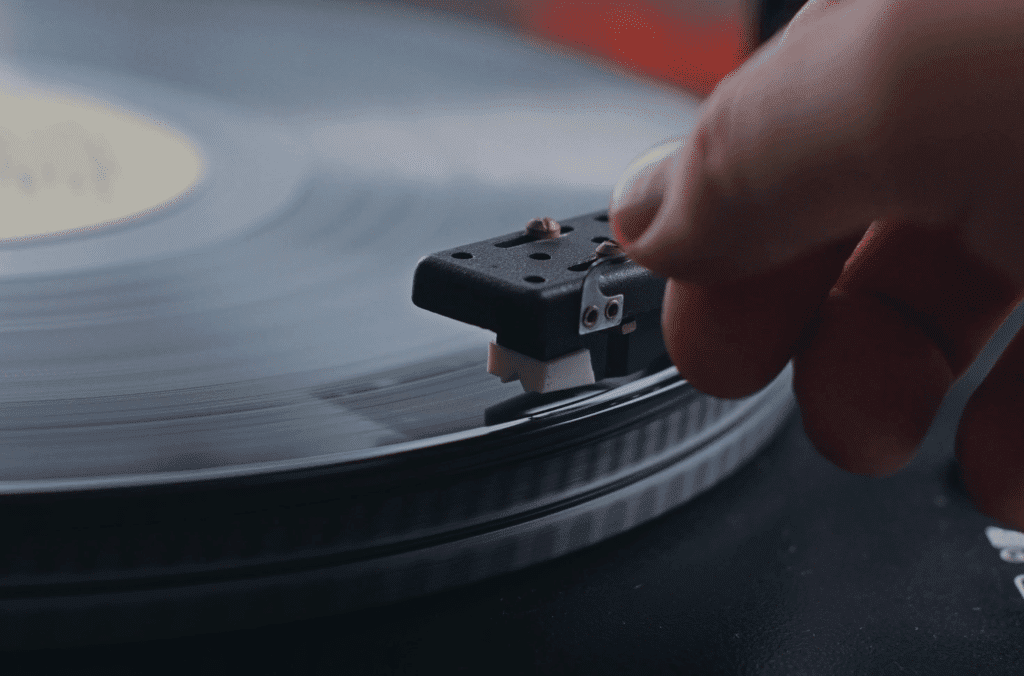
Again this is just one method for sourcing your sample. Personally, I thoroughly enjoy using a vinyl record due to the additional noise and texture it provides.
Additionally, sourcing from vinyl is indicative of early sampling techniques - similar to J Dilla and some of the earlier pioneers in music sampling.
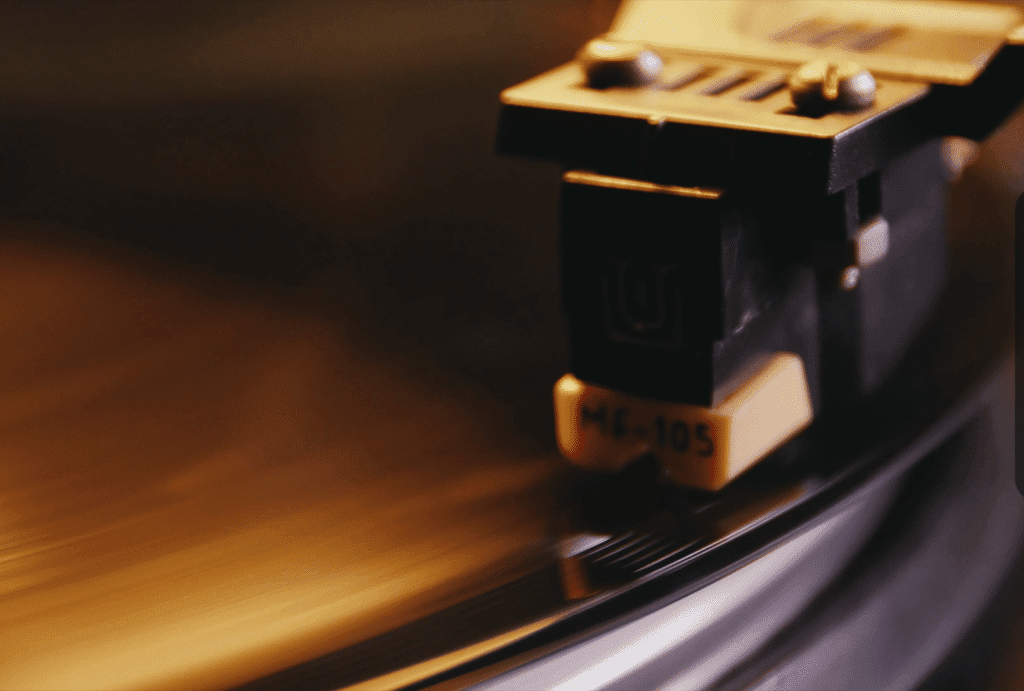
Vinyl is a great option for sourcing a sample since it has cool characteristics and is indicative of classic sampling techniques.
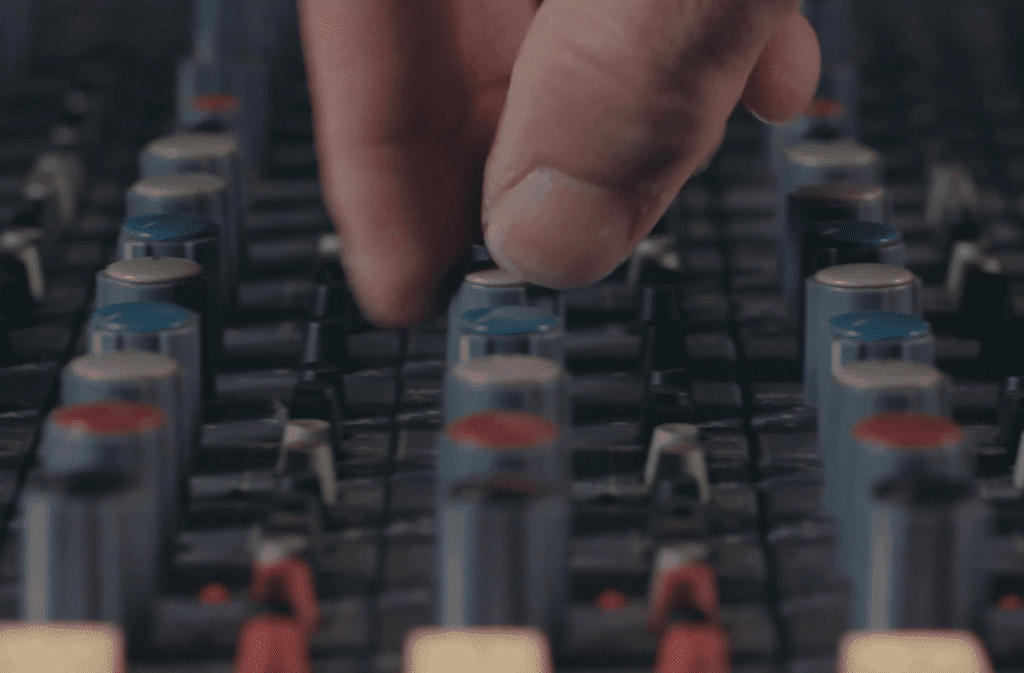
If you want to record your sample from a vinyl record, use the output from your vinyl record player, and insert the component or XLR connections into the ‘Line Inputs’ of your interface. Then record the signal as you normally would.
So just to recap:
- Don’t Pull Your Sample for YouTube or other Online Lossy Sources
- Used Non-Normalized PCM, Lossless, or Hi-Res Mediums as a Source
2. Isolate the Sample or Samples Your Want to Use
Now that you have a good portion of your signal recorded into your session, trim and delete any aspects of the signal you won’t be using as the sample.
It’s also a good idea to copy the full recorded signal, and move it to later on in your session. This way you can reference the source of your sample later on and pull from it as needed.
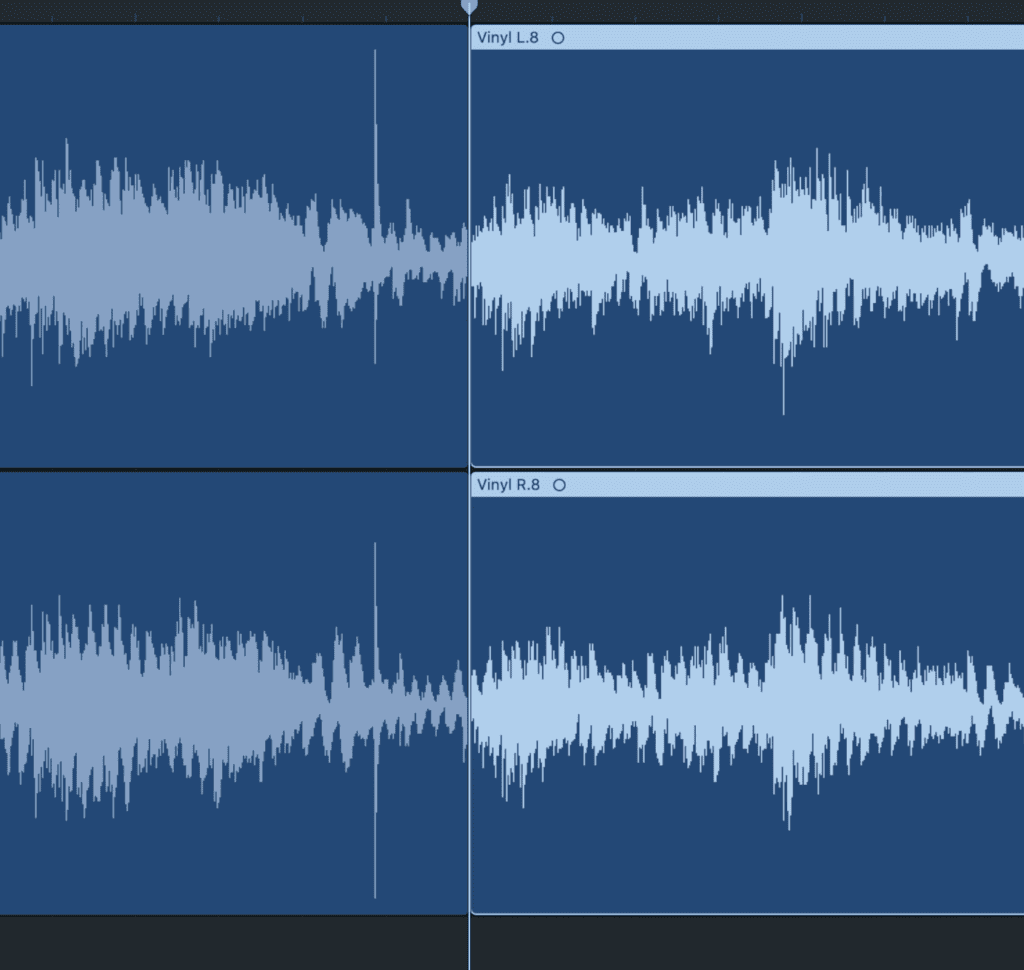
Create a cut that is as accurate as possible. You want your sample to be a complete beat or something that you can layer on top of.
When isolating the sample you want to use, it helps to zoom in as close as possible to determine what will and won’t be apart of your track.
Odds are, you’ll be looping your sample in some way. If this is the case, you’ll need to create as accurate a cut as possible. This way you’ll be able to determine the correct tempo later on.
3. Set the Correct Tempo for Your Session and Use Time Correction if Needed
Before you begin to loop the sample or add layers, you’ll need to determine it’s tempo. The quickest way to do this is to tap the tempo using a tempo detecting tool.
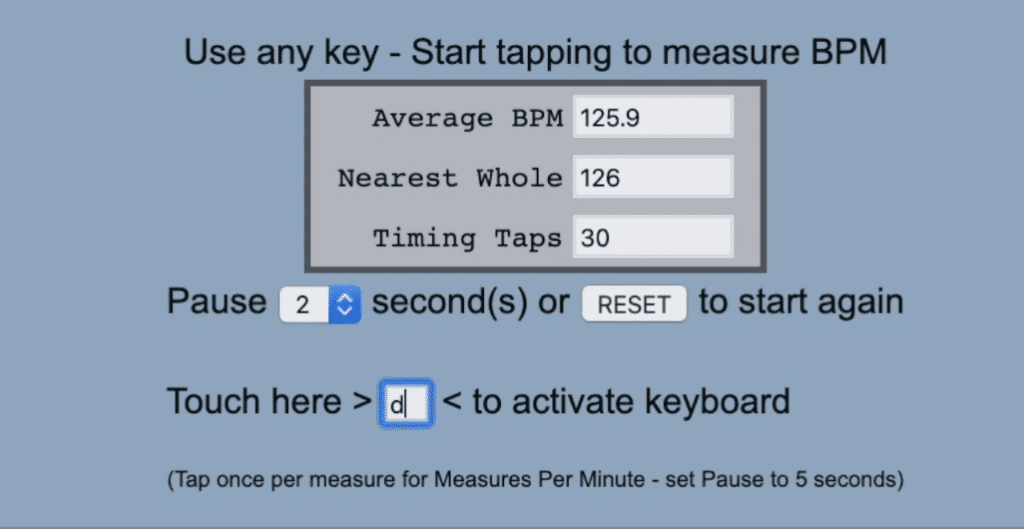
You can find the tempo by tapping it in a tempo tapping tool.
You can also accomplish this visually by altering your session’s tempo and observing when the transients of your sample align with the grid of your session.
If you sourced your sample from Tidal or another streaming service, or maybe a CD, you can easily look up the track’s BPM and go from there.
But if you source your sample from a vinyl record, odds are you’ll need to perform some time correction. The reason being, vinyl records can introduce small variations in the speed of the rotation and in turn, the speed of the song itself.
There’s also a little fluctuation in vinyl due to various factors, so a record can be in tempo in some sections, and out of tempo in others.
This makes sampling from a Vinyl record a little more difficult, but by using time correction you can accomplish an in-time sample.
How to Use the Flex Tool to Correct Sample Timing:
Step 1 : To alter the timing of your sample, enable Flex in your session and on your sample’s track.

Use Flex Audio if need. It's in the top left of the Logic Pro X DAW.
Step 2: Delete any unwanted corrections and alter the Flex setting to best suit your sample.
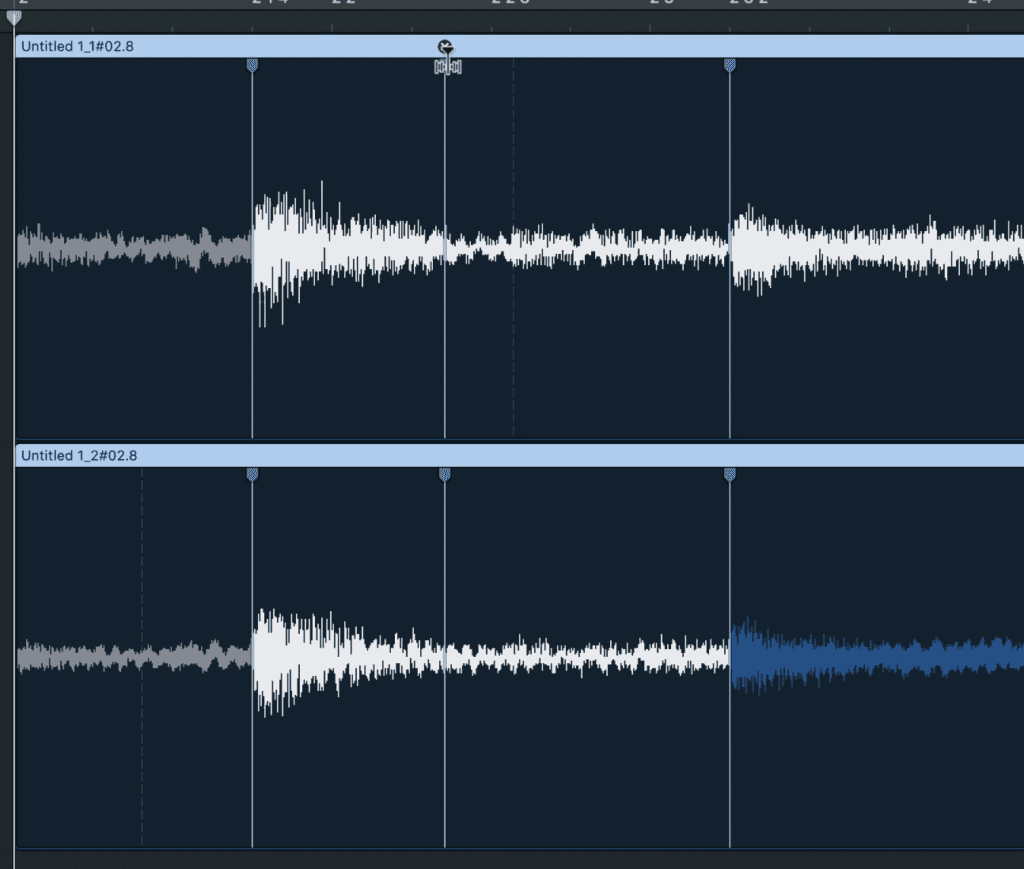
Delete the time markers you don't want.
Step 3: Drag any flex time markers to the correct grid setting.
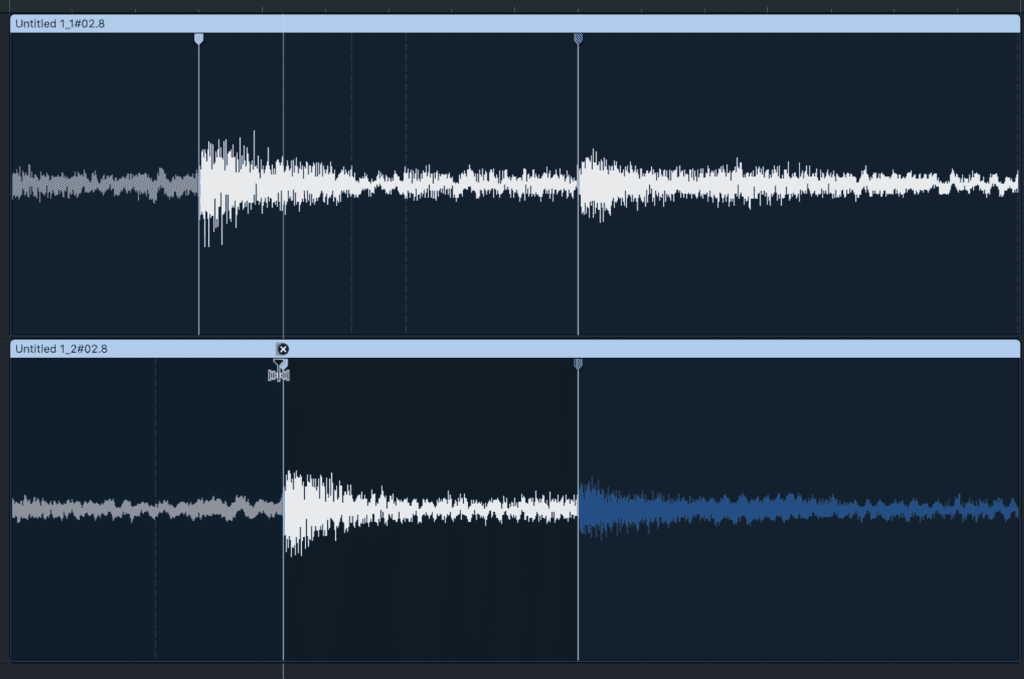
Correct any markers that exist
Step 4: Review your time correction and compare it to your metronome to ensure that the sample is in time with the set BPM of your session.
Although this process can be a little time-consuming, it is crucial to the progress of your song. If the sample isn’t in-time with the session’s BPM, you won’t be able to accurate loop it, and will make it increasingly difficult to layer additional instrumentation.
4.Layer in Your Percussion
Now that you’ve handled some of the more technical parts of sampling, it’s time to get creative! Although it isn’t crucial to layer in percussion first, it does help to establish a sense of song structure, as well as ensure your sample is correctly placed and timed.
You can recording either acoustic percussion or use midi data.
If you want to layer in your percussion, you can either record acoustic instruments, or more commonly, you can use a midi recorder to record your percussion.
What’s incredibly convenient about using midi data is that it offers the option to not only quickly and easily change the sample you’re using for your percussion, but it also allows for quantization.
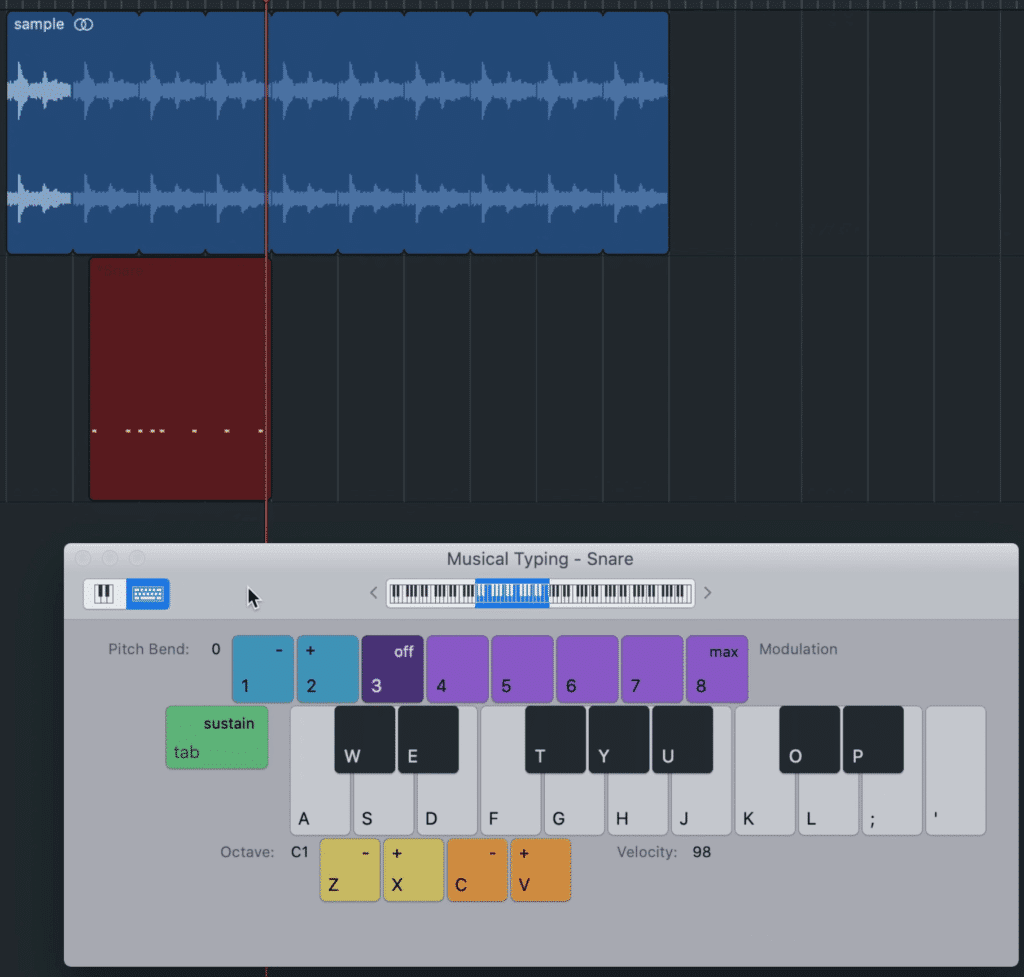
Midi data can easily be performed and offers the option for quantization.
Simply put, you can quickly perform midi recording using your keyboard and a software instrument. Once that recording has been completed, you can highlight your percussion notes and use quantization to realign those notes with your recording grid.
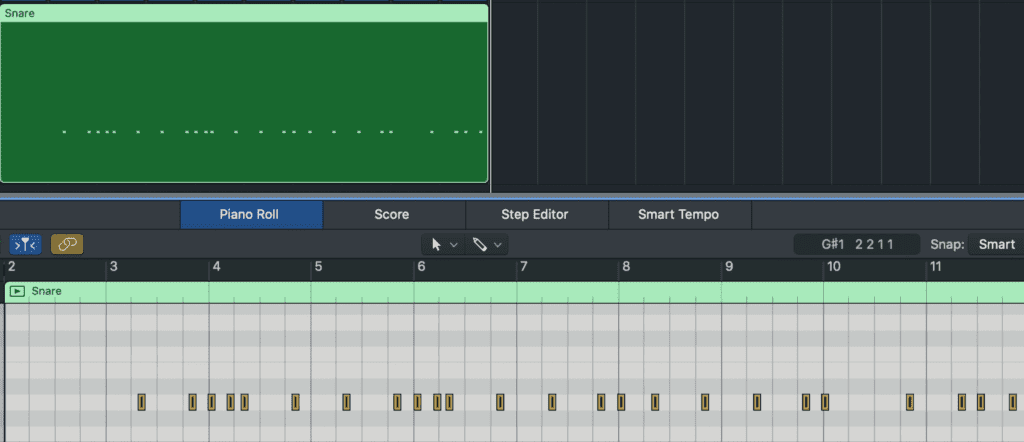
Highlight your recorded Midi notes and click 'Q' on your keyboard to quantize them.
This is why the previous step mentioned is so important. If your foundational sample (the main sample you’re using) is not in time with your session, then every subsequent layer of instrumentation you add will be out of time.
Additionally, if your sample isn’t correctly aligned with the grid, then any percussive recording that is in time with the grid will be “off.”
That’s why we recommend recording your percussive layer on top of your sample first -this way you can quickly and easily determine if everything else is on time.
5. Layer in All Additional Instrumentation and Vocals
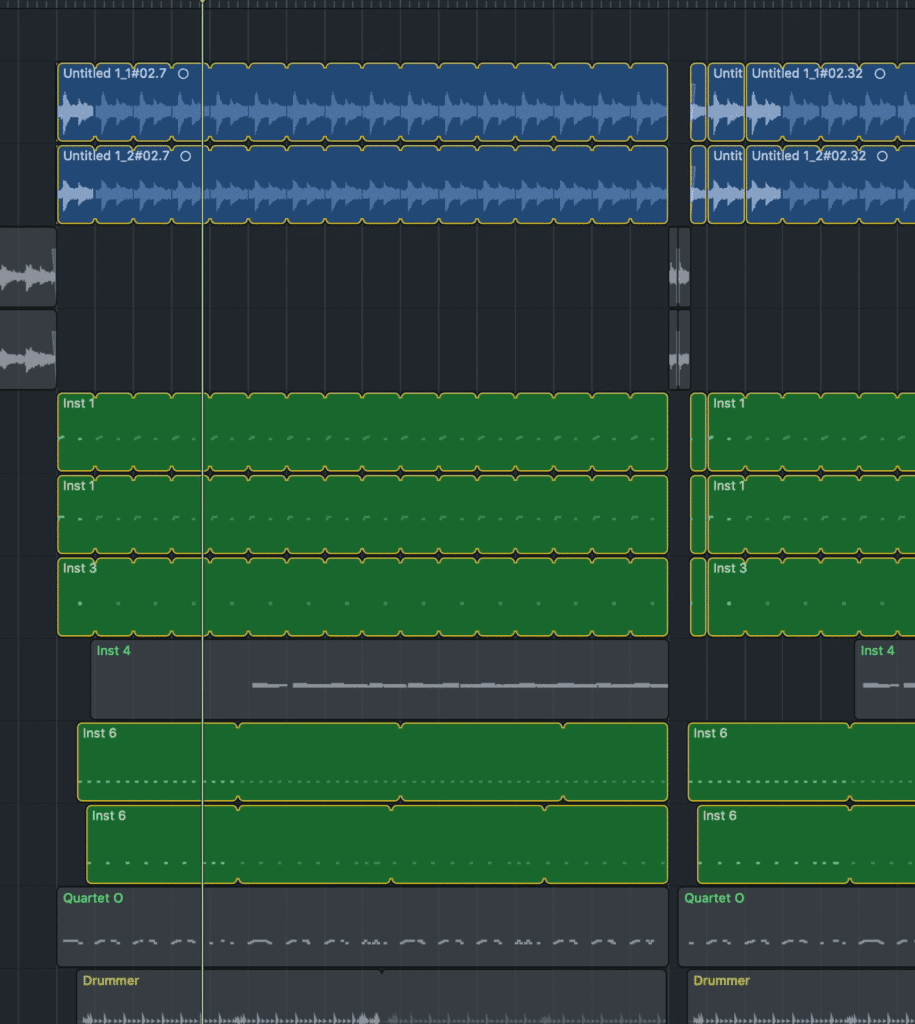
With your percussion recorded, and your sample completely in-time with your session, you can more comfortable layer complex instrumentation on top of your already recorded and sampled material.
Like any song you record, the composition will depend on your personal taste and what best suits the song.
What you layer in depends on the sample you choose and your personal taste in compositions.
The sample you used will directly impact this instrumentation - from the key and octave, to the intensity of the performance, the sample you recorded will affect all aspects of your composition.
It also helps to keep the frequency response of your song and sample in mind. If the sample you used primarily occupies the mid-range, then it may be best to continue your composition by adding high frequency and low-frequency instruments into your recording.
Be sure not to create an overwhelming composition that is too busy for its own good.
This way the frequency response stays balanced. Consider the style you’re trying to accomplish and how additional instrumentation will contribute or detract from this.
Regardless of the style you want to pursue, make sure that the instrumentation you add doesn’t make your song too busy or excessively accentuate a certain aspect of your frequency range.
6. Mix and Master Your Project
With your composition complete, it’s time to mix and master your project. You may be curious about what’s different about mixing and mastering a song with a sample in it, as opposed to mixing a traditionally recorded song.
In short, you won’t need to process your mix as much as you typically would.
Odds are you won't need to use as much processing when mixing a track that includes samples.
Because your sample has already been equalized, compressed, and otherwise processed, you most likely won’t need to add additional processing to it. That said, any additional processing may cause your sample to sound over-processed.
Additionally, if you’re using any other samples in your mix, maybe like with the drum sampling and midi recording we were discussing before, then this same thought process may apply to these samples as well.
Because samples were previously mixed and mastered, they may not need additional processing.
Because most of the sounds used in your song are already processed, be sure to only use additional processing when needed. Granted, even if your sample came from a pre-released recording, it may still need some further technical and creative processing to make it sound the way you want it to.
The same goes for mastering. You most likely won’t need to use too much compression during mastering if the majority of your song has already been mastered.
With that said, any changes made during mixing and mastering will truly depend on the sample you used and its prevalence in your mix.
If you’d like to hear your music mastered for free, send it to us here:
We’ll master it for you can send you a free sample for you to review.
If you’d like to learn more about mixing and to get some good, free plugins for mixing, check out our blog posts on the topic:
7. If you Plan on Releasing the Song, Handle all Legal Aspects of Clearing the Sample
This is where things can get a little difficult. Sampling, although an incredibly rewarding process, can be very difficult to pull off legally speaking.
Unlike traditional covers, you won’t simply be able to acquire a compulsory mechanical license and be on your way.
How to Get Permission for a Sample
In other words, you’ll need 2 licenses, both of which need to be negotiated and agreed to upon by all parties involved:
- A license for the master recording
- A license for the composition
Because neither of these is compulsory, your request to sample the song may get flat-out rejected.
If you’re looking to release a song that includes a sample, the best course of action is to reach out to the label that owns the master. From there, you can determine if they’ll grant you access to the master recording.
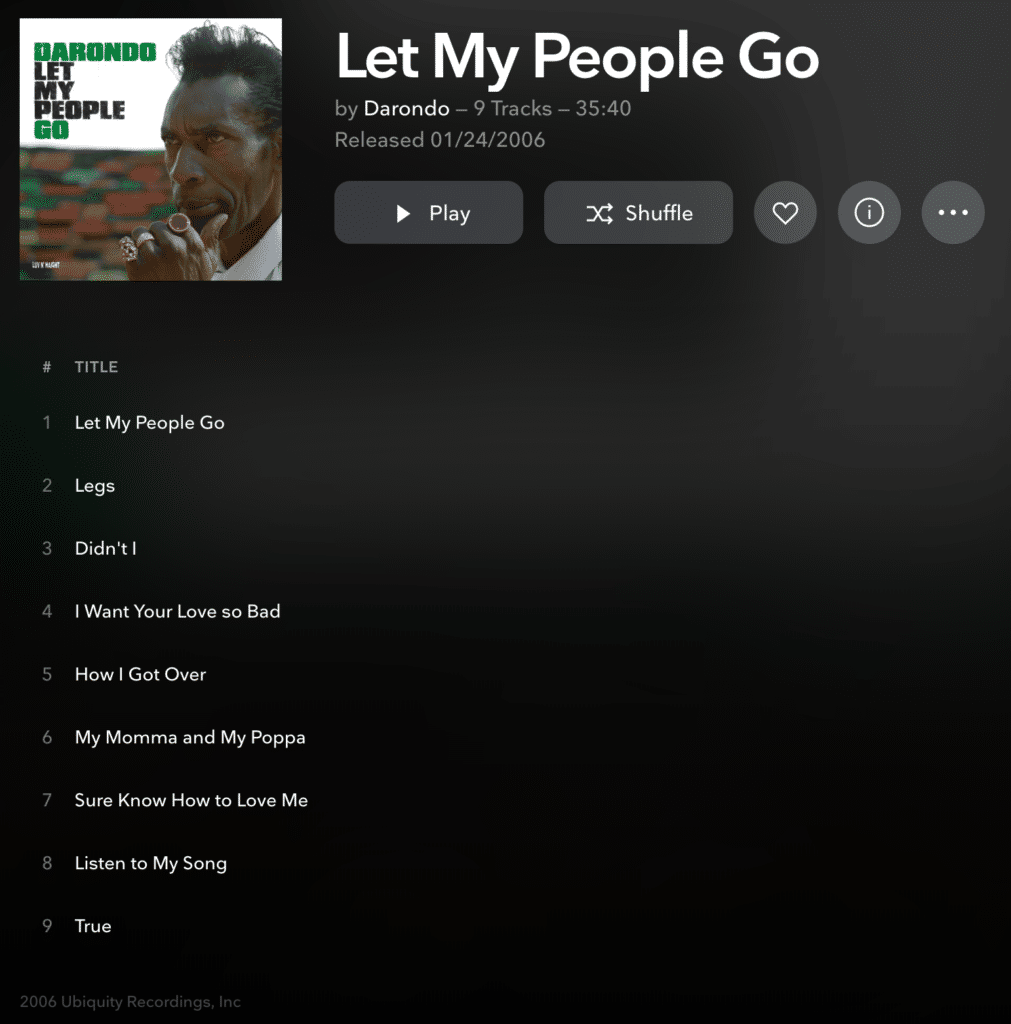
Notice the very fainted text at the bottom left-hand corner. This indicates the current owners of the master recording.
Additionally, you can determine if this will be in your price range. Considering there is no regulated or set amount for this licensing, the figure can really be whatever the label thinks the value of the master recording is.
Once you’ve acquired an agreement from the label, you’ll need to reach out to the publisher. Follow the same process you did when contacting the label and negotiate for the right to use their composition in one of your songs.
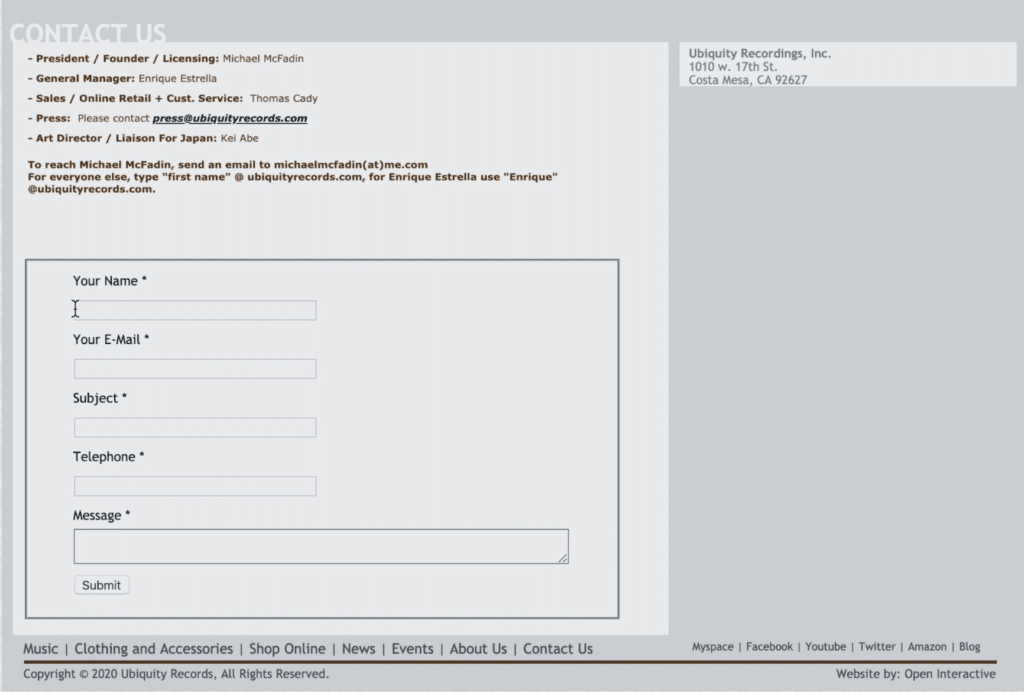
Reach out to the master recording owners directly and negotiate a deal.
If this all seems like too much (which is completely understandable) then you can recreate the sample for yourself. For example, if you want to sample a particular section of a song, but you can’t get the licensing for it, you can create a cover of the song.
In other words, you could rerecord the song yourself. Because this a recreation of the song and not the master recording, all you need is a mechanical license.
Since a mechanical license for a cover song is compulsory, you cannot be denied it. Additionally, this type of license only costs a little more than $20 if you solely intend to release the song for streaming.
A mechanical license is very easy to obtain and only requires a small payment.
Once you’ve acquired this license, you can sample your cover in the same what you’d sample the original recording - except this time, everything has been taken care of legally.
Getting a hold on the licensing is the most difficult part of releasing a song with samples, but don’t let that stop you from being creative. If you truly want a sample in one of your tracks, with some persistence and online research, you can find out who to contact and then acquire the licenses you need.
Conclusion
In my personal opinion, sampling is a great thing for both musicians and music in general. It allows a way for the past to present itself in new and exciting ways. It also allows artists a way to show their appreciation for those that influenced them.
Unfortunately, the legality of sampling music is complex and difficult to navigate , especially for indie artists looking to sample some of their favorite songs.
But if you’re looking to sample music, and you truly are determined, you can get some of your favorite recordings into your recordings. It has been done by indie-artists before.
Knowing the difficulties that come with sampling, you can determine if you want to go through the production side of things. Regardless of whether you release your sampled music or not, its still a rewarding and enjoyable process.
If you have a song you need to be mastered, send it to us here:
We’ll master it for you and send you a sample for you to review.
Have you ever sampled music?


