4 Steps to Make Your Master Bigger
Step 1: Combine Mid-Side Equalization with Sub-Harmonic Excitement
Step 2: Use Low-Level Compression, AKA Upward Compression
Step 3: Insert a Multi-band Expander and Expand 3 Key Areas
Step 4: Use a Stereo Image Enhancer or Amplify the Side Image
Making a master sound bigger is a combination of a few things. It really comes down to enhancing low-level aspects of the signal, making the signal more dynamic, and then spreading the signal into the stereo field while maintaining its focus.
Making a master sound bigger can be a challenge.
The steps that we’re covering here can be introduced at the beginning or in the middle of your mastering signal chain to make you master more impressive.
Let’s cover these steps in detail, explain what plugins or processing to use to accomplish the steps, and then listen to them (in the video embedded above) to better understand it.
If you’re an artist or engineer, and you have a mix that you need mastered, send it to us here:
We’ll master it for you and send you a sample to review.
Step 1: Combine Mid-Side Equalization with Sub-Harmonic Excitement
The sub-frequencies of a mix are more important than you might think - especially when attempting to make a master bigger or more impressive.
If you want to enhance the sub of your master, there are some smart ways to do it and some more or less reckless ways of doing it.
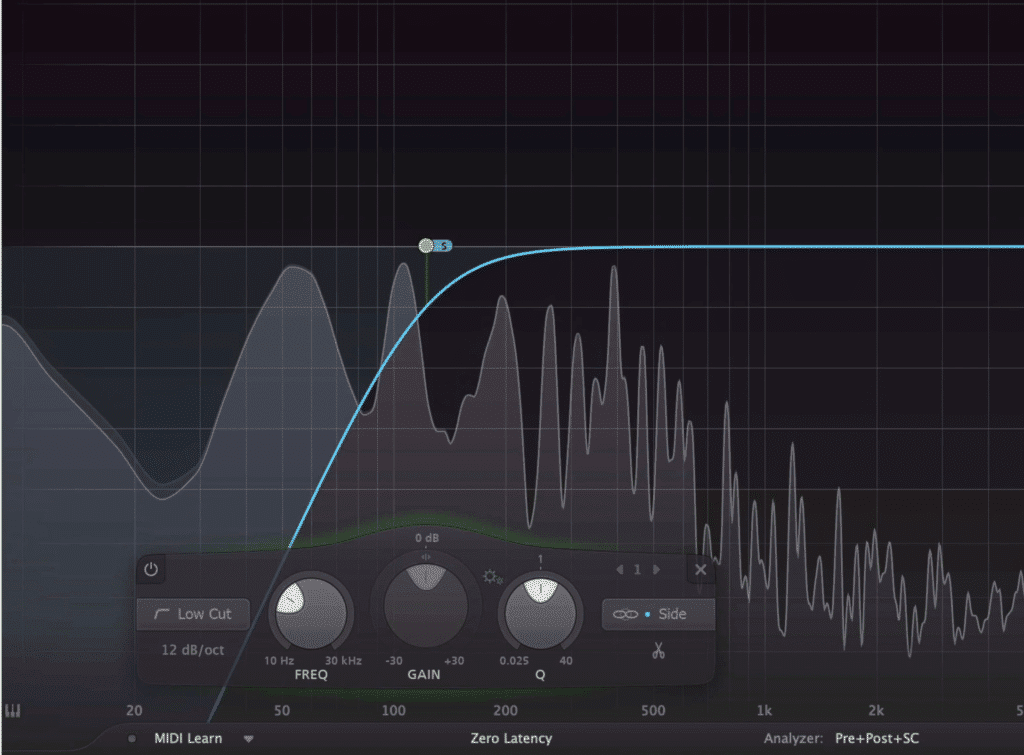
Cut out the low end on the side image to make sure this effect stays mono.
First and foremost, you want to ensure that any amplification of your low end and sub doesn’t make its way into the side or stereo image. Unless you’re mastering classical music with a double bass, these frequencies need to stay mono more times than not.
That’s why before you use any plugins to augment or excite sub-frequencies, use a mid-side equalizer to cut out the low-end on the side image. This way your low end is mono before any sub-harmonic excitement or generation takes place.
Once you’ve cut out the side image lows, use a sub-harmonic exciter, amplifier, or generator to create or augment your subs.
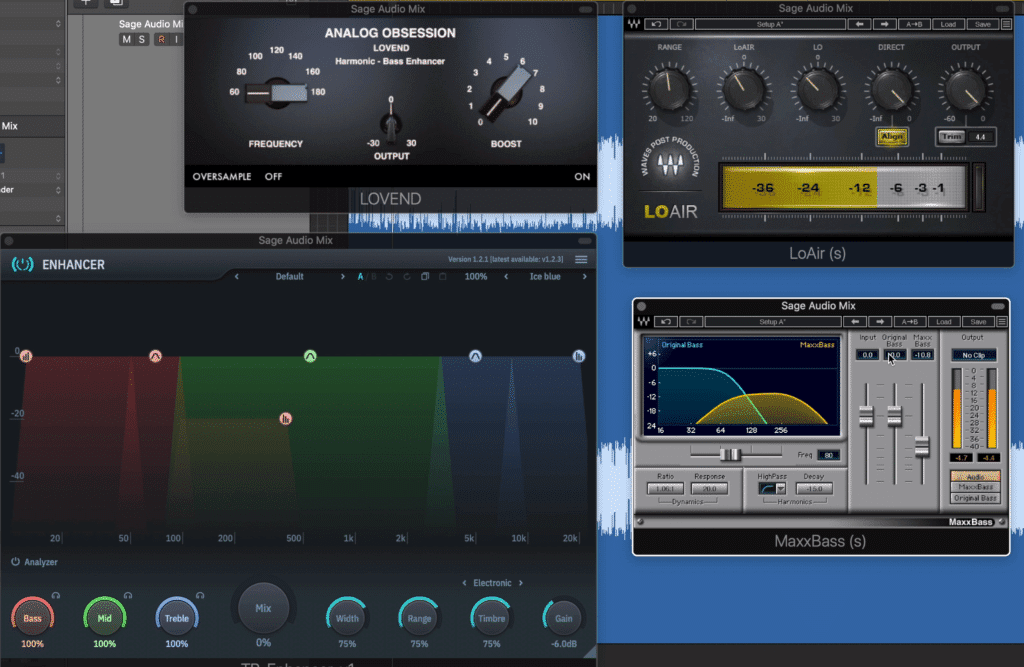
These are 4 options for augmenting your sub frequencies.
Some options for this include:
- Wave’s MaxxBass as a harmonic exciter
- Waves’ LoAir as a sub-harmonic generator
- Analog Obsession’s Lovend as a sub-harmonic exciter
- Toneboosters Enhancer as a sub-harmonic exciter
These are some of the ones we know about but if there are more plugins that you know would work well for this purpose, let us know in the comments.
For more info on sub-harmonics, check out this video:
Step 2: Use Low-Level Compression, AKA Upward Compression
Compression is a common topic during mastering; however, when it’s discussed it’s always always in the context of downward compression.
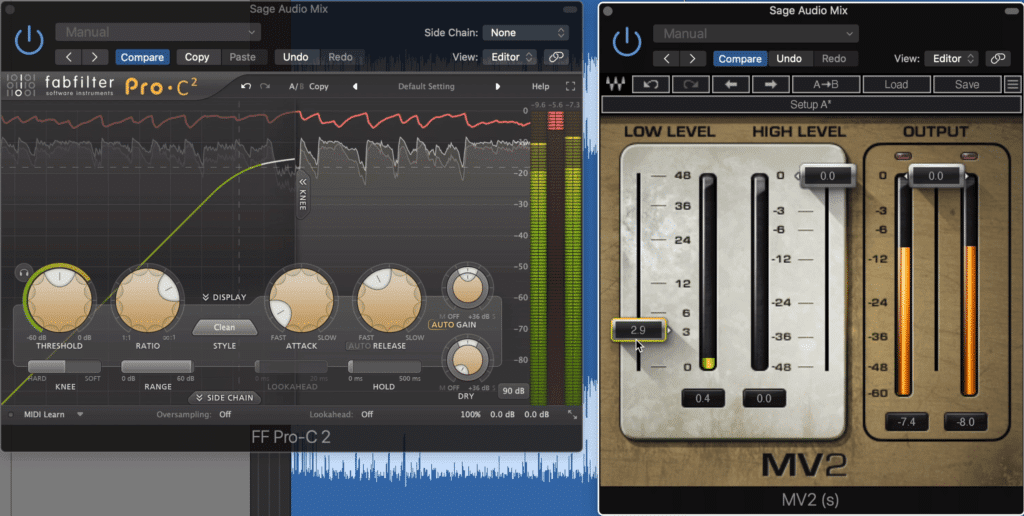
Compression is usually thought of as downward compression (shown on left) bu we can utilize upward compression for a great effect (shown on right).
But upward compression is a great alternative that can make your master sound bigger.
Typically speaking, downward compression is often used as a way to achieve upward compression - in other words, the peaks of a mix or master are attenuated so that the quieter aspects of the signal can be amplified.
Upward compression allows you to accomplish this without the need for truncating peaks, in turn avoiding unwanted distortion and other typical downward compression artifacts.
By increasing the low-level of the signal with a low-level compressor, you’re capturing, compressing, and then amplifying more nuanced aspects of the recording. This means that details that would have otherwise been masked can now be perceived.
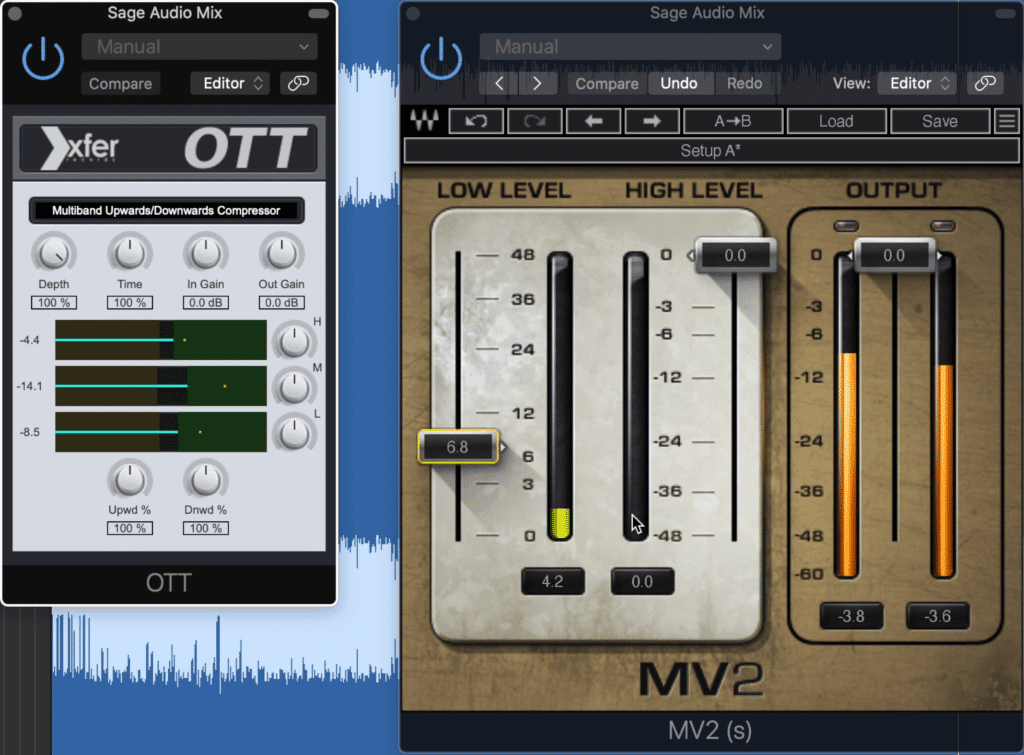
The OTT and MV2 are good options for upward compression.
A couple of plugins that we know of that are good at accomplishing this are:
- Wave’s MV2
- Xfer Record’s OTT
Keep in mind that when mastering, use this effect sparingly. I may use it more aggressively in the video above to make it more noticeable, but this isn’t the best idea during an actual session.
For more compressor plugins, check out our video on some free ones:
Step 3: Insert a Multi-band Expander and Expand 3 Key Areas
It almost seems counterintuitive to use compression in the previous step and then introduce expansion, but you may just need to trust me on this one.
To explain, low-level compression brings the details forward but reduces the dynamic range. With this expander, we can recreate these dynamics using a more detailed signal.
So we get the best of both scenarios - not only do we have a highly detailed and controlled sound, we achieve an impressively dynamic master.
To do this, I like to use the FabFilter Pro-MB, but there are definitely other options for multi-band expansion.
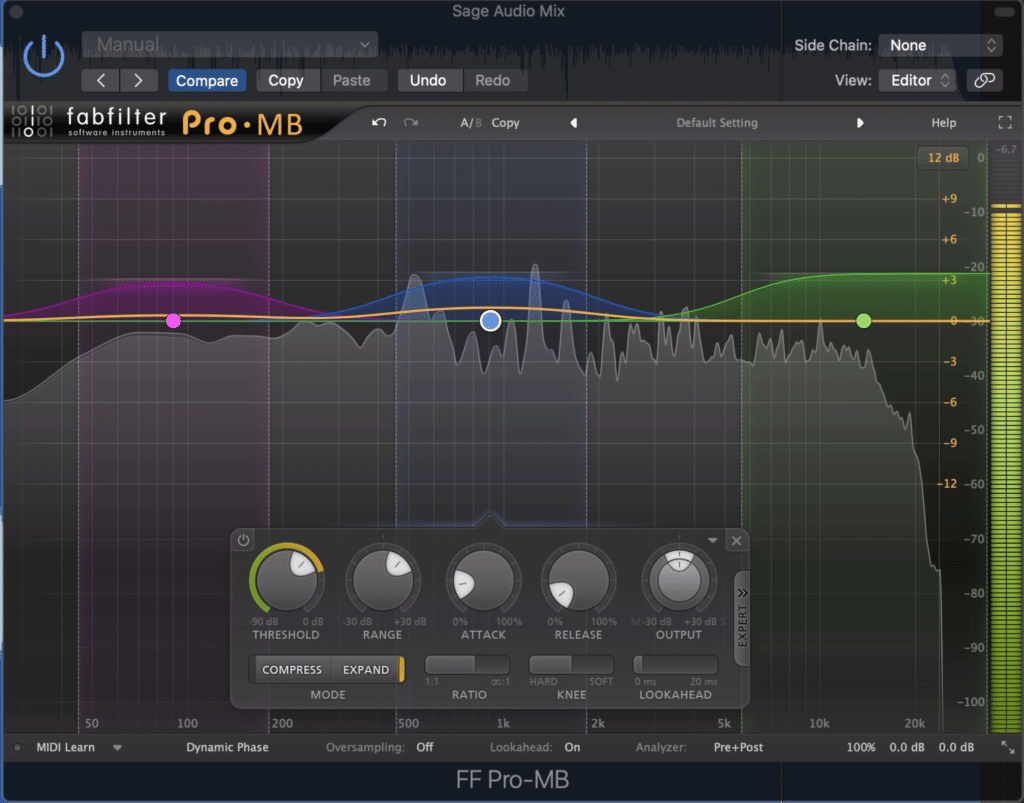
Expand the lows, mids, and highs.
When using this multi-band expander we want to expand 3 key areas. The bass, mids, and highs.
For the Bass band, I like to find the kick and limit how much of the bass guitar gets expanded. I’ll set a moderate attack and release as well, and use a band filter.
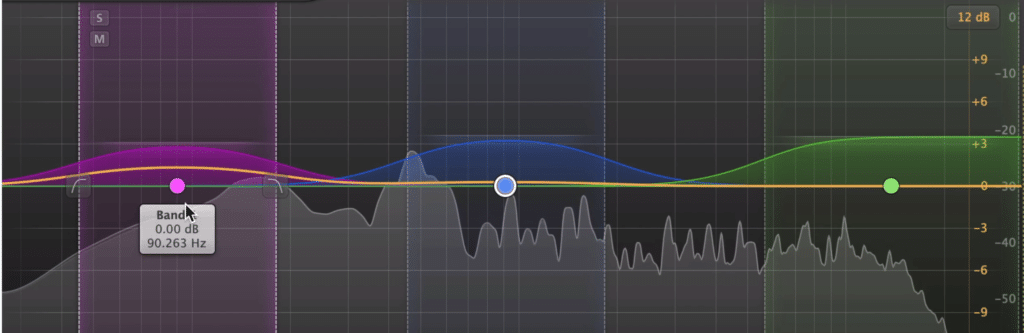
Set a moderate attack and release for the low band, a moderate attack and fast release for the mids, and a fast attack fast release for the highs.
For the Mids, I like to use a moderate attack and fast release to keep it more transparent. For this section, I also like using a band filter to keep things focused.
Lastly, for the highs, I use a quick attack and quick release to both capture the transients and release them fast enough for them to seem natural. Furthermore, whereas a quick release would cause distortion to the lower frequencies, this isn’t the case with the higher ones.
For this, I typically use a shelf filter. These bands can range about 3dB, but use your ears and discretion when setting up this processing.
Step 4: Use a Stereo Image Enhancer or Amplify the Side Image
Now that your track’s low frequencies are enhanced, the low-level detail is perceivable, and the dynamics are established, let’s focus on the stereo width.
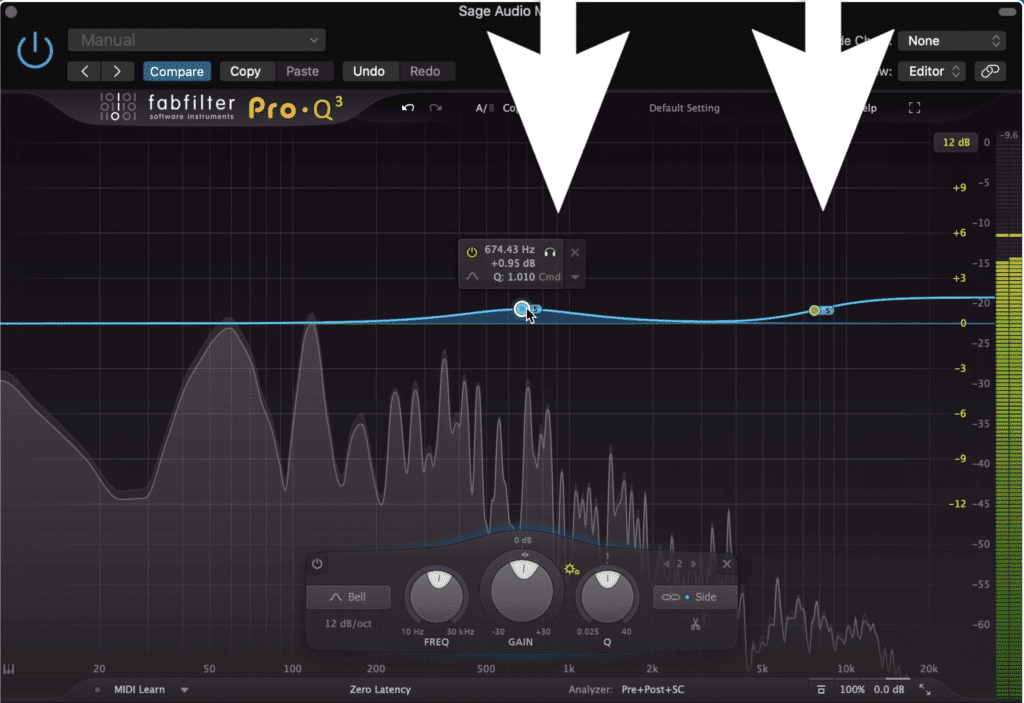
Use mid-side imaging to expand the stereo width.
In some cases, the width has already been taken care of during mixing; however, you may want to augment it during this step.
Personally, I prefer using a mid-side equalizer to affect my stereo image. I’ll use the sideband and amplify a shelf filter and maybe some mids to increase the master’s width.
Additionally, if extra width is needed, I’ll adjust the outputs of the mid and side channel or in the case of the FabFilter Pro Q-3, alter the panning.
This can also be accomplished with Logic Pro’s stock plugin so try that out if you don’t have the plugin we’re using here.
If you prefer more delay or phase-based expansion, you can use a stereo widening plugin.
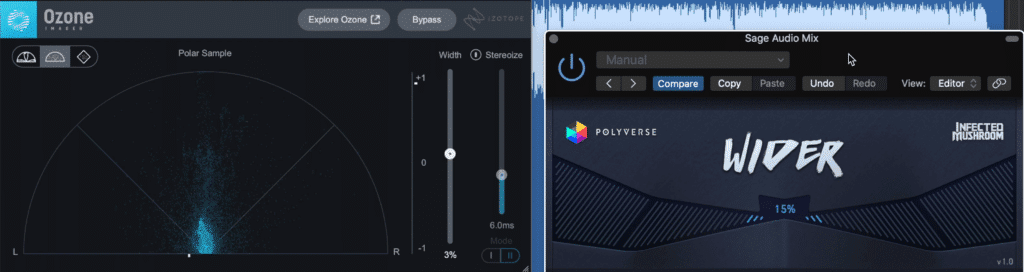
Delay-based plugins can be used for this, but se them sparingly.
2 free stereo widening plugins that come to mind are:
- Imager 2 by Izotope
- Wider by Infected Mushroom
Both of these plugins need to be used very carefully since they can greatly and negatively impact the focus and power of your master if used excessively.
Conclusion
By using these 4 steps you can make your master sound bigger and more impressive. They can be accomplished at the beginning or near the middle of your signal chain and should be used in conjunction with some other more typical mastering methods.
Furthermore, you don’t need to use all of them if you don’t find all of the techniques needed for your particular session. Using 1 or 2 can still have some positive effects if used correctly.
If you end up trying these steps out, let us know if they improved your master, or if you felt that they detracted from the quality of it.
Also, if there’s something that you do to make your master sound big, let us know in the comment section of the video embedded above.
If you’re looking to hear your track professionally mastered using all analog equipment, send it to us here :
We’ll master it for you and send you a free sample of it for you to review.
Have you tried any of these techniques before?


