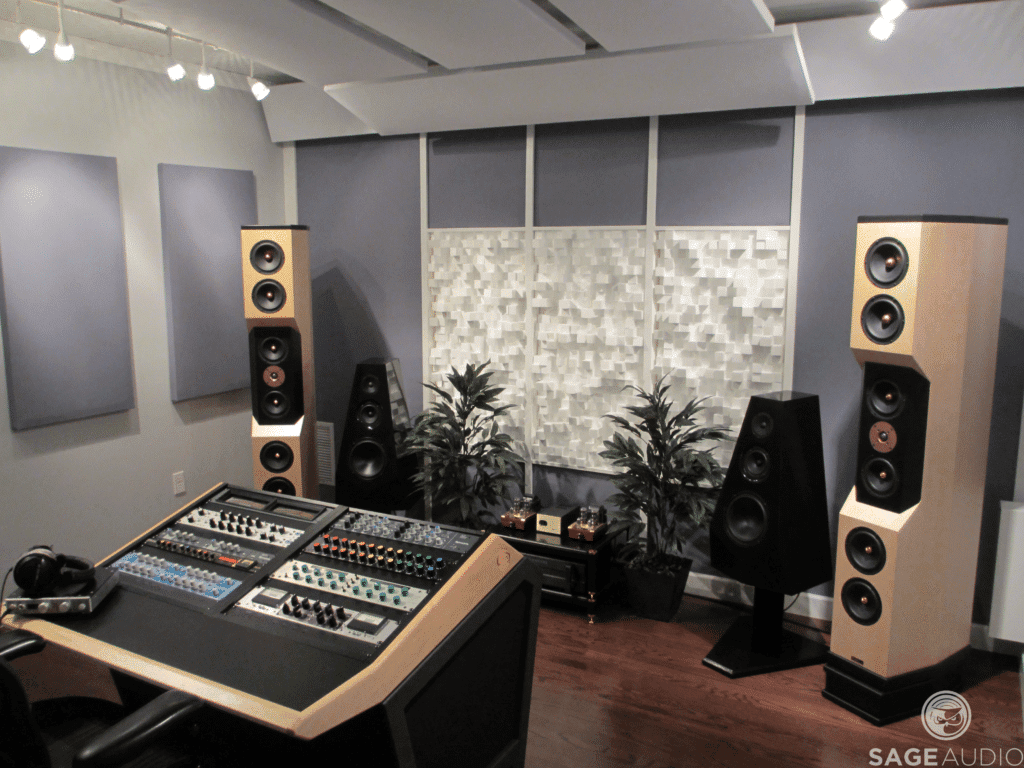
How to Master for Vinyl
Quick Answer
- Using a mid-side equalizer, attenuate the side image up to 150Hz.
- Using this same equalizer, subtly attenuate sibilance-based frequencies.
- Use compression to control any excessive dynamics.
- Gently introduce low-level compression.
- Avoid any psychoacoustic stereo-imaging.
- Avoid unnecessary harmonic generation or distortion
- Avoid excessive limiting and gain reduction
- Sequence the tracks to avoid excessive sibilance toward the record’s center
How to Master for Vinyl in Detail
Mastering for vinyl has become increasingly popular over the past decade. As a result, knowing how to master for vinyl has become an important part of the mastering process.
Mastering for vinyl is important for both mastering engineers and artists to understand.
Knowing how to master for vinyl may mean the difference between being able to keep a client, and losing a client to a mastering engineer or studio that masters for the vinyl cutting and reproduction process.
Furthermore, if you’re an artist or band that masters your music, knowing these specific points may mean the difference between having a great sounding vinyl, and having a record that skips, distorts, or kicks the needle out of place.

Having a separate master for vinyl is important to creating the best sounding record possible.
With that said, let’s explore the process of mastering for vinyl. Some of the steps provided will not be the actual steps used during a mastering session, but explanations of certain forms of processing to avoid, and the reasons for avoiding these forms of processing.
All-in-all, these steps should be kept in mind when mastering for vinyl and should help with making informed decisions during your unique mastering process. In that regard, this information isn’t regarding how to master, but how to master appropriately when creating a master intended for release on a vinyl record.
Mastering for vinyl means knowing which forms of processing to avoid.
If you do need some information on how to master in general, and you’d like a step by step process showing you how to create a master, here is a blog post and video on that topic:
It shows how to master music, and offers a good signal chain for this process.
Also, if you’re a mixing engineer, or an artist looking to have a mix mastered, send us that mix here:
We’ll master it for you using solely analog equipment and send you a free mastered sample.
Using a Mid-Side Equalizer, Attenuate the Side Image Up to 150Hz.
Although there is some debate as to how much a vinyl record can handle low frequencies in a stereo format, creating a mono image for the low end is widely supported. Doing so means keeping a focused stereo image, in which the bass, the kick, and any other low-end instrumentation is kept mono.
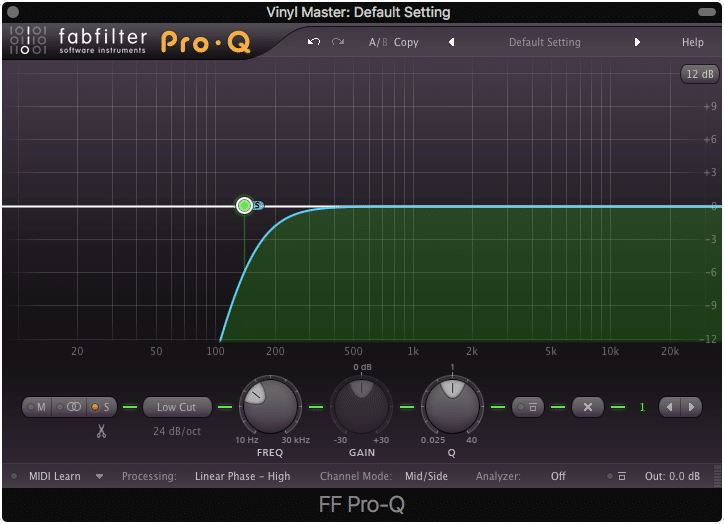
Using a mid-side equalizer, attenuate the side image up to 150Hz.
In fact, this practice is often used during a traditional mastering session, as keeping the low-end mono is beneficial for most speaker systems.
A mono low end is beneficial for most consumer-grade playback systems.
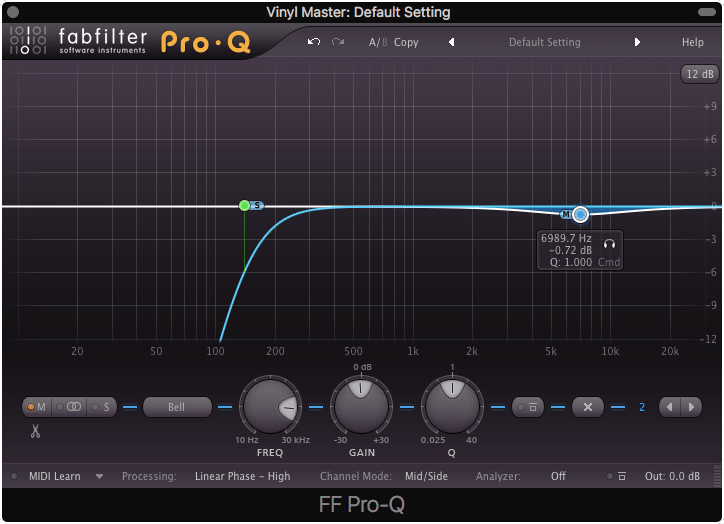
The easiest way to attenuate the mid-channel frequencies, and subsequently keep the low-end mono, is by using a mid-side equalizer. When doing so, create a high-pass filter on the side channel, and cut out up to 150Hz, but no lower than 130Hz, while using a 12dB to 24dB per octave slope.
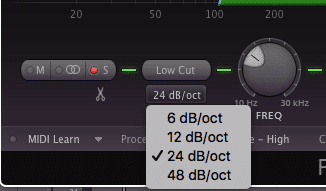
Choose a 12dB to 24dB per octave cut to ensure that the low end is mono.
Although at this point you can be almost certain your low-end is mono, check with a stereo imager or sound field analyzer to ascertain this prior to completing your master. This way you can be certain your master has a mono image of up to 150Hz, prior to completing your master.
2. Using this Same Equalizer, Subtly Attenuate Sibilance-Based Frequencies
Sibilance-based frequencies typically occupy 3kHz to 10kHz, but will very much vary depending on the content of the song. Attenuating these frequencies is important to avoid distortion on a record.
Sibilance typically occurs between 3kHz. to 10kHz.
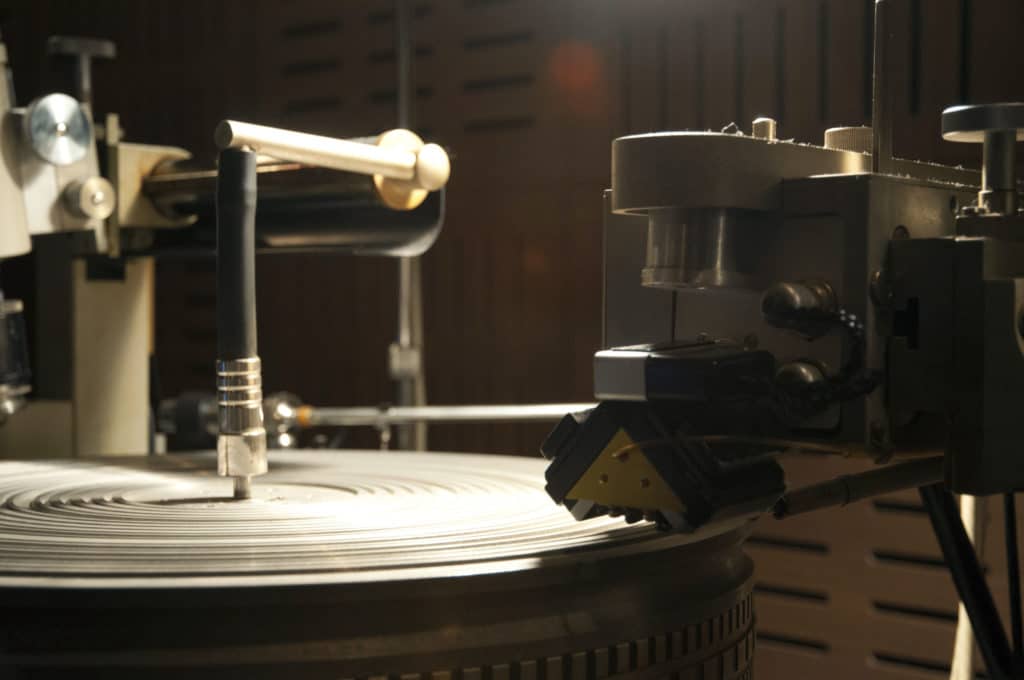
Essentially, when a lathe is cutting into a lacquer plate or the master copy to be used for further vinyl cutting, excessively high frequencies can cause distortion by maxing out the needle’s ability to move back and forth.
Excessive high frequencies cause the lathe needle to distort during the cutting process.
As you can imagine, higher frequencies require the needle to move faster in order to cut a groove which can represent the greater oscillations per second. This doesn’t cause a problem unless the amplitude of these frequencies is higher than usual.
Sibilance creates the necessary amplitude for this distortion, and in turn, needs to be attenuated if distortion is to be avoided.
To do so, you must accurately identify and attenuate excessive sibilance. This can be done in a number of ways - here are some of the most common options.
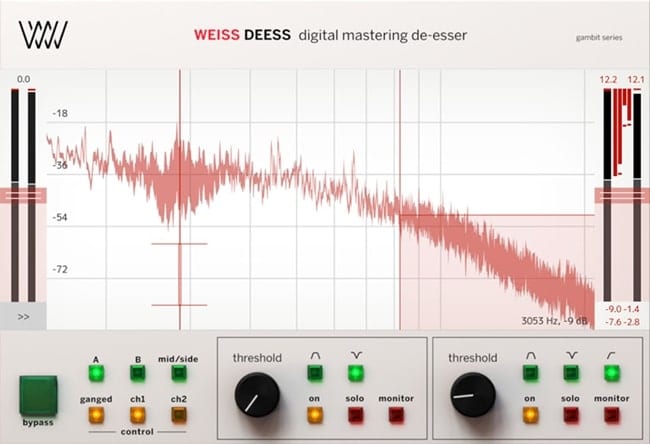
A de-esser designed for mastering is another great option for attenuating sibilance.
Best Ways to Turn Down Sibilance:
- Multiband Compression
- Dynamic Equalization
- Subtractive Equalization
- De-essing
When using any of these forms of processing, especially as it relates to mastering for vinyl, be sure to use them carefully.
3. Use Compression to Control Any Excessive Dynamics.
During a traditional mastering session, compression is used to control dynamics. This is done to balance the dynamics, avoid distortion, and allow for pushing the signal into a louder territory.
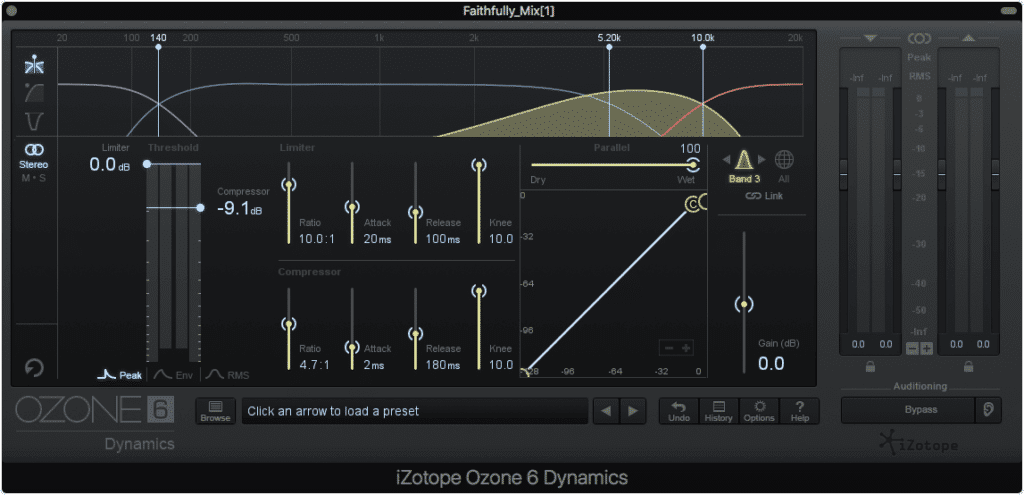
Dynamics may need to be controlled more when mastering for vinyl.
When mastering for vinyl, controlling dynamics takes on a different and wholly unique purpose. If a master used for cutting a lacquer is too dynamic, then the greater amplitude will cause a significant cut into the vinyl.
The significant cut can cause consumer-grade needles to jump out of place, and cause what is often referred to as a skipping record. With that said, greater amounts of compression or dynamic control may be needed to adequately prepare a master for the vinyl cutting process.

If significant dynamics exist during the cutting process, it may cause a record to skip on consumer-grade equipment.
However, if limiting is avoided, a quieter master can be provided that still retains a fair amount of its dynamics, without the risks of a significant cut and a subsequent skipping record.
Although there are no exact metrics I can give you to adequately cover all compression-based situations, it’s fair to say that any excessively loud dynamic or amplitude increase creates the risk for a record that will skip.
4. Gently Introduce Low-Level Compression
This step may be less obvious but is important nonetheless. Because we’re avoiding limiting or significant limiting when mastering for vinyl, this means that the quieter aspects of a recording will not be amplified to roughly the same level of the formerly loudest aspects of the master.
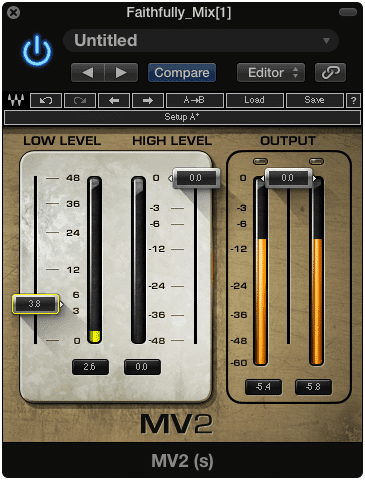
A low-level compressor amplifies quieter parts of the recording.
As a result, the quieter aspects of the recording will remain somewhat imperceivable and maybe lost on the listener. Fortunately, low-level compression can be used to augment these aspects and make them more perceivable to the listener.

Low-level compression makes quieter aspects of the recording more perceivable to the listener.
This is a great way to add some depth to a master, and considering excessive limiting cannot be used when mastering for vinyl, low-level compression is a good alternative.
Like most things when mastering, be sure to use this effect sparingly. If the low-level compression is significantly amplifying distortion or psychoacoustic effects, this can have a negative impact on a master intended for vinyl.
With that said, it’s best to use your discretion and judgment when introducing low-level compression to a master made for vinyl production.
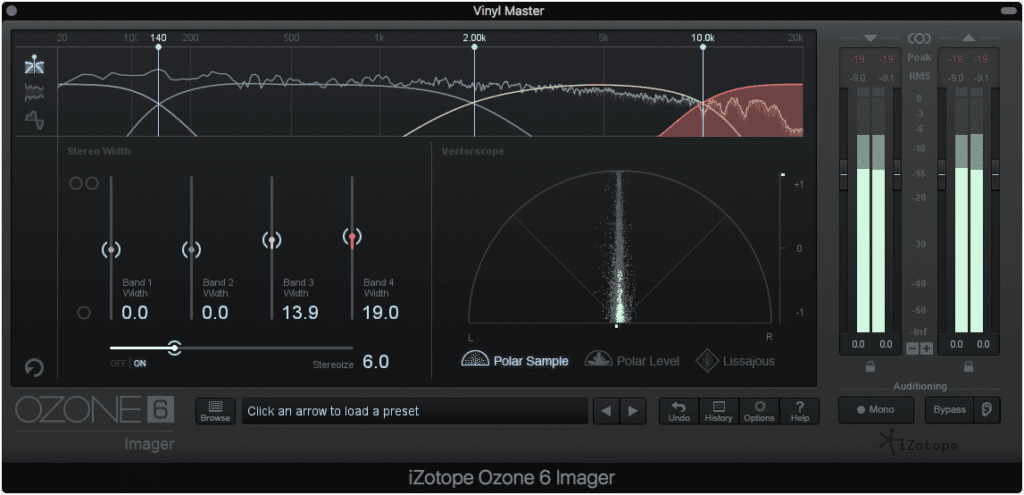
5. Avoid Significant Psychoacoustic Stereo-Imaging
Psychoacoustic stereo-imaging can sound great when implemented on a digital master; however, the physical limitations of a vinyl record may not permit an excessively wide stereo image.
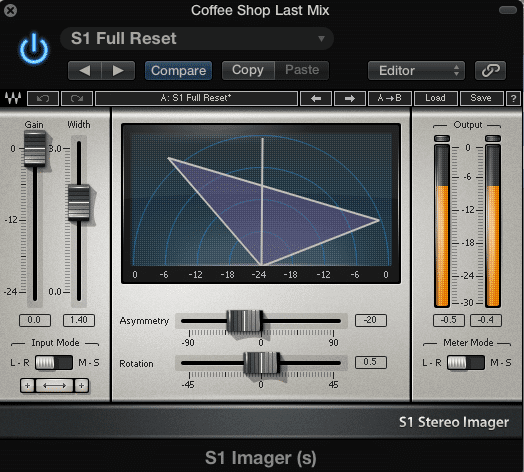
Stereo imaging may sound good on a digital record, but the image may be too wide for a vinyl record.
The same type of limitation can be observed with many stereo playback systems - oftentimes, a stereo system is not designed to handle an incredibly wide stereo image, and as a result, any signal outside the “boundaries” of the permitted stereo image is attenuated.
Imager's like this one should typically be avoided when mastering for vinyl.
This idea follows for a vinyl record. Since certain stereo widths cannot be supported, any information that exceeds the physical limitations of a record will be attenuated and lost.
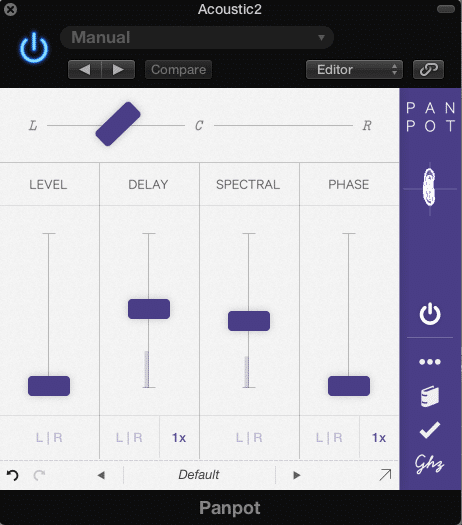
Although this panpot plugin isn't typically used in mastering, if mixing for vinyl, using this plugin excessively will cause issues later one.
With that in mind, it is best not to use psychoacoustic effects that cause an excessively wide stereo image when mastering for vinyl.
This includes but isn’t limited to:
- Stereo Imagers
- Stereo Delays
- Hass Effect Based Delays
- Multiband Imagers
- Excessive amplification of the side image
6. Avoid Unnecessary Harmonic Generation or Distortion
Typically speaking, harmonic generation is a great way to add complexity to a master. It fills the gaps in the frequency spectrum and makes the fundamentals from which they originate more easily perceived.
Too much distortion during mastering will result in an overly distorted vinyl record.
But, when mastering for vinyl, any distortion present in the master will be exacerbated by the vinyl cutting and reproduction process. This means that harmonic generation needs to be introduced mildly , otherwise the harmonics may become too present, and potentially unpleasant to the listener.
The cutting and reproduction add distortion, so combining distortion added during mastering, and distortion added during mixing may become excessive.
The same goes for any other form of distortion. Because the cutting process introduces its own forms of distortion, including phase distortion, harmonic distortion, and general noise, adding other forms of distortion may result in an unwanted level of distortion.
Furthermore, excessive high order harmonics, or harmonics present in higher frequencies, may result in a similar effect to that of excessive sibilance, in that the excessive amplitude of the higher frequencies causes even more distortion by overwhelming the lathe.
With all of these potential issues in mind, it’s safe to say that distortion is best avoided when mastering for vinyl. Granted, minimalistic harmonic generation will occur during any analog mastering session; however, these harmonics will not pose an issue unless added excessively.
If you’d like to learn more about how analog mastering adds these harmonics, here is a blog post that details analog mastering, and the processing it includes:
It shows how analog mastering imparts unique sonic characteristics onto a master.
Or if you’d like to hear how analog mastering can affect a sound source, you can have your mix mastered with solely analog equipment for free:
This way you can determine for yourself if analog processing makes a significant difference during the mastering stage.
7. Avoid Excessive Limiting and Gain Reduction
In a traditional mastering scenario, significant limiting and gain reduction causes negative effects for the fidelity and enjoyability of the master. This is equally true when mastering for vinyl.
Similar to other forms of distortion previously mentioned, any clipping distortion present in a master will be exacerbated during the vinyl cutting process . As a result, limiting and significant truncation of a signal during mastering should be avoided, if excessive distortion is to be avoided during record playback.
Although excessive limiting is often used during mastering, the negative effects it has will be exacerbated when imparted on a vinyl record.
Although a lack of dynamics is a negative sonic effect, it does remedy the effect of a highly dynamic master, in that a skipping record won’t be an issue. However, the negative effects of clipping distortion, along with the unpleasant sound of a master without much dynamic range, seems to negate any benefit an excessively limited master would have.
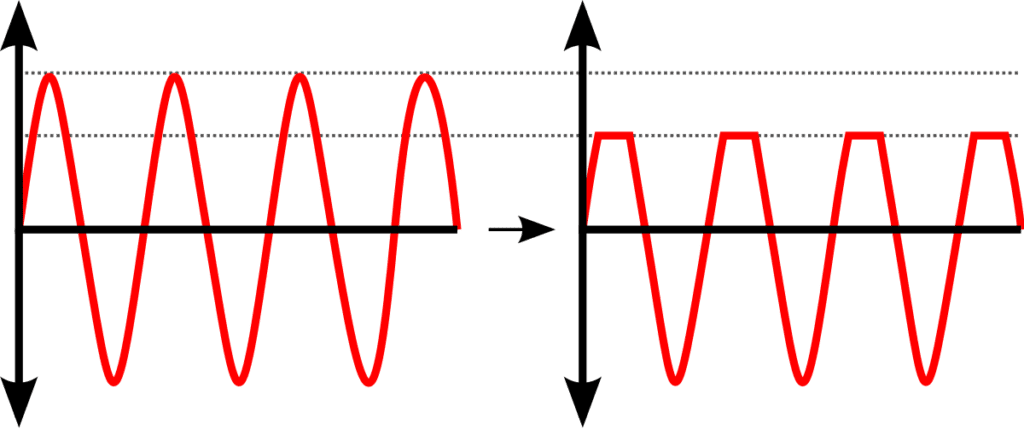
Any clipping distortion in the master will cause even more distortion during the cutting process.
With that said, vinyl records are often described as sounding more dynamic - this is due in part to the lack of brick wall limiting used during a vinyl mastering session, and the somewhat quieter levels established during this mastering session.
By avoiding excessing limiting while mastering for vinyl, you, in turn, reduce distortion, increase the dynamic range, and benefit the sound quality of a master and the vinyl record onto which it has been cut.
With that said, use limiting only to protect against clipping , and not as a means to push the signal into an overall louder volume.
8. Sequence the Tracks to Avoid Excessive Sibilance Toward the Record’s Center
Unlike a digital format, the vinyl record has distinct physical limitations that affect the sound source imparted onto it. This is true for the dynamic range, the frequency spectrum, the stereo image, the amount of distortion introduced, and many other smaller factors.
One of the most notable and perhaps more interesting effects is how the shape of the vinyl record, eventually causes higher frequencies to be attenuated, the closer the needle gets toward the center.

The closer a needle gets to the center of the record, the less high-end frequencies the needle can replicate.
In short, the record spins at a constant rate. This means the needle is traveling at the same speed; however, the distance the needle is traveling is constantly changing.
This is due to the groove in which a needle is placed becoming smaller and smaller the closer the gets to the center of the record. As a result, the velocity of the needle decreases , and the higher frequencies are no longer able to be replicated by the needle.
Generally speaking, by the time the needle reaches the inside of the record, 15kHz. has been attenuated by 3dB.
This same effect can be demonstrated by speeding a 33 1/3 rpm record up to 45 rpm. If you do so, you’ll notice that the pitch of the entire recording increases.

When comparing a 45 rpm record and a 33 1/3 rpm record, you'll notice that increasing the speed of one will alter the pitch and the frequency spectrum.
All this to say, that tracks with an amplified high-frequency range will not be accurately representedif sequenced toward the middle of a record. With that said, some planning needs to go into determining which tracks will be best suited for the center of a record.
Typically, songs that are softer, or tracks that don’t include cymbals or high-frequency information will work better at the center of a record. Accounting for this effect does mean knowing the sequence prior to making any release, be it digital, vinyl, or other.
To avoid this issue, sequence softer songs toward the center of the record.
That is why it’s important to know about this effect prior to sequencing a record or releasing a digital version prior to the vinyl release.
If you’d like to learn more about how this high-frequency attenuation is accommodated for during the cutting process, check out our other blog post on the topic:
Why Have a Separate Master for Vinyl?
Having a separate master for vinyl allows for a master to be created, which is specifically tailored toward the physical limitations of a vinyl record. If you use the master created for a digital release for a vinyl release, you may encounter many sonic and technical issues during playback.
The technical limitations of a vinyl record, necessitate a separate master made specifically for it.
By creating a separate master for vinyl, you can ensure that the vinyl sounds as good as it possibly can. Again, using a digital master for a vinyl record can cause the degradation of the sonic quality of a vinyl release.
Conclusion
Creating a separate master for vinyl is more about adhering to the technical limitations of the vinyl record, than trying to create something as sonically impressive as possible.
In a digital mastering session, many creative forms of processing can be implemented to keep the master competitive with other masters out at that given moment. But, doing these same types of processing for a vinyl master would cause significant issues.
That’s why following the above steps, and limiting the amount of processing added during a vinyl mastering session is so important to creating a good sounding vinyl record.
As stated above, not adhering to the technical limitations of a vinyl record can lead to various forms of distortion, issues with stereo imaging, and record playback. At it’s worst, improperly mastering for vinyl can result in an unplayable record.
If you want to create a vinyl record that sounds pleasant, accurate represents the master printed onto it, and can be reliably played back on consumer-grade equipment, then following the steps detailed above is paramount.
If you want to hear your mix mastered, and to find a studio that can master for vinyl, send it to us here:
We’ll master it for you, and send you a free mastered sample of your mix.
Have you ever released an album on vinyl?


