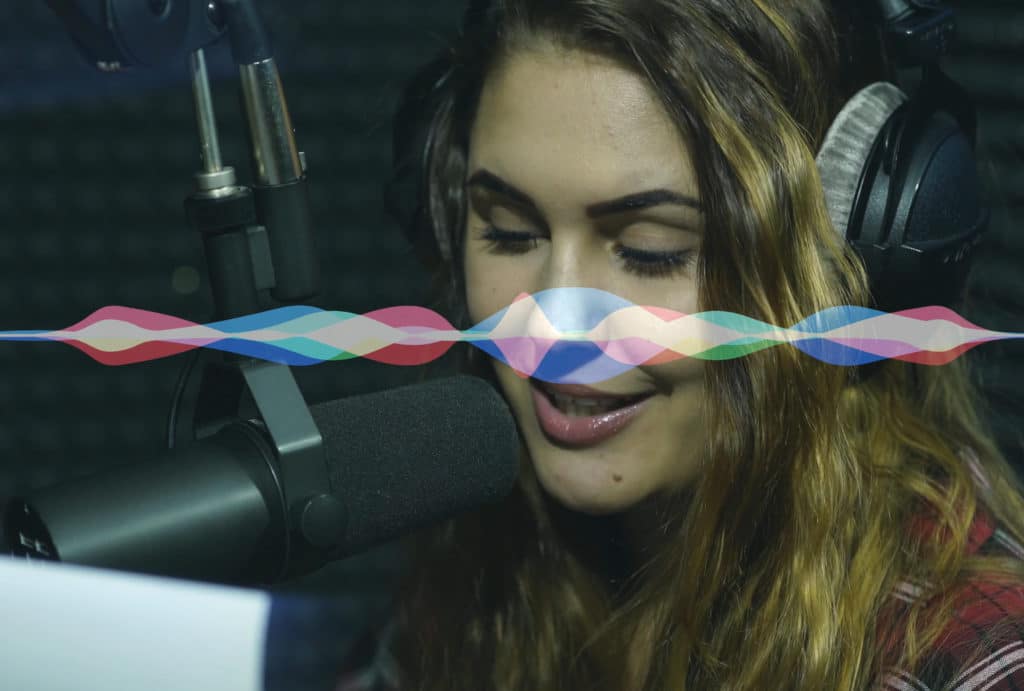
Mastering Music for Film and Video
Quick Answer
Mastering Music for Film and Video is the process of preparing musical recordings for distribution through visual media like movies, television shows, and video blog posts. Mastering Music for Film and Video will vary based on the type of visual media being created, and the means of distribution.
Mastering Music for Film and Video in Detail
As television, video content creation, and movies have become increasingly popular, the need for properly produced and mastered background music has risen.
As the means by which to create and view these videos become more accessible, it can only be assumed that the need for music for these videos will continuously increase.
With that in mind, if you’re an artist or an engineer, it’s incredibly advantageous to be able to create music with this form of media in mind. Doing so means maximizing a video creator’s possibilities, as well as working within the guidelines of what best suits the medium.
Mastering music for film and video is different than mastering music regularly.
To cover this topic in a comprehensive way, we’ll look at it from two perspectives. We’ll consider how an engineer should prepare music masters that they’re sending to other video creators , as well as consider how to master the audio of a video if you’re the video creator.
Despite the connection between the two perspectives listed above, the processes for each are wildly different, so it’s important to make this distinction.
We’ll discuss how loud a music master should be if it’ll be distributed on video, and, how to route your mastering session (using stem mastering) in a way that will ultimately best accommodate a video creator.
Furthermore, we’ll discuss how compression and dynamic range will play a larger role than normal when mastering music for visual media.
We’ll also consider how loud the final video should be based on how it gets distributed, be it through YouTube, in theaters, or over Netflix.
One more thing to consider is that we’ll use the term ‘Film’ in its more common definition - so it won’t be used to describe actual film-based recordings and the classic equipment used to create film recordings, but movies in general.
The reason this distinction should be made is due to how the varying equipment used in classic and modern movies differ in their respective processing and final execution.
If you’re making a movie, or you have some music that you’d like mastered for a movie or other form of visual media, send it to us here:
We’ll master the track for you and send you a free mastered sample of it for you to review.
How to Master Music for Film and TV
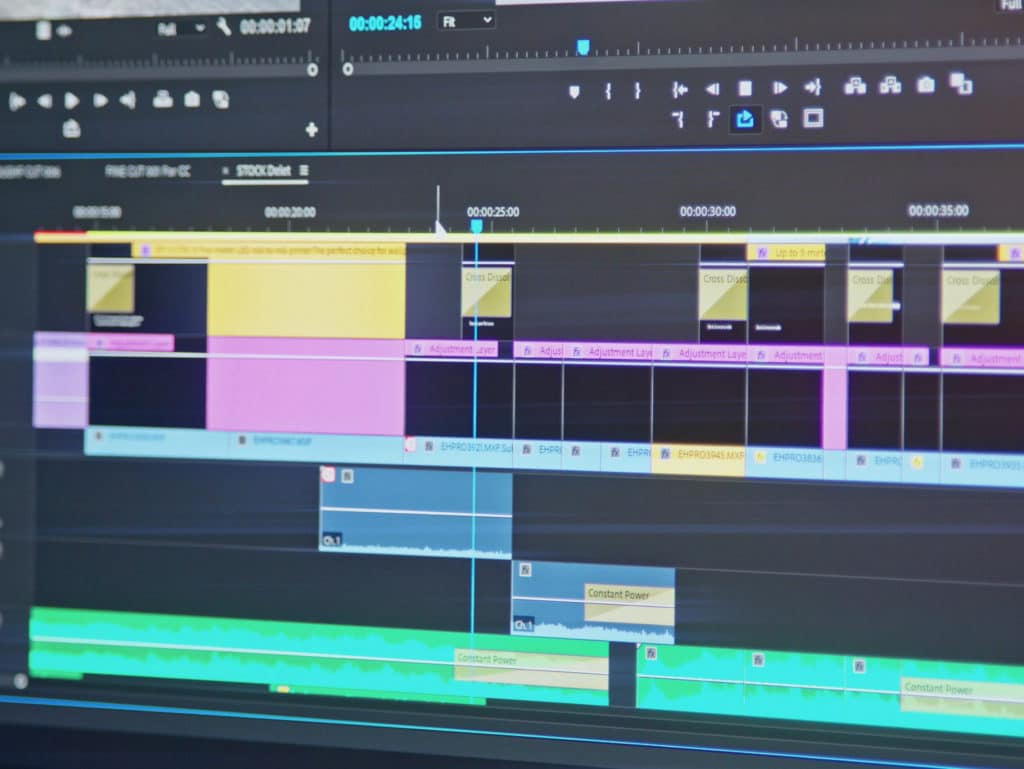
When mastering music for Film and TV, it’s best to use Stem Mastering, as this form of mastering will give you the ability to easily create multiple versions of your master and song. Having multiple versions of a master is incredibly important to film and TV producers.
Let’s look at how to set up a stem mastering session. In order to do this, it’s really important to understand how to create stems from your mix session - so let’s start there.
How to Properly Export Stems from a Mix for Stem Mastering
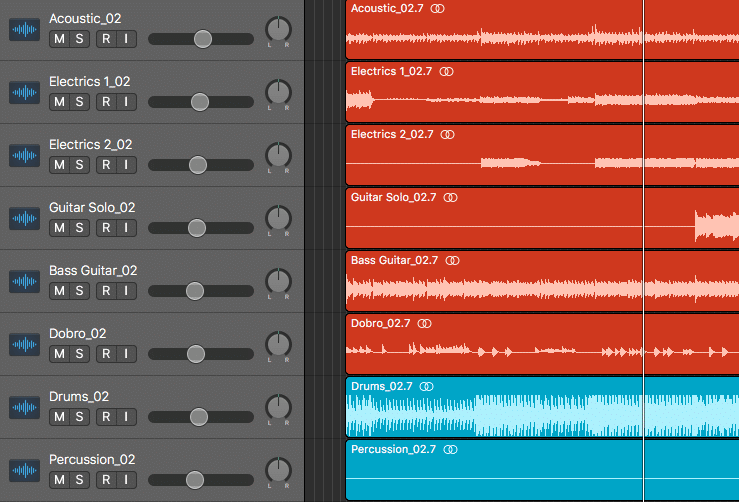
Step 1: Open your mix session, and if you haven’t already, organize your tracks on instrument type. So all of the drums go together, the guitars, or synths, and so on.
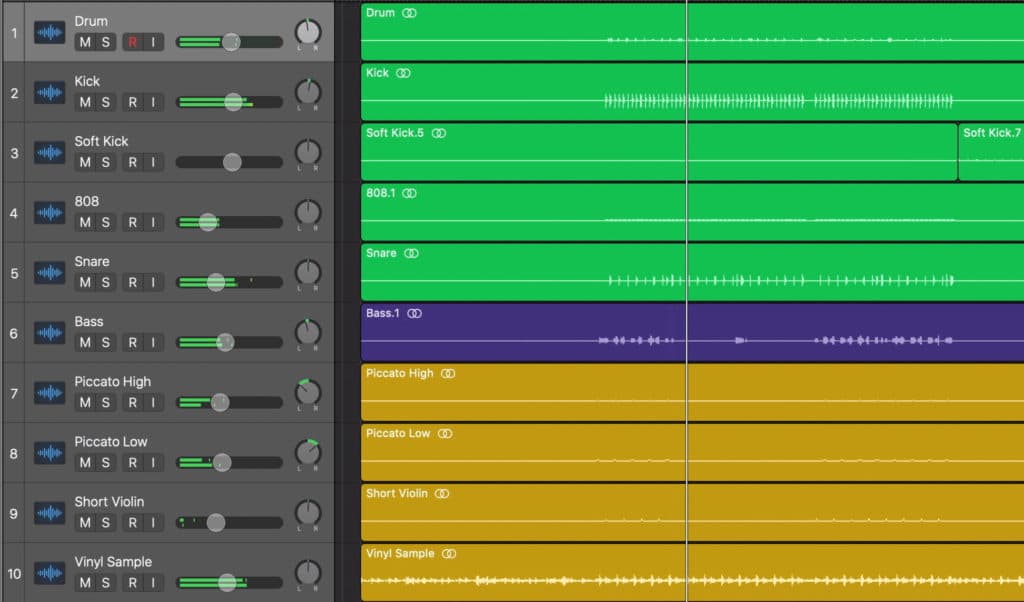
Notice how the groups of instruments are organized and collected.
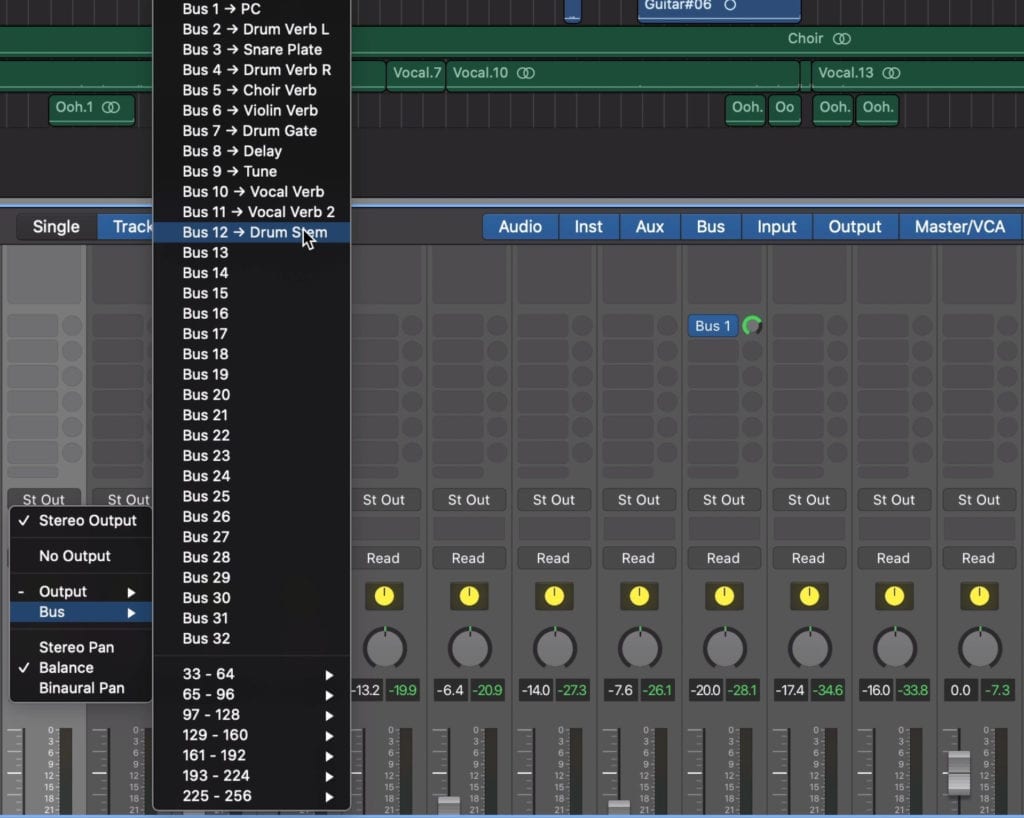
Step 2: Once your tracks are organized, highlight them and change their output from the stereo output to a bus. If you’re already using busses for some of your effects, then choose the next available bus.
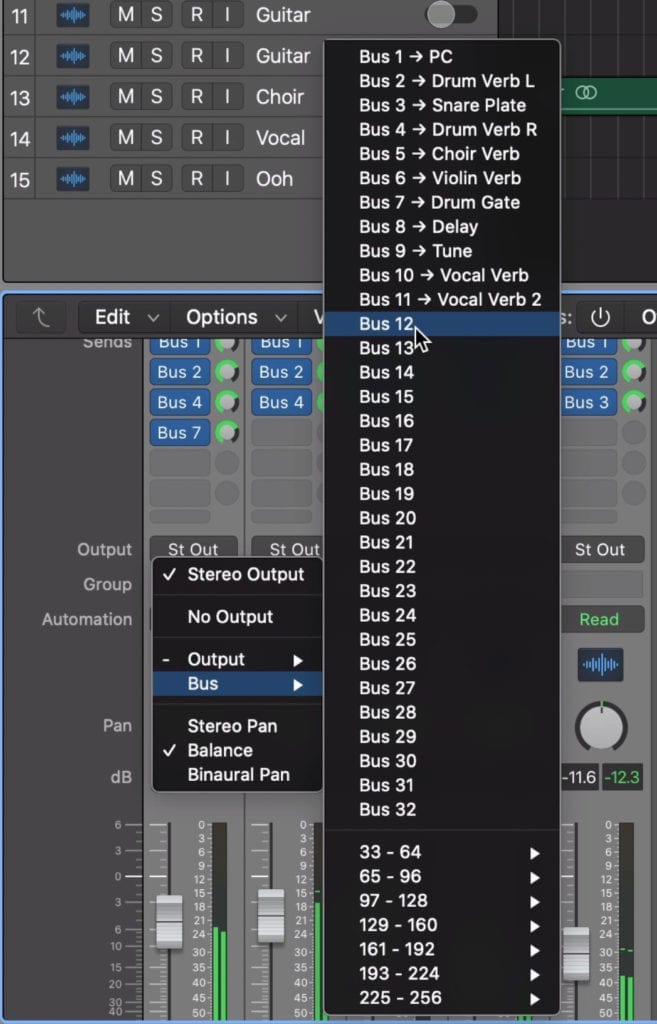
Select the next available bus .
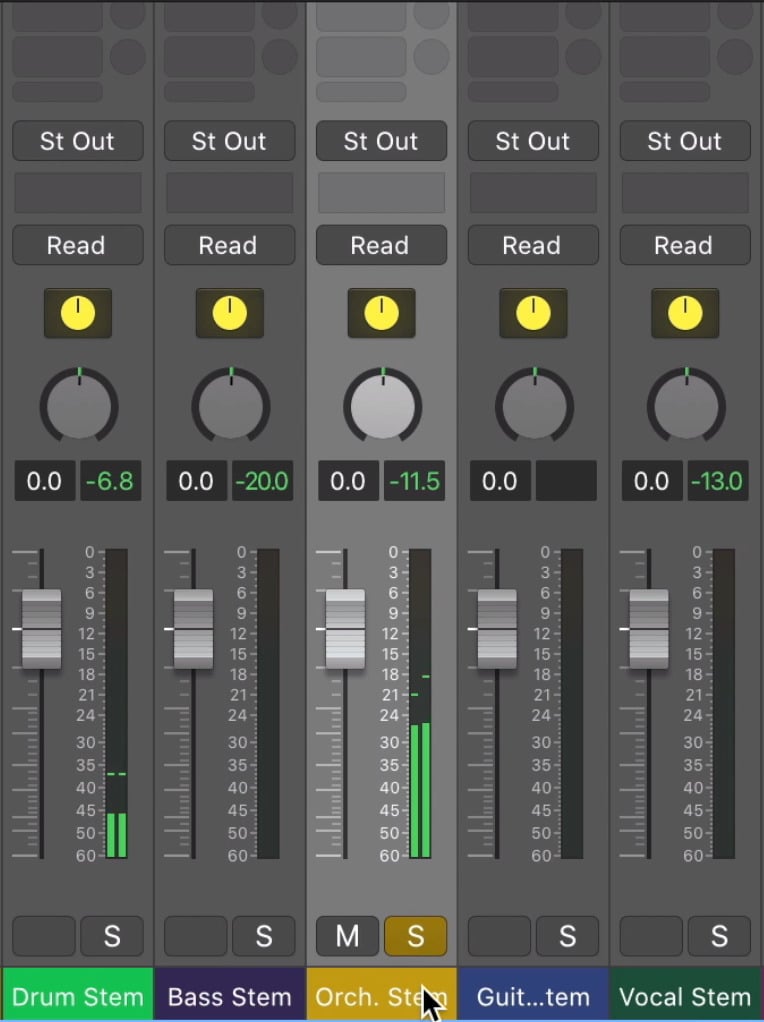
Step 3: With this bus created, change the name of it so that you don’t confuse it with other busses. So for example, if you’re sending all of your percussive tracks to this bus, name it Drum Stem, or something similar .
Notice how I've retitled the bus 'Drum Stem'
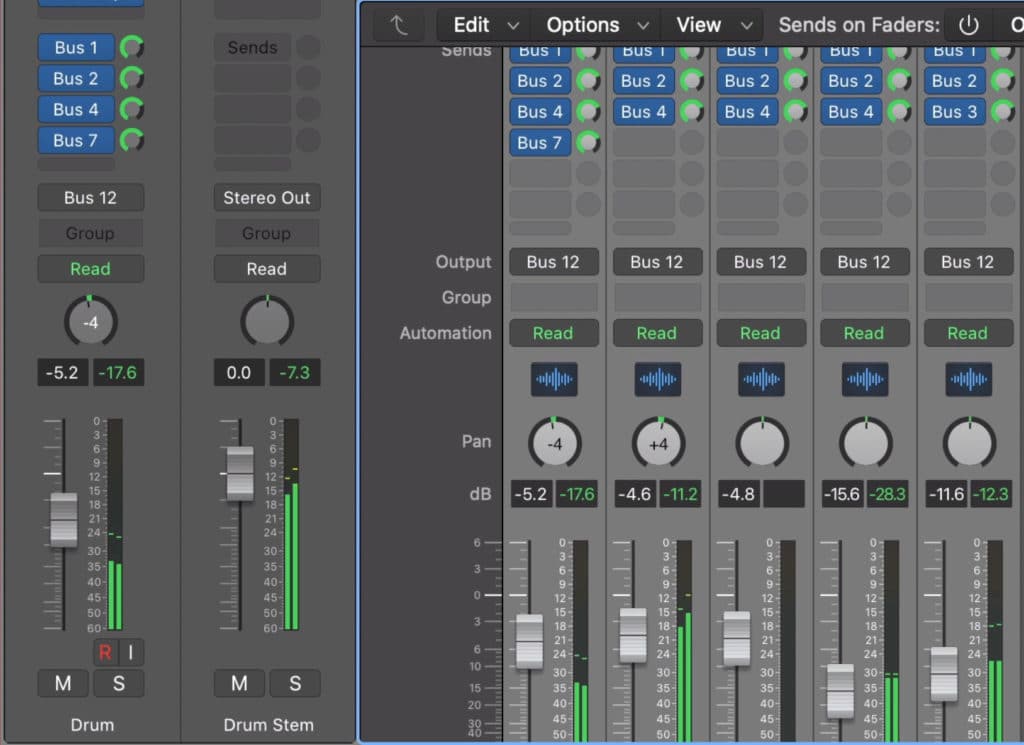
Step 4: If you have effects busses, like a reverb auxiliary track or maybe a parallel compression track, you’ll need to change their outputs to your Drum Stem, or whatever stem bus you’re creating.
If auxiliary effects aren't sent to the correct stem bus, this will lead to incorrect effects being printed on the wrong stems.
This way, both the tracks and their effects are routed to this bus. That said, a stem should include both the original signal and the effects used on that signal.
One issue you may encounter is if you routed multiple different instrument tracks to one effects bus. So say you routed guitars and vocals to a reverb bus that the drums were also sent to.
If this is the case, simply mute any sends to this bus from instruments other than the drums, otherwise, the effects of these unrelated instruments will be printed onto your drum stem.
Routing parallel compression is tricky - for example if you're exporting a drum stem, and both the drums and vocals were sent to this parallel compressor, how would you mute the vocals from the compression without changing the timbre and effect of the compressor? That's why its best to keep effects separate to each instrument group.
In instances like parallel compression, this method isn’t ideal though, as the compressor will react differently depending on how much signal is being sent to it. With that in mind, it’s best not to send multiple instrument types to a bus compressor if you want to export stems.
Step 5: Once all of your routing is complete and you’ve successfully created your stem auxiliary tracks, solo these tracks and export them one by one.
Solo the stem you want to bounce and export it.
When combined, these stems should nearly perfectly or perfectly resemble your full stereo mix.
These are the stems you’ll use for your stem mastering session.
How to Perform Stem Mastering
To perform stem mastering, the processing used should not be performed on the stereo output, but instead, used on each stem. The reason being, these stems will be exported individually, meaning that they’d be affected differently by the stereo output’s processing then we processed creatively.
Let’s look at this in greater detail to understand it better.
One of the biggest mistakes I hear when receiving improperly mastered stems is when the combination of all stems doesn’t sound like a finished master. Instead, the combination causes severe clipping distortion.
In all honesty, this is a very common occurrence and is caused by engineers adding processing to the stereo output of a stem mastering session instead of solely on the stems. For example, if the output includes a limiter that adds 6dB of level, then each stem will be amplified by 6dB.
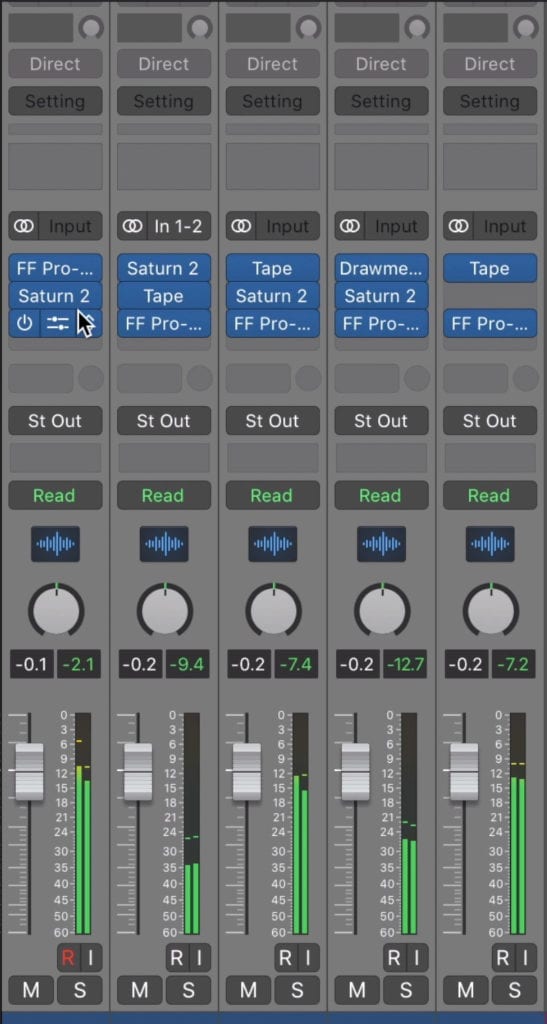
Perform all of your processing on the stems, not on the master output or stereo output.
When this is performed to all stems at once, phase cancellation between the groups will cause this to occur at an appropriate level - but, when performed to individual stems as they are soloed and exported, the stem will be made much louder.
These stems are in turn too loud so that when they’re combined, severe clipping distortion occurs.
With that in mind, I cannot emphasize enough that processing should only occur on the stems . This may be a more difficult way to master a stem mastering session, but it’ll result in a superior sound, and will be much more useful to any video producer.
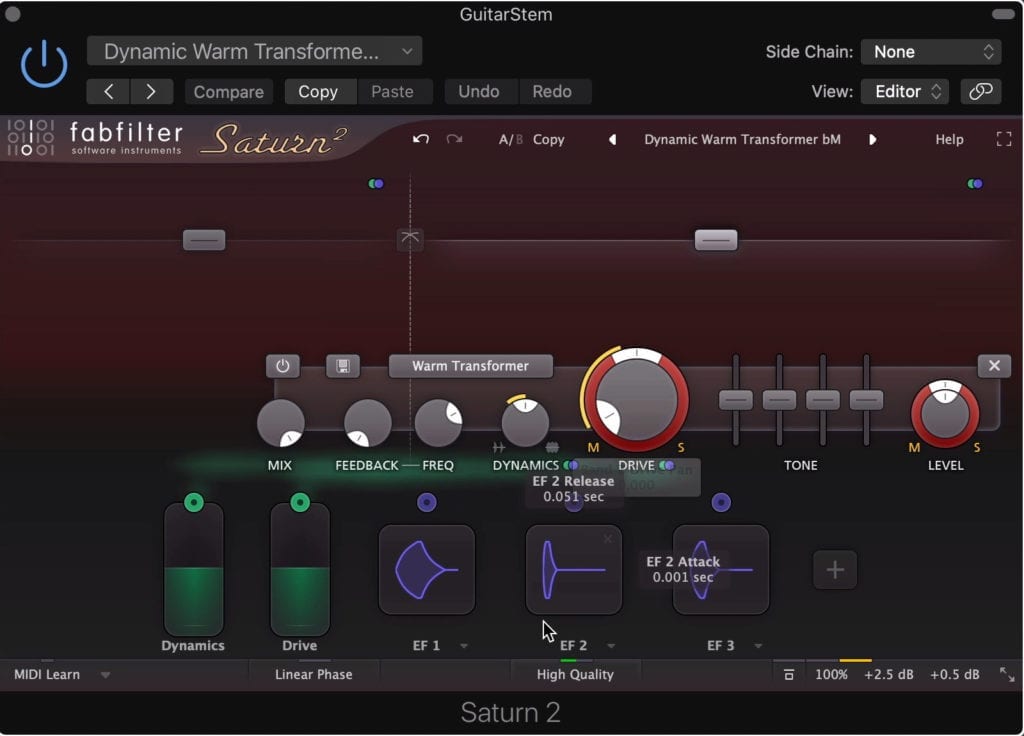
All effects, like equalization, saturation, and so on, should be performed on the stems.
In short, add your compression, equalization, saturation, and limiting to each stem. Process each stem with the goal of having the full master sound as great as it can. Once you’re satisfied with the sound of the stereo output, solo each stem and export them one by one, as well as export a full version of the song.
With multiple stems that can be recombined, a video producer can create as many versions as needed.
This way a video producer can create multiple versions of a song to suit the needs of a scene or part of the video.
If you’re like to learn more about stem mastering, or to see another example of stem mastering, check out our blog post and video on the topic:
Both of these blog posts and videos offer a lot of valuable information on stem mastering.
How Loud Should a Music Master for TV and Film Be?
When performing a music stem mastering session for TV and Film, it’s best to establish a loudness of an integrated -14 LUFS to -10 LUFS. Although the level of the final video will most likely not be this loud, the music itself can be made this loud.
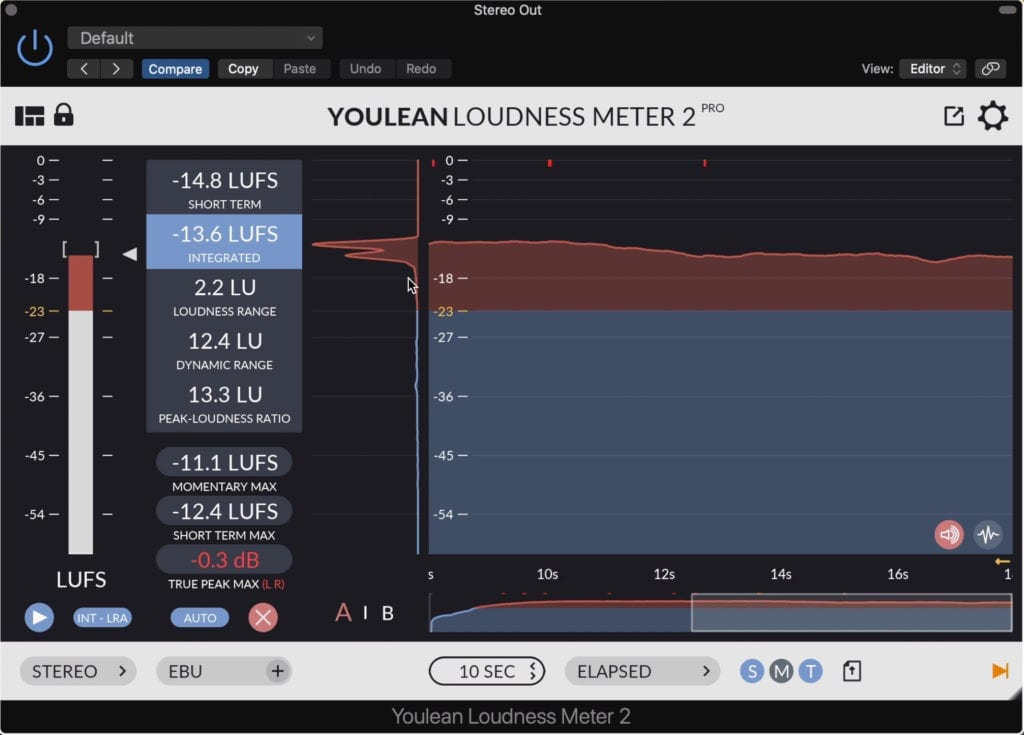
-14 LUFS is a good loudness for music mastered for film. It'll most likely be turned down by the video creator.
How Dynamic Should a Music Master for TV and Film Be?
How dynamic a music recording mastered for tv and film should be is dependent on the type of project. For example, music mastered for horror movies is often much more dynamic than music mastered for a television broadcast romantic comedy - it truly depends on how the music will be used.
How dynamic a music master for video should be depends on the video type.
If the music you’re mastering will serve as background music, on top of which dialogue is being played, then less dynamic is better. The reason being, background music should be consistent and not attract too much attention to itself.
If the video is dialogue heavy, it helps if the music has a consistent dynamic range.
If this background music is constantly going up or down in amplitude, it may be distracting and in turn, detract from the dialogue or important foreground audio.

In movies, music is typically more dynamic.
But in the horror movie example provided before, the music will play a key role in building suspense and will tie heavily into the visual content.

In movies where music builds suspense, the music needs to be dynamic.
In that regard, having a dynamically squashed track would be run counter to the goal of the music. If there are no dynamics present then the music’s ability to build suspense for the viewer has been taken away.
With that said, how dynamic you make your music master will heavily depend on how it is going to be used. If possible, find out how your project will be used, and if you can’t, then find a happy medium for your master’s dynamics.
How your music is used will determine how dynamic it should be.
If you’re mastering music for video, and aren’t sure where to start or how to finish your project, send it to us here:
We’ll master the track for you and send you a free mastered sample of it for you to review.
How Loud Should a Final Video Be?
How loud a final video should be depends on the platform on which the video will be streamed, aired, or projected as different mediums call for different loudnesses. This loudness will range from an integrated loudness of -27 LUFS to an integrated -13 LUFS, depending on the medium.
Just to make things simple, here are the maximum loudnesses of each medium:
Netflix: Integrated -27 LUFS, max peak at -2dBTP

Netflix doesn't use normalization - this is the max accepted loudness for the signal
Theater: Integrated -27 LUFS, max peak at -2dBTP

Theaters don't use normalization - this is the max accepted loudness for the signal
Television: Integrated -24 LUFS, max peak at -2dBTP

Television doesn't use normalization - this is the max accepted loudness for the signal
YouTube: Integrated -15 to 13LUFS, max peak at -2dBTP

YouTube uses normalization - it will turn audio down if it goes above these levels.
Now, it should be noted that there is a difference between some of these metrics - primarily between YouTube and the other 3 mediums.
Whereas YouTube introduces normalization that will turn down any audio louder than the max integrated LUFS and peak, Netflix, Theater, and Television do not.
In other words, you cannot make your audio louder than the numbers shown for Netflix, Theater, and Television , without being asked to make a revision by the body governing these forms of broadcast.
Although it may sound like I’m being dramatic, there are legal implications for broadcasting any material greater than these metrics. For example, the CALM act of 2010 insists that no audio can be broadcast on television which is greater than -24 LUFS and/or with a peak greater than -2dBTP.
This came after numerous complaints of drastic volume inconsistencies between the broadcast program and the advertisements.
Something similar can be said about movies shown in theaters. After lawsuits made due to hearing loss present a significant financial loss to movie theaters, it was decided that no movie can be shown with an integrated loudness greater than -27 LUFS and/or with any peaks greater than -2dBTP.
Netflix doesn't use normalization and requires that programs are created with a maximum LUFS and dBTP
Although I couldn’t find information on why Netflix set its particular level, it seems that it's following in the footsteps on theaters.
When it comes to YouTube, we have to consider the wide range of media that’s uploaded to it. Some videos are dialogue-centric, some are strictly music, and some have little to no audio whatsoever, so determining a loudness is most likely due to what’s most popular on the site.

YouTube has a lot of different media types, from music, to lectures and podcasts, so they need to use normalization to find a right balance.
That said, music definitely plays a large role on YouTube, so allowing for normalization settings best suited for music is a good idea on YouTube’s part. Furthermore, YouTube’s normalization works in a unique way.
Whereas other normalization algorithms on other platforms both turn up and down audio that doesn’t meet the mark, YouTube’s algorithm only turns audio down.
Streaming services for music turn music both up and down to match a particular loudness, YouTube does not do this exactly.
In other words, if your video too quiet, YouTube will maintain its loudness as is, but if it goes over, it’ll be turned down.
If you want to learn more about loudness normalization and how other streaming services like Spotify, Apple Music, Soundcloud, and others normalize or don’t normalize audio, check out our blog post and video on the topic:
In it, we go into great detail about how these services alter the audio distributed to them.
Although the final loudness of video doesn’t largely impact how music is mastered for it, it does play a role nonetheless. For example, if your music is going into a Netflix show, it may be better to master it with a little more compression, and more of a forward sound.
The reason being, the quieter volume of the streaming will make a very dynamic master harder to hear. As stated before though, this may truly depend on the type of video being shown.

If your video is quiet and upload to YouTube, it will remain quiet. It will only be turned down if it goes about the loudness ceiling.
If you’re mastering music that will end up on YouTube, try to master your music closer to the -14 LUFS mark, especially if the video is a music video or one in which the music is the main focus.
It’s really important to note that you do not need to master music to the exact specifications of the medium it will be distributed through - just because TV can only be broadcast at -24 LUFS doesn’t mean your music master needs to be that quite.
Your master will simply be turned down by the audio mixer of the video prior to it being sent out for broadcast.
Conclusion
Mastering music for Film and Video truly depends on a lot of factors. How the music is used, and the type of video the music is being mastered for will truly affect the loudness and dynamic range of your master.
Furthermore, it’s important to understand how to set up your session for stem mastering. Doing so means understanding how to properly export stems, and how to master stems without using your stereo output.
Knowing how to export and master stems is the most important part of creating music for Film and Video.
If you’re able to make stem masters properly, your music will be a lot more useful to those who are making videos and using music as the background for those videos.
If you’re the one making the videos in addition to mastering the music, you have a lot of factors to consider. Some of the most important ones are the limitations set in place by television broadcasts, and streaming services like Netflix.
If you’re making a movie, or you have some music that you’d like mastered for a movie or other form of visual media, send it to us here:
We’ll master the track for you and send you a free mastered sample of it for you to review.
Do you master music for TV and Film?


