1 Technique to Make Your Drums Dynamic
It’s never easy mixing drums. Making 8 or oven more separate instruments sound cohesive, yet dynamic and detailed is enough to make anyone’s head spin.
Unfortunately, many of us turn to heavy, dynamic killing compression and limiting to make this mixing process easier.
Fortunately, there is a way to make them exciting and dynamic again.
Use this technique whenever your drums need to stand out, or pop in your mix.
How To Make Your Drums Dynamic Using Automation
Step 1: Turn on Automation. Change the ‘Read’ function on your automation, to ‘Latch.’ Lastly make sure that you are automating the volume.

Step 2: While the track plays, slowly move your channel fader up and down, within the range of 1dB. This will write automation data that can be played back later.
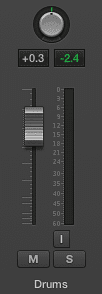
Use the channel fader associated with the track
Step 3: Review the data points you’ve just written, and adjust any that stick out beyond this 1dB range. If you use too large of a range, your automation may become noticeable to the extent of sounding unnatural.
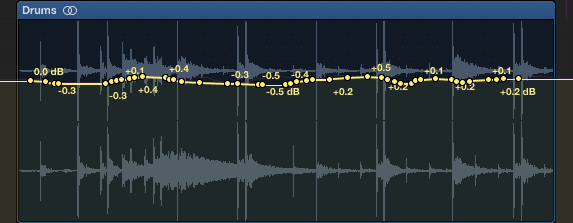
Notice the automation is random, and does not exceed .5db in either direction
Listen back to your drum track and decide if they need more dynamic range, or less. You can use the ‘Latch’ function to rewrite automation data, until you are content with a pass.
If your drums still need something, try the next step detailed below.
How To Create a Dynamic Expander
Step 1: Create an Aux send, and on the auxiliary track insert an expander. Set the send to unity (0dB) and play the drum track.
Step 2: While the drum track is playing, try to achieve 1dB of expansion using the expander.
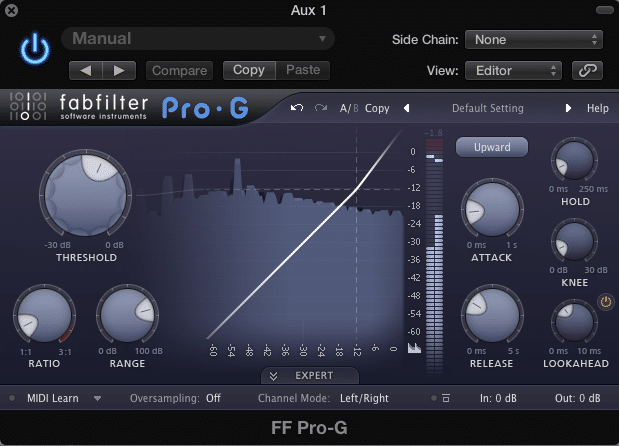
Lower the threshold until the peaks are slightly expanded
Step 3: Go back to the automation viewer, and change ‘Volume’ to ‘Send 1.’ This means that the automation is now affecting the signal sent to the auxiliary track.
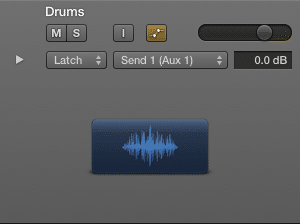
Step 4: Just like you did with the channel fader and volume automation, click the send rotary, and while the track is playing, adjust the send amount. Again limit the change to roughly a 1dB range.
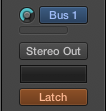
Click the rotary the the left of 'Bus 1.' Adjust it just like the channel fader
Step 5: Review the data points you’ve just written, and adjust any that stick out beyond this 1dB range.

All the points above are within a 1dB range
Listen to your drums and get a good sense of how they fit in the mix.
Even if your drums feel like they’re beyond the point of no return, try this automation technique, to add some much needed dynamics to your drums.
Conclusion:
This automation technique works great for drum groups, individual tracks, and even a full mix. Experiment with it, and leave your thoughts in the comments section.
What do you use to add dynamics to your drums?


