How to Prepare Your Mix for Mastering
Quick Answer
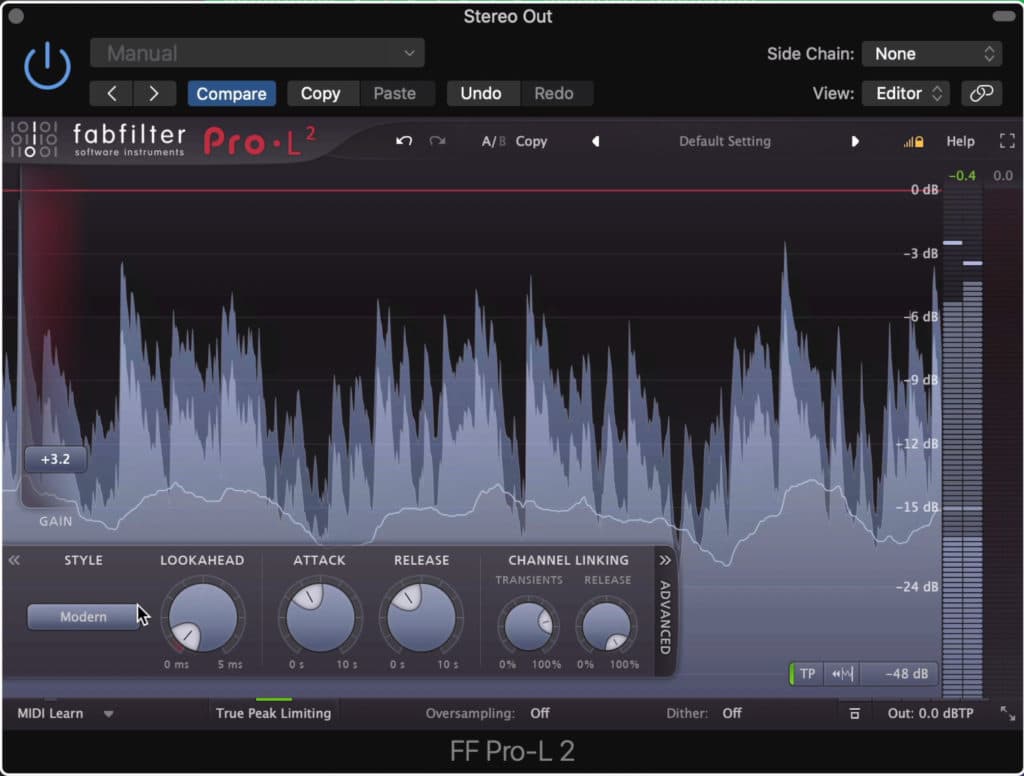
When preparing a mix for mastering, your output should be peaking around -3dBTP without the use of limiters, excessive bus compression, or any other form of mastering used on the mix. Additionally, it’s best to export your mix with the same sampling rate and bit depth as the original recording.
How to Prepare Your Mix for Mastering in Detail
Preparing a mix for mastering is one of the most important aspects of mixing in general. Of course, it’s important to create an impressive and creative mix, but all of that effort may be wasted if the mix isn’t properly prepared for the mastering process.
That’s why mixing engineers need to understand, at least in part, what occurs during mastering and how to optimize a mix for that process.
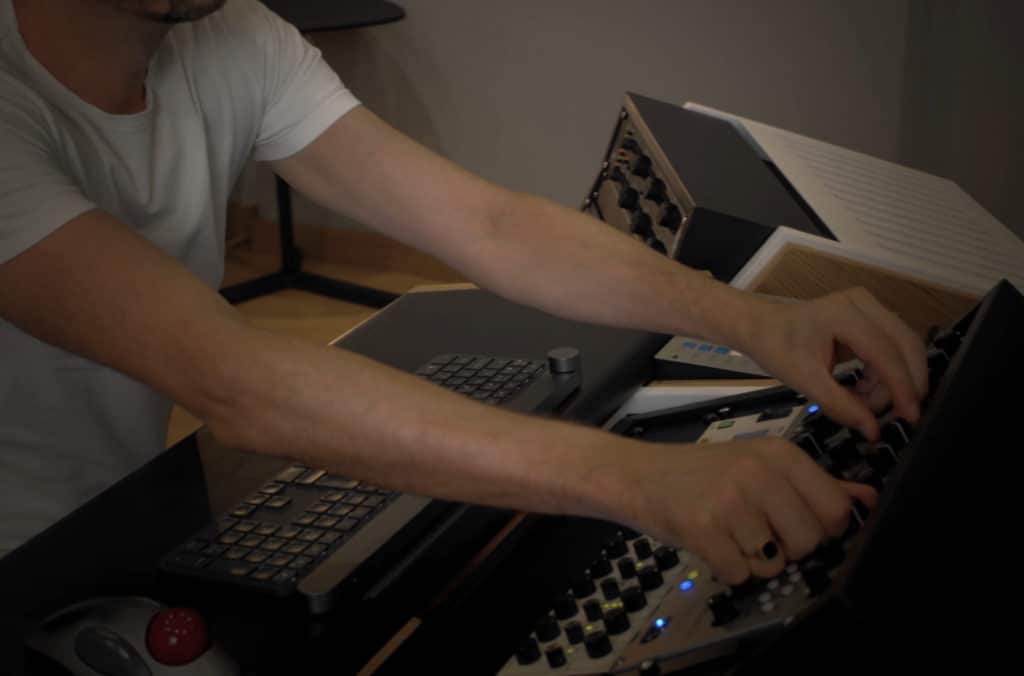
When finalizing your mix, you'll need to keep mastering in mind.
With that said, we’ll cover how to prepare a mix for mastering, including the levels your mix should be peaking at. We’ll also discuss what processing, if any, should be used on your master output.
Furthermore, we’ll consider the ramifications of mixing with a limiter on your master output to “hear how it will sound mastered” - and discuss why this may result in a worse sounding mix. Additionally, we’ll cover the settings that you should use when exporting your mix.
Lastly, we’ll listen to a mix that’s correctly prepared for mastering, as well as one that’s incorrectly prepared for mastering (in the video embedded above) to get a better understanding of the two mix types.
If you have a mix that you’d like to hear mastered, send it to us here:
We’ll master it for you and send you a free sample for you to review.
What Should the Loudest Peak of My Mix Be?
When preparing a mix for mastering, your loudest peak should be between -6dBTP and -3dBTP - this provides the mastering engineer with enough headroom for their processing. It also uses the majority of the available bit depth of the recording, in turn, utilizing the majority of the dynamic range.
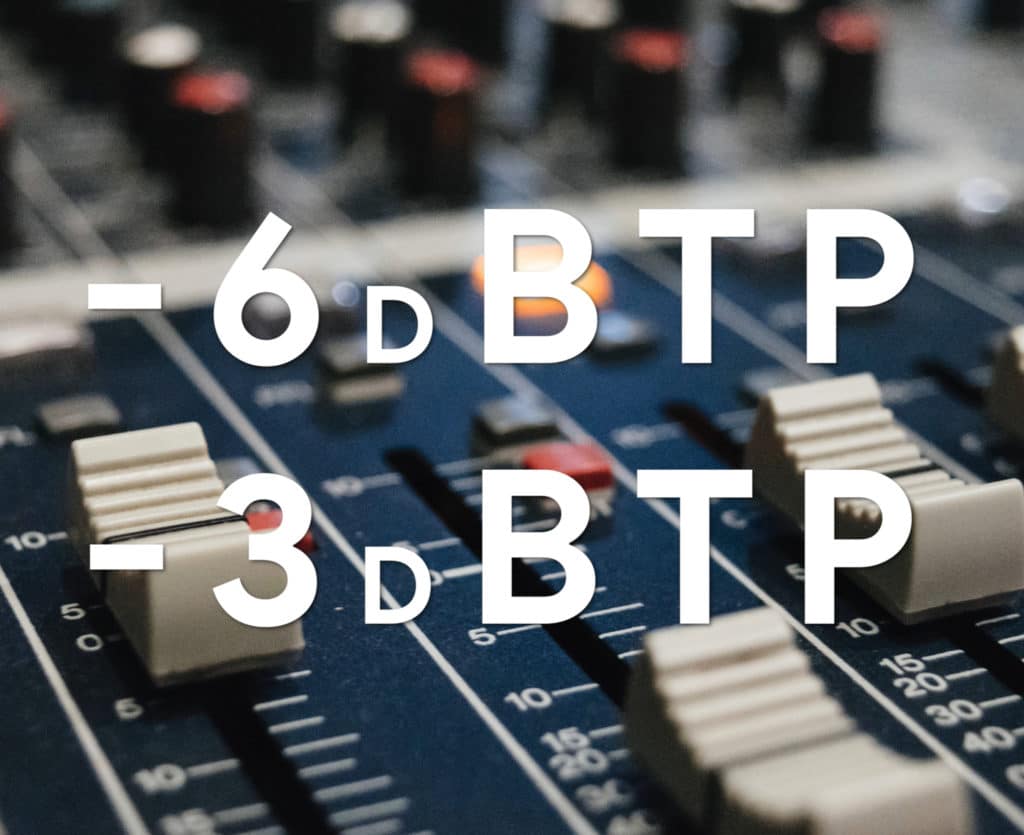
Your maximum peak should be between -6dBTP and -3dBTP.
Let’s break this down a little more and explain some of the more fundamental details of the headroom in a digital system.
When processing a signal in a DAW or digital audio workstation, 0dB is the loudest a signal can be before clipping distortion occurs.
0dB is the max level in a digital system.
The reason being, the bit depth of a recording determines how many bits can be used - when the signal is louder, more bits are being used, when it’s quieter, fewer bits are being used.
That said, 0dB or unity represents the maximum number of bits that can be used or the highest available positive value for the signal. Think of this level as a ceiling, of which the signal cannot pass or become greater than - if you try to push the signal past this point, the waveform will distort.
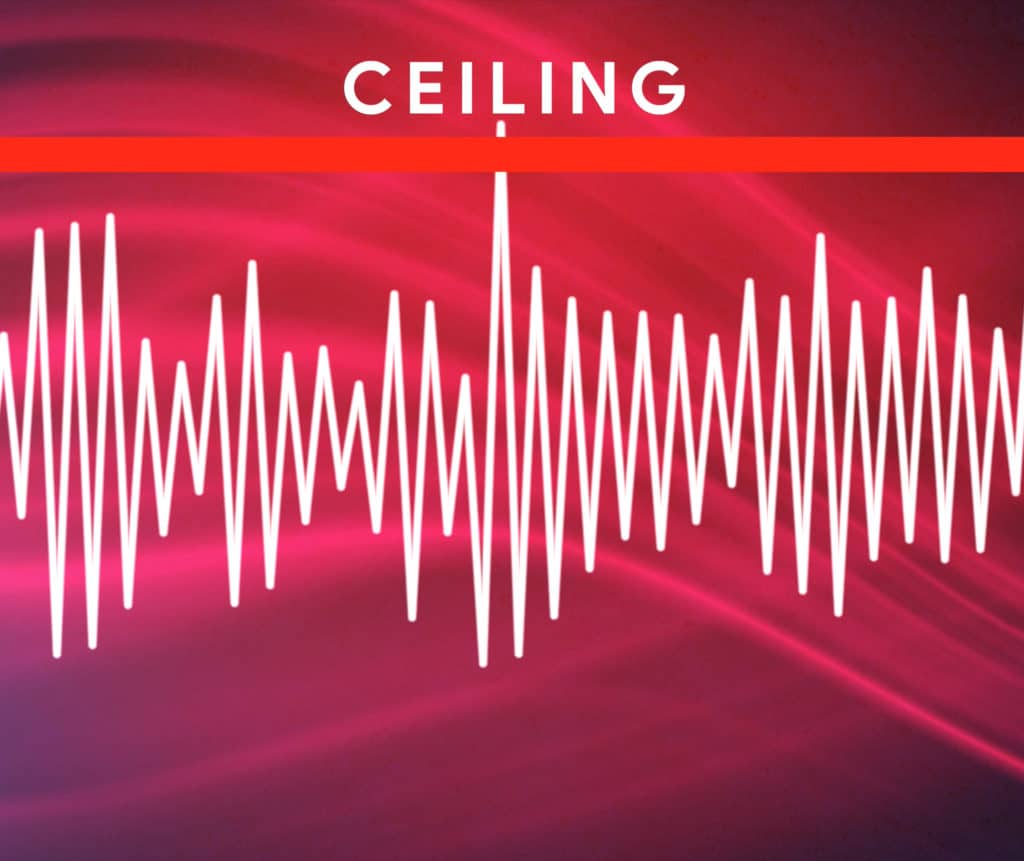
Once the signal hits 0dB, it will begin to distort.
This distortion will cause unpleasant sounding harmonics which will greatly change the tone and timbre of your mix. That said, it can easily cause a lot of harm to your mix quickly, so be sure that you’re mix is not clipping - especially at the stereo output.
Clipping distortion causes unpleasant sounding harmonics.
By leaving -6dBTP to -3dBTP of headroom , you’re using a fair amount of the possible bits while leaving enough space for a mastering engineer to work.
If you’d like to learn more about headroom, check out our video and blog post on the topic:
In it, we cover how headroom affects mastering, as well as some of the settings you should use when measuring your mix’s headroom.
Why is it Important to “Use as Many Bits” as Possible?
You may have heard the phrase “use as many bits as possible”, and wondered what it means exactly. Essentially, it means that if your signal peaks at a higher level, then it is utilizing more of the available dynamic range.
The higher your signal peaks, the more of the available dynamic range it can take advantage of.
In a 24-bit recording, you have 144dB of available dynamic range. The closer your signal peaks to 0dB, the more of this range it can utilize.
The phrase “use as many bits as possible” comes from this idea, as the greater the amplitude is in a digital system, the more bits are being used.
That said, we recommend your signal peaks around -3dBTP, as this utilizes the majority of this range while still leaving enough headroom for a mastering engineer.
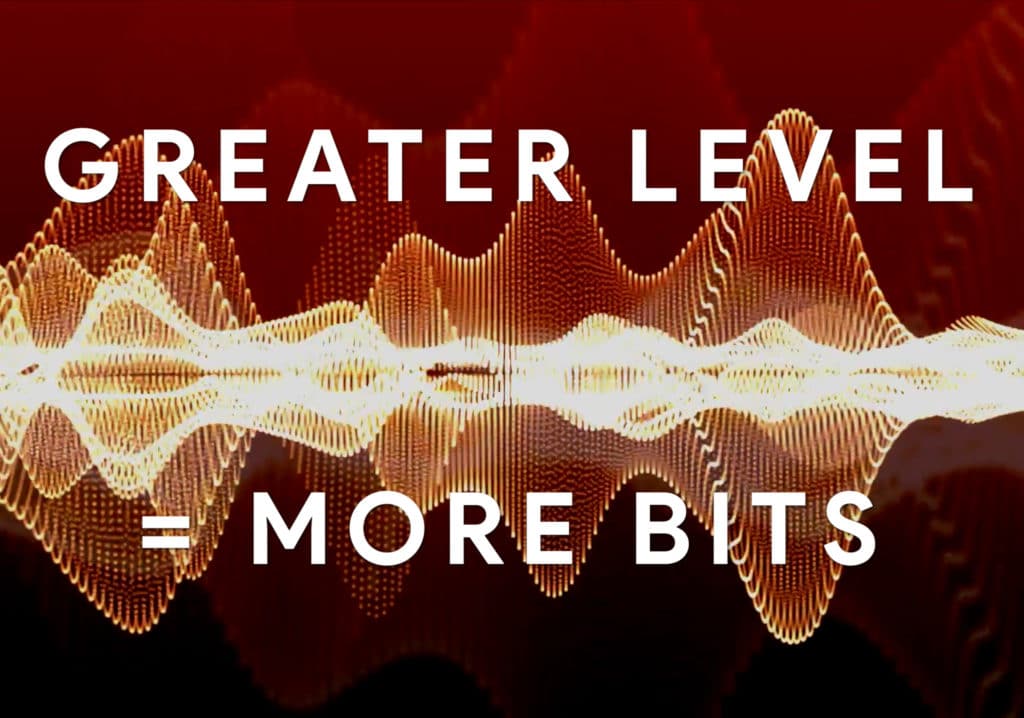
The higher the level, the more bits are being used.
To follow this thought, if your mix peaked at say, -20dBTP , then you’ve in turn utilized about 17dB less of your potential dynamic range . Granted, this won’t make a huge difference in the long run, but these types of small details do add up and can cause a perceivable difference.
How Should I Measure the Peak of My Signal?
If setting the peak of your signal is important, then the metric you use to measure your signal is equally important. That’s why we recommend using dBTP or dB True Peak to measure your signal. By measuring your signal with dBTP you take inter-sample peaking into account.
You should measure your stereo output in dBTP.
Inter-sample peaking becomes more important the closer your signal comes to clipping; however, it’s still a valuable metric to use when trying to prepare your mix for mastering. Having your signal peak at -3dBTP ensures that the mastering engineer will have a full 3dB of headroom.
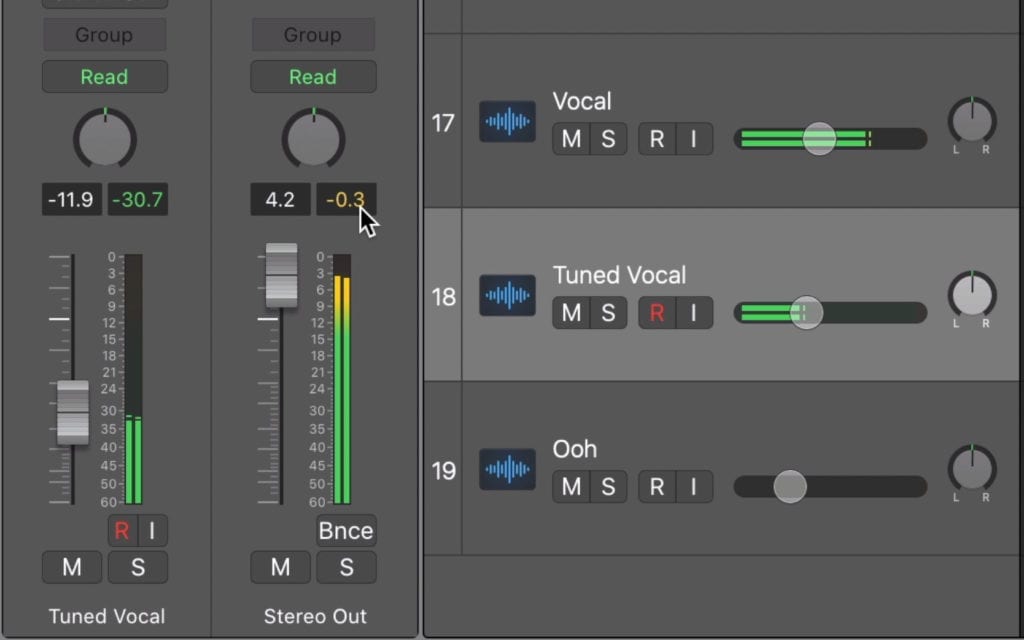
If you use a regular peak meter, odds are the value that the meter shows you will be slightly less than the signal’s actual peak.
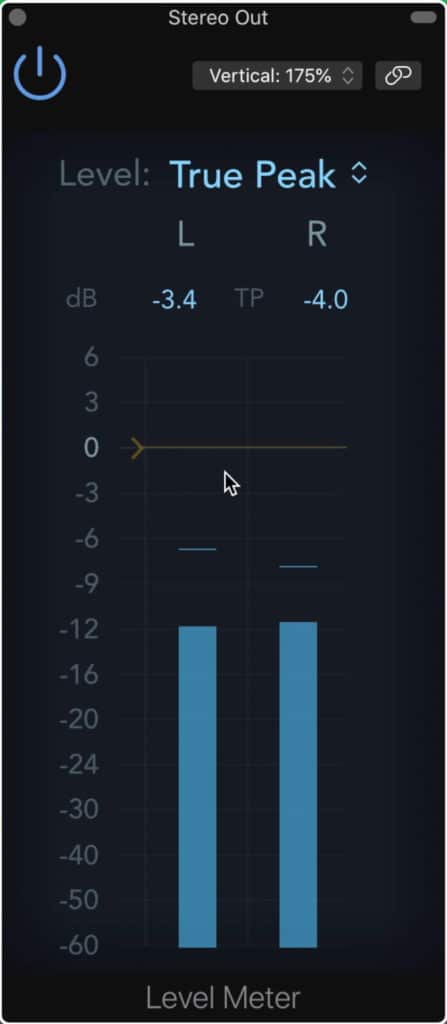
A stock dBTP meter typically comes standard with any DAW.
Again, this is more important when the difference between the True Peak value and the Peak value can cause clipping. But, it's good to know the actual value of your peaks when mixing.
If you have a mix that you’re preparing to export, and you’d like to hear it professionally mastered, send it to us here:
We’ll master it for you and send you a free sample for you to review.
Should I Use Any Plugins or Processing on the Master Output?
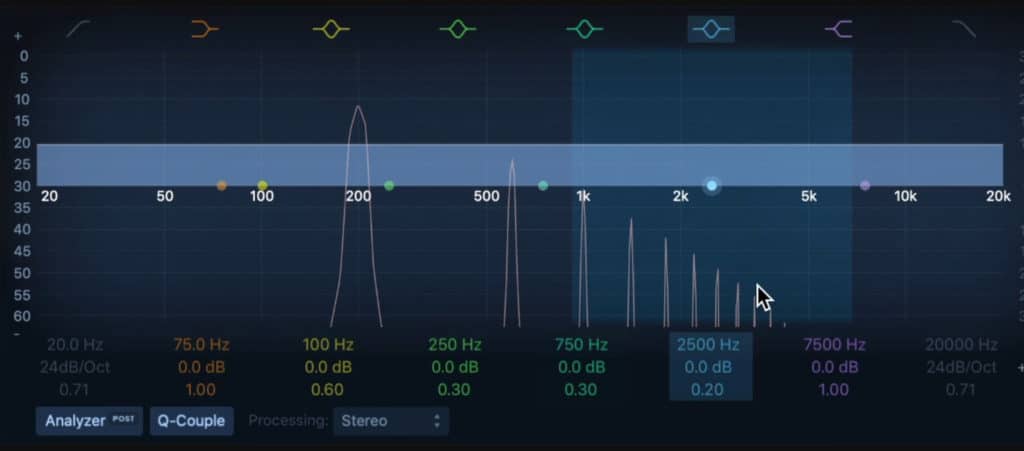
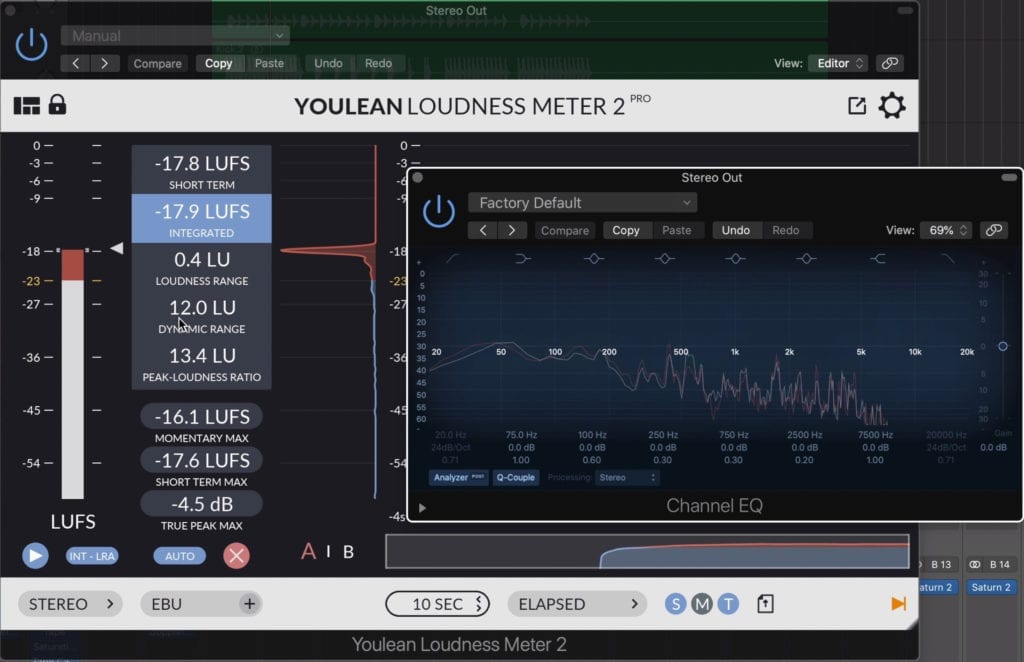
You can use some light compression and equalization on your master output - but only if it’s used in a controlled and subtle way. Too much processing on your master output will impede a mastering engineer’s ability to process your mix and make it sound as good as possible.
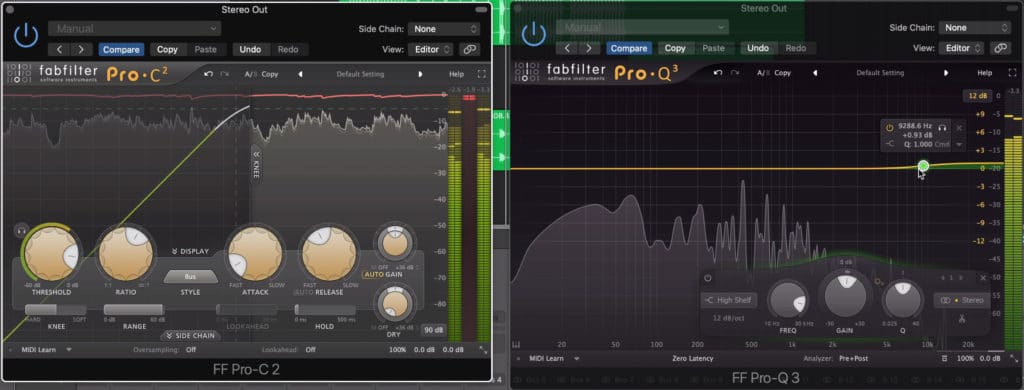
Some light compression and EQ is okay to use on your master output.
One of the biggest mistakes a mixing engineer can make is using aggressive processing on the master output. A lot of engineers stick by their decision to use mastering-based processing on their mixes, regardless of what mastering engineer’s request.
However, the fact that your mix doesn’t sound like a master is a good thing - whereas the lack of sounding finished may be cause for concern for some mixing engineers, in truth, your mix shouldn’t sound finished like a finished master.

You mix should not sound like a finished master.
The reason behind sending your mix to a mastering engineer isn’t simply to add mastering-based processing; the main reason you send your mix off to mastering is to have another professional review and interpret your mix.
The role of mastering is to finalize a mix, and determine what errors exist and how to fix them - if you’re the one that created the mix, how will you be able to objectively recognize errors in the mix?
Allow a mastering engineer to interpret and augment your mix.
All of this to say, you shouldn’t use excessive or aggressive processing on your master output, or on your instrument busses. There are some exceptions to this, but they’re few and far between.
Some examples of excessive processing that you shouldn’t use on your mix’s output are:
- Limiting
- Compression with attenuation greater than 3dB
- Equalization with changes greater than 3dB
- Harmonic Distortion greater than 1% THD
- Stereo Widening Plugins
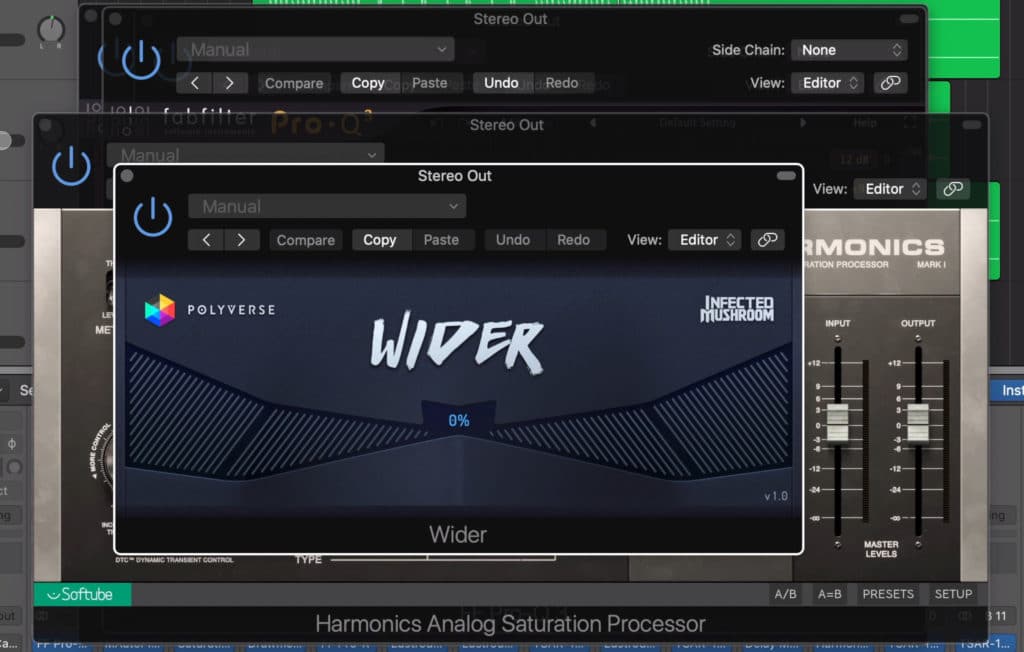
These types of plugins shouldn't be used on your stereo output - especially not in any excessive or aggressive way.
If you’re in doubt about whether or not you should use a form of processing on your master output, odds are it’s best not to use it.
If you want some free plugins that you can use for mixing, take a look at the video below:
This video showcases the best free plugins we could find, as well as offers audio examples of each.
Can I Mix with a Limiter on My Output to Preview Mastering?
Using a limiter or other mastering-based processing on your mix’s output to “preview” how it would sound mastered is not a good idea and can be detrimental to its quality. In short, you should not use limiting on your mix’s output to simulate a finished sound.
Although it's become a popular trend, try not to mix with a limiter on the output to "preview mastering."
It’s become popular over recent years to use a limiter on your mix’s output from the start of your mix - the idea being, you can better understand how your mix will sound once it’s made louder.
However, this leads to misinformed decisions more often than not. The reason being, processing your mix with any form of master processing will in turn affect all of the processing that came before it.
Any processing that happens in your mix prior to your stereo output will be altered once your limiter is removed.
Once the limiter, compressor, or whatever other processing being used on the master output is turned off or removed, the timbre and dynamic range of the mix can be greatly affected.
With that in mind, it’s best to work through a mix from start to finish without any form of processing on the master output. Instead, try to make the mix sound as good as it possibly can without the addition of mastering-based processing.
Try to create the best mix you possibly can without the use of limiting.
Keep in mind that by mixing this way you’re more likely to end up with a better sounding master, as the mix itself will be better.
If you want to check out some plugins you can use to master your music (but not ones to use on your mix’s output) take a look at our video and blog post on the topic:
We cover the plugin’s functionality and showcase some audio examples of each so you determine which ones would work well for you.
How Loud Should I Make My Mix?
How loud your mix will be depends on the genre, as this will affect how dynamic your mix will be - typically more dynamic mixes are quieter, and less dynamic mixes are louder. Considering your mixes should peak at -3dBTP, the genre and dynamics will affect your mix’s loudness.
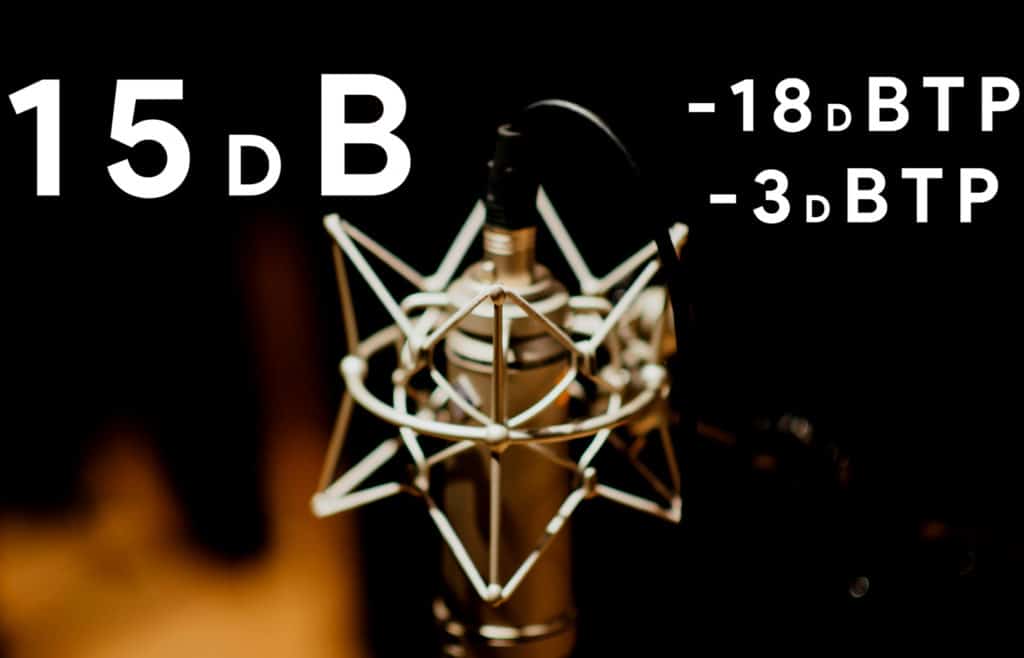
In this example, if the dynamic range is only 15dB, and the mix is peaking at -3dBTP, odds are it's going to be loud.
For example, let’s say you have a pop song that has a dynamic range of 15dB - that is, the quietest part of the song is -18dBTP, and its loudest peak is -3dBTP . This mix will most likely be louder than a classical track with its lowest level at -60dBTP and its loudest at -3dBTP.
The reason being, the majority of the pop song’s signal will be at a louder level than the majority of the classical song’s signal. With that said, it’s difficult to determine an exact metric for how loud your mix should be.

In this example, if the dynamic range is 60dB, and the mix is peaking at -3dBTP, odds are it's going to be quiet.
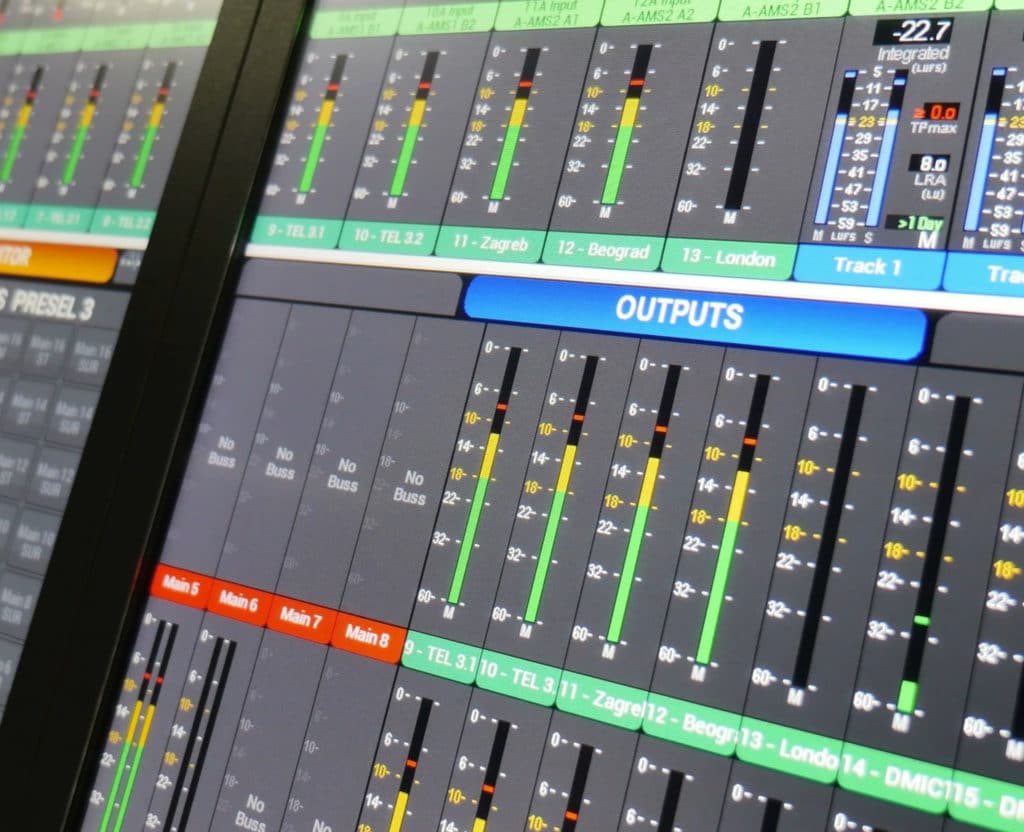
But it may help to know thatmost masters have an integrated LUFS of -16 to -9.
With that said, a mix will likely fall somewhere between -25 LUFS and -18 LUFS , but again your mix may vary depending on how dynamic it is.
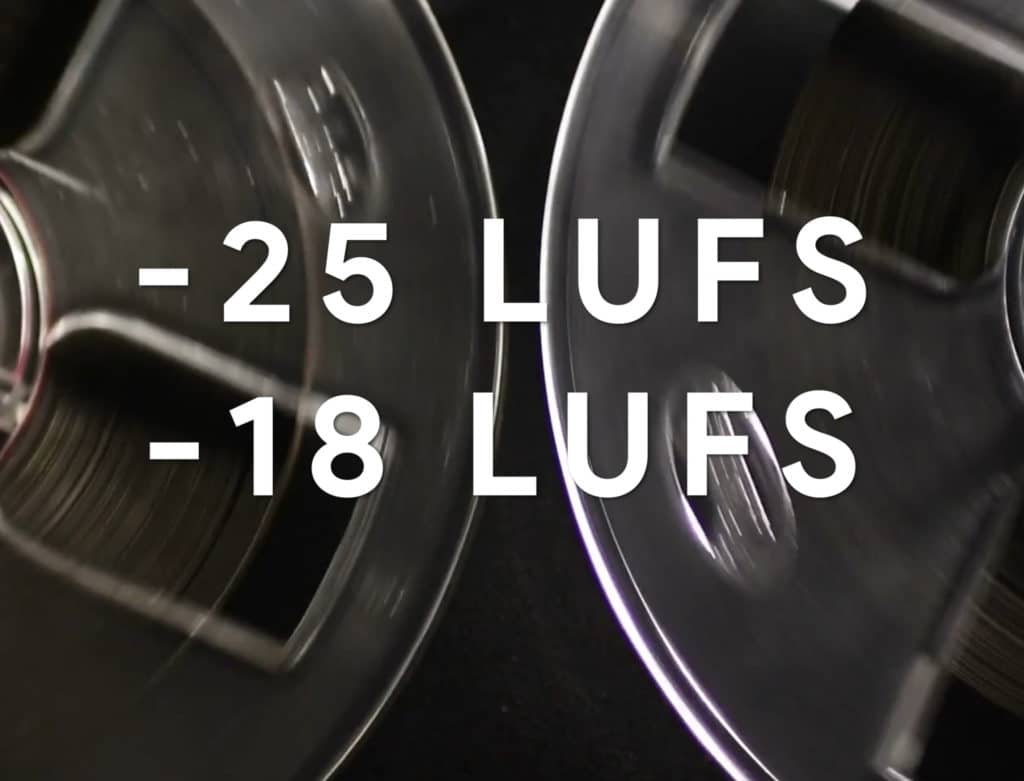
A mix will likely fall between these measurements, but again it'll depend on the dynamic range of the mix.
If you stick to having your mix peak at -3dBTP and don’t heavily compress, equalize, or use limiting on your mixes output, a mastering engineer will be able to make your mix the best possible loudness for its genre.
What Settings Should I Use When I Export My Mix?
When exporting a mix that you intend to have mastered, you should export it at the native resolution - in other words, the file should be the same sampling rate and bit depth as the original recording. If the mix session is 48kHz, 24-bit, export it at the same settings.
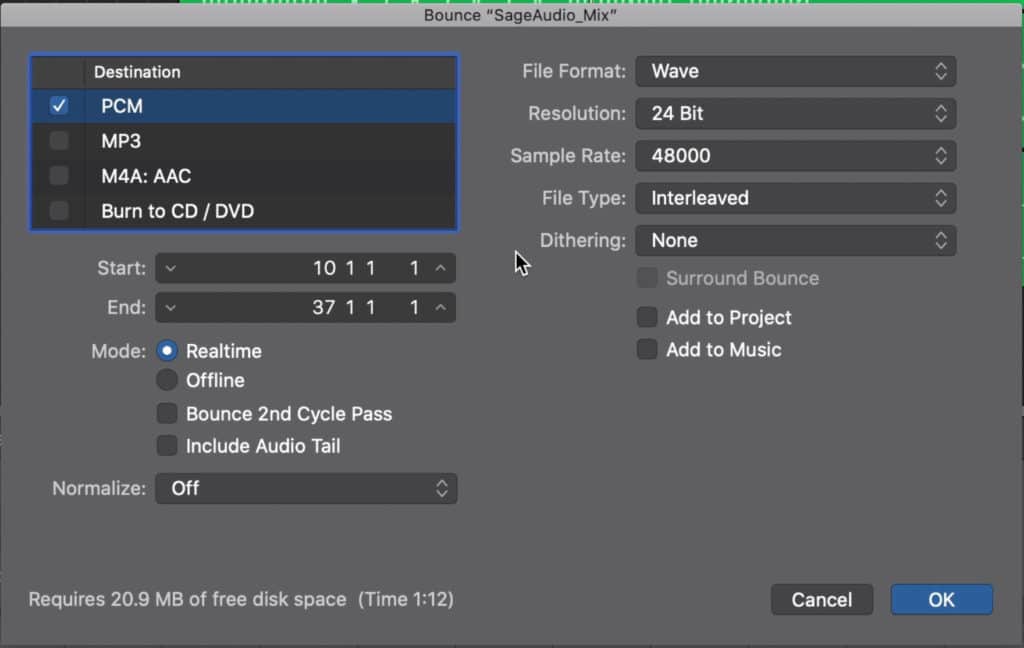
Export your mix at its native resolution - at its original sampling rate and bit-depth.
By exporting a mix at its original sampling rate and bit depth, you retain its fidelity. The sampling rate affects the frequency range, and the bit depth affects the dynamic range.
Exporting a mix at its original settings ensures that both the frequency range and dynamic range remain intact.
By maintaining a higher bit-depth and sampling rate you ensure that neither the frequency range nor the dynamic range becomes truncated.
Should I Use Dithering When Exporting a Mix?
No - because you are using the same bit depth as the original recording, you will not need to use dithering. If you use dithering when exporting a mix, all you’ll be doing is adding unnecessary noise to the recording which will lessen your dynamic range.
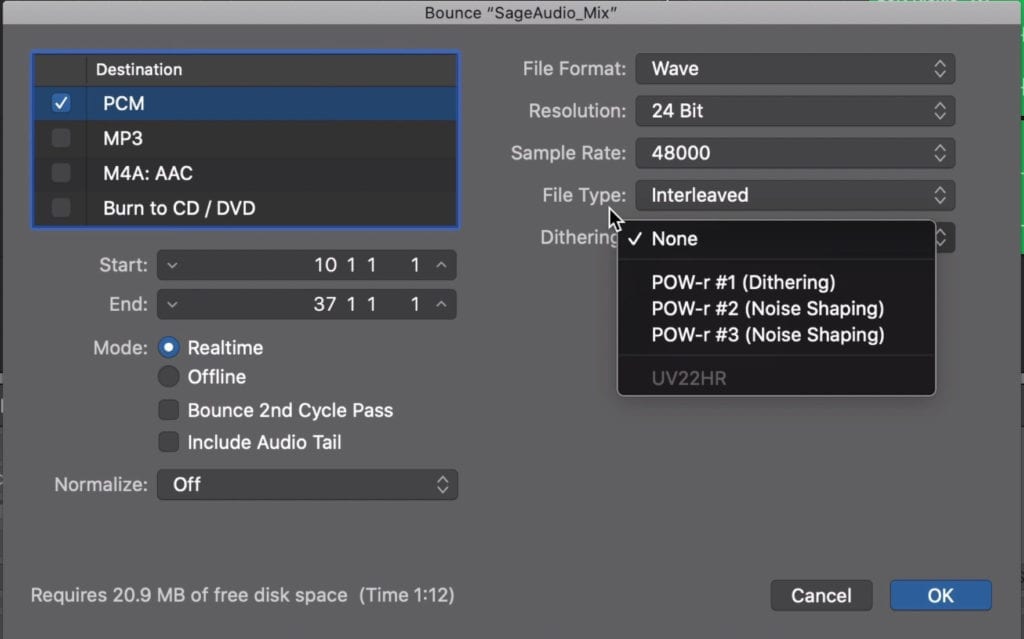
Do not use dithering when exporting your mix.
Conclusion
Preparing a mix for mastering can be a challenging process, but it’s worth taking the time to understand. There are a lot of minute details that need to be considered when preparing and exporting your mix.

Regardless of the genre, preparing your mix for mastering should follow a set of rules.
The first is that your loudest peak should be at roughly -3dBTP. This accomplishes 2 things:
- It utilizes the majority of the digital signal’s dynamic range
- It allows enough headroom for mastering to occur
Next, know that you should measure your signal in dBTP or dB True Peak. This form of measurement accounts for inter-sample peaking, resulting in a more accurate reading. This way you know exactly how much headroom you’re leaving a mastering engineer.
Next, keep in mind that you should not use any aggressive processing on your master output. This includes:
- Limiting
- Compression with attenuation greater than 3dB
- Equalization with changes greater than 3dB
- Harmonic Distortion greater than 1% THD
- Stereo Widening Plugins
Using these forms of processing on your mix’s output will make it more difficult for a mastering engineer to create a compelling master.
Furthermore, don’t use a limiter on your output to hear how your mix would sound mastered. If you do, you’ll base your mixing decisions off of processing that may not ever be used.
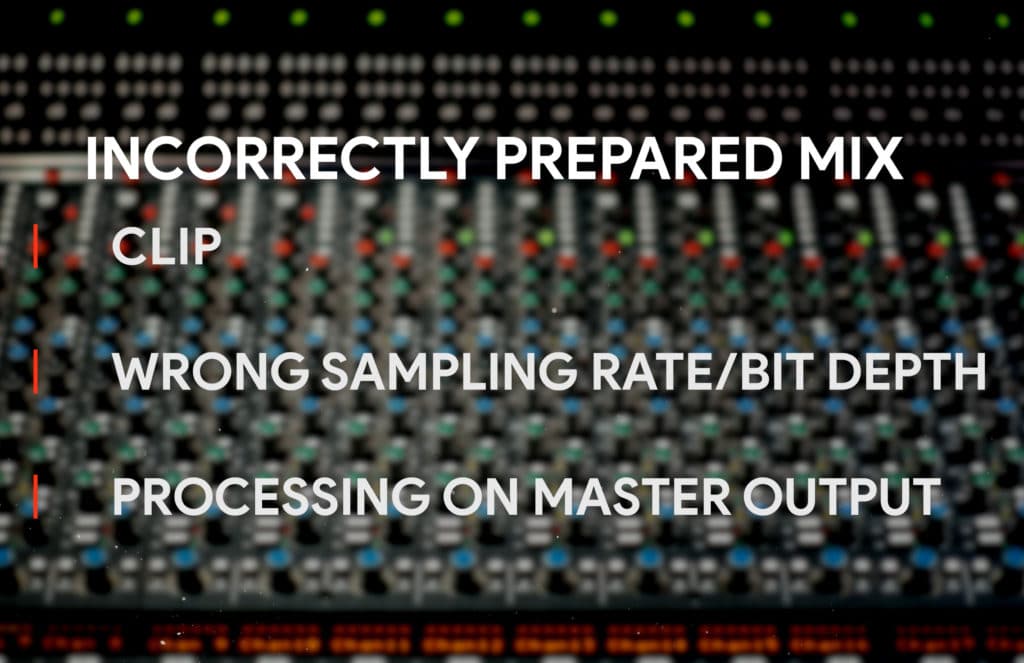
An incorrectly prepared mix will clip, will be exported at the wrong settings, and will include processing on the master output.
That said, the decisions you make and the changes to your mix will be ill-informed.
When it comes to your mix’s loudness, keep in mind that this will vary from genre to genre. If your peak is at -3dBTP, then the loudness will depend heavily on the track's overall dynamic range.
That said, more compressed and less dynamic track will be louder - as may be the case with a pop mix. A less compressed, more dynamic track will be quieter - as may be the case with a classical or jazz mix.
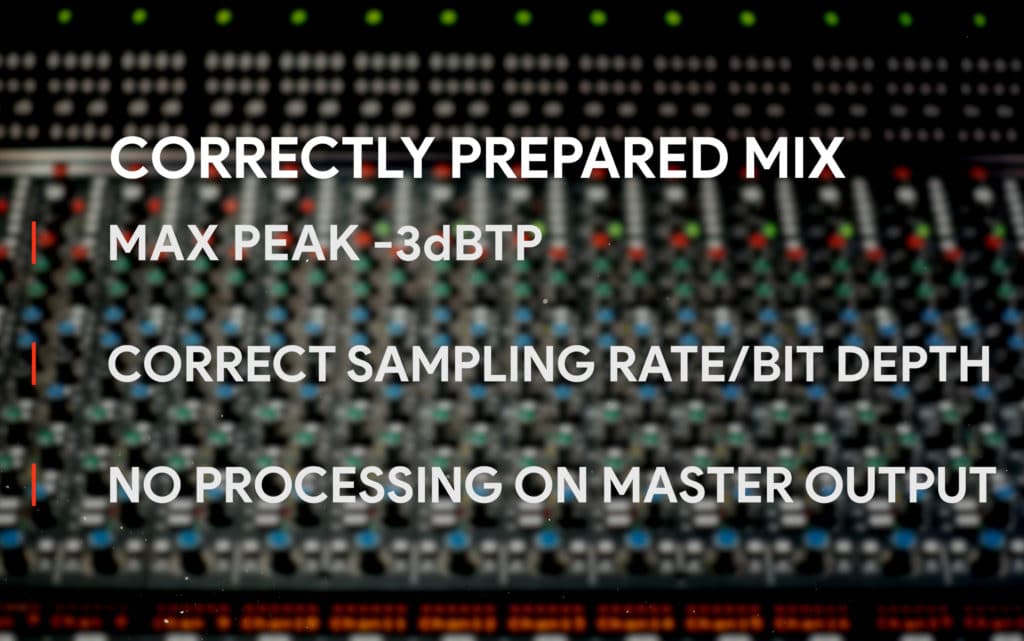
A correctly prepared mix will peak around -3dBTP, will be exported at the correct resolution, and will not include processing on the master output.
Lastly, be sure to export your mix at the same bit depth and sampling rate as the original recording - you don’t want to truncate your mix’s dynamic range or it’s frequency response. Because you aren’t lowering the bit depth, you will not need dithering.
But these are just our thoughts on preparing a mix for mastering - if you prepare your mix differently let us know in the comment section of the video embedded above.
Additionally, if you’re looking to have your mix professionally mastered using all analog equipment, send it to us here:
We’ll master it for you and send you a free sample to review.
How do you prepare your mixes for mastering?


