What is Mastering?
Quick Answer
Mastering is the last step in post-production prior to a song or project’s distribution. It is both a technical and creative process that involves equalization, compression, distortion, harmonic generation, stereo imaging, and includes adhering to certain loudness standards based on the medium on which a project is distributed.
Mastering in Detail
Mastering can take many forms, and mean a lot of different things to different engineers.
To understand mastering in a technical way, it’s best to dissect it into the components that when added together, make an impressive master.
But before delving too far into that, it’s important to understand the purpose of mastering - to do so, let’s briefly look into its history.
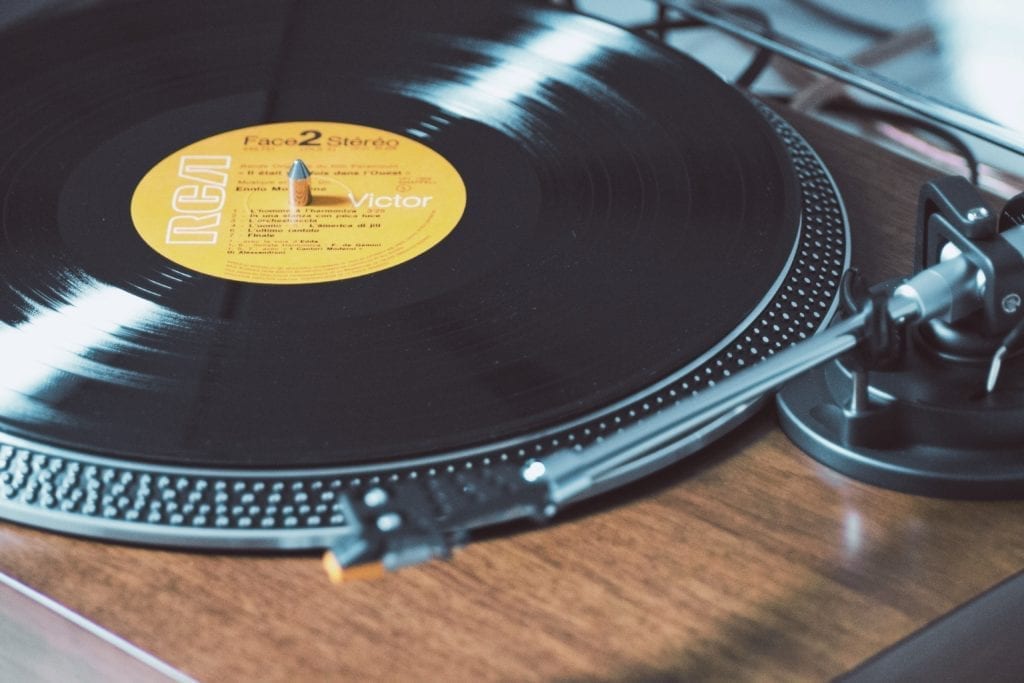
Mastering first began when the engineers responsible for transferring audio from tape to vinyl began to use equalization and compression during the transfer process. Although some “transfer engineers” kept things simple and performed transfers by-the-book, some became highly skilled in using equalization and compression to enhance the sound of the record.
Mastering began as a way to make transfers from tape to vinyl sound better.
They found that by affecting the signal collectively, it could easily be altered to better fit the technical limitations of the vinyl medium.
As the profession progressed, disc jockeys noticed that their listeners enjoyed these processed records more than the quieter, less processed records. This positive reaction on behalf of listeners resulted in better sales, which helped to illustrate the value of employing talented mastering engineers.
Soon, mastering carved its way into the post-production process, and is now a staple of professionally engineering music.
An important take away from this synopsis is the role of mastering - it is now and has always been, a way to make a mix sound better, and perform better on the medium with which it’s distributed. With that said, both the technical aspects and creative aspects of making something more enjoyable for listeners, work together in this complex field.

Mastering is now and has always been, a way to make music sound better.
If you’re considering mastering music, or would simply like to learn more about the process, read on for more information, or check out some of our other blogs on the topic: https://www.sageaudio.com/blog/mastering
If you’d like to hear one of your mixes professionally mastered, and to receive a free mastered sample of it, send it to us here: https://www.sageaudio.com/register.php
We’ll master it for you and send you that sample.
The Technical Side of Mastering:
Similar to mixing, mastering can most simply be broken down into 3 processing categories.
These are dynamics processing, spectral processing, and temporal processing. Although temporal processing is typically used more during the mixing process, it does have a unique role in mastering, so we’ll still cover it here.
Within each form of processing, you have different tools like compressors, equalizers, analog emulators, and a multitude of other plugins or analog hardware - more on this later.
Compressors, equalizers, and other software or hardware are the tools used to accomplish different types of processing.
It is a mastering engineer’s job to use these tools to create a great sounding master. Creating a great sounding master changes with the listener’s expectation. A listener's expectation is typically dependent on the genre, or the sound of previous albums by that same artist or similar artists. This will need to be kept in mind when mastering, as will the technical limitations of the medium on which the project is distributed.

Listener expectation changes what is perceived as a good or subpar master.
So to recap, there are three forms of processing - dynamics, spectral, and temporal. These are accomplished with various tools, like compressors, delays, and a multitude of others. These tools are used to make a great sounding master, which is heavily dependent on listener expectation and the medium on which the song, EP, or album is distributed.
We’ll be looking at all of these things in detail so read on for a comprehensive understanding of the technical aspects of mastering, or skip ahead to any particular section you’re curious about.
Dynamics Processing in Mastering
The dynamic range of audio is the relationship between the quietest and loudest signals, and the measured distance between them. With that said dynamics are the relationships that exist between any two sections or multiple sections of a recording, as it relates to their relative volumes.

Dynamics exist between any multiple sections of a song or waveform.
With that in mind, dynamics processing is the use of certain tools to affect or alter these relationships. Ideally, there is an intended relationship we wish to achieve, and with the knowledge of how to use these tools, we can accomplish this.
Perhaps the most common dynamic relationship that exists in music is that of the kick, and the rest of the instrumentation. In most genres, this relationship is crucial for balancing the melodic aspects of the instrumentation with the moving, driving force of the percussion. Understanding this relationship is pivotal to understanding most genres, and creating a great sounding master.
The kick is the most common highly dynamic instrument. It plays a large role in keeping recordings dynamic.
Let’s take a look at some of the tools used during dynamics processing and briefly how to use them.
The Tools Used for Dynamics Processing
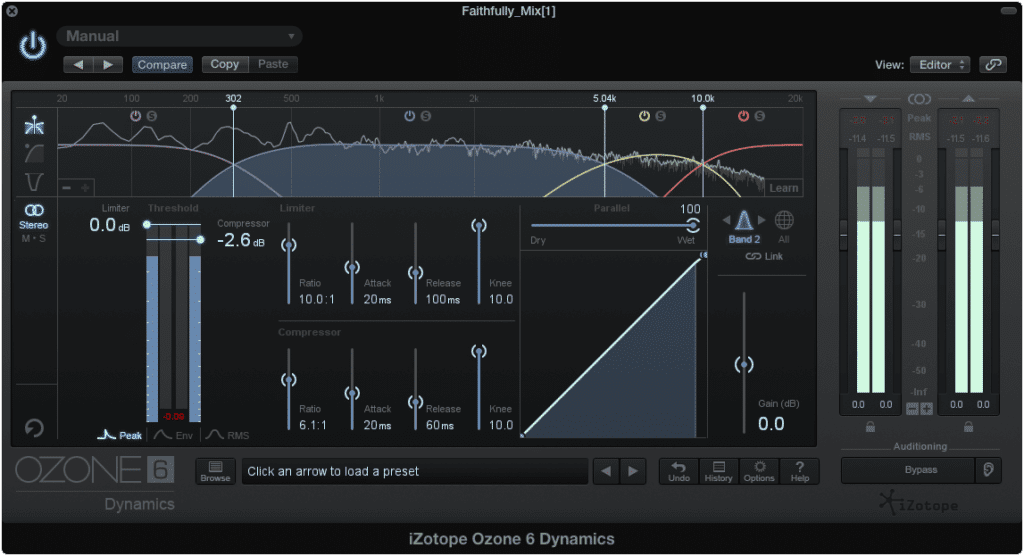
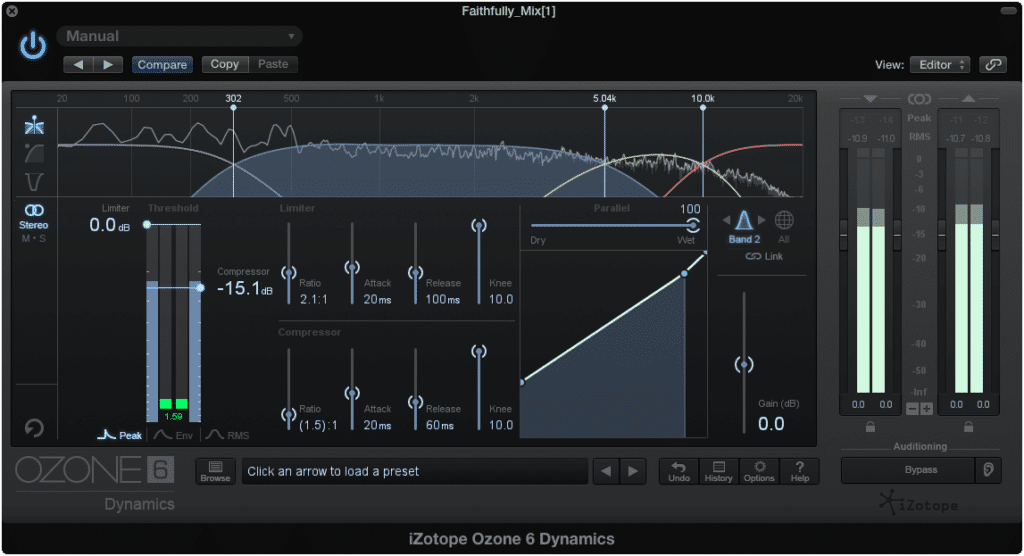
Compressor
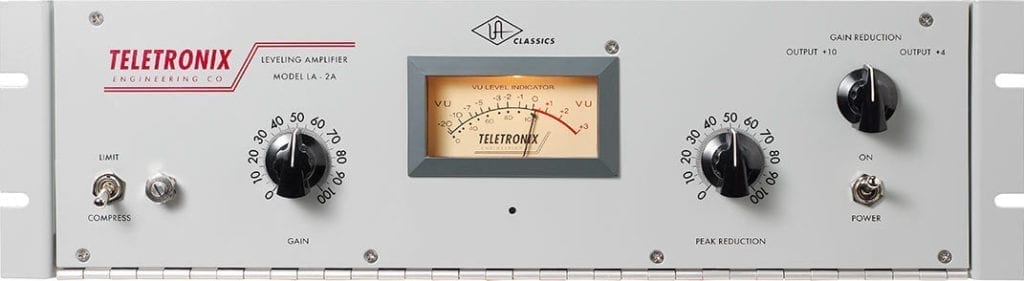
Compressors play a large role during the mastering process.
A compressor attenuates signal that is louder than a certain threshold, based on an input to output ratio - the higher the ratio, the more signal is attenuated. The time it takes for the compressor to attenuate the signal is called ‘attack time’; the time it to finish its attenuation is called ‘release time.’
Although this is a basic definition, understanding the tool in it’s simplest way possible is crucial to the act of using it properly.
A compressor is typically used in mastering to decrease the dynamic range. By doing so, a greater overall loudness can be achieved without distortion. Achieving a louder signal is important to cover the noise and distortion generated by lower-level consumer grade amplifiers.
Creating louder masters first became popular as a means of covering up the noise generated by consumer-grade amplifiers.
Furthermore, by reducing the dynamic range and amplifying the entire signal, quieter aspects of the recording become accentuated, and loud enough to be perceived.
By reducing the attack to a shorter setting, and compressing the signal quicker, the timbre of the recording will be affected, as transients that were previously quick enough to avoid being compressed are attenuated.
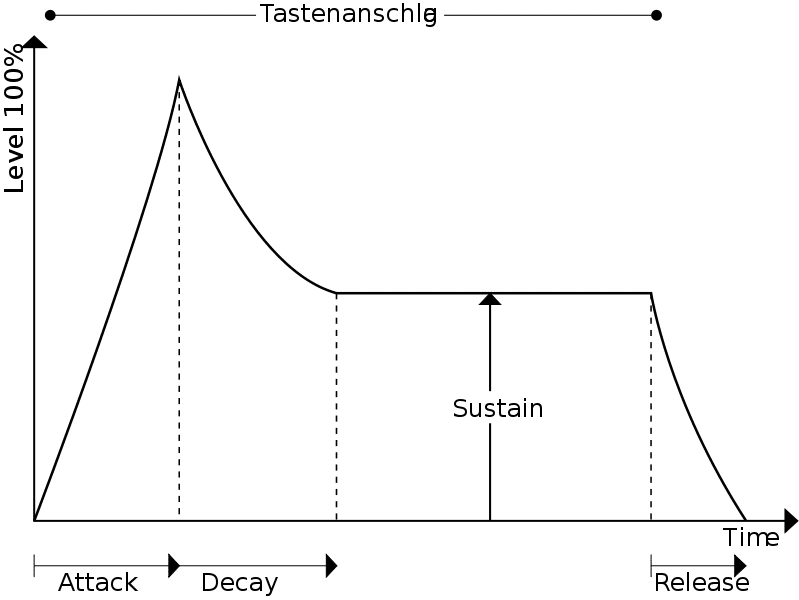
Dynamics processing affects the Attack, Decay, Sustain and Release aspects of an instrument's timbre.
By increasing the release, the compressor will hold onto the signal longer, meaning the envelope of the signal will be affected.
A quick attack and slow release results in a smooth sound, whereas a long or delayed attack with a quick-release maintains the transients of a sound source.
If you’d like to learn more about compressors, check out some of our blogs and videos on the topic.
Here’s one titled
"How to use your compressor like an EQ." It details how a compressor can be used to affect the frequency response of a signal
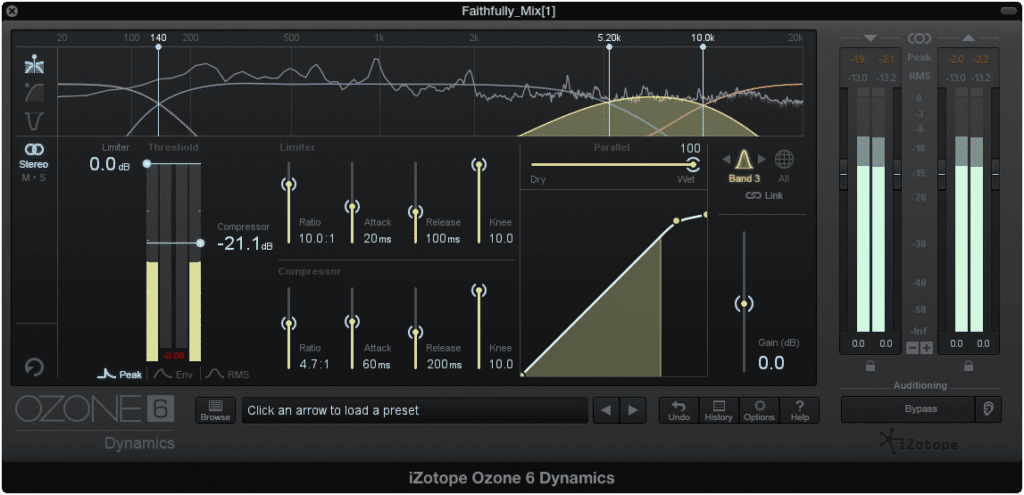
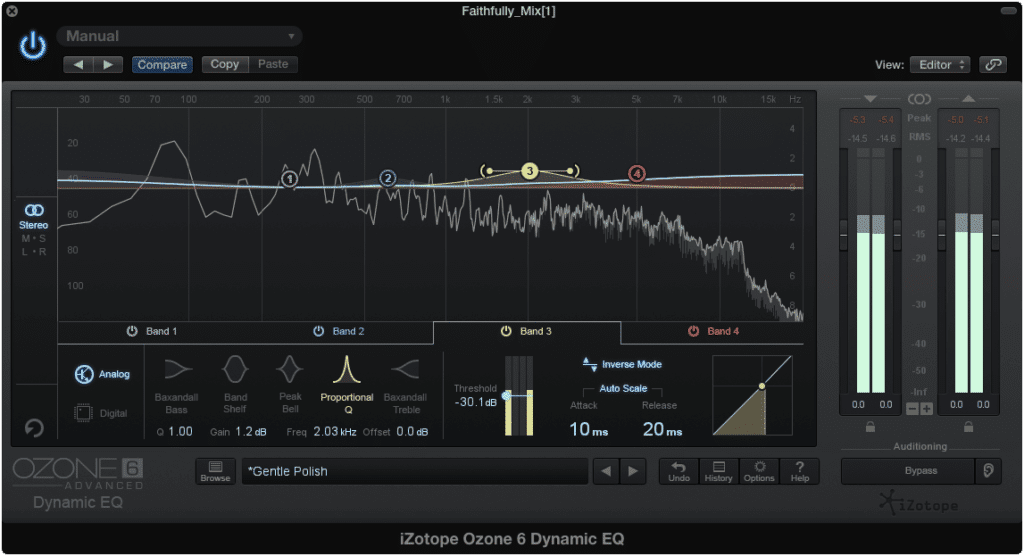
Multiband Compressor
A multi-band compressor is a popular option for mastering, as it allows engineers to separate the signal into multiple bands that can be individually processed. The principals that exist for a compressor, exist for each band that the multi-band compressor divides the signal into.
This way the low-end, mid-range, high-end, and anything in between can affected and processed separately from other frequencies. This allows for extra control and flexibility when determining timbre and dynamic range.
For example, if a master has a particularly shrill high end, the frequency range of 4kHz to 12kHz could be compressed using a quick attack, and long release to smooth out the sound. This way the other frequencies go unaffected, but the intended effect can be accomplished.
In this example, compressing the sibilance may also result in compressing other high-frequency range instruments.
Or if the vocal is too dynamic, the section of 500Hz to 3kHz could be compressed using a higher ratio and a high threshold that only catches the most dynamic, or loud sections of the signal. By doing so, the vocal could be attenuated while the other frequency ranges and their relative instrumentation go unaffected.
A high threshold and high ratio ensure that only the most dynamic parts of a performance are compressed.
The settings provided by a multi-band compressor can be combined in a myriad of ways to affect the signal in any number of ways. The more you explore the tool, the more you’ll be able to accomplish.
Expander
Sometimes a mix has already had a fair amount of compression applied and doesn’t call for further compression. Furthermore, mixes may be overly compressed, resulting in an unpleasant listening experience.
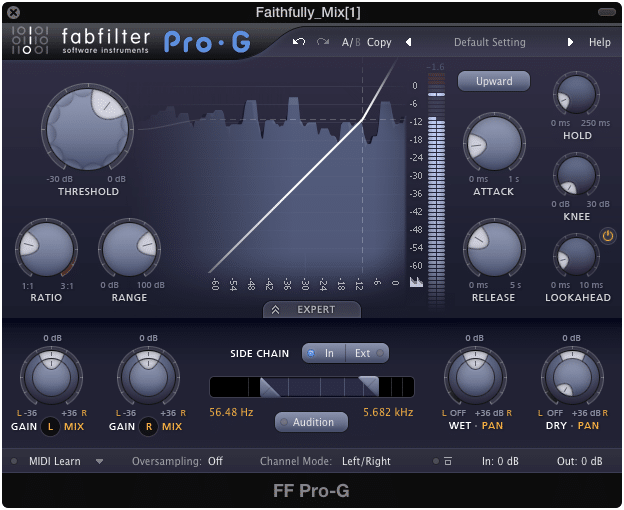
Expanders can counteract some of the negative effects of heavy compression.
When this is the case, expansion is used in mastering to counteract the negative effects of heavy compression.
The settings provided by an expander are identical to a compressor, with one important distinction - the ratio is the inverse of a compressor’s ratio, meaning that instead of the signal being attenuated after crossing a threshold, it is amplified.
This is a useful tool for adding dynamics to a master.
Most multi-band compressors can also be used as multi-band expanders, meaning that specific bands of frequencies can be affected differently, and used to accomplish varying degrees of amplification.
Most multiband compressors can also be multi-band expanders.
Limiter
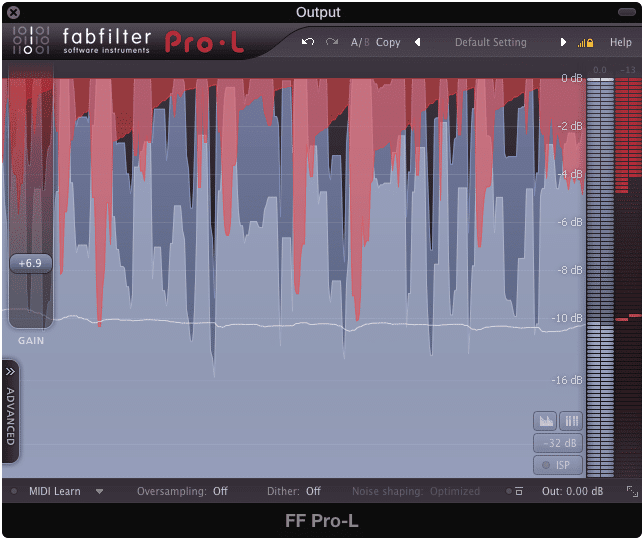
Ideally, limiting is not needed during mastering.
This is perhaps the most overused dynamics processor in both mastering and mixing. Although it has become a popular option for many engineers, using it sparingly if at all is certainly better than using it excessively.
A limiter is truly the most dangerous tool in mastering. It can easily offer seemingly impressive loudness, which we often mistake for quality; however, it does so at the expense of your dynamics. Not only does it trick new mastering engineers into believing they’re positively affecting their mix in a big way, but it also truncates the more difficult to perceive dynamics of a mix.
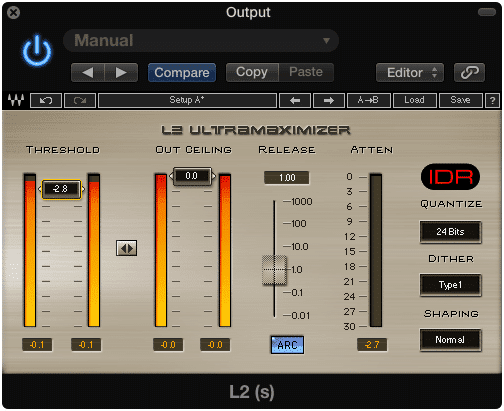
Be careful when using limiters not to destroy your dynamic range.
Although you’ve most likely come across one, let’s define it as simply as we can.
A limiter contains the same functionality as a compressor and has the same intention - to attenuate any signal that goes above a threshold. The primary difference between a compressor and a limiter is that amplification is inherent to a limiter, meaning that to use a limiter, gain will either automatically be applied when lowering a threshold (such as with the Wave’s L1), or will be the primary function of the limiter (like with the FabFilter Limiter).
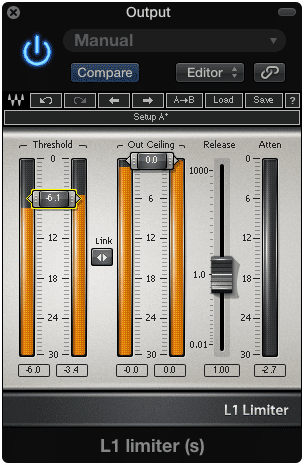
Adding gain is a primary part of almost all limiters.
Furthermore, the ratio of a limiter is high enough to be considered “brick-wall,” meaning that the attenuation that occurs to any signal that crosses the threshold is drastic and significant. Lastly the output is typically set at or right before the point of clipping distortion. The name for the true output of a limiter is often referred to as the ceiling since the signal cannot go above it.
Although the functionality of a limiter can become much more complex, this is its basic setup.
This certainly isn’t a comprehensive list of dynamics processors, but it does cover the primary tools used during mastering. If dynamics processing is used during a mastering session, the odds are a least one of these tools will be used.
How Dynamics Processing Relates to Genre
Certain genres are more dynamic than others, and some implement dynamics in various and unique ways. This typically depends on the instrumentation involved, but can also relate to how a song naturally flows from one section to another.
For example, a rap track typically has a very dynamic relationship between the kick and snare, and the rest of the instrumentation. In addition, rap tracks are typically mastered louder.

Genres and the expected sound of a genre, dictate acceptable dynamic ranges.
With this in mind, a mastering engineer could make a rap master loud, but not so loud that the dynamics between the kick and the rest of the instrumentation are hindered. Finding a balance between the two is pivotal to creating a master that sounds like what listeners expect to hear when listening to rap music.
Another example of how dynamics play a role during mastering can be found in a classical music recording. Although a fair amount of classical music doesn’t have a constant low-end dynamic instrument like rap does, the sections of the recording can vary wildly in loudness and affect the dynamic range.

Classical music lovers value dynamics over loudness.
In classical music, certain parts of the composition are incredibly quiet, whereas others are loud - this is done to convey an intended emotionality or story element during the performance. Without this dynamic range between song sections, a lot of classical music would lose an aspect of the genre that many listeners expect and look forward to.
That being said, when mastering classical music, dynamics hold precedence over loudness. Limiting a classical composition would severely truncate these ever-important dynamics.
Understanding how dynamics relate to listener expectations and the genre itself is an important aspect of mastering. A mastering engineer needs to keep these things in mind when using dynamics processing during the mastering process.

Understanding how listener expectations, genre, and dynamics relate is needed to created a good master.
How Dynamics Processing Relates to the Medium on Which it’s Distributed
Although dynamics are greatly affected by the technical limitations of many mediums, let’s take a look at a few examples to get a good understanding of the phenomenon.

Too great of dynamics can cause a skipping needle during playback.
With a vinyl record, the dynamic range needs to be controlled to avoid a skipping needle during playback. If a section of a song or an instrument is too dynamic, the sudden increase in amplitude will result in a large dip made during the transfer process. This large dip may cause the needle of a consumer-grade turntable to kick out of it’s intended groove and to a different part of the record, rendering the record incapable of a regular playback.
When mastering for a vinyl record, the dynamics need to be carefully monitored, to find a balance between maintaining the dynamic range and ensuring uninterrupted playback on even the most entry-level turntables.
**If you’d like to learn more about mastering for vinyl, check out our blog on the topic: What is Mastering for Vinyl? **
When mastering for a digital medium such as streaming or download, a new set of technical limitations need to be considered during the mastering process.
For example, a digital file has a particular bit depth which dictates the dynamic range a master can occupy. If the bit depth of audio file is 16 bits, this results in 96dB of potential dynamic range.
Let’s look at a more relevant example and briefly discussing streaming. When mastering for streaming, a process known as loudness normalization needs to be kept in mind. In short, this means that regardless of how loud a master is, it will be normalized to a specific loudness before playback - this way all tracks are played back at a relatively similar loudness.

Streaming services change the loudness of songs by using loudness normalization.
This is relevant to dynamics processing, as it affects the extent to which limiters are used; if a track is going to be normalized to a certain loudness, there’s little to no use in making the master louder than that normalization setting. This means that excessive limiting serves no practical purpose when mastering if streaming is the intended medium for distribution.
**If you’d like to learn more about mastering for streaming take a look at this blog: Master Music for Streaming **
**If you’re curious about loudness normalization, here is a blog that goes into greater detail on that topic: Loudness Penalty **
Again, these examples are not comprehensive, but they do represent the importance of knowing the technical limitations of a medium, and how these limitations relate to the potential dynamic range of your master.
Spectral Processing in Mastering
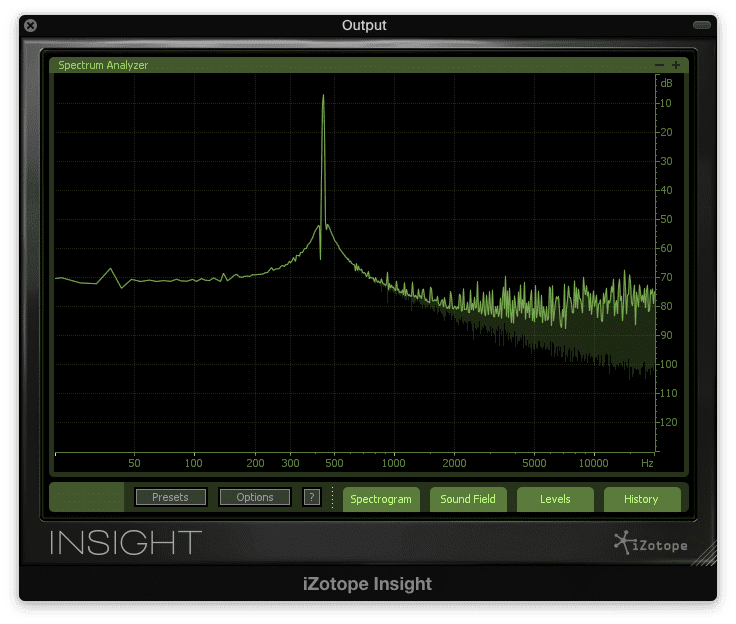
Spectral processing includes any processing that directly affects the frequency spectrum of a recording. The frequency spectrum we are able to perceive ranges from 20Hz to 20kHz - any manipulation of this spectrum can be considered spectral processing.
Anything that alters the frequency spectrum can be considered spectral processing.
Although dynamics processing affects the frequency spectrum to a certain extent, spectral processing is typically associated with directly affecting the amplitude of specific frequencies. Whereas dynamics processing is rather straight forward and the tools associated with it seem appropriate or obvious, spectral processing is characterized by many different plugins or effects you might not associate with the frequency spectrum.
Let’s start with the most obvious and go from there.
The Tools Used for Spectral Processing
Equalization
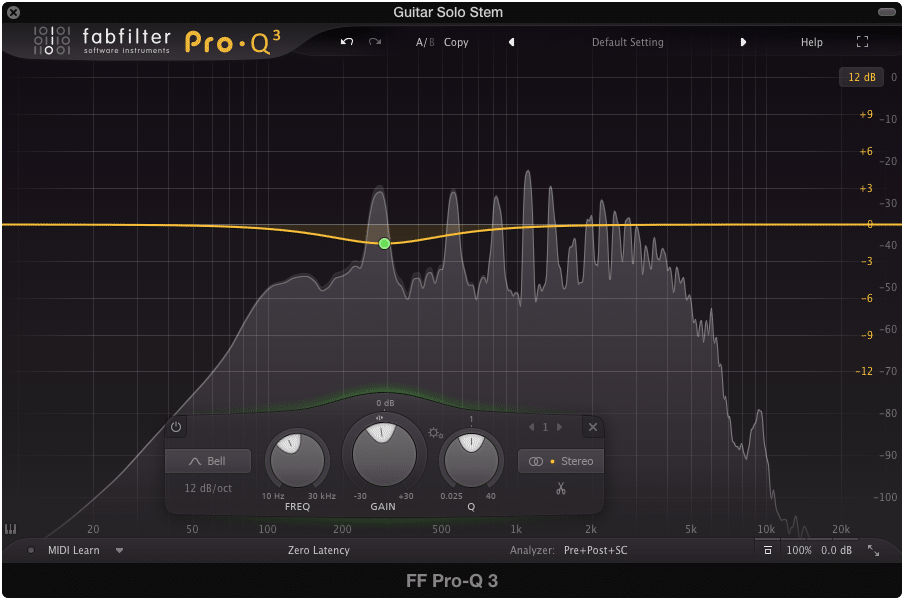
Equalization allows for the immediate alteration of a frequency spectrum or range.
Equalization is a go-to tool for affecting the frequency spectrum. It is typically comprised of frequency selection, bandwidth selection, gain be it amplification or attenuation, and the shape of the filter. With it you can amplify or attenuate certain frequencies or groups of frequencies. When it comes to mastering, equalization is used in a subtle manner.
Conversely, equalization can be used in a drastic way when applied to individual instruments - such as during a mixing session. But when affecting the entirety of a mix, small changes to the frequency spectrum can have large implications.
Although large changes can be made during mixing, it doesn't work well for mastering.
For example, amplifying the range of 1kHz to 2kHz by say 1dB seems like a small change; however, if you consider that you’re affecting all instrumentation within that range, that seemingly small change becomes a large one.
That’s why when applying equalization during mastering, it’s important for the changes made to be nuanced, and aimed at accomplishing very specific tasks.
One example of how equalizing a stereo file during mastering can have large implications is when you consider the effect of masking. With masking, louder elements cover-up, or cancel other signals. In a full mix, these phase relationships are incredibly complex. Any spectral change made to one part of the signal will no doubt affect these phase relationships.
During mastering, equalizing with masking in mind is important.
With masking, lower frequencies will typically mask the frequencies directly above it. So, if you wanted to bring out the vocals, instead of amplifying 2kHz, you could attenuate 1.7kHz slightly to create a similar effect. Because the frequencies that were masking 2kHz are attenuated, the extent to which 2kHz. is masked will be lessened, resulting in 2kHz becoming more easily perceivable.
Distortion
Distortion and analog emulation both affect the frequency spectrum.
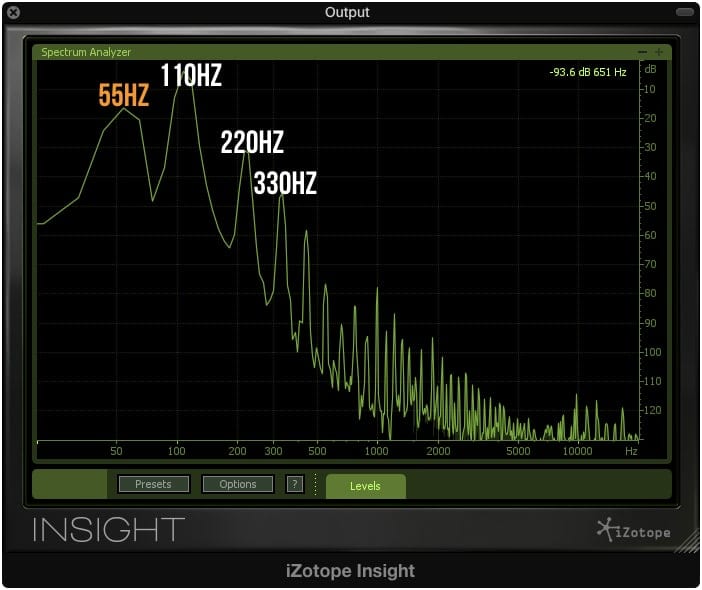
When you hear distortion, you wouldn’t necessarily consider it part of spectral processing, but it does affect the frequency spectrum, by altering the existing signal, and by generating new harmonics. Simply put, distortion is any altering to the shape of a waveform. Distortion more closely relates to mastering when discussing harmonic generation.
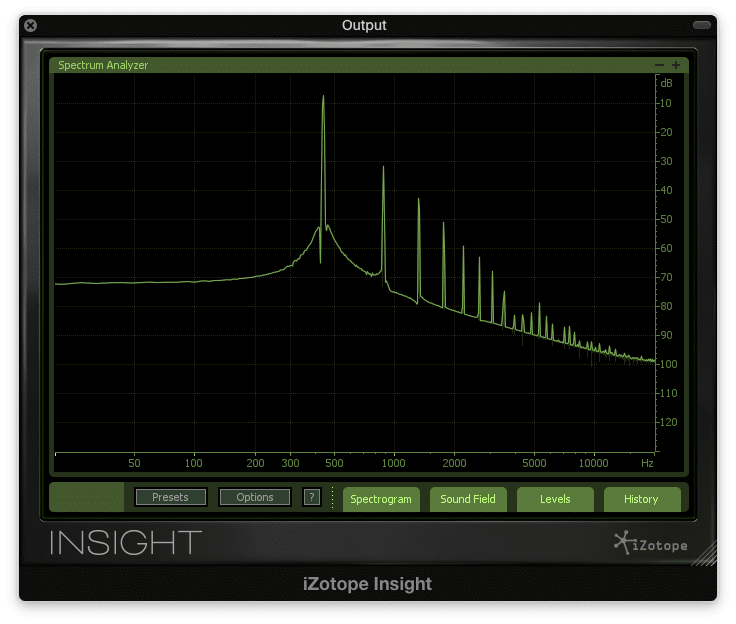
A look at the harmonics generated by tube distortion.
Harmonic generation is the purpose of the majority of analog emulators. The addition of harmonics creates a more complex signal and can either be pleasant or unpleasant based on the order of the harmonics.
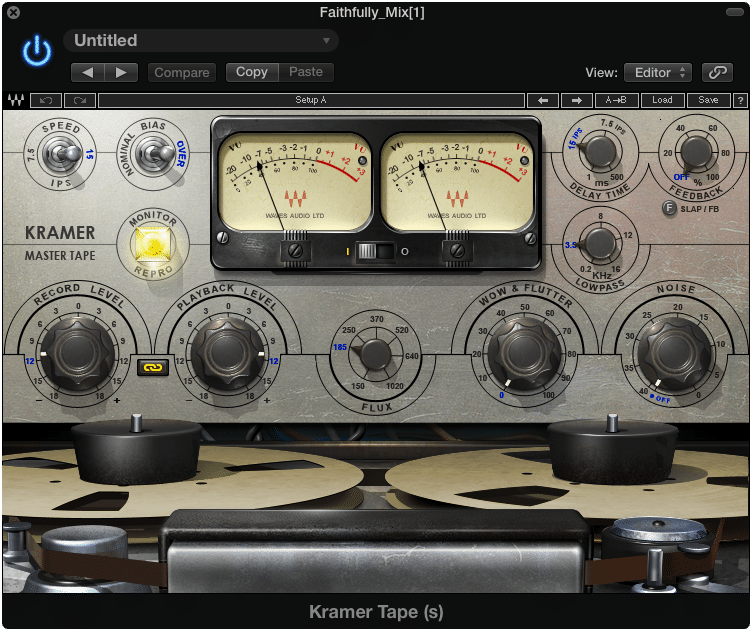
For example, lower order harmonics, or harmonics closer to the fundamental are more pleasant. These are the harmonics generated by tube, tape, and transistor or transformer-based distortion. Because they are lower-order, they are typically more difficult to perceive as separate from the sound source from which they originated. For this reason, these harmonics are introduced during mastering to create a more complex sounding master.
Harmonics generated from bit depth distortion are primarily located in the higher frequency range.
The opposite is true for higher-order harmonics. These are typically the ones generated from quantization or sampling-rate distortion. In mastering, these types of distortion are covered using noise, or as it’s more commonly known, dithering.
To learn more about distortion, check out our blog titled
"What Distortion is Actually Doing to Your Mix."
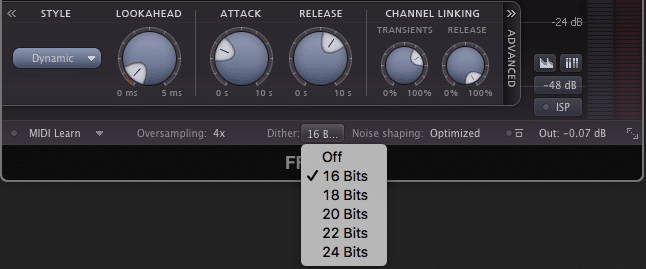
Dithering
Although subtle, the noise introduced from dithering affects the frequency spectrum.
Dithering is the purposeful introduction of high-frequency noise. This noise covers or masks the perceivability of high order harmonics, and is typically introduced at the end of a signal chain. As stated above, it counteracts the effect of quantization distortion that occurs when converting a digital file from a higher to a lower bit depth.
Exciting
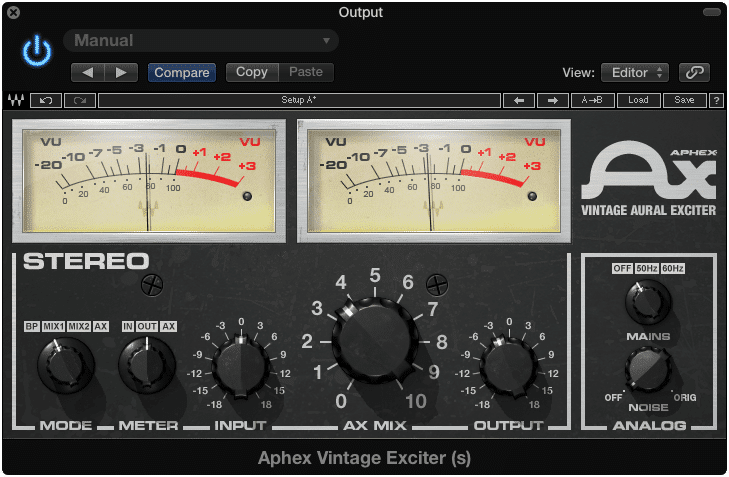
An exciter works by amplifying existing harmonics.
An exciter is similar to distortion in that it affects the harmonics of a frequency spectrum; however, instead of generating them as distortion does, it amplifies existing harmonics. In mastering, an exciter can be used directly after harmonic generating analog emulation. By doing so, the harmonics created by this distortion will become more pronounced, and perceivable.
Like with equalization, small changes made with an exciter can have huge implications for a master. If you intend to use exciters, do so sparingly.
How Spectral Processing Relates to Genre
The expected frequency response of a song can vary greatly from genre to genre. This is because accentuating certain instrument groups over others creates a unique identity for the genre.
For example, in rap, the kick and the high hat are accentuated. Furthermore, the vocals are processed to include extra sibilance for the sake of making them more intelligible. This results in a low-end and high-end that are amplified, especially when compared to other genres.

In rap music, the high end and low ends are accentuated. This means listeners expect to hear these accentuated frequencies when listening to rap.
Knowing the importance of these frequencies, a mastering engineer may use mid-side processing, and amplify the side image’s high-range frequencies, while amplifying the mono low frequencies as well. Or perhaps the engineer could use an exciter plugin to accentuate the harmonics of the high hat while using a plugin like Wave’s RBass to generate low order harmonics based on the fundamental to make the 808 sounds more impressive.
Altering the low order and subharmonic frequencies can be used sparingly during mastering.
**If you're curious about technique, check out a blog we wrote on how to accomplish it: How to Create an Epic Bass with Sub-Harmonic ** s
Another example of how spectral processing relates to mastering can be found when listening to lo-fi music. In this style of music, the high-end is attenuated and the total harmonic distortion is greater than most other recordings. If a lo-fi mix was approached by a mastering engineer who thought it should sound like a high fidelity mix, any work the tracking and mixing engineers did to achieve that sound could quickly be undone.
Mastering engineers shouldn't alter a mix entirely.
In this example, understanding the genre and respecting the intentions of the artist and mixing engineers is crucial to creating a great sounding master. This is just another example as to how a genre and the expectations of the listener can alter an engineer's approach to mastering. In this case, maintaining the frequency spectrum created by the mix is a good approach.
How Spectral Processing Relates to the Medium on Which it’s Distributed
When it comes to creating a digital master, the frequency response depends on the sampling rate of the file. If the sampling rate is 44.1kHz, the available frequency response is roughly 22kHz. Furthermore, a digital master plays back in an identical manner each time. All this to say, a mastering engineer can expect an accurate reproduction of their master from the digital medium.

CDs and digital masters offer a near perfect replication of the original master.
This is unlike a vinyl record, or a cassette, with which the frequency response should vary based on the cassette type, or with vinyl, the sequence of the tracks.
For example, when mastering for vinyl, it’s important to note that the center of the record has an attenuated high-frequency range around 15kHz, by roughly 3dB, when compared to the outside of the record. To compensate for this, a mastering engineer might amplify those high frequencies to the extent that they will be attenuated by the vinyl record's physical limitations.

The closer a needle is to the center of the record, the more the high end is attenuated.
When mastering for cassette, if the cassette type used is type two, the high-end of the master will need to be slightly attenuated while the low end should be amplified. This will counteract the way cassette tape type 2 shapes the signal that's imparted onto it.

The cassette type will affect how the frequency spectrum is shaped during mastering.
If you’d like to learn more about mastering for cassette, check out our blog on the topic here:
What is mastering for cassette?
These are just a few examples of how the technical limitations of a medium can affect how a master is equalized, distorted, excited, or processed in a way the alters the frequency response.
Temporal Processing in Mastering
As stated previously, temporal processing is typically reserved for mixing - but it does present itself in an interesting way during mastering. Although temporal processing is typically characterized by delays, reverbs, and other time-based effects like phasing, let’s look at temporal processing as it relates to mastering.
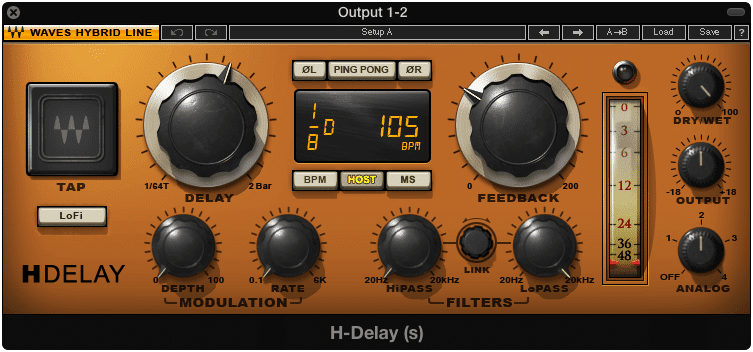
Delays like this one aren't used in mastering, but other temporal effects are.
In mastering, temporal processing is typically used in the context of psychoacoustics. By multiplying and delaying the return of signals, the perceived image of a source can be shifted from a relatively mono source to one that can occupy the 90 degree or even 180 degree stereo field.
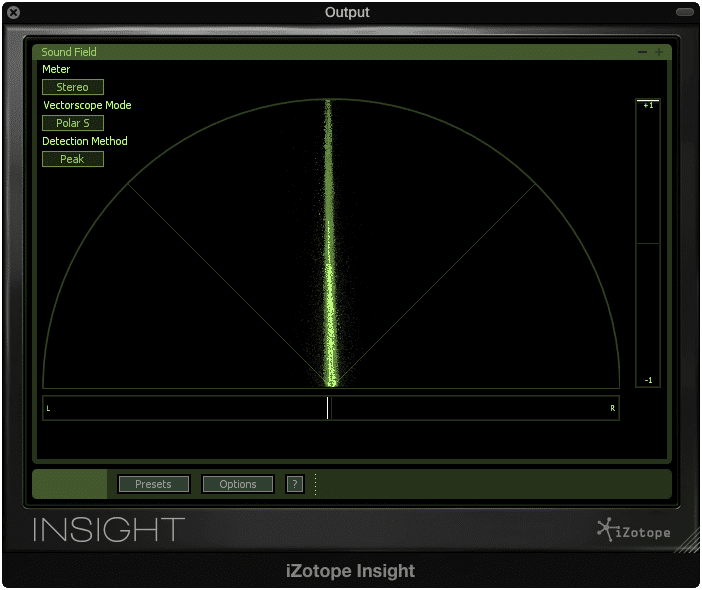
Stereo imagers can help push a relatively mono signal further out into the 90-180 degree stereo field.
The reason that the previously mentioned effects of delay and reverb are not implemented during mastering, is typically due to the phase issues delaying or reverberating an entire stereo mix can cause. Furthermore, these effects are typically best implemented in a subtle way. Adding them to an entire mix could be considered excessive.
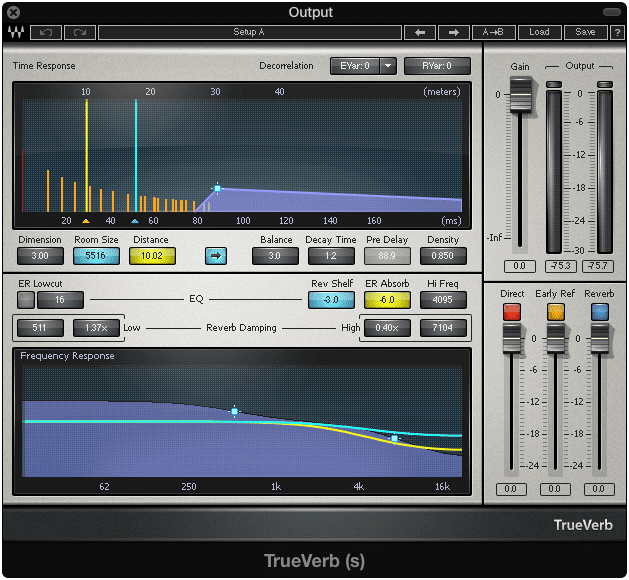
Effects like reverb are typically NOT used during mastering.
The Tools Used for Temporal Processing
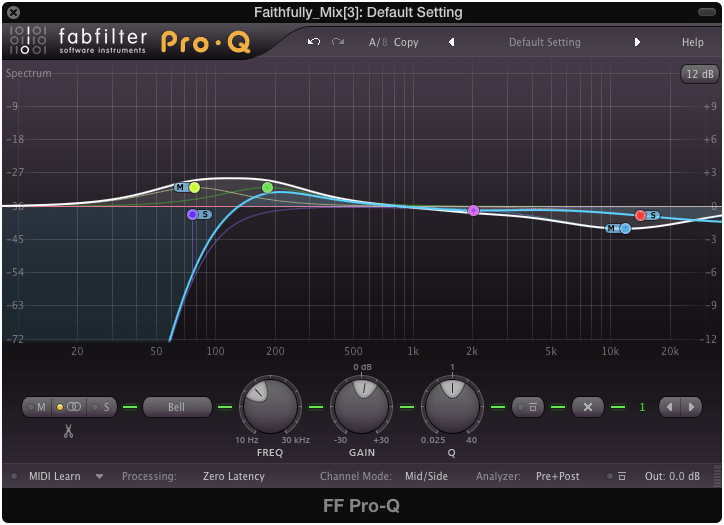
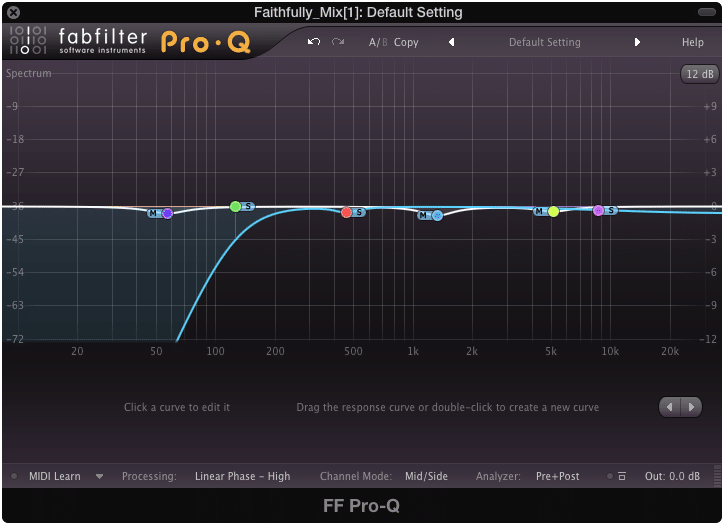
Mid-Side Equalization
Although this seems as if it should be considered spectral processing, and to a certain extent it is, mid-side processing is accomplished by separating the cumulative left and right signal from the difference of the left and right channel. The “Mid” is the sum of the left and right channel (L+R), while the “Side” is the difference between the left and right channel (L-R).

Many modern plugins are capable of separating a signal into mid/side.
Once these two signals are separated, they are delayed respective to each other, so that they can be in phase once they are summed back into a stereo image. By amplifying or attenuating the mid image as it relates to the side image and vice verse, the overall stereo field can be altered.
A good example of how this technique can practically be used during mastering is by implementing a high pass filter on the side image. If you were to cut the side image up to roughly 130Hz, you’d make all frequencies below 130Hz mono. This means the majority of the bass and kick would be centered, while the frequencies above 130Hz would occupy both the mid and side channels.
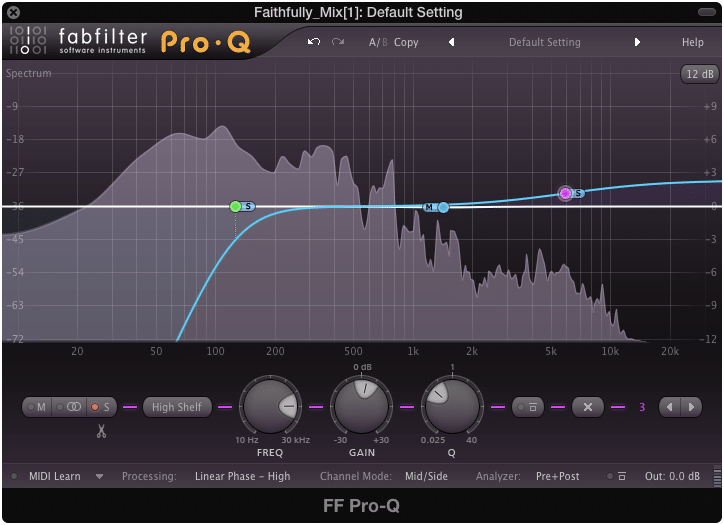
Cutting the side image's low frequencies and boosting their high frequencies is a common practice during mastering.
From here you could create a shelf filter on the side image and amplify the high-frequency range, to create extra breath or airiness. This is a great way to control the low-end frequencies to the center, while created width in the higher frequencies.
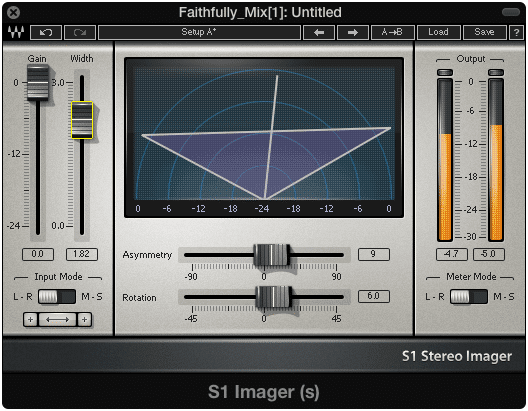
Stereo Imaging
Similar to how the mid and side channels are separated, stereo imaging takes advantage of this same opportunity, by duplicating the channels and delaying them slightly to create something called the Haas Effect.

The Haas effect can be used creatively to create perceived sound source direction.
The Haas Effect stipulates that when two signals are played, with one slightly delayed, the immediate signal (or the signal that was not delayed) will indicate the direction of the sound. So if two identical signals are played, one in the left ear and one in the right, and the left ear signal is delayed by 5ms, the sound will be perceived as one sound source that is coming from the right side.
(To learn more about the Haas Effect and other psychoacoustic effects, check out our blog on the topic here: https://www.sageaudio.com/blog/mixing/how-to-mix-your-music-using-psychoacoustics.php)
This same effect can be improved upon by using a multitude of signals, various delay amounts, and subtle frequency spectrum alterations to create a more complex stereo image.
This is a simple description of how stereo imaging works. With stereo imaging, you can take a mono, or slightly stereo signal and make it wider. You can also change the direction of the sound source within the stereo field, or the general shape of the image, using various width, rotation and asymmetrical functions within a stereo imager.
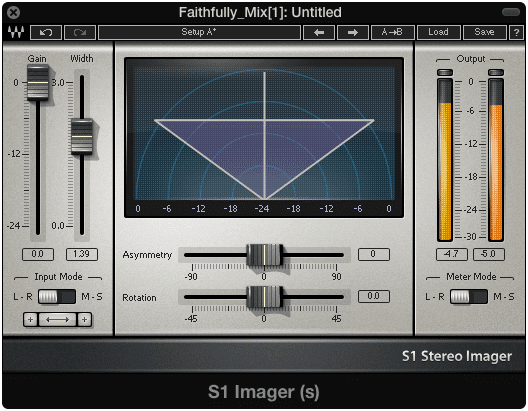
Stereo imagers use the Haas effect in more complex ways.
In mastering, this effect is used subtly to create a master with a more impressive stereo image. Just like most techniques in mastering, use it subtly, otherwise, the power of the signal may be dispersed too much.
Multiband Stereo Imaging
Another popular form of stereo imaging used in mastering is a multi-band stereo imager. You can think of this plugin similar to how a multi-band compressor relates to a compressor.
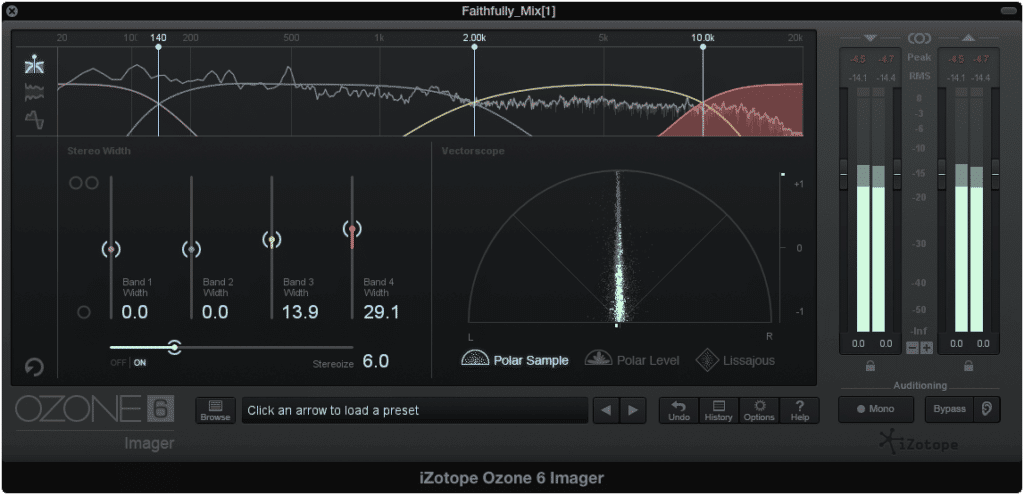
Multiband stereo imagers allow for frequency-specific imaging.
With it, you can separate the frequency spectrum into multiple bands, which you can affect individually. This is a great way to create a more mono low end to improve dynamics while widening the image of the vocal performance to create more impressive choruses.
This is just one example of how a multi-band imager can be used, but explore the possibilities to create complex and interesting stereo images.
How Temporal Processing Relates to Genre
Admittedly temporal processing varies slightly less from genre to genre. The main idea with stereo imaging is typically to create a powerful low-end and then subtly widen the stereo image of the high frequencies. But this can, of course, vary from song to song, and by personal preference.
One example of how the genre can impact stereo imaging and temporal processing is with modern psychedelic music. When mastering a song or project of this genre, a wide stereo image, accompanied by temporal processing such as reverb and delay can evoke a sense of transition from one section of the song to another.

With the resurgence of psychedelic music, mastering engineers need to know how temporal processing relates to the genre.
With that said, mastering psychedelic music allows for stereo widening that would otherwise seem excessive if used in typical rock or rap music. Listeners of psychedelic music are willing to sacrifice a powerful and centered image, for an expansive and impressive stereo image.
This is something a mastering engineer will need to keep in mind when performing temporal processing and stereo imaging on a psychedelic song or project.
How Temporal Processing Relates to the Medium on Which it’s Distributed
Although a digital master can handle just about any stereo image imparted on it, a vinyl record cannot. Furthermore, the speaker systems used by the majority of listeners will not accurately represent a wide stereo image.
Let’s look at the vinyl record example first. Due to the manner in which vinyl records are cut, having a wide low-frequency range can cause phase issues. As a result, it is best to make the low-end frequencies mono up to at least 100Hz. This may not be necessary for every situation, as classical records do not use this technique, but it should be implemented for most genres.
Although it's debated the extent to which the low end on vinyl needs to be mono, incredibly wide stereo images don't sound good on any medium.
If you’re in doubt how to adjust the imaging for a vinyl record you can either leave it up to the lathe operator, or you can have your music professionally mastered for vinyl here: https://www.sageaudio.com/register.php
More common than the phase issues with vinyl records are the limitations of most stereo systems. If you notice, most rap songs have a strong mono image. This is due to the expectation that many listeners will be listening on car amplification systems, which require a mono image to sound powerful. If you were to widen the image too much, it may lose the powerful mono image needed to sound impressive on a consumer-grade stereo system.
A Short Synopsis of the Technical Side of Mastering
Let’s quickly recap - or if you didn't want to read the entirety of what’s listed above, here is a brief synopsis of the technical side of mastering. It can be broken down into 3 forms of processing, and their respective tools:
Dynamics - processing the dynamic range
i.e. Compressors, Multiband Compressors, Expanders, Limiters
Spectral - processing the frequency response
i.e. Equalizers, Analog Emulators or Harmonic Generators, Dither, Exciters
Temporal - processing the stereo image with time-based effects
i.e.Mid-side processing, Stereo Imagers, Multi-band Stereo Imagers.
How each form of processing is approached depends on the genre of the music, and the medium on which the song will be distributed.
The Signal Chain for a Mastering Session
Now that we have a fair understanding of how mastering can be categorized into different types of processing, let’s follow a mastering signal chain for a stereo mastering session. While doing so consider the logical reasons one type of processor may follow another.
Keep in mind that this signal chain example should not be a go-to signal chain for every song or project - but hopefully understanding this signal chain and the thought process behind the signal flow, will help you to better understand the logic behind setting up a specific signal chain.
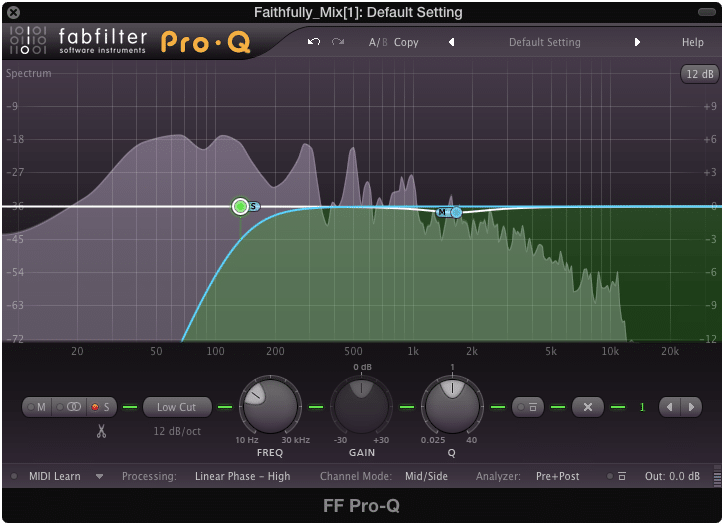
1. Subtractive Equalization
It's best to attenuate undesired frequencies before amplification.
Using subtractive equalization first ensures you attenuate the unpleasant aspects of your mix prior to any amplification.
This is a great time to implement Mid-Side processing and attenuate the low-frequency response of the side image, as discussed above.
2. Multi-band Compression

If needed, multi-band compression controls undesired dynamics at this point.
If you’re mastering a track that needs it’s dynamics to be controlled, then using multi-band compression is the next logical step.
Take this instruction with a grain of salt. Although it may be a great idea to control some of the dynamics at this point, it may not be necessary.
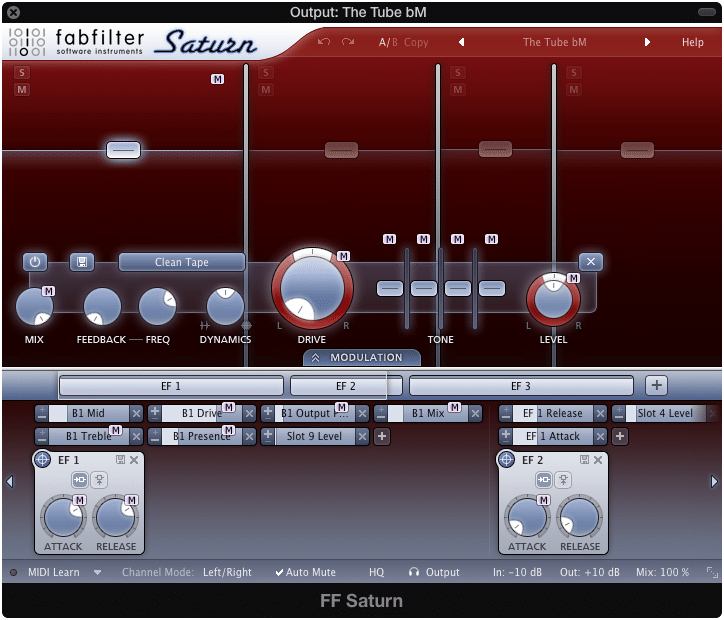
3. Gentle Distortion and Harmonic Generation
With a balanced dynamic range and frequency response, add in some desirable harmonics.
With your frequency response balanced, and your dynamics controlled, let’s add some character to the mix.
Analog equipment and emulation generally add mild distortions and harmonics to a mix, making them fuller, warmer, and indicative of classic beloved recordings.
4. Low-Level Compression
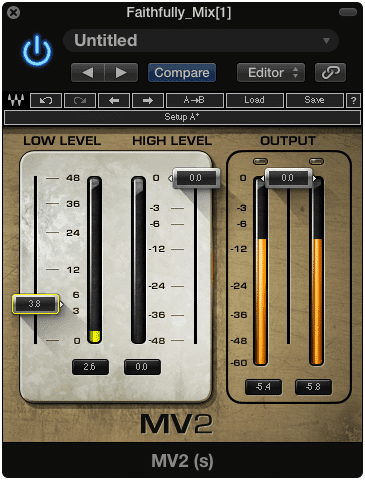
Then, bring out these harmonics even more with a low-level compressor.
A low-level compressor separates the quietest aspects of the mix from the louder elements, compresses it, and then amplifies it.
While analog emulation adds character, following it with low-level compression brings out the hidden details and harmonics of that emulation.
5. Amplification based Equalization or Frequency Specific Expansion
With the correct coloration, amplify the frequencies you want more of.
Use frequency-specific expansion if you want to increase the amplitude of certain frequencies and increase the dynamic range of these frequencies.
Use equalization if you want to increase the amplitude of certain frequencies, but do not want to increase the dynamic range of these frequencies.
Since you’ve already balanced the signal with attenuation based equalization and compression, now is a great time to augment the aspects of a mix you think need extra attention.
6. Stereo Imaging
Next, adjust the stereo image.
Now is a great time to determine the desired width of your stereo image. Keep in mind the technical limitations of the medium and speaker systems of your intended audience.
7. Limiting and Metering
Limit if needed, but don't do so excessively.
Ideally, there is no need for limiting. If the signal has proper gain staging, and the dynamics are controlled adequately, the levels can be pushed to right before peaking and still be perceived as a loud master.
Because this isn’t always a realistic option, a digital limiter may be needed. Keep a close eye on both the amount of signal being compressed, and the metering to ensure the signal is a reasonable volume, and peaking isn’t occurring.
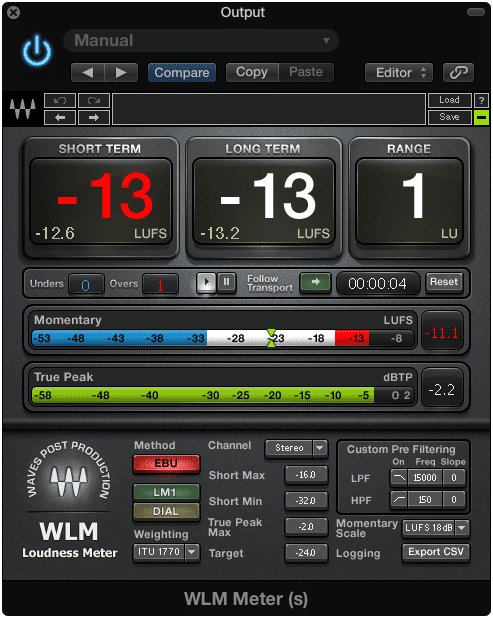
Use metering to see if your levels are where you want them to be.
The loudness, true peak value, and dynamic range can all be measured and targeted using meters. Do so to ensure what you’re hearing matches what is actually occurring during your mastering process.
8. Dithering and Exporting
As stated previously, dithering is noise that masks the distortion caused by quantization errors while exporting from a higher bit depth to a lower bit depth.
The only time you should use dithering is when you are both exporting, and reducing the bit depth.
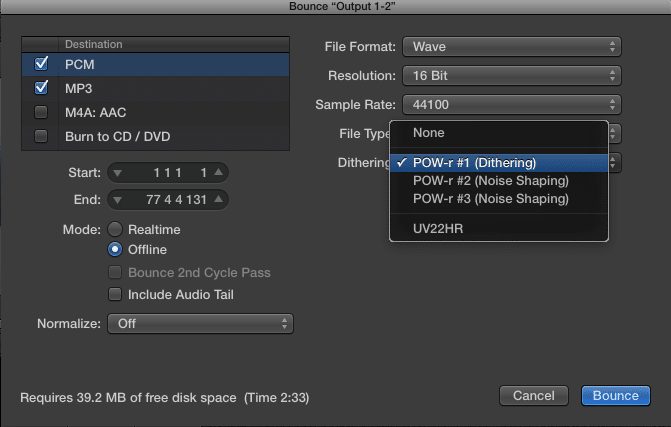
You can either dither using a plugin, or while exporting.
**If you’d like a more comprehensive and in-depth look at this signal chain, check out the blog it came from: “What is Digital Mastering?” **
And as stated before, this signal chain is not set in stone. Understanding the needs of the music you’re mastering will often if not always dictate the order with which you organize your plugins or hardware.
The Creative Side of Mastering
So far we've looked at mastering primarily as a technical process - one in which logic and technique are the fundamental building blocks.
But just like any art form, once you have the tools, the knowledge, and an in-depth understanding of the technique behind the process, you are free to explore and try new things.
Think about it how you’d think about creating a painting - there is the canvas, the paints, the technical understanding of how colors, shapes, and lighting interact; behind all of this there is the artist, who can interpret all of the options available, and make informed and creative decisions to augment the work in the best way possible.

Mastering can definitely be an artistic endeavor.
Like any art form or creative endeavor, it takes patience, practice, research, and endless hours spent in the pursuit of perfecting your craft.
Mastering is challenging, but rewarding when the time comes and enough work has been put into it.
Becoming a talented mastering engineer takes time and patience.
If you’re considering mastering music for the first time, be prepared to face some frustration and a learning curve during the process. If you’d like to hear your mix professionally mastered, perhaps to use as a reference of your mastering process, send it to ushere : https://www.sageaudio.com/register.php
We’ll master it for you and send you a free mastered sample.
Unfortunately, there is little to no way to inform you how to be creative during your mastering process. If I was to break it down into categories and subcategories like was done for the technical side of mastering, it wouldn’t really maintain its creativity.
All-in-all, if you wish to become creative or artistic in your approach to mastering music, it doesn’t hurt to learn the technical side. It may sound cliche, but learning the rules gives you the power to break them, move past them, and to create something wholly unique and your own.
One Method for Inspiring Creativity During Mastering
When I first began mastering music for others, I didn’t know what was and what wasn’t the typical way of mastering.
Although this led to a lot of blunders, it wasn’t without its benefits.
I remember working on a rock track during my first year of mastering. I was using analog emulation and distortion to an excessive and ill-advised amount. When the clients heard it they were not pleased (this is one of the blunders I was talking about).
But I loved the sound of the distortion, so instead of getting rid of it, I tamed it during the quieter intro using automation, and then automated it to kick in right when the heavy instrumentation dropped. The automated distortion made it feel like an entirely new song, giving it a character all its own.
Automating plugin parameters during mastering is a great way to keep things creative.
This time the client loved it, and today, whenever we talk about their new projects, on occasion we still take a moment to indulge in nostalgia and talk about how cool it sounded when that distortion kicked in.
All this to say, experimenting can lead to unique and new sounds. At the time, and still today, automation isn’t really utilized in the same way it is during the mixing process.
If you’re looking for a way to push the envelope, automating the effects in your signal chain to better suit the emotion of a particular section is a great place to start.
Not only does it allow you to try something new, but it also challenges you to think about the song as a moving, and changing expressive piece - one that calls for different processing in sections just as it does different instrumentation during a bridge, or maybe a different reverb type in a breakdown.

Mastering creatively entails listening deeply to the song and responding with the best processing for that moment.
Whatever the case may be, using automation to model your master after the emotionality of the song is a great way to keep your masters fresh and innovative.
Conclusion
Mastering is certainly a complex and ever-changing process. To try to cover everything that can be perceived as mastering is definitely no small task.
Although the points detailed here hopefully shine some light on mastering, as well as indicate where it may be going - it certainly does not cover all that can be said about mastering.

Mastering is complex and viewed differently from engineer to engineer.
If you choose to master music, your experiences may lead you to entirely different conclusions about what it is. If you’re an artist looking to get your music mastered, then maybe all you need is the technical understanding of it or maybe even just a brief synopsis to satisfy your curiosity.
Perhaps you’re already a well established mastering engineer, and you focus more on the needs and wants of your clients than you do the actual technical points.
Whatever the case or your perspective may be, there is one thing that all engineers and artists alike can agree on - and that is ‘Mastering exists to make songs sound better.’

Mastering is really about making music sound great for listeners.
It may be to make them sound better on certain mediums. It may be to make them sound better than others in their genre, or it may be to push the boundaries of an accepted and expected listening experience.
Whether approached technically, creatively, or with a combination of the two, mastering exists for the love of and appreciation for music.
If you’d like to get a free mastered sample of your music, feel free to send it to us here: https://www.sageaudio.com/register.php
We’ll master it for you and make it sound as good as possible.
What do you think about mastering?


